ASTM D7779-11(2015)
(Test Method)Standard Test Method for Determination of Fracture Toughness of Graphite at Ambient Temperature
Standard Test Method for Determination of Fracture Toughness of Graphite at Ambient Temperature
SIGNIFICANCE AND USE
5.1 This test method may be used for guidance for material development to improve toughness, material comparison, quality assessment, and characterization.
5.2 The fracture toughness value provides information on the initiation of fracture in graphite containing a straight-through notch; the information on stress intensity factor beyond fracture toughness as a function of crack extension provides information on the crack propagation resistance once a fracture crack has been initiated to propagate through the test specimen.
SCOPE
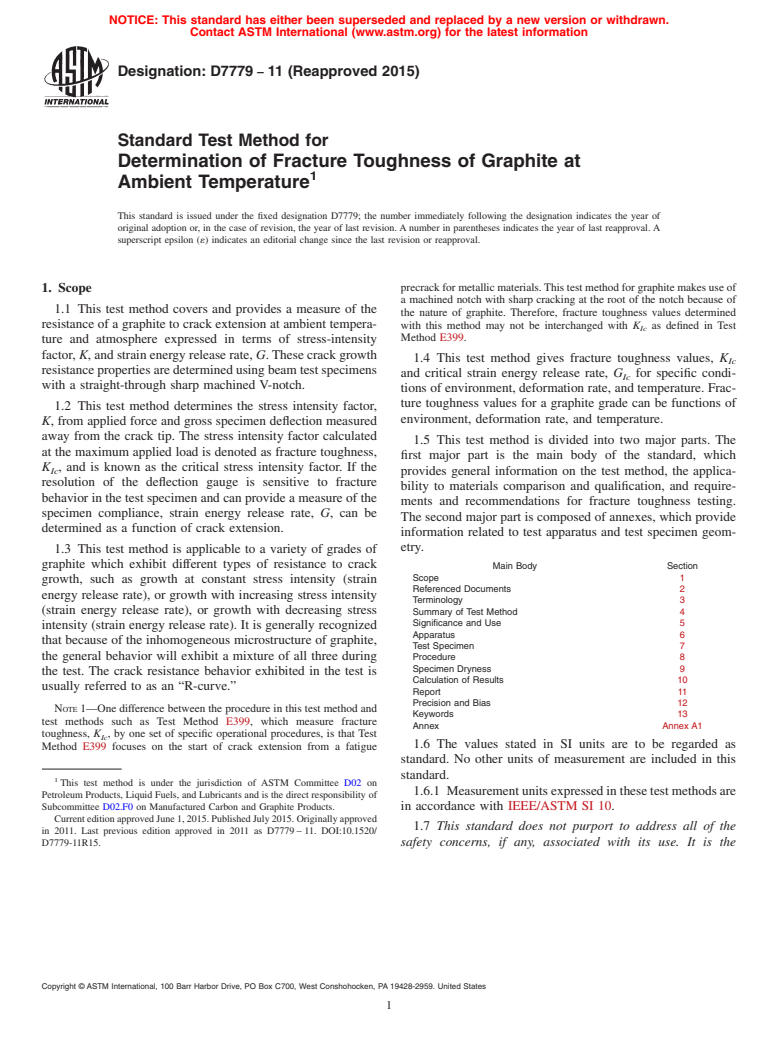
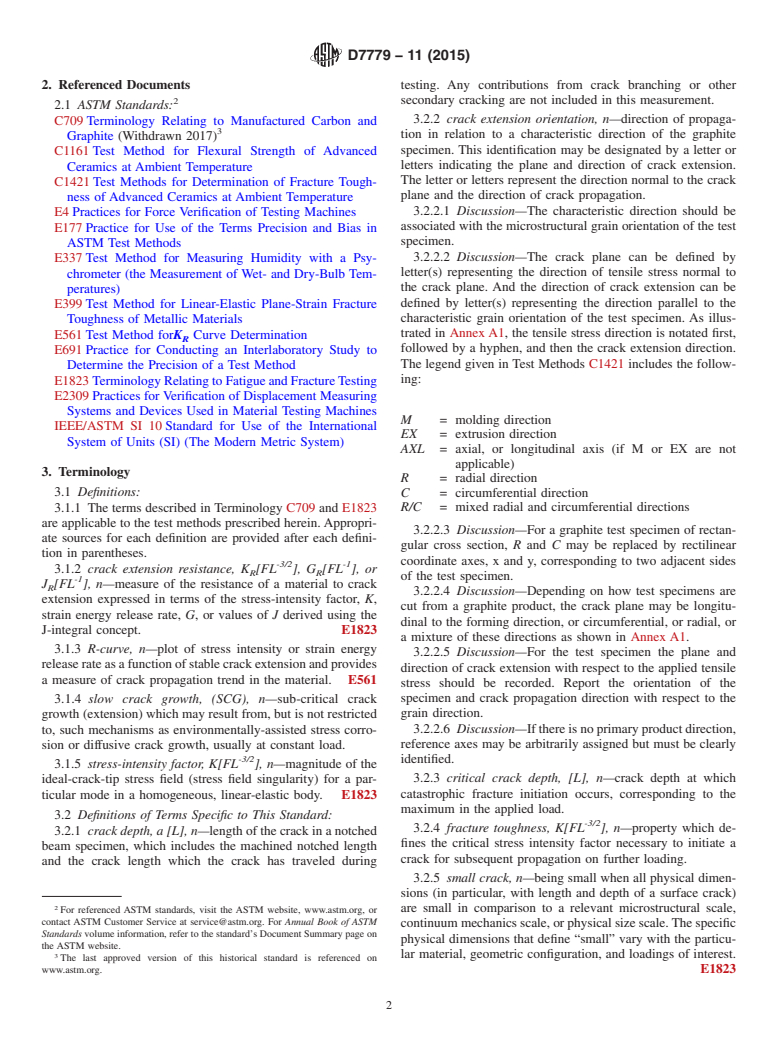
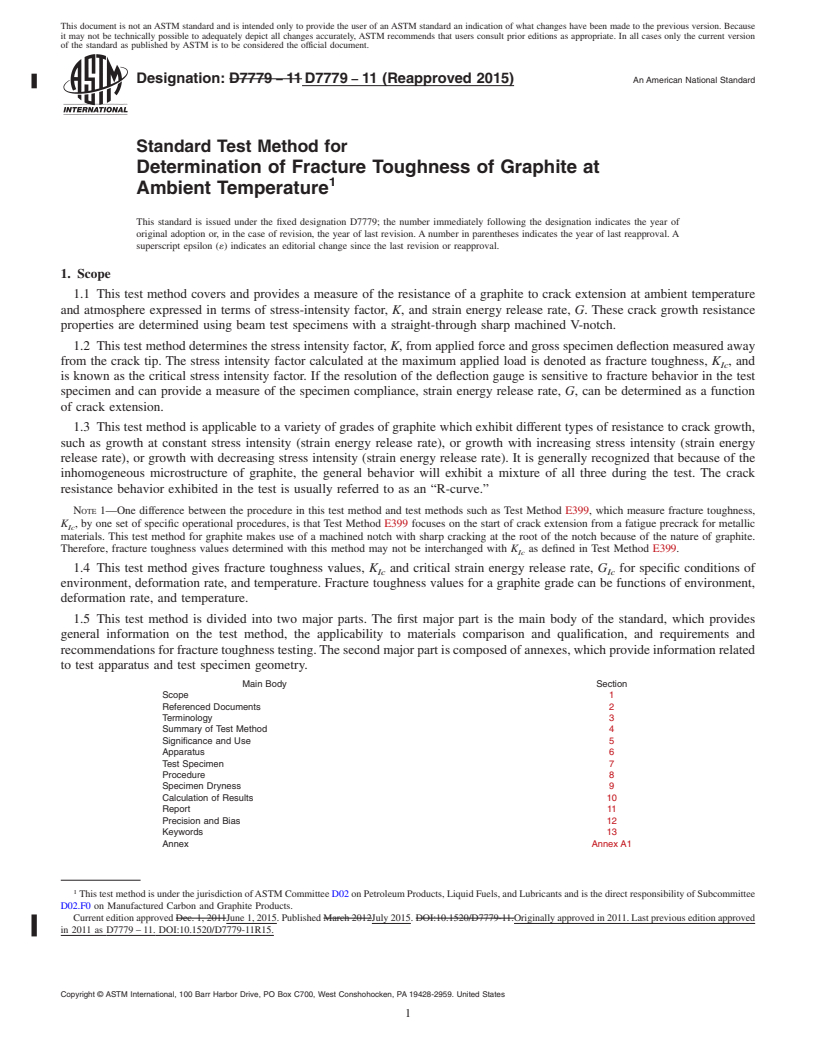
1.1 This test method covers and provides a measure of the resistance of a graphite to crack extension at ambient temperature and atmosphere expressed in terms of stress-intensity factor, K, and strain energy release rate, G. These crack growth resistance properties are determined using beam test specimens with a straight-through sharp machined V-notch.
1.2 This test method determines the stress intensity factor, K, from applied force and gross specimen deflection measured away from the crack tip. The stress intensity factor calculated at the maximum applied load is denoted as fracture toughness, KIc, and is known as the critical stress intensity factor. If the resolution of the deflection gauge is sensitive to fracture behavior in the test specimen and can provide a measure of the specimen compliance, strain energy release rate, G, can be determined as a function of crack extension.
1.3 This test method is applicable to a variety of grades of graphite which exhibit different types of resistance to crack growth, such as growth at constant stress intensity (strain energy release rate), or growth with increasing stress intensity (strain energy release rate), or growth with decreasing stress intensity (strain energy release rate). It is generally recognized that because of the inhomogeneous microstructure of graphite, the general behavior will exhibit a mixture of all three during the test. The crack resistance behavior exhibited in the test is usually referred to as an “R-curve.”
Note 1: One difference between the procedure in this test method and test methods such as Test Method E399, which measure fracture toughness, KIc, by one set of specific operational procedures, is that Test Method E399 focuses on the start of crack extension from a fatigue precrack for metallic materials. This test method for graphite makes use of a machined notch with sharp cracking at the root of the notch because of the nature of graphite. Therefore, fracture toughness values determined with this method may not be interchanged with KIc as defined in Test Method E399.
1.4 This test method gives fracture toughness values, KIc and critical strain energy release rate, GIc for specific conditions of environment, deformation rate, and temperature. Fracture toughness values for a graphite grade can be functions of environment, deformation rate, and temperature.
1.5 This test method is divided into two major parts. The first major part is the main body of the standard, which provides general information on the test method, the applicability to materials comparison and qualification, and requirements and recommendations for fracture toughness testing. The second major part is composed of annexes, which provide information related to test apparatus and test specimen geometry.
Main Body
Section
Scope
1
Referenced Documents
2
Terminology
3
Summary of Test Method
4
Significance and Use
5
Apparatus
6
Test Specimen
7
Procedure
8
Specimen Dryness
9
Calculation of Results
10
Report
11
Precision and Bias
12
Keywords
13
Annex
Annex A1
1.6 The values stated in SI units are to be regarded as standard. No other units of measurement are included in this standard.
1.6.1 Measurement units expressed in these test methods are in accordance with IEEE/ASTM SI 10.
1.7 This standard does no...
General Information
Buy Standard
Standards Content (Sample)
NOTICE: This standard has either been superseded and replaced by a new version or withdrawn.
Contact ASTM International (www.astm.org) for the latest information
Designation: D7779 − 11 (Reapproved 2015)
Standard Test Method for
Determination of Fracture Toughness of Graphite at
1
Ambient Temperature
This standard is issued under the fixed designation D7779; the number immediately following the designation indicates the year of
original adoption or, in the case of revision, the year of last revision. A number in parentheses indicates the year of last reapproval. A
superscript epsilon (´) indicates an editorial change since the last revision or reapproval.
precrackformetallicmaterials.Thistestmethodforgraphitemakesuseof
1. Scope
a machined notch with sharp cracking at the root of the notch because of
1.1 This test method covers and provides a measure of the
the nature of graphite. Therefore, fracture toughness values determined
resistance of a graphite to crack extension at ambient tempera- with this method may not be interchanged with K as defined in Test
Ic
Method E399.
ture and atmosphere expressed in terms of stress-intensity
factor, K, and strain energy release rate, G.These crack growth
1.4 This test method gives fracture toughness values, K
Ic
resistance properties are determined using beam test specimens
and critical strain energy release rate, G for specific condi-
Ic
with a straight-through sharp machined V-notch.
tions of environment, deformation rate, and temperature. Frac-
ture toughness values for a graphite grade can be functions of
1.2 This test method determines the stress intensity factor,
environment, deformation rate, and temperature.
K, from applied force and gross specimen deflection measured
away from the crack tip. The stress intensity factor calculated
1.5 This test method is divided into two major parts. The
at the maximum applied load is denoted as fracture toughness,
first major part is the main body of the standard, which
K , and is known as the critical stress intensity factor. If the
Ic
provides general information on the test method, the applica-
resolution of the deflection gauge is sensitive to fracture
bility to materials comparison and qualification, and require-
behavior in the test specimen and can provide a measure of the
ments and recommendations for fracture toughness testing.
specimen compliance, strain energy release rate, G, can be
The second major part is composed of annexes, which provide
determined as a function of crack extension.
information related to test apparatus and test specimen geom-
etry.
1.3 This test method is applicable to a variety of grades of
graphite which exhibit different types of resistance to crack
Main Body Section
Scope 1
growth, such as growth at constant stress intensity (strain
Referenced Documents 2
energy release rate), or growth with increasing stress intensity
Terminology 3
(strain energy release rate), or growth with decreasing stress
Summary of Test Method 4
Significance and Use 5
intensity (strain energy release rate). It is generally recognized
Apparatus 6
that because of the inhomogeneous microstructure of graphite,
Test Specimen 7
the general behavior will exhibit a mixture of all three during Procedure 8
Specimen Dryness 9
the test. The crack resistance behavior exhibited in the test is
Calculation of Results 10
usually referred to as an “R-curve.”
Report 11
Precision and Bias 12
NOTE 1—One difference between the procedure in this test method and
Keywords 13
test methods such as Test Method E399, which measure fracture
Annex Annex A1
toughness, K , by one set of specific operational procedures, is that Test
Ic
1.6 The values stated in SI units are to be regarded as
Method E399 focuses on the start of crack extension from a fatigue
standard. No other units of measurement are included in this
standard.
1
This test method is under the jurisdiction of ASTM Committee D02 on
1.6.1 Measurementunitsexpressedinthesetestmethodsare
Petroleum Products, Liquid Fuels, and Lubricants and is the direct responsibility of
Subcommittee D02.F0 on Manufactured Carbon and Graphite Products. in accordance with IEEE/ASTM SI 10.
CurrenteditionapprovedJune1,2015.PublishedJuly2015.Originallyapproved
1.7 This standard does not purport to address all of the
in 2011. Last previous edition approved in 2011 as D7779 – 11. DOI:10.1520/
safety concerns, if any, associated with its use. It is the
D7779-11R15.
Copyright © ASTM International, 100 Barr Harbor Drive, PO Box C700, West Conshohocken, PA 19428-2959. United States
1
---------------------- Page: 1 ----------------------
D7779 − 11 (Reapproved 2015)
responsibility of the user of this standard to establish appro-
priate safety and health practices and determine the applica-
bility of regulatory limitations prior to use.
1
---------------------- Page: 2 ----------------------
D7779 − 11 (2015)
2. Referenced Documents testing. Any contributions from crack branching or other
2 secondary cracking are not inc
...
This document is not an ASTM standard and is intended only to provide the user of an ASTM standard an indication of what changes have been made to the previous version. Because
it may not be technically possible to adequately depict all changes accurately, ASTM recommends that users consult prior editions as appropriate. In all cases only the current version
of the standard as published by ASTM is to be considered the official document.
Designation: D7779 − 11 D7779 − 11 (Reapproved 2015) An American National Standard
Standard Test Method for
Determination of Fracture Toughness of Graphite at
1
Ambient Temperature
This standard is issued under the fixed designation D7779; the number immediately following the designation indicates the year of
original adoption or, in the case of revision, the year of last revision. A number in parentheses indicates the year of last reapproval. A
superscript epsilon (´) indicates an editorial change since the last revision or reapproval.
1. Scope
1.1 This test method covers and provides a measure of the resistance of a graphite to crack extension at ambient temperature
and atmosphere expressed in terms of stress-intensity factor, K, and strain energy release rate, G. These crack growth resistance
properties are determined using beam test specimens with a straight-through sharp machined V-notch.
1.2 This test method determines the stress intensity factor, K, from applied force and gross specimen deflection measured away
from the crack tip. The stress intensity factor calculated at the maximum applied load is denoted as fracture toughness, K , and
Ic
is known as the critical stress intensity factor. If the resolution of the deflection gauge is sensitive to fracture behavior in the test
specimen and can provide a measure of the specimen compliance, strain energy release rate, G, can be determined as a function
of crack extension.
1.3 This test method is applicable to a variety of grades of graphite which exhibit different types of resistance to crack growth,
such as growth at constant stress intensity (strain energy release rate), or growth with increasing stress intensity (strain energy
release rate), or growth with decreasing stress intensity (strain energy release rate). It is generally recognized that because of the
inhomogeneous microstructure of graphite, the general behavior will exhibit a mixture of all three during the test. The crack
resistance behavior exhibited in the test is usually referred to as an “R-curve.”
NOTE 1—One difference between the procedure in this test method and test methods such as Test Method E399, which measure fracture toughness,
K , by one set of specific operational procedures, is that Test Method E399 focuses on the start of crack extension from a fatigue precrack for metallic
Ic
materials. This test method for graphite makes use of a machined notch with sharp cracking at the root of the notch because of the nature of graphite.
Therefore, fracture toughness values determined with this method may not be interchanged with K as defined in Test Method E399.
Ic
1.4 This test method gives fracture toughness values, K and critical strain energy release rate, G for specific conditions of
Ic Ic
environment, deformation rate, and temperature. Fracture toughness values for a graphite grade can be functions of environment,
deformation rate, and temperature.
1.5 This test method is divided into two major parts. The first major part is the main body of the standard, which provides
general information on the test method, the applicability to materials comparison and qualification, and requirements and
recommendations for fracture toughness testing. The second major part is composed of annexes, which provide information related
to test apparatus and test specimen geometry.
Main Body Section
Scope 1
Referenced Documents 2
Terminology 3
Summary of Test Method 4
Significance and Use 5
Apparatus 6
Test Specimen 7
Procedure 8
Specimen Dryness 9
Calculation of Results 10
Report 11
Precision and Bias 12
Keywords 13
Annex Annex A1
1
This test method is under the jurisdiction of ASTM Committee D02 on Petroleum Products, Liquid Fuels, and Lubricants and is the direct responsibility of Subcommittee
D02.F0 on Manufactured Carbon and Graphite Products.
Current edition approved Dec. 1, 2011June 1, 2015. Published March 2012July 2015. DOI:10.1520/D7779-11.Originally approved in 2011. Last previous edition approved
in 2011 as D7779 – 11. DOI:10.1520/D7779-11R15.
Copyright © ASTM International, 100 Barr Harbor Drive, PO Box C700, West Conshohocken, PA 19428-2959. United States
1
---------------------- Page: 1 ----------------------
D7779 − 11 (2015)
1.6 The values stated in SI units are to be regarded as standard. No other units of measurement are included in this standard.
1.6.1 Measurement units expressed in these test methods are in accordance with IEEE/ASTM SI 10.
1.7 This standard does not purport to address all of the safety concerns, if any, associated with its use. It is
...


Questions, Comments and Discussion
Ask us and Technical Secretary will try to provide an answer. You can facilitate discussion about the standard in here.