ISO 19674:2017
(Main)Fine ceramics (advanced ceramics, advanced technical ceramics) — Methods of test for ceramic coatings — Determination of internal stress in ceramic coatings by application of the Stoney formula
Fine ceramics (advanced ceramics, advanced technical ceramics) — Methods of test for ceramic coatings — Determination of internal stress in ceramic coatings by application of the Stoney formula
ISO 19674:2017 specifies a method for the determination of the internal stress in thin ceramic coatings by application of the Stoney formula to the results obtained from measurement of the radius of curvature of coated strips or discs.
Céramiques fines (céramiques avancées, céramiques techniques avancées) — Méthodes d'essai des revêtements céramiques — Détermination de la contrainte interne des revêtements céramiques par application de la formule de Stoney
General Information
Relations
Standards Content (Sample)
INTERNATIONAL ISO
STANDARD 19674
First edition
2017-09
Fine ceramics (advanced ceramics,
advanced technical ceramics) —
Methods of test for ceramic coatings
— Determination of internal stress in
ceramic coatings by application of the
Stoney formula
Céramiques fines (céramiques avancées, céramiques techniques
avancées) — Méthodes d’essai des revêtements céramiques —
Détermination de la contrainte interne des revêtements céramiques
par application de la formule de Stoney
Reference number
©
ISO 2017
© ISO 2017, Published in Switzerland
All rights reserved. Unless otherwise specified, no part of this publication may be reproduced or utilized otherwise in any form
or by any means, electronic or mechanical, including photocopying, or posting on the internet or an intranet, without prior
written permission. Permission can be requested from either ISO at the address below or ISO’s member body in the country of
the requester.
ISO copyright office
Ch. de Blandonnet 8 • CP 401
CH-1214 Vernier, Geneva, Switzerland
Tel. +41 22 749 01 11
Fax +41 22 749 09 47
copyright@iso.org
www.iso.org
ii © ISO 2017 – All rights reserved
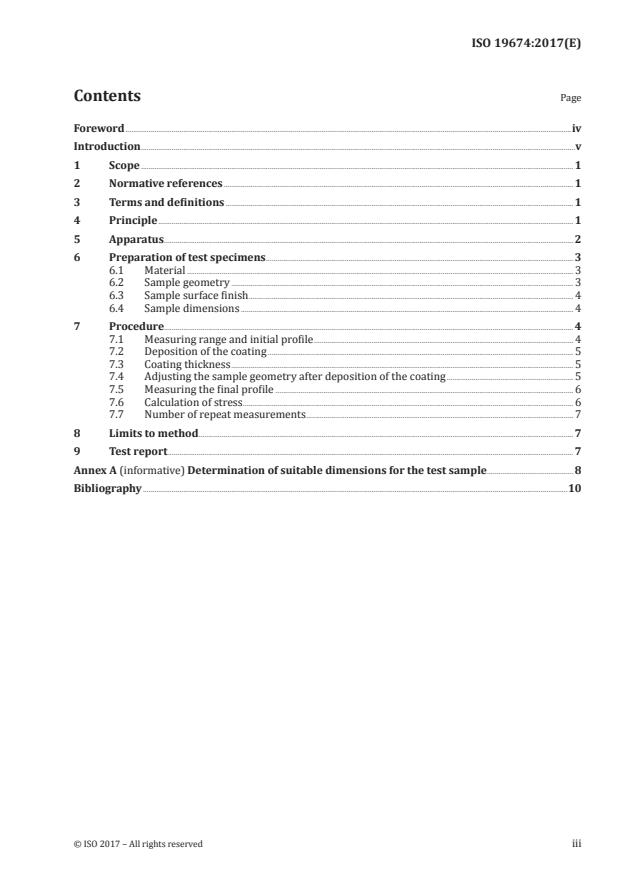
Contents Page
Foreword .iv
Introduction .v
1 Scope . 1
2 Normative references . 1
3 Terms and definitions . 1
4 Principle . 1
5 Apparatus . 2
6 Preparation of test specimens . 3
6.1 Material . 3
6.2 Sample geometry . 3
6.3 Sample surface finish . 4
6.4 Sample dimensions . 4
7 Procedure. 4
7.1 Measuring range and initial profile . 4
7.2 Deposition of the coating . 5
7.3 Coating thickness . 5
7.4 Adjusting the sample geometry after deposition of the coating . 5
7.5 Measuring the final profile . 6
7.6 Calculation of stress . 6
7.7 Number of repeat measurements . 7
8 Limits to method . 7
9 Test report . 7
Annex A (informative) Determination of suitable dimensions for the test sample .8
Bibliography .10
Foreword
ISO (the International Organization for Standardization) is a worldwide federation of national standards
bodies (ISO member bodies). The work of preparing International Standards is normally carried out
through ISO technical committees. Each member body interested in a subject for which a technical
committee has been established has the right to be represented on that committee. International
organizations, governmental and non-governmental, in liaison with ISO, also take part in the work.
ISO collaborates closely with the International Electrotechnical Commission (IEC) on all matters of
electrotechnical standardization.
The procedures used to develop this document and those intended for its further maintenance are
described in the ISO/IEC Directives, Part 1. In particular the different approval criteria needed for the
different types of ISO documents should be noted. This document was drafted in accordance with the
editorial rules of the ISO/IEC Directives, Part 2 (see www .iso .org/ directives).
Attention is drawn to the possibility that some of the elements of this document may be the subject of
patent rights. ISO shall not be held responsible for identifying any or all such patent rights. Details of
any patent rights identified during the development of the document will be in the Introduction and/or
on the ISO list of patent declarations received (see www .iso .org/ patents).
Any trade name used in this document is information given for the convenience of users and does not
constitute an endorsement.
For an explanation on the voluntary nature of standards, the meaning of ISO specific terms and
expressions related to conformity assessment, as well as information about ISO’s adherence to the
World Trade Organization (WTO) principles in the Technical Barriers to Trade (TBT) see the following
URL: w w w . i s o .org/ iso/ foreword .html.
This document was prepared by Technical Committee ISO/TC 206, Fine ceramics.
iv © ISO 2017 – All rights reserved
Introduction
There is an increasing use of coatings to improve the functional performance of materials and
components. This can be to protect against damage due to exposure to demanding environments
including high stresses and aggressive chemical environments, but can also be to modify many other
properties, e.g. thermal conductivity through thermal barrier coatings, friction through low friction
coatings, such as diamond like carbon (DLC), and optical reflectivity through coatings with controlled
optical properties.
Appropriate choice of coatings for particular applications depends on the mechanical and other
functional requirements that arise. One factor that can be crucial in determining coating performance
and lifetime is the residual stress that is generated by the deposition process and/or by thermal
expansion mismatch between the coating and the substrate as the component is cooled from the
processing temperature.
This document describes the application of a simple experimental technique using the Stoney formula
to analyse the coating induced bending of coupons, of known mechanical properties, to determine the
residual stress in the coating.
INTERNATIONAL STANDARD ISO 19674:2017(E)
Fine ceramics (advanced ceramics, advanced technical
ceramics) — Methods of test for ceramic coatings —
Determination of internal stress in ceramic coatings by
application of the Stoney formula
1 Scope
This document specifies a method for the determination of the internal stress in thin ceramic coatings
by application of the Stoney formula to the results obtained from measurement of the radius of
curvature of coated strips or discs.
2 Normative references
There are no normative references in this document.
3 Terms and definitions
No terms and definitions are listed in this document.
ISO and IEC maintain terminological databases for use in standardization at the following addresses:
— IEC Electropedia: available at http:// www .electropedia .org/
— ISO Online browsing platform: available at http:// www .iso .org/ obp
4 Principle
Coating stress often plays a major role in the performance of coated tools and machine parts. Different
techniques have been developed for the determination of coating stress. The technique considered
in this document calculates the stress from measurement of the bowing of thin discs or strips of well-
characterized materials of known thickness that have been coated on one side only. It is assumed that the
deformation is elastic, i.e. if the coating were to be removed the substrate would return to its initial shape.
Provided that the coating is thin compared to the thickness of the substrate (coating thickness <2 % of
substrate thickness), that the curvature has a spherical form and that the substrate was initially flat or
of known curvature, then the stress in the coating can be calculated using the Stoney formula (see 7.6)
without the need to know the elastic properties of the coating material.
The technique does require accurate knowledge of the thickness of the coating, the thickness of the
substrate, and Young’s modulus and Poisson’s ratio of the substrate material.
NOTE 1 Coating thickness can be determined by techniques such as step height measurement (see ISO 18452),
[4]
crater grinding (see ISO 26423), and cross-sectioning (see EN 1071-10 ).
As ceramic coatings are normally deposited at elevated temperatures, the stress determined at any
other temperature will be a combination of the intrinsic growth stress and stress introduced by virtue
of the difference in thermal expansion between the coating and the substrate.
The internal stress, σ , in the coating is deduced from the measured radius of curvature, R , through
0 exp
[6]
the application of the Stoney formula as shown in Formula (1):
Eh
1 1
s s
σ =− (1)
61−ν hR
s fexp
where
is the thickness of the coating;
h
f
is the thickness of the substrate;
h
s
is Young’s modulus of the substrate;
E
s
ν
is Poisson’s ratio of the substrate.
s
NOTE 2 σ is the mean value of the local stress through the thickness of the coating (h << h ):
f s
h
f
σσ= ()zdz
0 f
∫
h
f
where σ ()z is the film stress as a function of position perpendicular to the plane of the substrate.
f
The radius of curvature, R , is obtained from the profile of the sample.
exp
5 Apparatus
The profile can be measured by means of an optical profilometer, a high magnification optical
microscope (resolution in the order of 1 μm), equipped with an accurate (better than 5 μm resolution)
position sensor along the focusing direction and a micrometer equipped with a translation stage, or
other suitable technique. For a disc-shaped sample with a polished surface, e.g. a circle cut from a
polished silicon wafer, the radius of curvature can be obtained by treating it as a convex or concave
mirror and measured using an optical bench or other suitable technique, e.g. by the use of Newton’s
rings. However, in all cases, care should be taken to ensure that the measurement technique used does
not alter the profile of the sample.
Where a microscope with a translation stage is used for the measurement, care shall be taken to ensure
that the stage is perpendicular to the optical axis. The simplest way to check this is to ensure that the
surface of the translation stage remains in focus over a distance equivalent to the overall length of the
sample, with the microscope at its highest magnification. For all measurement methods, care shall be
taken to ensure that they are calibrated and traceable to national standards.
If a contact probe profilometer is to be used, care should be taken to use the lowest load possible,
commensurate with obtaining an accurate result, in order to avoid the contact force changing the
profile of the sample.
2 © ISO 2017 – All rights reserved
EXAMPLE The deflection of a beam, supported at its extremities, by the application of a load in the central
zone is:
FL
δ =
48EI
where
L is the length of the beam;
F is the applied load;
E is Young’s modulus;
bt
I=
where
b is the width;
t is the thickness.
Thus, for an Al substrate with E = 70 GPa, L = 100 mm, b = 10 mm, t = 0,5 mm, replacing these values in
the formulae gives Form
...


Questions, Comments and Discussion
Ask us and Technical Secretary will try to provide an answer. You can facilitate discussion about the standard in here.