ISO 19606:2024
(Main)Fine ceramics (advanced ceramics, advanced technical ceramics) — Test method for surface roughness of fine ceramic films by atomic force microscopy
Fine ceramics (advanced ceramics, advanced technical ceramics) — Test method for surface roughness of fine ceramic films by atomic force microscopy
This document specifies a method to evaluate the adequateness of a probe tip for fine-ceramic thin-film surface roughness measurements by atomic force microscopy. This method applies to surfaces with an arithmetical mean roughness, Ra, in the range of about 1 nm to 30 nm and a mean width of roughness profile elements, Rsm, in the range of about 0,04 μm to 2,5 μm.
Céramiques techniques — Méthode d'essai pour la rugosité de surface des films céramique fins par microscopie à force atomique
General Information
Relations
Standards Content (Sample)
International
Standard
ISO 19606
Second edition
Fine ceramics (advanced ceramics,
2024-11
advanced technical ceramics) —
Test method for surface roughness
of fine ceramic films by atomic force
microscopy
Céramiques techniques — Méthode d'essai pour la rugosité de
surface des films céramique fins par microscopie à force atomique
Reference number
© ISO 2024
All rights reserved. Unless otherwise specified, or required in the context of its implementation, no part of this publication may
be reproduced or utilized otherwise in any form or by any means, electronic or mechanical, including photocopying, or posting on
the internet or an intranet, without prior written permission. Permission can be requested from either ISO at the address below
or ISO’s member body in the country of the requester.
ISO copyright office
CP 401 • Ch. de Blandonnet 8
CH-1214 Vernier, Geneva
Phone: +41 22 749 01 11
Email: copyright@iso.org
Website: www.iso.org
Published in Switzerland
ii
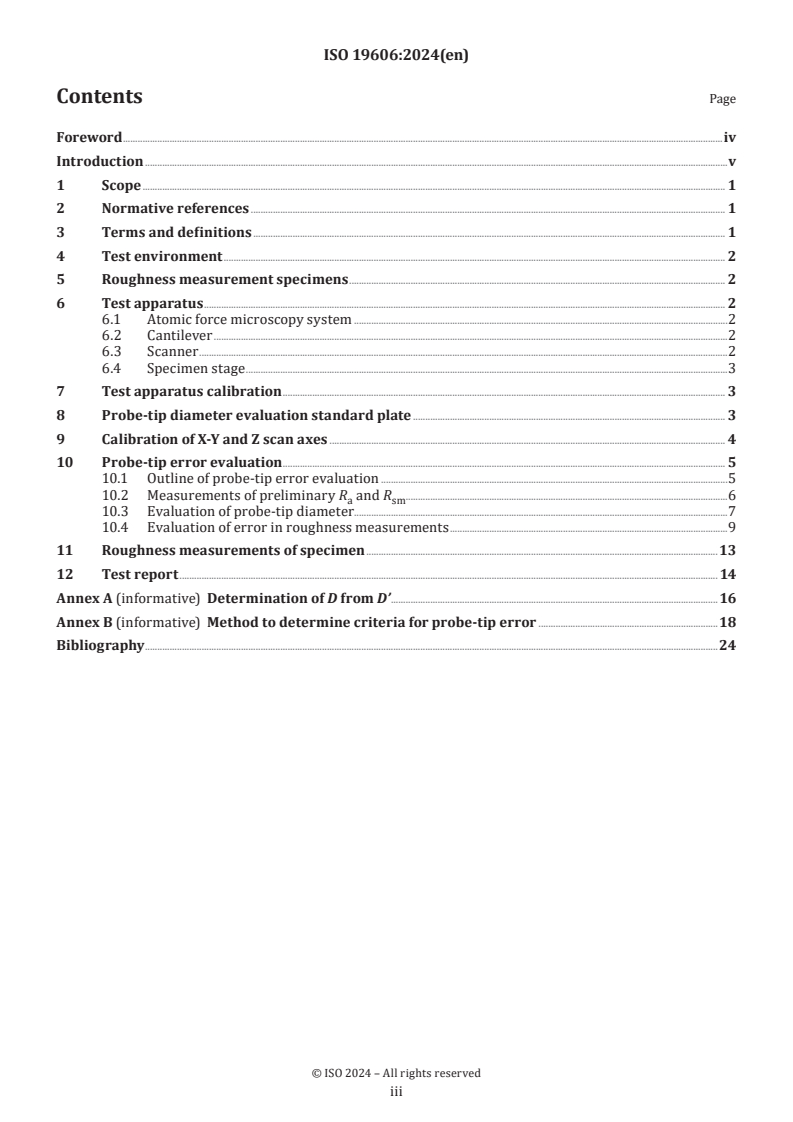
Contents Page
Foreword .iv
Introduction .v
1 Scope . 1
2 Normative references . 1
3 Terms and definitions . 1
4 Test environment . 2
5 Roughness measurement specimens . 2
6 Test apparatus . 2
6.1 Atomic force microscopy system .2
6.2 Cantilever .2
6.3 Scanner .2
6.4 Specimen stage .3
7 Test apparatus calibration . 3
8 Probe-tip diameter evaluation standard plate . 3
9 Calibration of X-Y and Z scan axes . 4
10 Probe-tip error evaluation . 5
10.1 Outline of probe-tip error evaluation .5
10.2 Measurements of preliminary R and R .6
a sm
10.3 Evaluation of probe-tip diameter.7
10.4 Evaluation of error in roughness measurements .9
11 Roughness measurements of specimen .13
12 Test report . 14
Annex A (informative) Determination of D from D’ .16
Annex B (informative) Method to determine criteria for probe-tip error .18
Bibliography .24
iii
Foreword
ISO (the International Organization for Standardization) is a worldwide federation of national standards
bodies (ISO member bodies). The work of preparing International Standards is normally carried out through
ISO technical committees. Each member body interested in a subject for which a technical committee
has been established has the right to be represented on that committee. International organizations,
governmental and non-governmental, in liaison with ISO, also take part in the work. ISO collaborates closely
with the International Electrotechnical Commission (IEC) on all matters of electrotechnical standardization.
The procedures used to develop this document and those intended for its further maintenance are described
in the ISO/IEC Directives, Part 1. In particular, the different approval criteria needed for the different types
of ISO document should be noted. This document was drafted in accordance with the editorial rules of the
ISO/IEC Directives, Part 2 (see www.iso.org/directives).
ISO draws attention to the possibility that the implementation of this document may involve the use of (a)
patent(s). ISO takes no position concerning the evidence, validity or applicability of any claimed patent
rights in respect thereof. As of the date of publication of this document, ISO had not received notice of (a)
patent(s) which may be required to implement this document. However, implementers are cautioned that
this may not represent the latest information, which may be obtained from the patent database available at
www.iso.org/patents. ISO shall not be held responsible for identifying any or all such patent rights.
Any trade name used in this document is information given for the convenience of users and does not
constitute an endorsement.
For an explanation of the voluntary nature of standards, the meaning of ISO specific terms and expressions
related to conformity assessment, as well as information about ISO's adherence to the World Trade
Organization (WTO) principles in the Technical Barriers to Trade (TBT), see www.iso.org/iso/foreword.html.
This document was prepared by Technical Committee ISO/TC 206, Fine ceramics.
This second edition cancels and replaces the first edition (ISO 19606:2017), which has been technically
revised.
The main changes are as follows:
— in Clause 3, ISO 4287 and ISO 4288 have been replaced with ISO 21920-1–3;
— revision of 6.2 and Clause 3;
— symbols have been revised throughout by moving text to subscript;
— Annex A changed from normative to informative.
Any feedback or questions on this document should be directed to the user’s national standards body. A
complete listing of these bodies can be found at www.iso.org/members.html.
iv
Introduction
Surface roughness measurements of fine ceramic thin films at the nanometre scale by atomic force
microscopy is widely applied to quality control and assurance in industries.
One frequently occurring issue in roughness measurements by atomic force microscopy resulting from its
scale dependency is the deviation of roughness due to wear of the probe tip or the deviation in the curvature
of commercially available probe tips. This makes it difficult to obtain a reliable and reproducible result of
the roughness measurement. Therefore, it is highly desirable to standardize a method to evaluate probe tip
diameter or curvature radius.
This document covers the evaluation of probe-tip diameter and provides a method to judge the adequateness
of a probe tip for use in day-to-day roughness measurements of fine ceramic thin films with a certain
arithmetical mean roughness in the range needing the use of atomic force microscopy in production lines or
quality assurance processes.
It should be noted that because surface roughness is a scale-dependent metrology parameter, it is unavoidable
that the probe-tip evaluation process contains some contradictory procedures, namely the adequateness of
the probe tip for a roughness measurement depends on unmeasurable true roughness in a scale of interest.
In this document, the parameters based on roughness profiles are used. The roughness profile is obtained
by using a low-pass filter according to ISO 16610-21. The process to obtain the sampling length, which is
identical to cut-off wavelength, is given in ISO 21920-2. Some different sampling lengths to process a primary
profile can be applied to obtain appropriate values of arithmetic mean deviation of a roughness profile, if
necessary.
v
International Standard ISO 19606:2024(en)
Fine ceramics (advanced ceramics, advanced technical
ceramics) — Test method for surface roughness of fine
ceramic films by atomic force microscopy
1 Scope
This document specifies a method to evaluate the adequateness of a probe tip for fine-ceramic thin-film
surface roughness measurements by atomic force microscopy. This method applies to surfaces with an
arithmetical mean roughness, R , in the range of about 1 nm to 30 nm and a mean width of roughness profile
a
elements, R , in the range of about 0,04 μm to 2,5 μm.
sm
2 Normative references
The following documents are referred to in the text in such a way that some or all of their content constitutes
requirements of this document. For dated references, only the edition cited applies. For undated references,
the latest edition of the referenced document (including any amendments) applies.
ISO 11039, Surface chemical analysis — Scanning-probe microscopy — Measurement of drift rate
ISO 11952, Surface chemical analysis — Scanning-probe microscopy — Determination of geometric quantities
using SPM: Calibration of measuring systems
ISO 18115-2, Surface chemical analysis — Vocabulary — Part 2: Terms used in scanning-probe microscopy
ISO 21920-1, Geometrical product specifications (GPS) — Surface texture: Profile — Part 1: Indication of
surface texture
ISO 21920-2, Geometrical product specifications (GPS) — Surface texture: Profile — Part 2: Terms, definitions
and surface texture parameters
ISO 21920-3, Geometrical product specifications (GPS) — Surface texture: Profile — Part 3: Specification
operators
ISO 25178-2, Geometrical product specifications (GPS) — Surface texture: Areal — Part 2: Terms, definitions
and surface texture parameters
3 Terms and definitions
For the purposes of this document, the terms and definitions given in ISO 21920-1, ISO 21920-2, ISO 21920-3,
ISO 18115-2, ISO 11039, ISO 11952 and ISO 25178-2 and the following apply.
ISO and IEC maintain terminology databases for use in standardization at the following addresses:
— IEC Electropedia: available at https:// www .electropedia .org/
— ISO Online browsing platform: available at https:// www .iso .org/ obp
3.1
evaluation length
l (X), l (Y)
e e
length of surface profile in the X or Y direction
3.2
probe-tip diameter evaluation standard plate
plate on which needle-shaped spikes are formed
Note 1 to entry: The plate is used to evaluate the probe-tip diameter (3.3).
3.3
probe-tip diameter
D
diameter of a probe tip at a distance of 10 nm from the tip end
4 Test environment
Testing shall be carried out only where temperature change, sound noise and mechanical vibration of the
floor or walls are sufficiently low to perform the measurements. The following installation environment is
recommended:
a) temperature: 18 °C to 25 °C;
b) humidity: 70 % or less;
c) noise level: 60 dB or less;
−3 2
d) mechanical vibration of the floor or the wall: 1 × 10 m/s (<100 Hz) or less.
5 Roughness measurement specimens
Specimens for roughness measurements are ceramic thin films on a substrate. Any kinds of substrate
material can be used, such as metal, glass, polymer, etc. The specimen shall be no larger than the specimen
stage of the instrument being used.
6 Test apparatus
6.1 Atomic force microscopy system
The atomic force microscopy (AFM) system consists of a cantilever, the detecting system for the cantilever
deflection, and the sample stage with XYZ motion to displace the sample, including a piezoelectric positioning
system. The AFM system should be put on an a
...


Questions, Comments and Discussion
Ask us and Technical Secretary will try to provide an answer. You can facilitate discussion about the standard in here.