ISO 1920-3:2019
(Main)Testing of concrete — Part 3: Making and curing test specimens
Testing of concrete — Part 3: Making and curing test specimens
This document specifies the shape and dimensions of concrete test specimens for strength tests and the methods of making and curing these test specimens.
Essais du béton — Partie 3: Confection et prise des éprouvettes
General Information
Relations
Standards Content (Sample)
INTERNATIONAL ISO
STANDARD 1920-3
Second edition
2019-11
Testing of concrete —
Part 3:
Making and curing test specimens
Essais du béton —
Partie 3: Confection et prise des éprouvettes
Reference number
©
ISO 2019
© ISO 2019
All rights reserved. Unless otherwise specified, or required in the context of its implementation, no part of this publication may
be reproduced or utilized otherwise in any form or by any means, electronic or mechanical, including photocopying, or posting
on the internet or an intranet, without prior written permission. Permission can be requested from either ISO at the address
below or ISO’s member body in the country of the requester.
ISO copyright office
CP 401 • Ch. de Blandonnet 8
CH-1214 Vernier, Geneva
Phone: +41 22 749 01 11
Fax: +41 22 749 09 47
Email: copyright@iso.org
Website: www.iso.org
Published in Switzerland
ii © ISO 2019 – All rights reserved
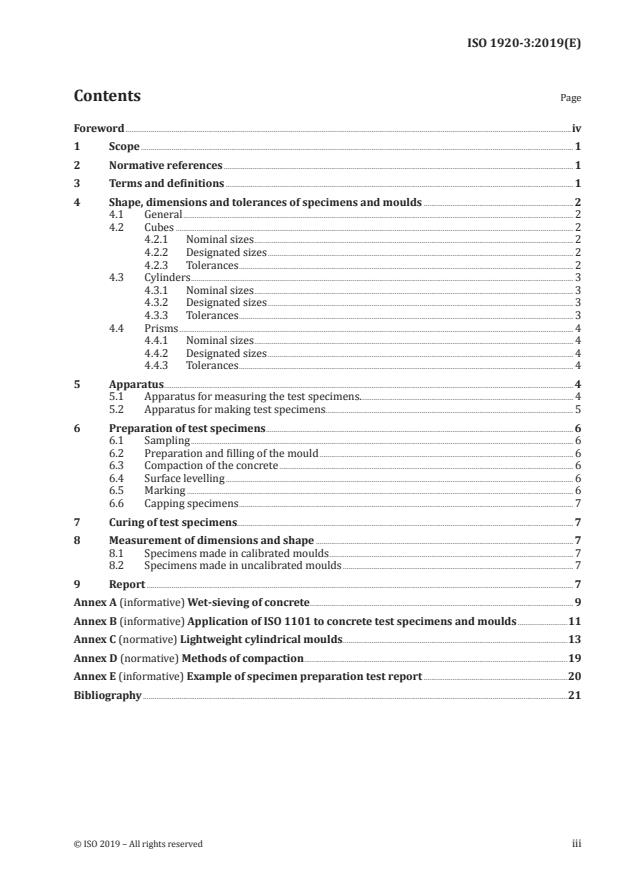
Contents Page
Foreword .iv
1 Scope . 1
2 Normative references . 1
3 Terms and definitions . 1
4 Shape, dimensions and tolerances of specimens and moulds . 2
4.1 General . 2
4.2 Cubes . 2
4.2.1 Nominal sizes . 2
4.2.2 Designated sizes . 2
4.2.3 Tolerances . 2
4.3 Cylinders . 3
4.3.1 Nominal sizes . 3
4.3.2 Designated sizes . 3
4.3.3 Tolerances . 3
4.4 Prisms . 4
4.4.1 Nominal sizes . 4
4.4.2 Designated sizes . 4
4.4.3 Tolerances . 4
5 Apparatus . 4
5.1 Apparatus for measuring the test specimens. . 4
5.2 Apparatus for making test specimens. 5
6 Preparation of test specimens . 6
6.1 Sampling . 6
6.2 Preparation and filling of the mould . 6
6.3 Compaction of the concrete . 6
6.4 Surface levelling . 6
6.5 Marking . 6
6.6 Capping specimens . 7
7 Curing of test specimens. 7
8 Measurement of dimensions and shape . 7
8.1 Specimens made in calibrated moulds . 7
8.2 Specimens made in uncalibrated moulds . 7
9 Report . 7
Annex A (informative) Wet-sieving of concrete . 9
Annex B (informative) Application of ISO 1101 to concrete test specimens and moulds .11
Annex C (normative) Lightweight cylindrical moulds .13
Annex D (normative) Methods of compaction .19
Annex E (informative) Example of specimen preparation test report .20
Bibliography .21
Foreword
ISO (the International Organization for Standardization) is a worldwide federation of national standards
bodies (ISO member bodies). The work of preparing International Standards is normally carried out
through ISO technical committees. Each member body interested in a subject for which a technical
committee has been established has the right to be represented on that committee. International
organizations, governmental and non-governmental, in liaison with ISO, also take part in the work.
ISO collaborates closely with the International Electrotechnical Commission (IEC) on all matters of
electrotechnical standardization.
The procedures used to develop this document and those intended for its further maintenance are
described in the ISO/IEC Directives, Part 1. In particular, the different approval criteria needed for the
different types of ISO documents should be noted. This document was drafted in accordance with the
editorial rules of the ISO/IEC Directives, Part 2 (see www .iso .org/ directives).
Attention is drawn to the possibility that some of the elements of this document may be the subject of
patent rights. ISO shall not be held responsible for identifying any or all such patent rights. Details of
any patent rights identified during the development of the document will be in the Introduction and/or
on the ISO list of patent declarations received (see www .iso .org/ patents).
Any trade name used in this document is information given for the convenience of users and does not
constitute an endorsement.
For an explanation of the voluntary nature of standards, the meaning of ISO specific terms and
expressions related to conformity assessment, as well as information about ISO's adherence to the
World Trade Organization (WTO) principles in the Technical Barriers to Trade (TBT) see www .iso .org/
iso/ foreword .html.
This document was prepared by Technical Committee ISO/TC 71, Concrete, reinforced concrete and
prestressed concrete, Subcommittee SC 1, Test methods for concrete.
Any feedback or questions on this document should be directed to the user’s national standards body. A
complete listing of these bodies can be found at www .iso .org/ members .html.
This second edition cancels and replaces the first edition (ISO 1920-3:2004), which has been technically
revised.
The main changes compared to the previous edition are as follows:
— tolerances of specimens and moulds have been redefined;
— the concept of preparation and filling has been is redrafted;
— preferred methods of compaction on the basis of slump value have been included and defined;
— the capping of cylindrical specimens for compressive strength has been included and defined;
— the curing of test specimens under hot climate has been defined.
A list of all parts in the ISO 1920 series can be found on the ISO website.
iv © ISO 2019 – All rights reserved
INTERNATIONAL STANDARD ISO 1920-3:2019(E)
Testing of concrete —
Part 3:
Making and curing test specimens
WARNING — Some concrete specimens can be too heavy for one person to carry and it is
necessary that appropriate means be arranged to carry them. The use of vibrating equipment,
such as vibration tables, can cause damage to joints and loss of sensation due to nerve damage.
It is necessary that moulds, density containers, etc., be clamped to the table and not held in
position using one's hands while they are being vibrated.
1 Scope
This document specifies the shape and dimensions of concrete test specimens for strength tests and
the methods of making and curing these test specimens.
2 Normative references
The following documents are referred to in the text in such a way that some or all of their content
constitutes requirements of this document. For dated references, only the edition cited applies. For
undated references, the latest edition of the referenced document (including any amendments) applies.
ISO 1920-1, Testing of concrete — Part 1: Sampling of fresh concrete
ISO 1101, Geometrical product specifications (GPS) — Geometrical tolerancing — Tolerances of form,
orientation, location and run-out
3 Terms and definitions
For the purpose of this document, the terms and definitions given in ISO 1101 and the following apply.
ISO and IEC maintain terminological databases for use in standardization at the following addresses:
— ISO Online browsing platform: available at https:// www .iso .org/ obp
— IEC Electropedia: available at http:// www .electropedia .org/
3.1
nominal size
range of commonly used specimen sizes among which a preferred size is specified in this
document
3.2
designated size
specimen size selected and declared by the user of this document from among the
permitted range of nominal sizes (3.1)
Note 1 to entry: The size of specimens is expressed in millimetres.
4 Shape, dimensions and tolerances of specimens and moulds
4.1 General
For each shape of test specimen, e.g. cube, cylinder, and prism, the basic dimensions, l or d (Figures 1,
2 and 3), should be chosen to be at least four times the maximum size of the aggregate in the concrete.
NOTE A procedure for wet screening as described in Annex A can be used when the maximum size of the
aggregate is larger than ¼ of the basic dimension, l or d.
4.2 Cubes
4.2.1 Nominal sizes
The nominal sizes are as shown in Figure 1, where l is 100 mm, 120 mm, 150 mm, 200 mm, 250 mm,
225 mm or 300 mm.
Figure 1 — Nominal sizes of a cube
The preferred sizes are 100 mm and 150 mm.
4.2.2 Designated sizes
The designated size shall be selected from one of the nominal sizes given in 4.2.1.
4.2.3 Tolerances
The following tolerances apply.
a) The tolerance on the designated size shall be ±0,5 %;
b) The tolerance on the flatness of the load-bearing surfaces shall be:
i) for new moulds: 0,03 mm;
ii) for moulds in use: 0,05 mm;
c) The load-bearing surfaces shall be parallel to a tolerance of not greater than 0,5 mm;
d) The tolerance on the perpendicularity of the sides of the cube with reference to the base shall be
±0,5
...


Questions, Comments and Discussion
Ask us and Technical Secretary will try to provide an answer. You can facilitate discussion about the standard in here.