ISO 17643:2005
(Main)Non-destructive testing of welds — Eddy current testing of welds by complex-plane analysis
Non-destructive testing of welds — Eddy current testing of welds by complex-plane analysis
ISO 17643:2005 defines eddy current testing techniques for detection of surface breaking and near surface planar discontinuities, mainly in ferritic materials (weld material, heat-affected zones, parent materials). Eddy current testing can also be specified for use with non-ferritic materials, for example in an application standard. The techniques can be applied to coated and uncoated objects during fabrication and in service, both onshore and offshore. Eddy current testing can be carried out on all accessible surfaces and on welds of almost any configuration.
Contrôle non destructif des assemblages soudés — Contrôle par courants de Foucault des assemblages soudés avec analyse des signaux dans le plan complexe
General Information
Relations
Standards Content (Sample)
INTERNATIONAL ISO
STANDARD 17643
First edition
2005-07-01
Non-destructive testing of welds —
Eddy current testing of welds by
complex-plane analysis
Contrôle non destructif des assemblages soudés — Contrôle par
courants de Foucault des assemblages soudés avec analyse des
signaux dans le plan complexe
Reference number
ISO 17643:2005(E)
©
ISO 2005
---------------------- Page: 1 ----------------------
ISO 17643:2005(E)
PDF disclaimer
This PDF file may contain embedded typefaces. In accordance with Adobe's licensing policy, this file may be printed or viewed but
shall not be edited unless the typefaces which are embedded are licensed to and installed on the computer performing the editing. In
downloading this file, parties accept therein the responsibility of not infringing Adobe's licensing policy. The ISO Central Secretariat
accepts no liability in this area.
Adobe is a trademark of Adobe Systems Incorporated.
Details of the software products used to create this PDF file can be found in the General Info relative to the file; the PDF-creation
parameters were optimized for printing. Every care has been taken to ensure that the file is suitable for use by ISO member bodies. In
the unlikely event that a problem relating to it is found, please inform the Central Secretariat at the address given below.
© ISO 2005
All rights reserved. Unless otherwise specified, no part of this publication may be reproduced or utilized in any form or by any means,
electronic or mechanical, including photocopying and microfilm, without permission in writing from either ISO at the address below or
ISO's member body in the country of the requester.
ISO copyright office
Case postale 56 • CH-1211 Geneva 20
Tel. + 41 22 749 01 11
Fax + 41 22 749 09 47
E-mail copyright@iso.org
Web www.iso.org
Published in Switzerland
ii © ISO 2005 – All rights reserved
---------------------- Page: 2 ----------------------
ISO 17643:2005(E)
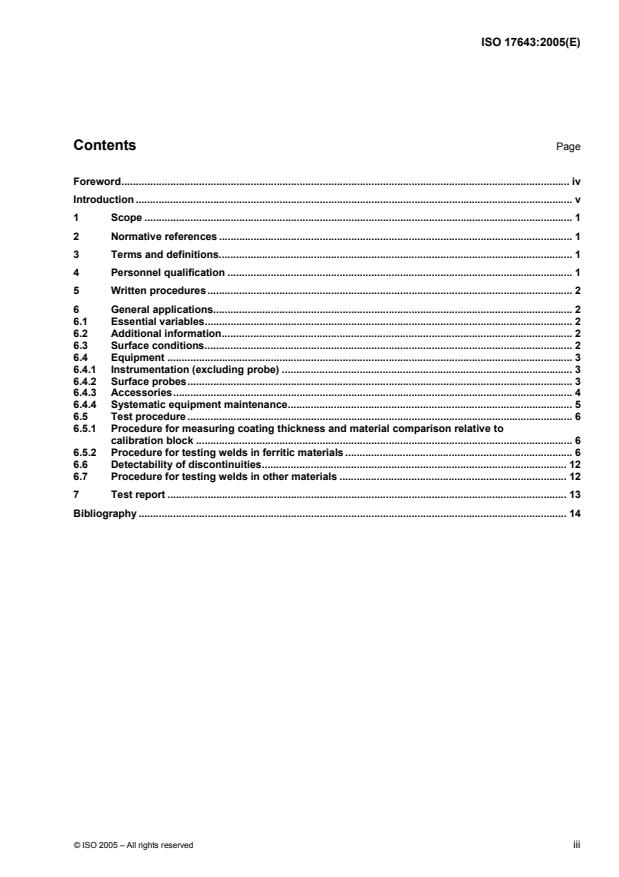
Contents Page
Foreword. iv
Introduction . v
1 Scope . 1
2 Normative references . 1
3 Terms and definitions. 1
4 Personnel qualification . 1
5 Written procedures. 2
6 General applications. 2
6.1 Essential variables. 2
6.2 Additional information. 2
6.3 Surface conditions. 2
6.4 Equipment . 3
6.4.1 Instrumentation (excluding probe) . 3
6.4.2 Surface probes. 3
6.4.3 Accessories. 4
6.4.4 Systematic equipment maintenance. 5
6.5 Test procedure . 6
6.5.1 Procedure for measuring coating thickness and material comparison relative to
calibration block . 6
6.5.2 Procedure for testing welds in ferritic materials .6
6.6 Detectability of discontinuities. 12
6.7 Procedure for testing welds in other materials . 12
7 Test report . 13
Bibliography . 14
© ISO 2005 – All rights reserved iii
---------------------- Page: 3 ----------------------
ISO 17643:2005(E)
Foreword
ISO (the International Organization for Standardization) is a worldwide federation of national standards bodies
(ISO member bodies). The work of preparing International Standards is normally carried out through ISO
technical committees. Each member body interested in a subject for which a technical committee has been
established has the right to be represented on that committee. International organizations, governmental and
non-governmental, in liaison with ISO, also take part in the work. ISO collaborates closely with the
International Electrotechnical Commission (IEC) on all matters of electrotechnical standardization.
International Standards are drafted in accordance with the rules given in the ISO/IEC Directives, Part 2.
The main task of technical committees is to prepare International Standards. Draft International Standards
adopted by the technical committees are circulated to the member bodies for voting. Publication as an
International Standard requires approval by at least 75 % of the member bodies casting a vote.
Attention is drawn to the possibility that some of the elements of this document may be the subject of patent
rights. ISO shall not be held responsible for identifying any or all such patent rights.
ISO 17643 was prepared by Technical Committee ISO/TC 44, Welding and allied processes, Subcommittee
SC 5, Testing and inspection of welds.
iv © ISO 2005 – All rights reserved
---------------------- Page: 4 ----------------------
ISO 17643:2005(E)
Introduction
Requests for official interpretations of any aspect of this International Standard should be directed to the
Secretariat of ISO/TC 44/SC 5 via your national standards body. A complete listing of these bodies can be
found at www.iso.org.
© ISO 2005 – All rights reserved v
---------------------- Page: 5 ----------------------
INTERNATIONAL STANDARD ISO 17643:2005(E)
Non-destructive testing of welds — Eddy current testing of
welds by complex-plane analysis
1 Scope
This International Standard defines eddy current testing techniques for detection of surface breaking and near
surface planar discontinuities, mainly in ferritic materials (weld material, heat-affected zones, parent materials).
Eddy current testing can also be specified for use with non-ferritic materials, for example in an application
standard.
The techniques can be applied to coated and uncoated objects during fabrication and in service, both onshore
and offshore.
Eddy current testing can be carried out on all accessible surfaces and on welds of almost any configuration.
Unless otherwise specified for specific points in this International Standard, the general principles of EN 12084
apply.
NOTE Eddy current testing is usually performed in the as-welded condition. However, the accuracy of the results can
be affected by very rough surface finishes.
2 Normative references
The following referenced documents are indispensable for the application of this document. For dated
references, only the edition cited applies. For undated references, the latest edition of the referenced
document (including any amendments) applies.
EN 1330-5, Non-destructive testing — Terminology — Part 5: Terms used in Eddy current testing
EN 12084, Non-destructive testing — Eddy current testing — General principles and guidelines
3 Terms and definitions
For the purposes of this document, the terms and definitions given in EN 1330-5 apply.
4 Personnel qualification
Non-destructive testing shall be performed by qualified and capable personnel. It is recommended that
personnel are qualified in accordance with ISO 9712 or an equivalent standard at an appropriate level in the
relevant industry sector.
© ISO 2005 – All rights reserved 1
---------------------- Page: 6 ----------------------
ISO 17643:2005(E)
5 Written procedures
If a written procedure is required, it should be prepared in accordance with EN 12084. Otherwise, the
procedures detailed in this International Standard shall be followed.
6 General applications
6.1 Essential variables
Prior to eddy current testing, the following essential items shall be specified in accordance with EN 12084:
certification of testing personnel;
testing plan;
testing equipment;
calibration of the equipment;
calibration blocks;
acceptance criteria;
recording of indications;
reporting format;
actions necessary for non-acceptable indications.
6.2 Additional information
Prior to eddy current testing, the following information should be specified. Further information may be
necessary for determination of the nature of the discontinuities and the composition or grade of the parent
material:
type of filler metal;
location and extent of welds to be tested;
weld surface geometry;
surface conditions;
coating type and thickness.
6.3 Surface conditions
Eddy current testing can be used to detect surface cracks through non-metallic coatings up to 2 mm thick. For
coating thicknesses greater than 2 mm, the sensitivity of the test method shall be demonstrated in advance
before eddy current testing is used.
NOTE 1 Eddy current testing is dependent on close contact between the probe and the test surface. For effective eddy
current testing of welds, it should be noted that local adverse weld form, excessive weld spatter, scale, rust and loose
paint can influence sensitivity by separating the probe from the test object and by inducing noisy responses.
NOTE 2 It should be noted that some types of conductive coating, such as thermally sprayed aluminium and lead, can
seriously influence the results as they can deposit electrically conductive metallic material in cracks open to the surface.
Cracks covered with such a metallic deposit are not always indicated by this method.
2 © ISO 2005 – All rights reserved
---------------------- Page: 7 ----------------------
ISO 17643:2005(E)
6.4 Equipment
6.4.1 Instrumentation (excluding probe)
6.4.1.1 General
The instrumentation used for eddy current testing in accordance with this International Standard shall be
capable of analysis and display in the complex plane of both phase and amplitude and have at least the
following features:
6.4.1.2 Frequency
The eddy current instrumentation shall be able to operate at a selected frequency within the range 1 kHz to
1 MHz.
6.4.1.3 Calibration of sensitivity levels
After balance and lift-off compensation and a further adjustment of the gain and phase controls, a 1 mm deep
artificial discontinuity in a calibration block (see 6.4.3.1) shall be indicated as a full screen deflection through a
coating thickness corresponding to the maximum expected on the structure to be examined.
A 0,5 mm deep artificial discontinuity in the same calibration block shall be indicated as a minimum of 50 % of
the signal obtained from the 1 mm deep artificial discontinuity indication through the same coating thickness.
Both requirements shall apply to the chosen probe and shall be verified on
...


Questions, Comments and Discussion
Ask us and Technical Secretary will try to provide an answer. You can facilitate discussion about the standard in here.