ISO 24013:2023
(Main)Optics and photonics — Lasers and laser-related equipment — Measurement of phase retardation of optical components for polarized laser radiation
Optics and photonics — Lasers and laser-related equipment — Measurement of phase retardation of optical components for polarized laser radiation
This document specifies test methods for the determination of the linear optical phase retardation of optical components by polarized laser beams.
Optique et photonique — Lasers et équipements associés aux lasers — Mesurage du retard de phase des composants optiques pour le rayonnement laser polarisé
Le présent document spécifie des méthodes d'essai pour la détermination du retard de phase optique linéaire de composants optiques par rapport aux faisceaux laser polarisés.
General Information
Relations
Standards Content (Sample)
INTERNATIONAL ISO
STANDARD 24013
Second edition
2023-06
Optics and photonics — Lasers
and laser-related equipment —
Measurement of phase retardation of
optical components for polarized laser
radiation
Optique et photonique — Lasers et équipements associés aux lasers
— Mesurage du retard de phase des composants optiques pour le
rayonnement laser polarisé
Reference number
© ISO 2023
All rights reserved. Unless otherwise specified, or required in the context of its implementation, no part of this publication may
be reproduced or utilized otherwise in any form or by any means, electronic or mechanical, including photocopying, or posting on
the internet or an intranet, without prior written permission. Permission can be requested from either ISO at the address below
or ISO’s member body in the country of the requester.
ISO copyright office
CP 401 • Ch. de Blandonnet 8
CH-1214 Vernier, Geneva
Phone: +41 22 749 01 11
Email: copyright@iso.org
Website: www.iso.org
Published in Switzerland
ii
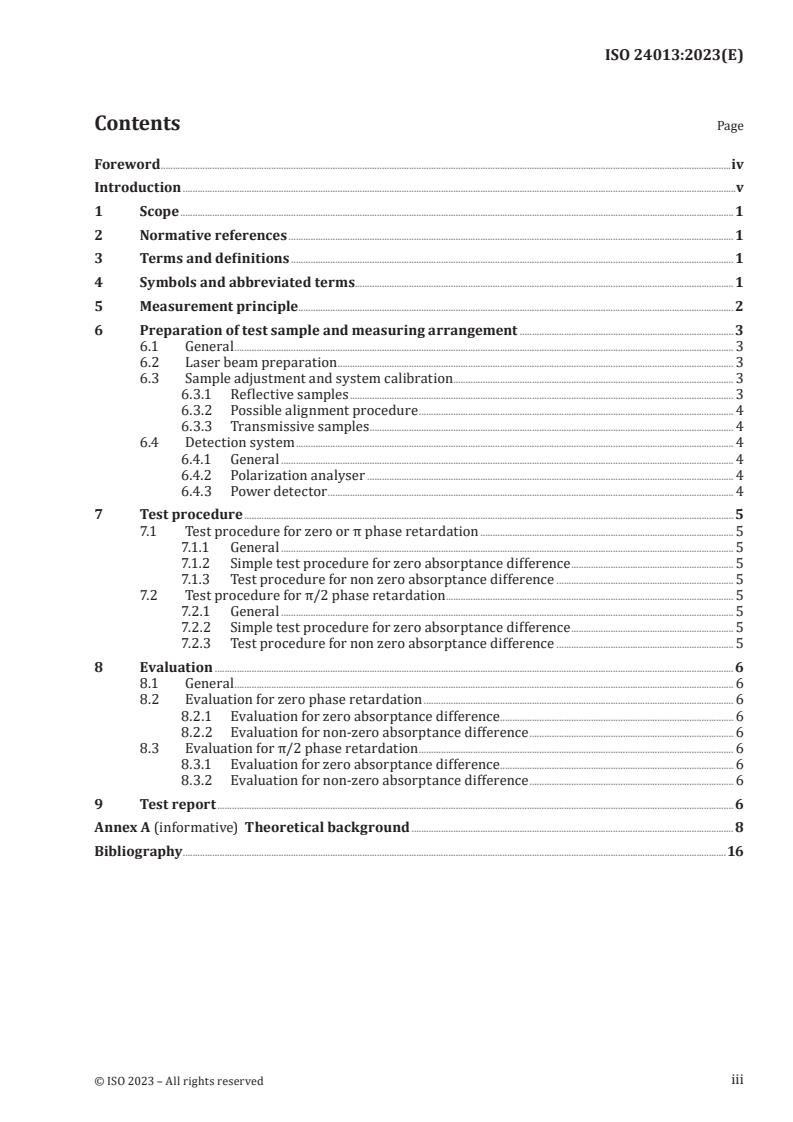
Contents Page
Foreword .iv
Introduction .v
1 Scope . 1
2 Normative references . 1
3 Terms and definitions . 1
4 Symbols and abbreviated terms.1
5 Measurement principle . 2
6 Preparation of test sample and measuring arrangement . 3
6.1 General . 3
6.2 Laser beam preparation . 3
6.3 Sample adjustment and system calibration . 3
6.3.1 Reflective samples . 3
6.3.2 Possible alignment procedure . 4
6.3.3 Transmissive samples . 4
6.4 Detection system . 4
6.4.1 General . 4
6.4.2 Polarization analyser . 4
6.4.3 Power detector . 4
7 Test procedure .5
7.1 Test procedure for zero or π phase retardation . 5
7.1.1 General . 5
7.1.2 Simple test procedure for zero absorptance difference . 5
7.1.3 Test procedure for non zero absorptance difference . 5
7.2 Test procedure for π/2 phase retardation . 5
7.2.1 General . 5
7.2.2 Simple test procedure for zero absorptance difference . 5
7.2.3 Test procedure for non zero absorptance difference . 5
8 Evaluation . 6
8.1 General . 6
8.2 Evaluation for zero phase retardation . 6
8.2.1 Evaluation for zero absorptance difference . 6
8.2.2 Evaluation for non-zero absorptance difference . 6
8.3 Evaluation for π/2 phase retardation . 6
8.3.1 Evaluation for zero absorptance difference . 6
8.3.2 Evaluation for non-zero absorptance difference . 6
9 Test report . 6
Annex A (informative) Theoretical background . 8
Bibliography .16
iii
Foreword
ISO (the International Organization for Standardization) is a worldwide federation of national standards
bodies (ISO member bodies). The work of preparing International Standards is normally carried out
through ISO technical committees. Each member body interested in a subject for which a technical
committee has been established has the right to be represented on that committee. International
organizations, governmental and non-governmental, in liaison with ISO, also take part in the work.
ISO collaborates closely with the International Electrotechnical Commission (IEC) on all matters of
electrotechnical standardization.
The procedures used to develop this document and those intended for its further maintenance are
described in the ISO/IEC Directives, Part 1. In particular, the different approval criteria needed for the
different types of ISO documents should be noted. This document was drafted in accordance with the
editorial rules of the ISO/IEC Directives, Part 2 (see www.iso.org/directives).
Attention is drawn to the possibility that some of the elements of this document may be the subject of
patent rights. ISO shall not be held responsible for identifying any or all such patent rights. Details of
any patent rights identified during the development of the document will be in the Introduction and/or
on the ISO list of patent declarations received (see www.iso.org/patents).
Any trade name used in this document is information given for the convenience of users and does not
constitute an endorsement.
For an explanation of the voluntary nature of standards, the meaning of ISO specific terms and
expressions related to conformity assessment, as well as information about ISO's adherence to
the World Trade Organization (WTO) principles in the Technical Barriers to Trade (TBT), see
www.iso.org/iso/foreword.html.
This document was prepared by Technical Committee ISO/TC 172, Optics and Photonics, Subcommittee
SC 9, Laser and electro-optical systems, in collaboration with the European Committee for Standardization
(CEN) Technical Committee CEN/TC 123, Lasers and photonics, in accordance with the agreement on
technical cooperation between ISO and CEN (Vienna Agreement).
This second edition cancels and replaces the first edition (ISO 24013:2006), which has been technically
revised.
The main changes are as follows:
— 6.3.3 was amended to add an additional step requiring that a transmitting optic be aligned so that
its optical axis is horizontal;
— Clauses 2 and 6.1 were amended to reflect that ISO 14644-1:1999 does not need the year;
— 6.3.1, (π/4 ± 2) mrad was changed to π/4 rad ± 2 mrad;
— 7.1 and 8.1 were updated to account for phase retardances close to π.
Any feedback or questions on this document should be directed to the user’s national standards body. A
complete listing of these bodies can be found at www.iso.org/members.html.
iv
Introduction
Normally it is desirable that the state of polarization be not influenced by the optical components used.
For the generation or maintenance of specific states of polarization the influence of optical components
on the beam polarization is crucial. For generating circularly polarized radiation from linearly polarized
radiation π/2 phase retarders are used.
This document describes methods to determine the relative phase retardation of optical components
with respect to the X- and Y-axes of the polarization and s- and p-polarization, respectively. This
document is necessary for optics manufacturers, suppliers and customers of such optics for the
determination of the influence of phase retardation of optical components.
v
INTERNATIONAL STANDARD ISO 24013:2023(E)
Optics and photonics — Lasers and laser-related
equipment — Measurement of phase retardation of optical
components for polarized laser radiation
1 Scope
This document specifies test methods for the determination of the linear optical phase retardation of
optical components by polarized laser beams.
2 Normative references
The following documents are referred to in the text in such a way that some or all of their content
constitutes requirements of this document. For dated references, only the edition cited applies. For
undated references, the latest edition of the referenced document (including any amendments) applies.
ISO 11145, Optics and photonics — Lasers and laser-related equipment — Vocabulary and symbols
ISO 12005, Lasers and laser-related equipment — Test methods for laser beam parameters — Polarization
3 Terms and definitions
For the purposes of this document, the terms and definitions given in ISO 11145 and ISO 12005 apply.
ISO and IEC maintain terminological databases for use in standardization at the following addresses:
— ISO Online browsing platform: available at https:// www .iso .org/ obp
— IEC Electropedia: available at https:// www .electropedia .org/
4 Symbols and abbreviated terms
Table 1 — Symbols used and units of measure
Symbol Term Unit
p degree of linear polarization 1
L
ϕ angle of analyser rad
a amplitude of electric field in X-direction V/m
a amplitude of electric field in Y-direction V/m
a, b principal axes of the polarization ellipse V/m
δ phase difference rad
Δδ phase retardation rad
E electric field vector amplitude V/m
P radiant power W
α absorptance in X-direction 1
X
α absorptance in Y-direction 1
Y
ψ angle of the principle axis of the polarization ellipse rad
5 Measurement principle
The optical component under test is irradiated by a laser beam with a defined state of polarization.
After passing the component the state of polarization of the beam is determined by using an analyser.
The phase retardation is then evaluated from the change of the state of polarization.
There are two cases to distinguish:
a) the expected phase retardation is near zero: in this case a circularly polarized beam shall be used
for the test;
b) the expected phase retardation is near π/2: in this case a linearly polarized beam shall be used for
the test.
Figure 1 shows the measuring set up.
a) Optical path for reflective samples
b) Optical path for transmissive samples
Key
1 radiation source
2 polarizer (linear or circular)
3 sample under test
4 analyser
5 detector
6 alignment laser
7 positional sensitive detector
Figure 1 — S
...


Questions, Comments and Discussion
Ask us and Technical Secretary will try to provide an answer. You can facilitate discussion about the standard in here.