ASTM D6110-08
(Test Method)Standard Test Method for Determining the Charpy Impact Resistance of Notched Specimens of Plastics
Standard Test Method for Determining the Charpy Impact Resistance of Notched Specimens of Plastics
SIGNIFICANCE AND USE
Before proceeding with this test method, refer to the material specification for the material being tested. Any test specimen preparation, conditioning, dimensions and testing parameters required by the materials specification shall take precedence over those required by this test method. Table 1 of Classification D 4000 lists the ASTM materials standards that currently exist. If there is no material specification, then the requirements of this test method apply.
The pendulum impact test indicates the energy to break standard test specimens of specified size under stipulated conditions of specimen mounting, notching (stress concentration), and pendulum velocity at impact.
For this test method, the energy lost by the pendulum during the breakage of the specimen is the sum of the energies required to initiate fracture of the specimen; to propagate the fracture across the specimen; to throw the free ends of the broken specimen (toss energy); to bend the specimen; to produce vibration in the pendulum arm; to produce vibration or horizontal movement of the machine frame or base; to overcome friction in the pendulum bearing and in the indicating mechanism, and to overcome windage (pendulum air drag); to indent or deform, plastically, the specimen at the line of impact; and to overcome the friction caused by the rubbing of the striking nose over the face of the bent specimen.
Note 5—The toss energy, or the energy used to throw the free ends of the broken specimen, is suspected to represent a very large fraction of the total energy absorbed when testing relatively dense and brittle materials. No procedure has been established for estimating the toss energy for the Charpy method.
For tough, ductile, fiber-filled, or cloth-laminated materials, the fracture propagation energy is usually large compared to the fracture initiation energy. When testing these materials, energy losses due to fracture propagation, vibration, friction between the striking nose and the specime...
SCOPE
1.1 This test method is used to determine the resistance of plastics to breakage by flexural shock as indicated by the energy extracted from standardized (see Note 1) pendulum-type hammers, mounted in standardized machines, in breaking standard specimens with one pendulum swing. This test method requires specimens to be made with a milled notch (see Note 2). The notch produces a stress concentration which promotes a brittle, rather than a ductile, fracture. The results of this test method are reported in terms of energy absorbed per unit of specimen width (see Note 3).
Note 1—The machines with pendulum-type hammers have been standardized in that they must comply with certain requirements including a fixed height of hammer fall, which results in a substantially fixed velocity of the hammer at the moment of impact. Hammers of different initial energies (produced by varying their effective weights), however, are recommended for use with specimens of different impact resistance. Moreover, manufacturers of the equipment are permitted to use different lengths and constructions of pendulums with possible differences in pendulum rigidities resulting (see Section 5). Be aware that other differences in machine design do exist.
Note 2—The specimens are standardized in that they have a fixed length and fixed depth, however, the width of the specimens is permitted to vary between limits. One design of milled notch is allowed. The notch in the specimen serves to concentrate the stress, minimize plastic deformation, and direct the fracture to the part of the specimen behind the notch. Scatter in energy-to-break is thus reduced. Because of differences in the elastic and viscoelastic properties of plastics, however, response to a given notch varies among materials.
Note 3—Caution must be exercised in interpreting the results of this test method. The following testing parameters have been shown to affect test results significant...
General Information
Relations
Buy Standard
Standards Content (Sample)
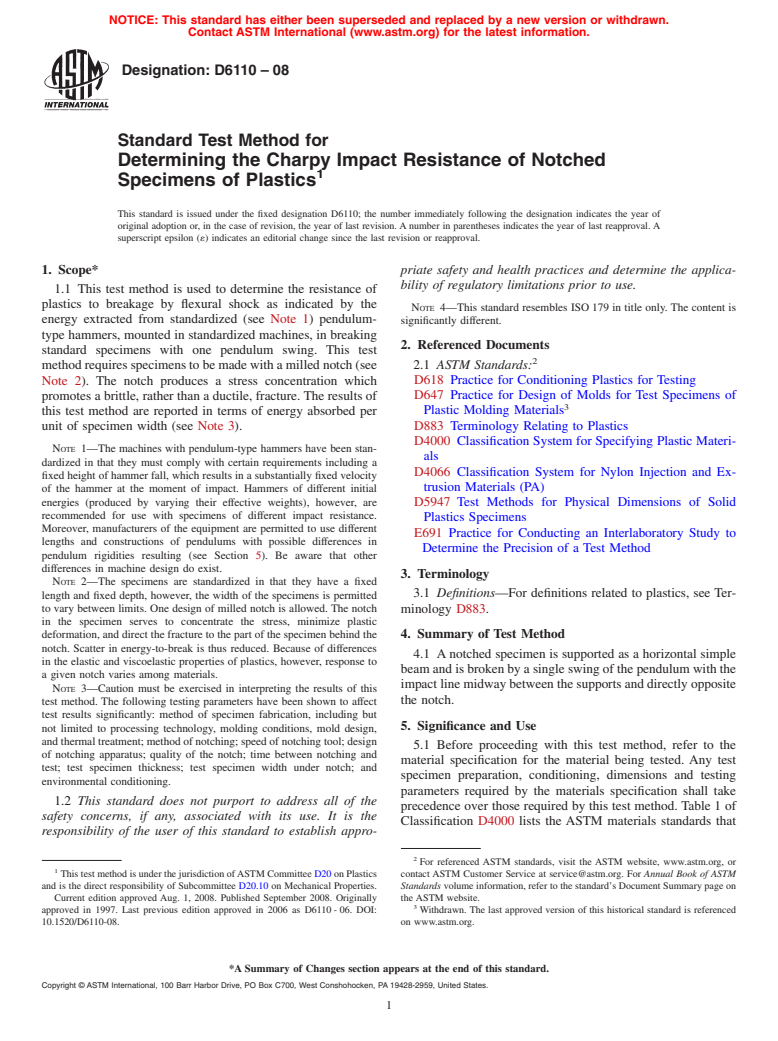
NOTICE: This standard has either been superseded and replaced by a new version or withdrawn.
Contact ASTM International (www.astm.org) for the latest information.
Designation:D6110–08
Standard Test Method for
Determining the Charpy Impact Resistance of Notched
1
Specimens of Plastics
This standard is issued under the fixed designation D6110; the number immediately following the designation indicates the year of
original adoption or, in the case of revision, the year of last revision. A number in parentheses indicates the year of last reapproval. A
superscript epsilon (´) indicates an editorial change since the last revision or reapproval.
1. Scope* priate safety and health practices and determine the applica-
bility of regulatory limitations prior to use.
1.1 This test method is used to determine the resistance of
plastics to breakage by flexural shock as indicated by the
NOTE 4—This standard resembles ISO 179 in title only. The content is
energy extracted from standardized (see Note 1) pendulum-
significantly different.
type hammers, mounted in standardized machines, in breaking
2. Referenced Documents
standard specimens with one pendulum swing. This test
2
2.1 ASTM Standards:
methodrequiresspecimenstobemadewithamillednotch(see
Note 2). The notch produces a stress concentration which D618 Practice for Conditioning Plastics for Testing
D647 Practice for Design of Molds for Test Specimens of
promotes a brittle, rather than a ductile, fracture. The results of
3
this test method are reported in terms of energy absorbed per Plastic Molding Materials
D883 Terminology Relating to Plastics
unit of specimen width (see Note 3).
D4000 Classification System for Specifying Plastic Materi-
NOTE 1—The machines with pendulum-type hammers have been stan-
als
dardized in that they must comply with certain requirements including a
D4066 Classification System for Nylon Injection and Ex-
fixed height of hammer fall, which results in a substantially fixed velocity
trusion Materials (PA)
of the hammer at the moment of impact. Hammers of different initial
energies (produced by varying their effective weights), however, are
D5947 Test Methods for Physical Dimensions of Solid
recommended for use with specimens of different impact resistance.
Plastics Specimens
Moreover, manufacturers of the equipment are permitted to use different
E691 Practice for Conducting an Interlaboratory Study to
lengths and constructions of pendulums with possible differences in
Determine the Precision of a Test Method
pendulum rigidities resulting (see Section 5). Be aware that other
differences in machine design do exist.
3. Terminology
NOTE 2—The specimens are standardized in that they have a fixed
3.1 Definitions—For definitions related to plastics, see Ter-
length and fixed depth, however, the width of the specimens is permitted
to vary between limits. One design of milled notch is allowed. The notch minology D883.
in the specimen serves to concentrate the stress, minimize plastic
deformation, and direct the fracture to the part of the specimen behind the 4. Summary of Test Method
notch. Scatter in energy-to-break is thus reduced. Because of differences
4.1 Anotched specimen is supported as a horizontal simple
in the elastic and viscoelastic properties of plastics, however, response to
beam and is broken by a single swing of the pendulum with the
a given notch varies among materials.
impact line midway between the supports and directly opposite
NOTE 3—Caution must be exercised in interpreting the results of this
the notch.
test method. The following testing parameters have been shown to affect
test results significantly: method of specimen fabrication, including but
5. Significance and Use
not limited to processing technology, molding conditions, mold design,
and thermal treatment; method of notching; speed of notching tool; design
5.1 Before proceeding with this test method, refer to the
of notching apparatus; quality of the notch; time between notching and
material specification for the material being tested. Any test
test; test specimen thickness; test specimen width under notch; and
specimen preparation, conditioning, dimensions and testing
environmental conditioning.
parameters required by the materials specification shall take
1.2 This standard does not purport to address all of the
precedence over those required by this test method. Table 1 of
safety concerns, if any, associated with its use. It is the
Classification D4000 lists the ASTM materials standards that
responsibility of the user of this standard to establish appro-
2
For referenced ASTM standards, visit the ASTM website, www.astm.org, or
1
This test method is under the jurisdiction ofASTM Committee D20 on Plastics contact ASTM Customer Service at service@astm.org. For Annual Book of ASTM
and is the direct responsibility of Subcommittee D20.10 on Mechanical Properties. Standards volume information, refer to the standard’s Document Summary page on
Current edition approved Aug. 1, 2008. Published Septem
...
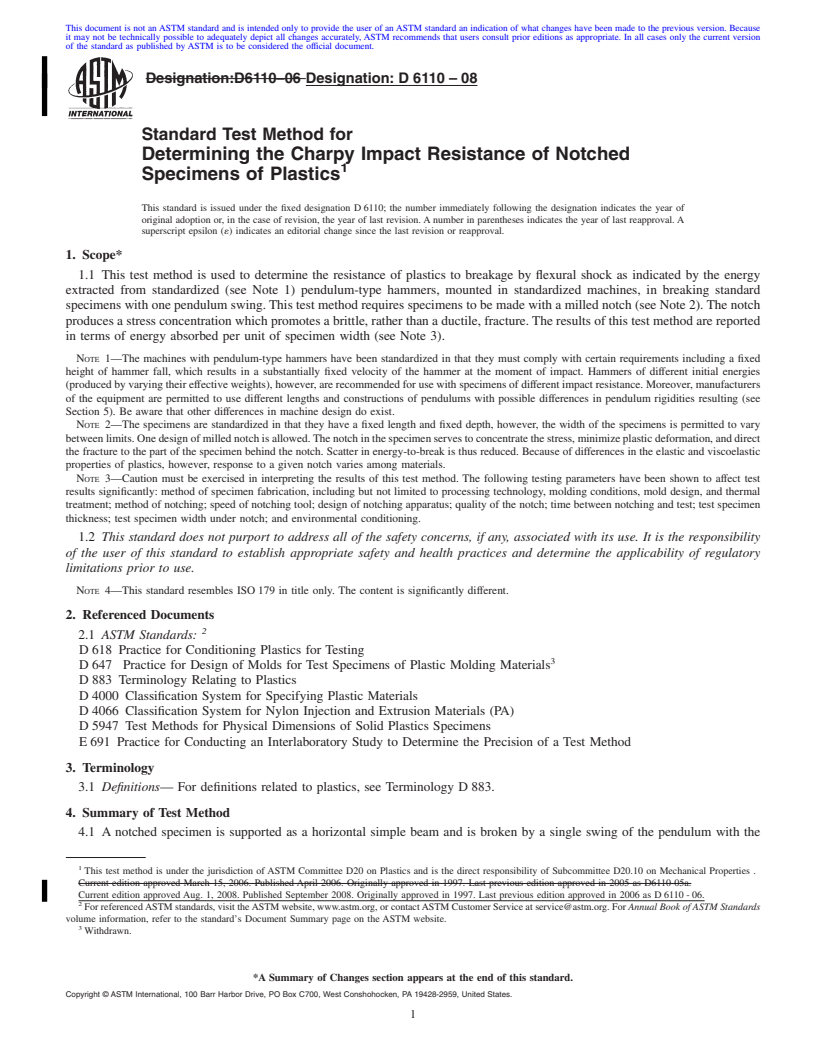
This document is not an ASTM standard and is intended only to provide the user of an ASTM standard an indication of what changes have been made to the previous version. Because
it may not be technically possible to adequately depict all changes accurately, ASTM recommends that users consult prior editions as appropriate. In all cases only the current version
of the standard as published by ASTM is to be considered the official document.
Designation:D6110–06 Designation:D6110–08
Standard Test Method for
Determining the Charpy Impact Resistance of Notched
1
Specimens of Plastics
This standard is issued under the fixed designation D 6110; the number immediately following the designation indicates the year of
original adoption or, in the case of revision, the year of last revision. A number in parentheses indicates the year of last reapproval. A
superscript epsilon (´) indicates an editorial change since the last revision or reapproval.
1. Scope*
1.1 This test method is used to determine the resistance of plastics to breakage by flexural shock as indicated by the energy
extracted from standardized (see Note 1) pendulum-type hammers, mounted in standardized machines, in breaking standard
specimens with one pendulum swing. This test method requires specimens to be made with a milled notch (see Note 2). The notch
produces a stress concentration which promotes a brittle, rather than a ductile, fracture.The results of this test method are reported
in terms of energy absorbed per unit of specimen width (see Note 3).
NOTE 1—The machines with pendulum-type hammers have been standardized in that they must comply with certain requirements including a fixed
height of hammer fall, which results in a substantially fixed velocity of the hammer at the moment of impact. Hammers of different initial energies
(produced by varying their effective weights), however, are recommended for use with specimens of different impact resistance. Moreover, manufacturers
of the equipment are permitted to use different lengths and constructions of pendulums with possible differences in pendulum rigidities resulting (see
Section 5). Be aware that other differences in machine design do exist.
NOTE 2—The specimens are standardized in that they have a fixed length and fixed depth, however, the width of the specimens is permitted to vary
betweenlimits.Onedesignofmillednotchisallowed.Thenotchinthespecimenservestoconcentratethestress,minimizeplasticdeformation,anddirect
the fracture to the part of the specimen behind the notch. Scatter in energy-to-break is thus reduced. Because of differences in the elastic and viscoelastic
properties of plastics, however, response to a given notch varies among materials.
NOTE 3—Caution must be exercised in interpreting the results of this test method. The following testing parameters have been shown to affect test
results significantly: method of specimen fabrication, including but not limited to processing technology, molding conditions, mold design, and thermal
treatment; method of notching; speed of notching tool; design of notching apparatus; quality of the notch; time between notching and test; test specimen
thickness; test specimen width under notch; and environmental conditioning.
1.2 This standard does not purport to address all of the safety concerns, if any, associated with its use. It is the responsibility
of the user of this standard to establish appropriate safety and health practices and determine the applicability of regulatory
limitations prior to use.
NOTE 4—This standard resembles ISO 179 in title only. The content is significantly different.
2. Referenced Documents
2
2.1 ASTM Standards:
D 618 Practice for Conditioning Plastics for Testing
3
D 647 Practice for Design of Molds for Test Specimens of Plastic Molding Materials
D 883 Terminology Relating to Plastics
D 4000 Classification System for Specifying Plastic Materials
D 4066 Classification System for Nylon Injection and Extrusion Materials (PA)
D 5947 Test Methods for Physical Dimensions of Solid Plastics Specimens
E 691 Practice for Conducting an Interlaboratory Study to Determine the Precision of a Test Method
3. Terminology
3.1 Definitions— For definitions related to plastics, see Terminology D 883.
4. Summary of Test Method
4.1 A notched specimen is supported as a horizontal simple beam and is broken by a single swing of the pendulum with the
1
This test method is under the jurisdiction of ASTM Committee D20 on Plastics and is the direct responsibility of Subcommittee D20.10 on Mechanical Properties .
Current edition approved March 15, 2006. Published April 2006. Originally approved in 1997. Last previous edition approved in 2005 as D6110-05a.
Current edition approved Aug. 1, 2008. Published September 2008. Originally approved in 1997. Last previous edition approved in 2006 as D 6110 - 06.
2
For referencedASTM standards, visit theASTM website, www.astm.org, or contactASTM Customer Service at service@astm.org. For Annual Book of ASTM Standards
volume
...


Questions, Comments and Discussion
Ask us and Technical Secretary will try to provide an answer. You can facilitate discussion about the standard in here.