ASTM B651-83(2019)
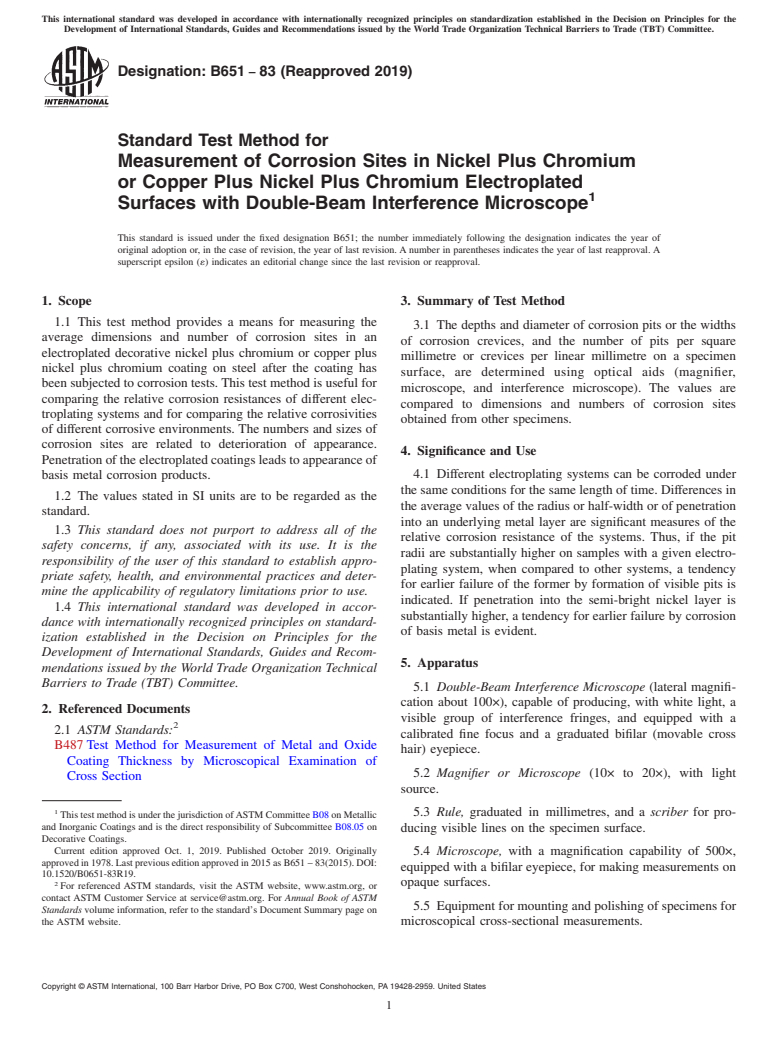
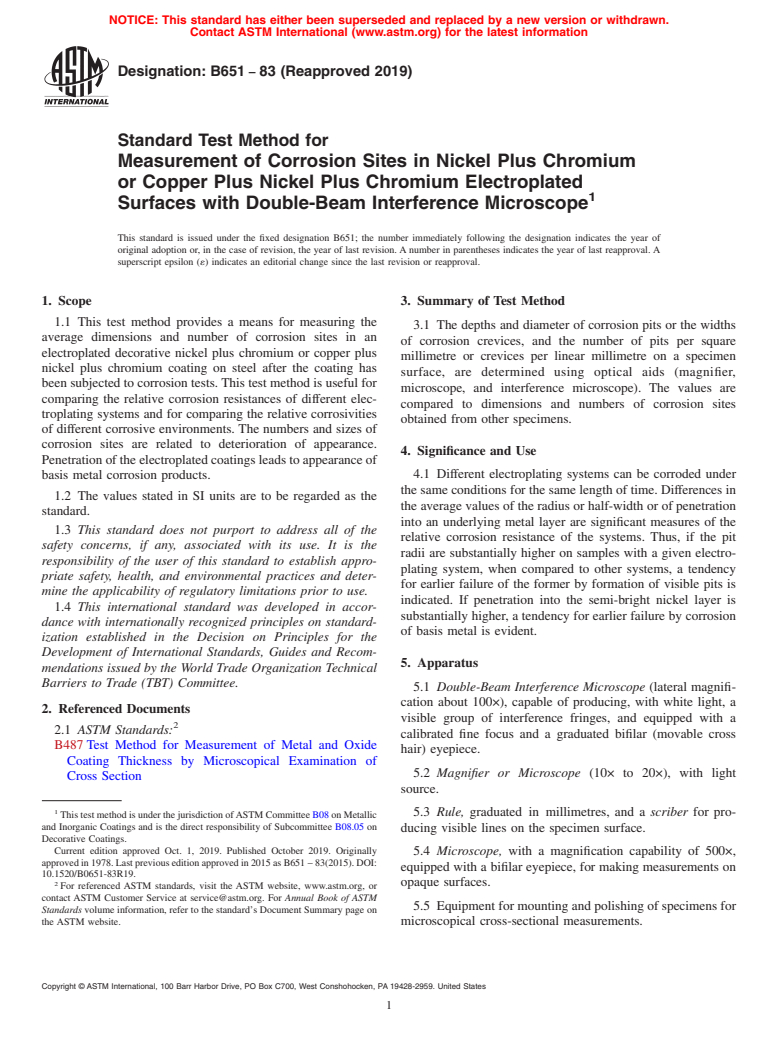
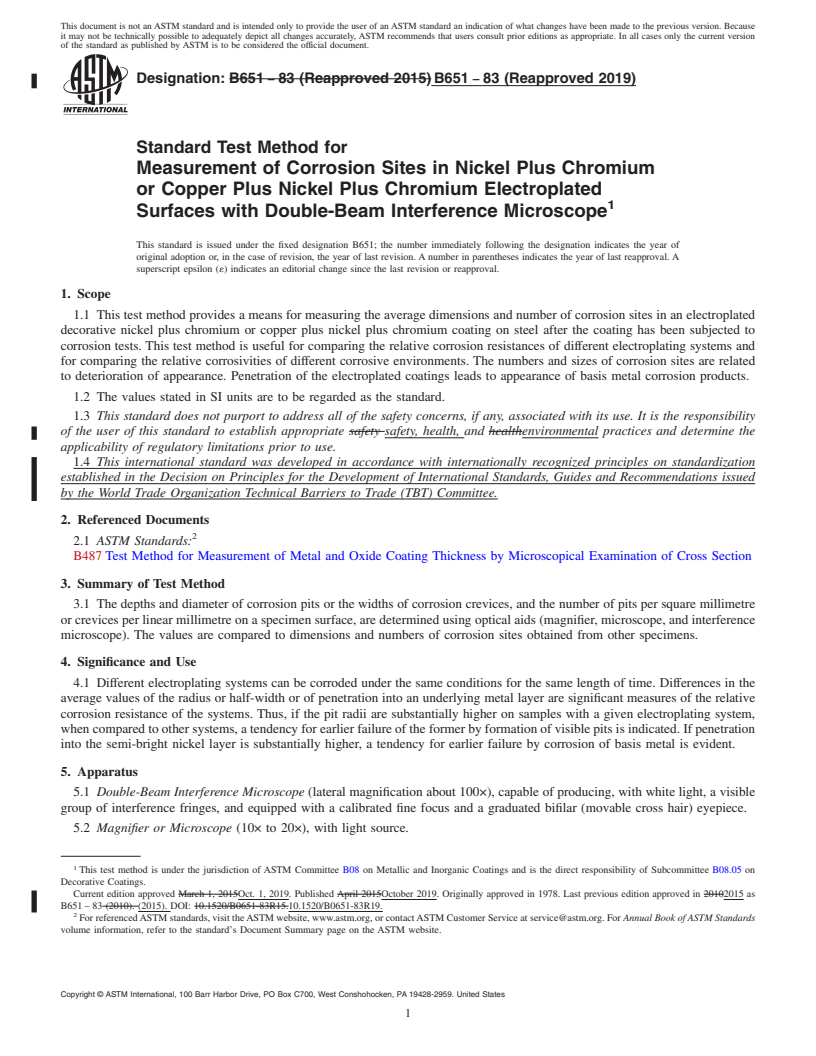
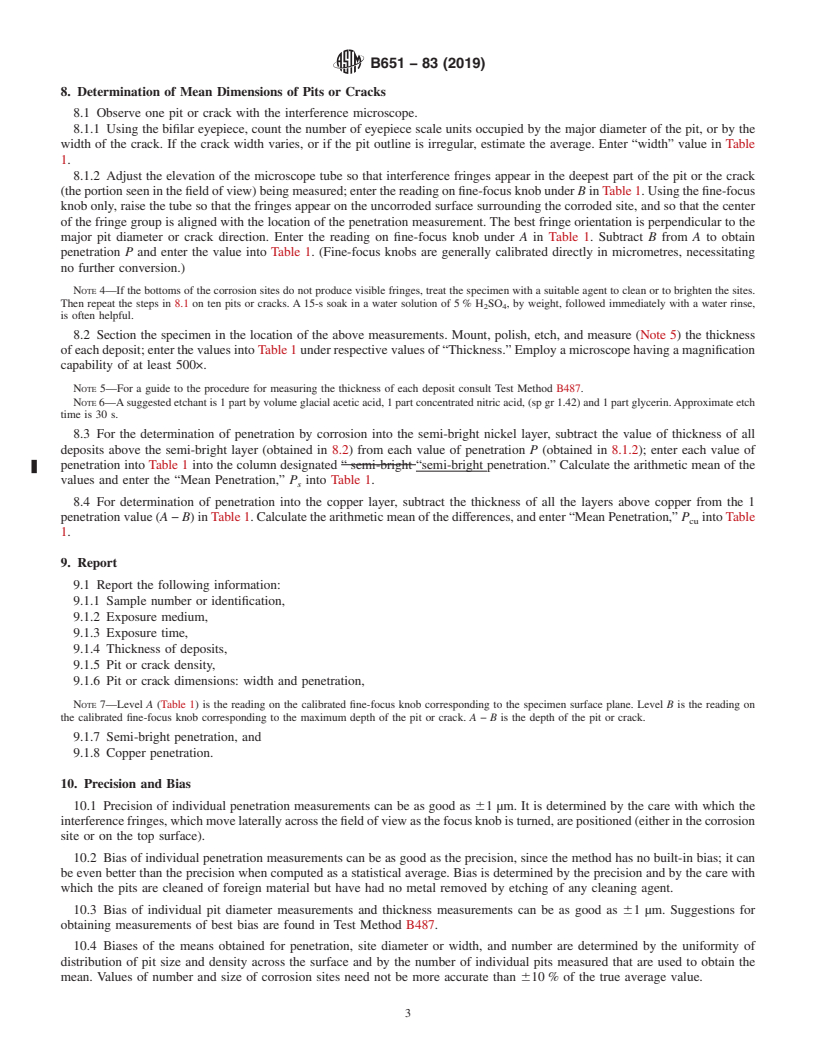
(Test Method)Standard Test Method for Measurement of Corrosion Sites in Nickel Plus Chromium or Copper Plus Nickel Plus Chromium Electroplated Surfaces with Double-Beam Interference Microscope
Standard Test Method for Measurement of Corrosion Sites in Nickel Plus Chromium or Copper Plus Nickel Plus Chromium Electroplated Surfaces with Double-Beam Interference Microscope
SIGNIFICANCE AND USE
4.1 Different electroplating systems can be corroded under the same conditions for the same length of time. Differences in the average values of the radius or half-width or of penetration into an underlying metal layer are significant measures of the relative corrosion resistance of the systems. Thus, if the pit radii are substantially higher on samples with a given electroplating system, when compared to other systems, a tendency for earlier failure of the former by formation of visible pits is indicated. If penetration into the semi-bright nickel layer is substantially higher, a tendency for earlier failure by corrosion of basis metal is evident.
SCOPE
1.1 This test method provides a means for measuring the average dimensions and number of corrosion sites in an electroplated decorative nickel plus chromium or copper plus nickel plus chromium coating on steel after the coating has been subjected to corrosion tests. This test method is useful for comparing the relative corrosion resistances of different electroplating systems and for comparing the relative corrosivities of different corrosive environments. The numbers and sizes of corrosion sites are related to deterioration of appearance. Penetration of the electroplated coatings leads to appearance of basis metal corrosion products.
1.2 The values stated in SI units are to be regarded as the standard.
1.3 This standard does not purport to address all of the safety concerns, if any, associated with its use. It is the responsibility of the user of this standard to establish appropriate safety, health, and environmental practices and determine the applicability of regulatory limitations prior to use.
1.4 This international standard was developed in accordance with internationally recognized principles on standardization established in the Decision on Principles for the Development of International Standards, Guides and Recommendations issued by the World Trade Organization Technical Barriers to Trade (TBT) Committee.
General Information
Relations
Buy Standard
Standards Content (Sample)
This international standard was developed in accordance with internationally recognized principles on standardization established in the Decision on Principles for the
Development of International Standards, Guides and Recommendations issued by the World Trade Organization Technical Barriers to Trade (TBT) Committee.
Designation: B651 − 83 (Reapproved 2019)
Standard Test Method for
Measurement of Corrosion Sites in Nickel Plus Chromium
or Copper Plus Nickel Plus Chromium Electroplated
Surfaces with Double-Beam Interference Microscope
This standard is issued under the fixed designation B651; the number immediately following the designation indicates the year of
original adoption or, in the case of revision, the year of last revision.Anumber in parentheses indicates the year of last reapproval.A
superscript epsilon (´) indicates an editorial change since the last revision or reapproval.
1. Scope 3. Summary of Test Method
1.1 This test method provides a means for measuring the
3.1 The depths and diameter of corrosion pits or the widths
average dimensions and number of corrosion sites in an
of corrosion crevices, and the number of pits per square
electroplated decorative nickel plus chromium or copper plus
millimetre or crevices per linear millimetre on a specimen
nickel plus chromium coating on steel after the coating has
surface, are determined using optical aids (magnifier,
beensubjectedtocorrosiontests.Thistestmethodisusefulfor
microscope, and interference microscope). The values are
comparing the relative corrosion resistances of different elec-
compared to dimensions and numbers of corrosion sites
troplating systems and for comparing the relative corrosivities
obtained from other specimens.
of different corrosive environments. The numbers and sizes of
corrosion sites are related to deterioration of appearance.
4. Significance and Use
Penetrationoftheelectroplatedcoatingsleadstoappearanceof
basis metal corrosion products. 4.1 Different electroplating systems can be corroded under
thesameconditionsforthesamelengthoftime.Differencesin
1.2 The values stated in SI units are to be regarded as the
the average values of the radius or half-width or of penetration
standard.
into an underlying metal layer are significant measures of the
1.3 This standard does not purport to address all of the
relative corrosion resistance of the systems. Thus, if the pit
safety concerns, if any, associated with its use. It is the
radii are substantially higher on samples with a given electro-
responsibility of the user of this standard to establish appro-
plating system, when compared to other systems, a tendency
priate safety, health, and environmental practices and deter-
for earlier failure of the former by formation of visible pits is
mine the applicability of regulatory limitations prior to use.
indicated. If penetration into the semi-bright nickel layer is
1.4 This international standard was developed in accor-
substantially higher, a tendency for earlier failure by corrosion
dance with internationally recognized principles on standard-
of basis metal is evident.
ization established in the Decision on Principles for the
Development of International Standards, Guides and Recom-
5. Apparatus
mendations issued by the World Trade Organization Technical
Barriers to Trade (TBT) Committee.
5.1 Double-Beam Interference Microscope (lateral magnifi-
cation about 100×), capable of producing, with white light, a
2. Referenced Documents
visible group of interference fringes, and equipped with a
2.1 ASTM Standards:
calibrated fine focus and a graduated bifilar (movable cross
B487Test Method for Measurement of Metal and Oxide
hair) eyepiece.
Coating Thickness by Microscopical Examination of
5.2 Magnifier or Microscope (10× to 20×), with light
Cross Section
source.
5.3 Rule, graduated in millimetres, and a scriber for pro-
ThistestmethodisunderthejurisdictionofASTMCommitteeB08onMetallic
and Inorganic Coatings and is the direct responsibility of Subcommittee B08.05 on
ducing visible lines on the specimen surface.
Decorative Coatings.
Current edition approved Oct. 1, 2019. Published October 2019. Originally
5.4 Microscope, with a magnification capability of 500×,
approvedin1978.Lastpreviouseditionapprovedin2015asB651–83(2015).DOI:
equipped with a bifilar eyepiece, for making measurements on
10.1520/B0651-83R19.
2 opaque surfaces.
For referenced ASTM standards, visit the ASTM website, www.astm.org, or
contact ASTM Customer Service at service@astm.org. For Annual Book of ASTM
5.5 Equipmentformountingandpolishingofspecimensfor
Standards volume information, refer to the standard’s Document Summary page on
the ASTM website. microscopical cross-sectional measurements.
Copyright © ASTM International, 100 Barr Harbor Drive, PO Box C700, West Conshohocken, PA 19428-2959. United States
B651 − 83 (2019)
6. Specimen Preparation 7.1.2 For surfaces where the number of pits is less than
about 1000/cm , lightly scribe lines 10 mm or less apart to
6.1 Clean the corroded specimen surface with an agent or
formarectilineargridonthesurface.Countthenumberofpits
agents that remove soil and corrosion products, but do not
within a scribed area, by using the magnifier, or the 100×
significantlychangethesurfaceofthecorrosionsites.Scouring
microscope, whichever has the necessary resolution to assure
powder may be used to remove insoluble corrosion products,
pit identification. Determine the area that contains about 100
organic solvent to remove road tar, water accompanied by
pits, or, if the area exceeds 25 cm , count the number of pits in
gentleabrasionwithaclothtoremovelightlyadherentsoil,etc.
a25cm area.
6.2 Mask with paint or tape that portion of the specimen
7.1.3 For surfaces with more than about five cracks per
surface on which no measurements of pits or cracks will be
millimetre, count the number of cracks on the surface image
made. Alternatively, a gasketed cell pressed onto the surface
that cross a 100× microscope reticle line of known length.
may be used. The opening in the gasket will define the area to
7.1.4 For a surface with fewer than about five cracks per
be stripped.
millimetre, lightly scribe a straight line up to 50 mm long on
the specimen surface. Using a magnifier or, if necessary, a
NOTE 1—If pitted, the area selected for measurement should contain at
least 100 pits or be as large as 50 by 50 mm. If the area contains cracks,
100× microscope, count the number of cracks in a known
the location for measurement should contain at least 100 cracks, or be at
length of line, or all the cracks in 50 mm length, whichever
least 50 mm long.
comes first.
6.3 Strip the chromium anodically at 6 to 8 V in a solution
NOTE3—Ifthecrackstendtobeoriented,scribethelineapproximately
containing about 50 g/L of sodium carbonate (Na CO ).
2 3
perpendicular to the predominant crack direction.
6.4 Remove masking material, if desired.
7.2 Calculate the number of pits as pits per square
millimetre, or the number of cracks as cracks per millimetre.
NOTE 2—If tape was employed for masking, its removal is recom-
mended. When the specimen rests on tape, it will allow the specimen to Enter result in Table 1 under “pit density” or “crack density.”
settle slowly. This gradual movement interferes with measurements of
8. Determination of Mean Dimensions of Pits or Cracks
penetration with the interference microscope.
8.1 Observe one pi
...
NOTICE: This standard has either been superseded and replaced by a new version or withdrawn.
Contact ASTM International (www.astm.org) for the latest information
Designation: B651 − 83 (Reapproved 2019)
Standard Test Method for
Measurement of Corrosion Sites in Nickel Plus Chromium
or Copper Plus Nickel Plus Chromium Electroplated
Surfaces with Double-Beam Interference Microscope
This standard is issued under the fixed designation B651; the number immediately following the designation indicates the year of
original adoption or, in the case of revision, the year of last revision. A number in parentheses indicates the year of last reapproval. A
superscript epsilon (´) indicates an editorial change since the last revision or reapproval.
1. Scope 3. Summary of Test Method
1.1 This test method provides a means for measuring the
3.1 The depths and diameter of corrosion pits or the widths
average dimensions and number of corrosion sites in an
of corrosion crevices, and the number of pits per square
electroplated decorative nickel plus chromium or copper plus
millimetre or crevices per linear millimetre on a specimen
nickel plus chromium coating on steel after the coating has
surface, are determined using optical aids (magnifier,
been subjected to corrosion tests. This test method is useful for
microscope, and interference microscope). The values are
comparing the relative corrosion resistances of different elec-
compared to dimensions and numbers of corrosion sites
troplating systems and for comparing the relative corrosivities
obtained from other specimens.
of different corrosive environments. The numbers and sizes of
corrosion sites are related to deterioration of appearance.
4. Significance and Use
Penetration of the electroplated coatings leads to appearance of
4.1 Different electroplating systems can be corroded under
basis metal corrosion products.
the same conditions for the same length of time. Differences in
1.2 The values stated in SI units are to be regarded as the
the average values of the radius or half-width or of penetration
standard.
into an underlying metal layer are significant measures of the
1.3 This standard does not purport to address all of the
relative corrosion resistance of the systems. Thus, if the pit
safety concerns, if any, associated with its use. It is the
radii are substantially higher on samples with a given electro-
responsibility of the user of this standard to establish appro-
plating system, when compared to other systems, a tendency
priate safety, health, and environmental practices and deter-
for earlier failure of the former by formation of visible pits is
mine the applicability of regulatory limitations prior to use.
indicated. If penetration into the semi-bright nickel layer is
1.4 This international standard was developed in accor-
substantially higher, a tendency for earlier failure by corrosion
dance with internationally recognized principles on standard-
of basis metal is evident.
ization established in the Decision on Principles for the
Development of International Standards, Guides and Recom-
5. Apparatus
mendations issued by the World Trade Organization Technical
Barriers to Trade (TBT) Committee.
5.1 Double-Beam Interference Microscope (lateral magnifi-
cation about 100×), capable of producing, with white light, a
2. Referenced Documents
visible group of interference fringes, and equipped with a
2.1 ASTM Standards:
calibrated fine focus and a graduated bifilar (movable cross
B487 Test Method for Measurement of Metal and Oxide
hair) eyepiece.
Coating Thickness by Microscopical Examination of
5.2 Magnifier or Microscope (10× to 20×), with light
Cross Section
source.
5.3 Rule, graduated in millimetres, and a scriber for pro-
This test method is under the jurisdiction of ASTM Committee B08 on Metallic
and Inorganic Coatings and is the direct responsibility of Subcommittee B08.05 on
ducing visible lines on the specimen surface.
Decorative Coatings.
Current edition approved Oct. 1, 2019. Published October 2019. Originally
5.4 Microscope, with a magnification capability of 500×,
approved in 1978. Last previous edition approved in 2015 as B651 – 83(2015). DOI:
equipped with a bifilar eyepiece, for making measurements on
10.1520/B0651-83R19.
2 opaque surfaces.
For referenced ASTM standards, visit the ASTM website, www.astm.org, or
contact ASTM Customer Service at service@astm.org. For Annual Book of ASTM
5.5 Equipment for mounting and polishing of specimens for
Standards volume information, refer to the standard’s Document Summary page on
the ASTM website. microscopical cross-sectional measurements.
Copyright © ASTM International, 100 Barr Harbor Drive, PO Box C700, West Conshohocken, PA 19428-2959. United States
B651 − 83 (2019)
6. Specimen Preparation 7.1.2 For surfaces where the number of pits is less than
about 1000/cm , lightly scribe lines 10 mm or less apart to
6.1 Clean the corroded specimen surface with an agent or
form a rectilinear grid on the surface. Count the number of pits
agents that remove soil and corrosion products, but do not
within a scribed area, by using the magnifier, or the 100×
significantly change the surface of the corrosion sites. Scouring
microscope, whichever has the necessary resolution to assure
powder may be used to remove insoluble corrosion products,
pit identification. Determine the area that contains about 100
organic solvent to remove road tar, water accompanied by
pits, or, if the area exceeds 25 cm , count the number of pits in
gentle abrasion with a cloth to remove lightly adherent soil, etc.
a 25 cm area.
6.2 Mask with paint or tape that portion of the specimen
7.1.3 For surfaces with more than about five cracks per
surface on which no measurements of pits or cracks will be
millimetre, count the number of cracks on the surface image
made. Alternatively, a gasketed cell pressed onto the surface
that cross a 100× microscope reticle line of known length.
may be used. The opening in the gasket will define the area to
7.1.4 For a surface with fewer than about five cracks per
be stripped.
millimetre, lightly scribe a straight line up to 50 mm long on
the specimen surface. Using a magnifier or, if necessary, a
NOTE 1—If pitted, the area selected for measurement should contain at
least 100 pits or be as large as 50 by 50 mm. If the area contains cracks, 100× microscope, count the number of cracks in a known
the location for measurement should contain at least 100 cracks, or be at
length of line, or all the cracks in 50 mm length, whichever
least 50 mm long.
comes first.
6.3 Strip the chromium anodically at 6 to 8 V in a solution
NOTE 3—If the cracks tend to be oriented, scribe the line approximately
containing about 50 g/L of sodium carbonate (Na CO ).
2 3
perpendicular to the predominant crack direction.
6.4 Remove masking material, if desired.
7.2 Calculate the number of pits as pits per square
millimetre, or the number of cracks as cracks per millimetre.
NOTE 2—If tape was employed for masking, its removal is recom-
mended. When the specimen rests on tape, it will allow the specimen to
Enter result in Table 1 under “pit density” or “crack density.”
settle slowly. This gradual movement interferes with measurements of
penetration with the interference microscope. 8. Determination of Mean Dimensions of Pits or Cracks
8.1 Observe one pit or crack with the interference micro-
7. Procedure for Determination of Average Number of
...
This document is not an ASTM standard and is intended only to provide the user of an ASTM standard an indication of what changes have been made to the previous version. Because
it may not be technically possible to adequately depict all changes accurately, ASTM recommends that users consult prior editions as appropriate. In all cases only the current version
of the standard as published by ASTM is to be considered the official document.
Designation: B651 − 83 (Reapproved 2015) B651 − 83 (Reapproved 2019)
Standard Test Method for
Measurement of Corrosion Sites in Nickel Plus Chromium
or Copper Plus Nickel Plus Chromium Electroplated
Surfaces with Double-Beam Interference Microscope
This standard is issued under the fixed designation B651; the number immediately following the designation indicates the year of
original adoption or, in the case of revision, the year of last revision. A number in parentheses indicates the year of last reapproval. A
superscript epsilon (´) indicates an editorial change since the last revision or reapproval.
1. Scope
1.1 This test method provides a means for measuring the average dimensions and number of corrosion sites in an electroplated
decorative nickel plus chromium or copper plus nickel plus chromium coating on steel after the coating has been subjected to
corrosion tests. This test method is useful for comparing the relative corrosion resistances of different electroplating systems and
for comparing the relative corrosivities of different corrosive environments. The numbers and sizes of corrosion sites are related
to deterioration of appearance. Penetration of the electroplated coatings leads to appearance of basis metal corrosion products.
1.2 The values stated in SI units are to be regarded as the standard.
1.3 This standard does not purport to address all of the safety concerns, if any, associated with its use. It is the responsibility
of the user of this standard to establish appropriate safety safety, health, and healthenvironmental practices and determine the
applicability of regulatory limitations prior to use.
1.4 This international standard was developed in accordance with internationally recognized principles on standardization
established in the Decision on Principles for the Development of International Standards, Guides and Recommendations issued
by the World Trade Organization Technical Barriers to Trade (TBT) Committee.
2. Referenced Documents
2.1 ASTM Standards:
B487 Test Method for Measurement of Metal and Oxide Coating Thickness by Microscopical Examination of Cross Section
3. Summary of Test Method
3.1 The depths and diameter of corrosion pits or the widths of corrosion crevices, and the number of pits per square millimetre
or crevices per linear millimetre on a specimen surface, are determined using optical aids (magnifier, microscope, and interference
microscope). The values are compared to dimensions and numbers of corrosion sites obtained from other specimens.
4. Significance and Use
4.1 Different electroplating systems can be corroded under the same conditions for the same length of time. Differences in the
average values of the radius or half-width or of penetration into an underlying metal layer are significant measures of the relative
corrosion resistance of the systems. Thus, if the pit radii are substantially higher on samples with a given electroplating system,
when compared to other systems, a tendency for earlier failure of the former by formation of visible pits is indicated. If penetration
into the semi-bright nickel layer is substantially higher, a tendency for earlier failure by corrosion of basis metal is evident.
5. Apparatus
5.1 Double-Beam Interference Microscope (lateral magnification about 100×), capable of producing, with white light, a visible
group of interference fringes, and equipped with a calibrated fine focus and a graduated bifilar (movable cross hair) eyepiece.
5.2 Magnifier or Microscope (10× to 20×), with light source.
This test method is under the jurisdiction of ASTM Committee B08 on Metallic and Inorganic Coatings and is the direct responsibility of Subcommittee B08.05 on
Decorative Coatings.
Current edition approved March 1, 2015Oct. 1, 2019. Published April 2015October 2019. Originally approved in 1978. Last previous edition approved in 20102015 as
B651 – 83 (2010). (2015). DOI: 10.1520/B0651-83R15.10.1520/B0651-83R19.
For referenced ASTM standards, visit the ASTM website, www.astm.org, or contact ASTM Customer Service at service@astm.org. For Annual Book of ASTM Standards
volume information, refer to the standard’s Document Summary page on the ASTM website.
Copyright © ASTM International, 100 Barr Harbor Drive, PO Box C700, West Conshohocken, PA 19428-2959. United States
B651 − 83 (2019)
5.3 Rule, graduated in millimetres, and a scriber for producing visible lines on the specimen surface.
5.4 Microscope, with a magnification capability of 500×, equipped with a bifilar eyepiece, for making measurements on opaque
surfaces.
5.5 Equipment for mounting and polishing of specimens for microscopical cross-sectional measurements.
6. Specimen Preparation
6.1 Clean the corroded specimen surface with an agent or agents that remove soil and corrosion products, but do not
significantly change the surface of the corrosion sites. Scouring powder may be used to remove insoluble corrosion products,
organic solvent to remove road tar, water accompanied by gentle abrasion with a cloth to remove lightly adherent soil, etc.
6.2 Mask with paint or tape that portion of the specimen surface on which no measurements of pits or cracks will be made.
Alternatively, a gasketed cell pressed onto the surface may be used. The opening in the gasket will define the area to be stripped.
NOTE 1—If pitted, the area selected for measurement should contain at least 100 pits or be as large as 50 by 50 mm. If the area contains cracks, the
location for measurement should contain at least 100 cracks, or be at least 50 mm long.
6.3 Strip the chromium anodically at 6 to 8 V in a solution containing about 50 g/L of sodium carbonate (Na CO ).
2 3
6.4 Remove masking material, if desired.
NOTE 2—If tape was employed for masking, its removal is recommended. When the specimen rests on tape, it will allow the specimen to settle slowly.
This gradual movement interferes with measurements of penetration with the interference microscope.
7. Procedure for Determination of Average Number of Pits or Cracks
7.1 Using the 10× to 20× magnifier, count the number of pits in a known area or the number of cracks intersecting a line of
known length. Where uncertainty exists as to whether localized blemishes are corrosion sites when the magnifier is employed, use
the 100× microscope for verification. Extreme accuracy is not necessary; values within 610 % of the true value are adequate.
7.1.1 For surfaces where the number of pits is more than about 1000/cm , count the pits bounded by lines seen in the eyepiece
reticle of the 100× microscope enclosing a known area of specimen surface (probably about 0.5 mm ).
7.1.2 For surfaces where the number of pits is less than about 1000/cm , lightly scribe lines 10 mm or less apart to form a
rectilinear grid on the surface. Count the number of pits within a scribed area, by using the magnifier, or the 100× microscope,
whichever has the necessary resolution to assure pit identification. Determine the area that contains about 100 pits, or, if the area
2 2
exceeds 25 cm , count the number of pits in a 25 cm area.
7.1.3 For surfaces with more than about five cracks per millimetre, count the number of cracks on the surface image that cross
a 100× micros
...


Questions, Comments and Discussion
Ask us and Technical Secretary will try to provide an answer. You can facilitate discussion about the standard in here.