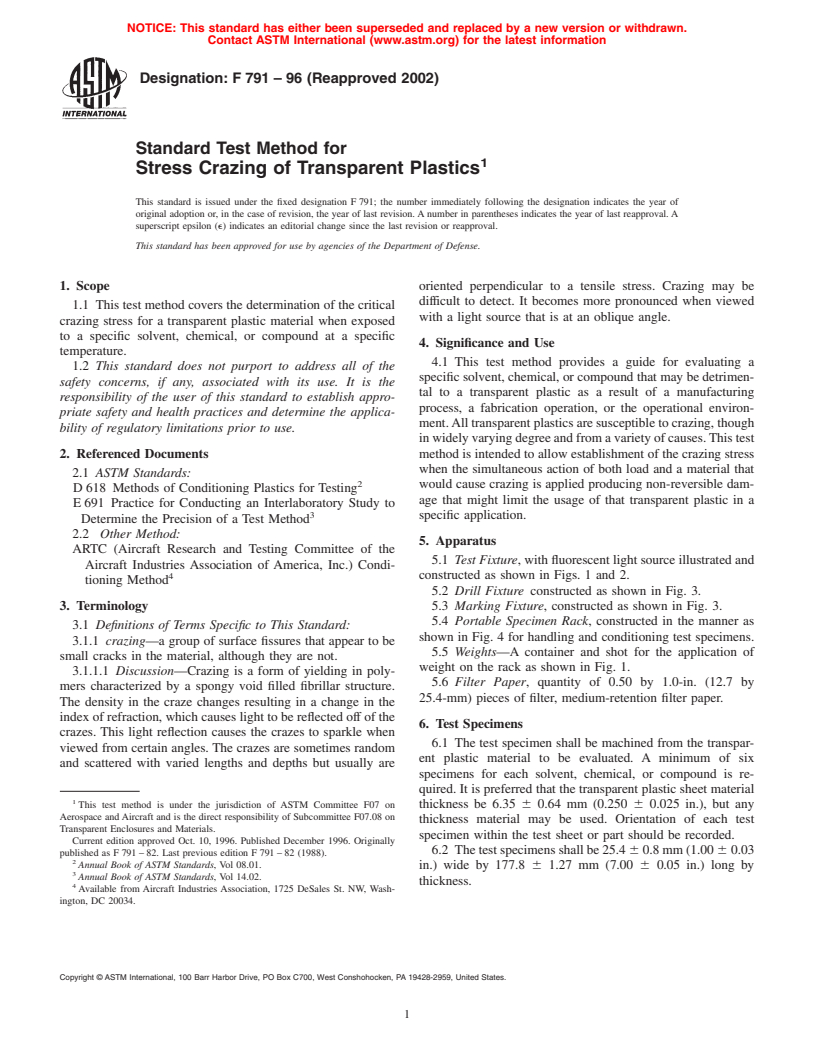
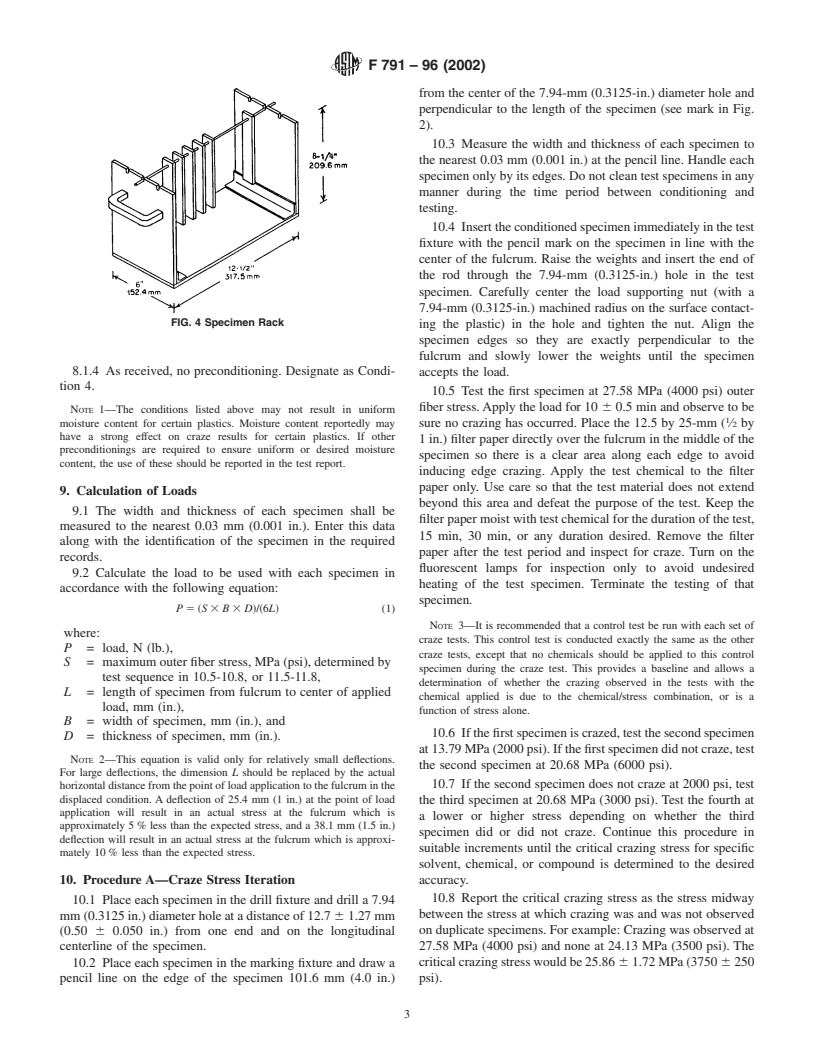
ASTM F791-96(2002)
(Test Method)Standard Test Method for Stress Crazing of Transparent Plastics
Standard Test Method for Stress Crazing of Transparent Plastics
SCOPE
1.1 This practice covers the determination of the critical crazing stress for a transparent-plastic material when exposed to a specific solvent, chemical, or compound at a specific temperature.
1.2 This standard does not purport to address all of the safety concerns, if any, associated with its use. It is the responsibility of the user of this standard to establish appropriate safety and health practices and determine the applicability of regulatory limitations prior to use .
General Information
Relations
Standards Content (Sample)
NOTICE: This standard has either been superseded and replaced by a new version or withdrawn.
Contact ASTM International (www.astm.org) for the latest information
Designation:F791–96 (Reapproved 2002)
Standard Test Method for
1
Stress Crazing of Transparent Plastics
This standard is issued under the fixed designation F 791; the number immediately following the designation indicates the year of
original adoption or, in the case of revision, the year of last revision. A number in parentheses indicates the year of last reapproval. A
superscript epsilon (e) indicates an editorial change since the last revision or reapproval.
This standard has been approved for use by agencies of the Department of Defense.
1. Scope oriented perpendicular to a tensile stress. Crazing may be
difficult to detect. It becomes more pronounced when viewed
1.1 This test method covers the determination of the critical
with a light source that is at an oblique angle.
crazing stress for a transparent plastic material when exposed
to a specific solvent, chemical, or compound at a specific
4. Significance and Use
temperature.
4.1 This test method provides a guide for evaluating a
1.2 This standard does not purport to address all of the
specific solvent, chemical, or compound that may be detrimen-
safety concerns, if any, associated with its use. It is the
tal to a transparent plastic as a result of a manufacturing
responsibility of the user of this standard to establish appro-
process, a fabrication operation, or the operational environ-
priate safety and health practices and determine the applica-
ment.All transparent plastics are susceptible to crazing, though
bility of regulatory limitations prior to use.
inwidelyvaryingdegreeandfromavarietyofcauses.Thistest
2. Referenced Documents method is intended to allow establishment of the crazing stress
when the simultaneous action of both load and a material that
2.1 ASTM Standards:
2
would cause crazing is applied producing non-reversible dam-
D 618 Methods of Conditioning Plastics for Testing
age that might limit the usage of that transparent plastic in a
E 691 Practice for Conducting an Interlaboratory Study to
3
specific application.
Determine the Precision of a Test Method
2.2 Other Method:
5. Apparatus
ARTC (Aircraft Research and Testing Committee of the
5.1 Test Fixture, with fluorescent light source illustrated and
Aircraft Industries Association of America, Inc.) Condi-
4 constructed as shown in Figs. 1 and 2.
tioning Method
5.2 Drill Fixture constructed as shown in Fig. 3.
3. Terminology 5.3 Marking Fixture, constructed as shown in Fig. 3.
5.4 Portable Specimen Rack, constructed in the manner as
3.1 Definitions of Terms Specific to This Standard:
shown in Fig. 4 for handling and conditioning test specimens.
3.1.1 crazing—a group of surface fissures that appear to be
5.5 Weights—A container and shot for the application of
small cracks in the material, although they are not.
weight on the rack as shown in Fig. 1.
3.1.1.1 Discussion—Crazing is a form of yielding in poly-
5.6 Filter Paper, quantity of 0.50 by 1.0-in. (12.7 by
mers characterized by a spongy void filled fibrillar structure.
25.4-mm) pieces of filter, medium-retention filter paper.
The density in the craze changes resulting in a change in the
index of refraction, which causes light to be reflected off of the
6. Test Specimens
crazes. This light reflection causes the crazes to sparkle when
6.1 The test specimen shall be machined from the transpar-
viewed from certain angles. The crazes are sometimes random
ent plastic material to be evaluated. A minimum of six
and scattered with varied lengths and depths but usually are
specimens for each solvent, chemical, or compound is re-
quired. It is preferred that the transparent plastic sheet material
1
This test method is under the jurisdiction of ASTM Committee F07 on thickness be 6.35 6 0.64 mm (0.250 6 0.025 in.), but any
Aerospace and Aircraft and is the direct responsibility of Subcommittee F07.08 on
thickness material may be used. Orientation of each test
Transparent Enclosures and Materials.
specimen within the test sheet or part should be recorded.
Current edition approved Oct. 10, 1996. Published December 1996. Originally
6.2 Thetestspecimensshallbe25.4 60.8mm(1.00 60.03
published as F 791 – 82. Last previous edition F 791 – 82 (1988).
2
Annual Book of ASTM Standards, Vol 08.01.
in.) wide by 177.8 6 1.27 mm (7.00 6 0.05 in.) long by
3
Annual Book of ASTM Standards, Vol 14.02.
thickness.
4
Available from Aircraft Industries Association, 1725 DeSales St. NW, Wash-
ington, DC 20034.
Copyright © ASTM International, 100 Barr Harbor Drive, PO Box C700, West Conshohocken, PA 19428-2959, United States.
1
---------------------- Page: 1 ----------------------
F791–96 (2002)
FIG. 1 Accelerated Crazing Test Fixture
FIG. 3 Fixtures for Specimen Preparation
FIG. 2 Application of Test Liquid to Piece of Filter Paper on Top
Surface of Test Specimen
8. Conditioning
6.3 The edges shall be smooth machined s
...


Questions, Comments and Discussion
Ask us and Technical Secretary will try to provide an answer. You can facilitate discussion about the standard in here.