ASTM D2444-99(2010)
(Test Method)Standard Test Method for Determination of the Impact Resistance of Thermoplastic Pipe and Fittings by Means of a Tup (Falling Weight)
Standard Test Method for Determination of the Impact Resistance of Thermoplastic Pipe and Fittings by Means of a Tup (Falling Weight)
SIGNIFICANCE AND USE
The impact resistance of thermoplastic pipe and fittings relates to suitability for service and to quality of processing. Impact resistance may also provide a relative measure of a material's resistance to breakage during handling and installation and, for non-buried applications, to in-service breakage. See Appendix X4 for guidelines for selecting testing combinations.
Results obtained by use of this test method can be used in three ways:
As the basis for establishing impact test requirements in product standards,
To measure the effect of changes in materials or processing, and
To measure the effect of the environment.
SCOPE
1.1 This test method covers the determination of the impact resistance of thermoplastic pipe and fittings under specified conditions of impact by means of a tup (falling weight). Three interchangeable striking noses are used on the tup, differing in geometrical configuration. Two specimen holders are described.
1.2 The values stated in inch-pound units are to be regarded as standard. The values given in parentheses are mathematical conversions to SI units that are provided for information only and are not considered standard.
1.3 This standard does not purport to address all of the safety concerns, if any, associated with its use. It is the responsibility of the user of this standard to establish appropriate safety and health practices and determine the applicability of regulatory limitations prior to use.
General Information
Relations
Buy Standard
Standards Content (Sample)
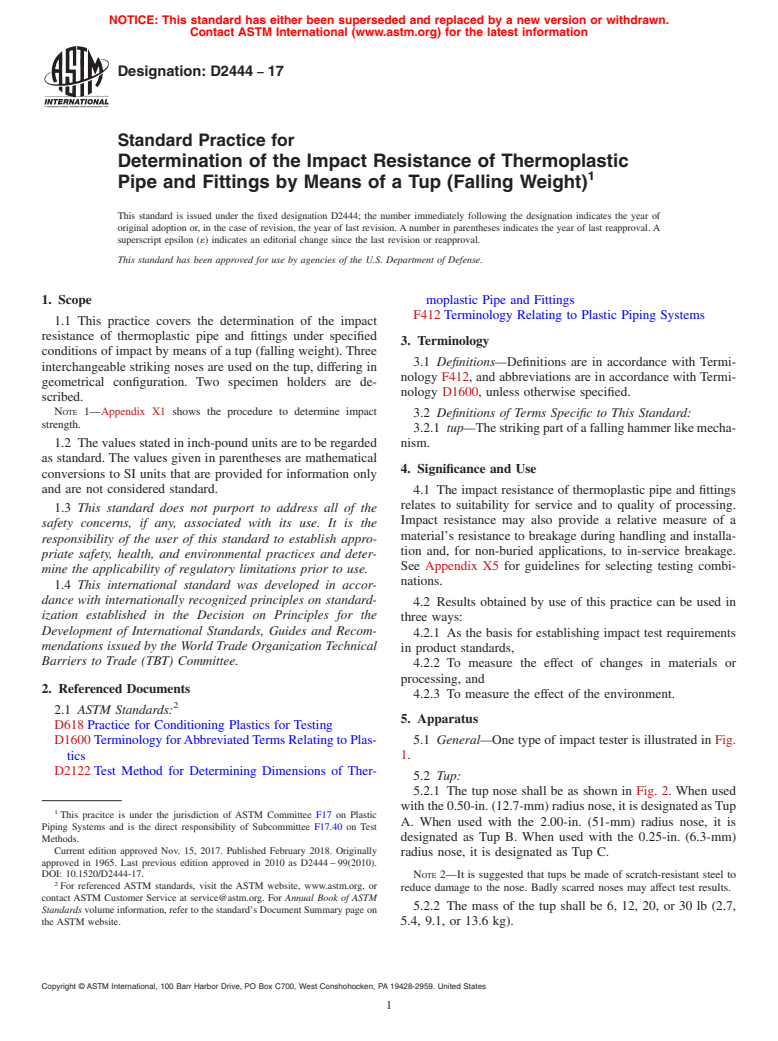
NOTICE: This standard has either been superseded and replaced by a new version or withdrawn.
Contact ASTM International (www.astm.org) for the latest information
Designation: D2444 − 99 (Reapproved 2010)
Standard Test Method for
Determination of the Impact Resistance of Thermoplastic
Pipe and Fittings by Means of a Tup (Falling Weight)
This standard is issued under the fixed designation D2444; the number immediately following the designation indicates the year of
original adoption or, in the case of revision, the year of last revision. A number in parentheses indicates the year of last reapproval. A
superscript epsilon (´) indicates an editorial change since the last revision or reapproval.
This standard has been approved for use by agencies of the U.S. Department of Defense.
1. Scope 3.2 Results obtained by use of this test method can be used
in three ways:
1.1 This test method covers the determination of the impact
3.2.1 As the basis for establishing impact test requirements
resistance of thermoplastic pipe and fittings under specified
in product standards,
conditions of impact by means of a tup (falling weight). Three
3.2.2 To measure the effect of changes in materials or
interchangeable striking noses are used on the tup, differing in
processing, and
geometrical configuration. Two specimen holders are de-
3.2.3 To measure the effect of the environment.
scribed.
1.2 The values stated in inch-pound units are to be regarded 4. Apparatus
as standard. The values given in parentheses are mathematical
4.1 General—One type of impact tester is illustrated in Fig.
conversions to SI units that are provided for information only
1.
and are not considered standard.
4.2 Tup:
1.3 This standard does not purport to address all of the
4.2.1 The tup nose shall be as shown in Fig. 2. When used
safety concerns, if any, associated with its use. It is the
with the 0.50-in. (12.7-mm) radius nose, it is designated asTup
responsibility of the user of this standard to establish appro-
A. When used with the 2.00-in. (51-mm) radius nose, it is
priate safety and health practices and determine the applica-
designated as Tup B. When used with the 0.25-in. (6.3-mm)
bility of regulatory limitations prior to use.
radius nose, it is designated as Tup C.
2. Referenced Documents
NOTE 1—It is suggested that tups be made of scratch-resistant steel to
2 reduce damage to the nose. Badly scarred noses may affect test results.
2.1 ASTM Standards:
4.2.2 The mass of the tup shall be 6, 12, 20, or 30 lb (2.7,
D618 Practice for Conditioning Plastics for Testing
5.4, 9.1, or 13.6 kg).
D2122 Test Method for Determining Dimensions of Ther-
moplastic Pipe and Fittings
4.3 Drop Tube:
4.3.1 The drop tube shall be of sufficient length (approxi-
3. Significance and Use
mately 12 ft (3.7 m)) to provide for a fall of at least 10 ft (3.0
3.1 The impact resistance of thermoplastic pipe and fittings
m) and shall be mounted so that the lengthwise direction is
relates to suitability for service and to quality of processing.
vertical as measured with a plumb bob or a spirit level at least
Impact resistance may also provide a relative measure of a
2 ft (610 mm) in length.
material’s resistance to breakage during handling and installa-
4.3.2 Care must be taken to ensure that the tup falls freely;
tion and, for non-buried applications, to in-service breakage.
it must not “chatter” down the tube.
See Appendix X4 for guidelines for selecting testing combi-
NOTE 2—No material for the drop tube is specified. However, a
nations.
colddrawn seamless steel tubing with an inside diameter of 2.563 6 0.003
in. (65.10 6 0.08 mm), or acrylonitrile-butadiene-styrene (ABS) or
poly(vinyl chloride) (PVC) plastic pipe, 2 ⁄2 in. nominal pipe size, with a
This test method is under the jurisdiction of ASTM Committee F17 on Plastic
standard dimension ratio (SDR) of 21, have been found to be satisfactory.
Piping Systems and is the direct responsibility of Subcommittee F17.40 on Test
NOTE 3—Provided equivalent results are obtained, the tup may be
Methods.
dropped without a drop tube or guided by other means. The drop tube is
Current edition approved Aug. 1, 2010. Published November 2010. Originally
used to reduce the hazard to operators and property that may occur when
approved in 1965. Last previous edition approved in 2005 as D2444 – 99(2005).
the tup rebounds. It also helps guide and center the tup so that it will be
DOI: 10.1520/D2444-99R10.
more likely to strike the top of the test specimen. It may also be necessary
For referenced ASTM standards, visit the ASTM website, www.astm.org, or
to provide a protective barrier around the specimen, particularly for larger
contact ASTM Customer Service at service@astm.org. For Annual Book of ASTM
Standards volume information, refer to the standard’s Document Summary page on sizesofpipeandfittings,toprotecttheoperatorfromflyingbrokenpieces.
the ASTM website. NOTE 4—The tup may not fall freely if the clearance between the tup
Copyright © ASTM International, 100 Barr Harbor Drive, PO Box C700, West Conshohocken, PA 19428-2959. United States
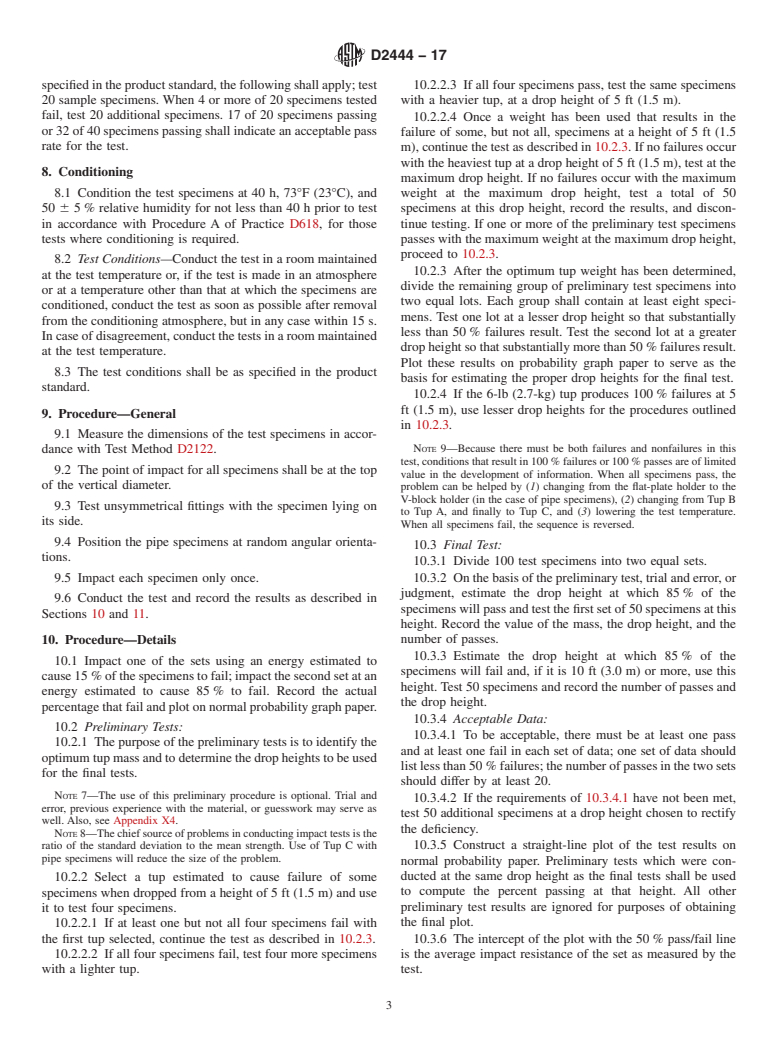
D2444 − 99 (2010)
and tube is too large or too small, or if it is restrained by a partial vacuum
above the tup, such as can be caused by the hold and release device.
4.3.3 Means shall be provided (1) to hold the tup at steps of
2 in. (50.8 mm) for a distance of 2 to 10 ft (610 mm to 3.0 m)
above the specimen holder, (2) to release the tup in a
reproducible manner, (3) to allow the tup to fall freely, and (4)
to catch the tup on the first rebound. Refer to Fig. 1.
4.4 SpecimenHolder—Twospecimenholdersaredescribed.
The V-block (HolderA) is usually used with TupsAand C; the
flat plate (Holder B) is often used with Tup B or for testing
fittings.
4.4.1 The V-block holder shall be at least as long as the
specimen being tested and shall have a 90-deg included angle.
It may be fabricated or of solid construction. The side supports
shallbeofsufficientdepthtosupportthespecimenintheVand
not on the top edges of the V-block.
NOTE 5—Both aluminum and steel have been found suitable for the
holders.
4.4.2 The flat-plate holder shall consist of a plate approxi-
mately 8 by 12 by 1 in. (203 by 305 by 25.4 mm) in which a
groove to position the pipe specimen shall be cut. This groove
shall be about 0.12 in. (3 mm) in depth with the edges rounded
to a radius of about 0.06 in. (1.5 mm). Fittings that do not
contact the plate directly under the point of impact shall be
supported at this point by a flat steel plate or shim. The
specimen holder shall be mounted on a rigid base fastened to
FIG. 1 One Type of Tup Impact Tester
a concrete slab. Means shall be provided to center the speci-
mens under the drop tube. A bar or rod placed inside the
specimen and retained by a light spring may be employed if
difficulty is encountered in holding the specimen in position.
5. Test Specimens
5.1 The pipe specimens shall be equal in length to the
nominal outside diameter but not less than 6 in. (152 mm) in
length. Burrs shall be removed.
5.2 Fittings shall be tested either unassembled or assembled
to pieces of pipe each 6 in. in length.
6. Number of Test Specimens
6.1 A minimum of 20 specimens are required for prelimi-
nary tests.
6.2 A minimum of 100 specimens are required for final
tests, and 50 additional specimens may be required.
7. Conditioning
7.1 Condition the test specimens at 40 h, 23°C, 50 % RH
and 50 6 5 % relative humidity for not less than 40 h prior to
testinaccordancewithProcedureAofPracticeD618,forthose
tests where conditioning is required.
7.2 Test Conditions—Conduct the test in a room maintained
at the test temperature or, if the test is made in an atmosphere
or at a temperature other than that at which the specimens are
conditioned, conduct the test as soon as possible after removal
from the conditioning atmosphere, but in any case within 15 s.
NOTE 1—Dimensions are in inches (millimetres).
Incaseofdisagreement,conductthetestsinaroommaintained
FIG. 2 Tup Nose Detail
at the test temperature.
D2444 − 99 (2010)
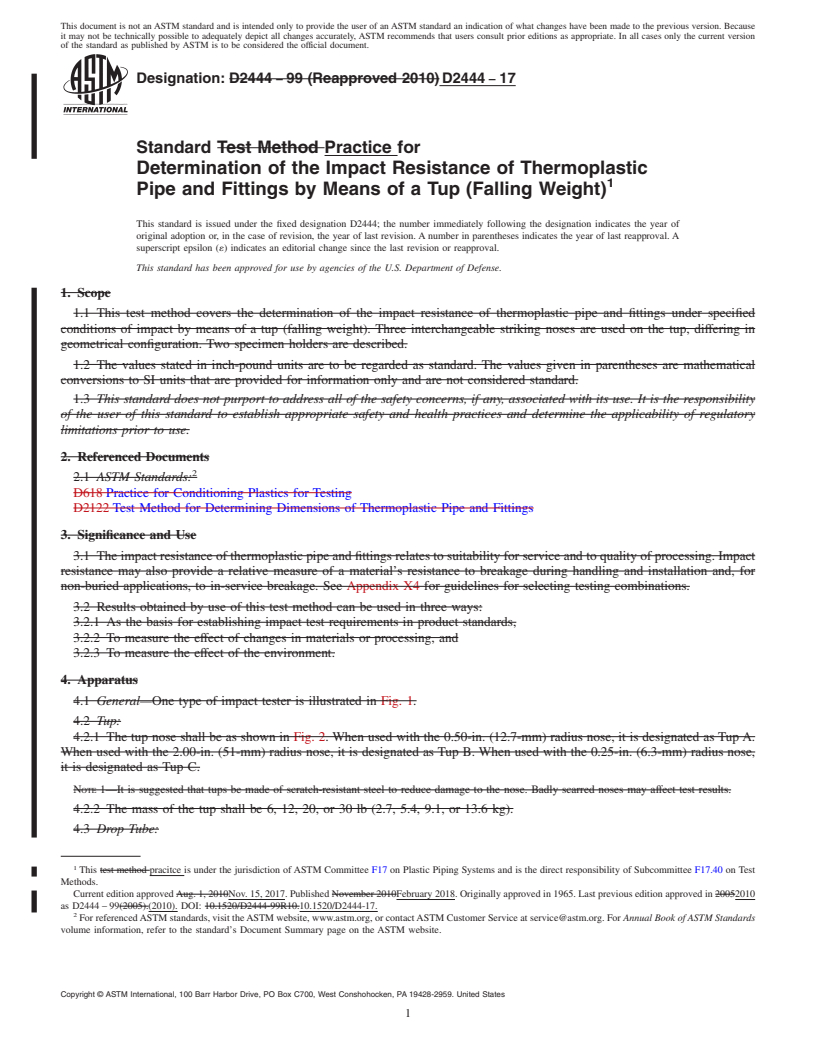
NOTE 8—Because there must be both failures and nonfailures in this
8. Procedure—General
test, conditions that result in 100 % failures or 100 % passes are of limited
8.1 Measure the dimensions of the test specimens in accor-
value in the development of information. When all specimens pass, the
dance with Test Method D2122. problem can be helped by (1) changing from the flat-plate holder to the
V-block holder (in the case of pipe specimens), (2) changing from Tup B
8.2 The point of impact for all specimens shall be at the top
to Tup A, and finally to Tup C, and (3) lowering the test temperature.
of the vertical diameter.
When all specimens fail, the sequence is reversed.
8.3 Test unsymmetrical fittings with the specimen lying on 9.3 Final Test:
its side. 9.3.1 Divide 100 test specimens into two equal sets.
9.3.2 On the basis of the preliminary test, trial and error, or
8.4 Position the pipe specimens at random angular orienta-
judgment, estimate the drop height at which 85 % of the
tions.
specimens will pass and test the first set of 50 specimens at this
8.5 Impact each specimen only once.
height. Record the value of the mass, the drop height, and the
number of passes.
9. Procedure—Details
9.3.3 Estimate the drop height at which 85 % of the speci-
mens will fail and, if it is 10 ft (3.0 m) or more, use this height.
9.1 Impact one of the sets using an energy estimated to
Test 50 specimens and record the number of passes and the
cause15 %ofthespecimenstofail;impactthesecondsetatan
drop height.
energy estimated to cause 85 % to fail. Record the actual
9.3.4 Acceptable Data:
percentage that fail and plot on normal probability graph paper.
9.3.4.1 To be acceptable, there must be at least one pass and
9.2 Preliminary Tests:
at least one fail in each set of data; one set of data should list
9.2.1 The purpose of the preliminary tests is to identify the
less than 50 % failures; the number of passes in the two sets
optimum tup mass and to determine the drop heights to be used
should differ by at least 20.
for the final tests.
9.3.4.2 If the requirements of 9.3.4.1 have not been met, test
NOTE 6—The use of this preliminary procedure is optional. Trial and 50 additional specimens at a drop height chosen to rectify the
error, previous experience with the material, or guesswork may serve as
deficiency.
well. Also, see Appendix X3.
9.3.5 Construct a straight-line plot of the test results on
NOTE 7—The chief source of problems in conducting impact tests is the
normal probability paper. Preliminary tests which were con-
ratio of the standard deviation to the mean strength. Use of Tup C with
ducted at the same drop height as the final tests shall be used
pipe specimens will reduce the size of the problem.
to compute the percent passing at that height. All other
9.2.2 Select a tup estimated to cause failure of some
preliminary test results are ignored for purposes of obtaining
specimens when dropped from a height of 5 ft (1.5 m) and use
the final plot.
it to test four specimens.
9.3.6 The intercept of the plot with the 50 % pass/fail line is
9.2.2.1 If at least one but not all four specimens fail with the
theaverageimpactresistanceofthesetasmeasuredbythetest.
first tup selected, continue the test as described in 9.2.3.
9.3.7 The intercept of the plot at the 16 % or the 84 %
9.2.2.2 If all four specimens fail, test four more specimens
pass/fail line differs from the average strength by (for practical
with a lighter tup.
purposes) one standard deviation.
9.2.2.3 If all four specimens pass, test the same specimens
with a heavier tup, at a drop height of 5 ft (1.5 m).
10. Definition of Failure
9.2.2.4 Once a weight has been used that results in the
10.1 Failure in the test specimens shall be shattering or any
failure of some, but not all, specimens at a height of 5 ft (1.5
crack or split created by the impact and that can be seen by the
m), continue the test as described in 9.2.3. If no failures occur
nakedeye.Lightingdevicesmaybeusedtoassistinexamining
with the heaviest tup at a drop height of 5 ft (1.5 m), test at the
the specimens. A crease visible on the surface shall not be
maximum drop height. If no failures occur with the maximum
construed as failure. If criteria of failure other than those cited
weight at the maximum drop height, test a total of 50
here are used, they shall be listed in the report.
specimens at this drop height, record the results, and discon-
tinue testing. If one or more of the preliminary test specimens
11. Report
passes with the maximum weight at the maximum drop height,
proceed to 9.2.3.
11.1 The report shall include the following:
9.2.3 After the optimum tup weight has been determined, 11.1.1 Complete identification of pipe or fittings tested,
divide the remaining group of preliminary test specimens into
including type of plastic, source, manufacturer’s code, size,
two equal lots. Each group shall contain at least eight speci- average dimensions and minimum wall thickness, and history,
mens. Test one lot at a lesser drop height so that substantially
11.1.2 In the case of fittings, the dimensions of pipe used to
less than 50 % failures result. Test the second lot at a greater prepare the specimens, how joints were made, and the position
dropheightsothatsubstantiallymorethan50 %failuresresult.
of the weld mark in relation to the point of impact,
Plot these results on probability graph paper to serve as the 11.1.3 Test temperature and conditioning procedure,
basis for estimating the proper drop heights for the final test.
11.1.4 Tup used,
9.2.4 If the 6-lb (2.7-kg) tup produces 100 % failures at 5 ft 11.1.5 Holder used,
(1.5 m), use lesser drop heights for the procedures outlined in 11.1.6 The mass of the tup, lb (kg),
9.2.3. 11.1.7 Point of impact for fittings,
D2444 − 99 (2010)
11.1.8 Types of failure and any deformation observed, numbers of test specimens are employed. Therefore, no state-
11.1.9 Date of test, and ment of bias can be made.
11.1.10 Copy of probability plot, including number of
NOTE 9—Abrief treatment of the subject of precision and accuracy for
specimens tested at each drop height.
binomial tests is provided in Appendix X1.
12. Precision and Bias 13. Keywords
12.1 This test method is neither precise nor accurate within 13.1 fittings; impact resistance; pipe; thermoplastic; tup
the limits usually associated with those terms unless larger (falling weight)
APPENDIXES
(Nonmandatory Information)
X1. GUIDELINES FOR DETERMINING PRECISION AND ACCURACY BY APPLYING BINOMIAL PROBABILITY TECH-
NIQUES
X1.1 Tests that have only two possible results (pass or fail,
N = number of specimens tested, and
heads or tails, black or white) are governed by the rules of
= measured rate of success.
p
probability.
X1.2 The most elementary application of the rules occurs Example—50 spe
...
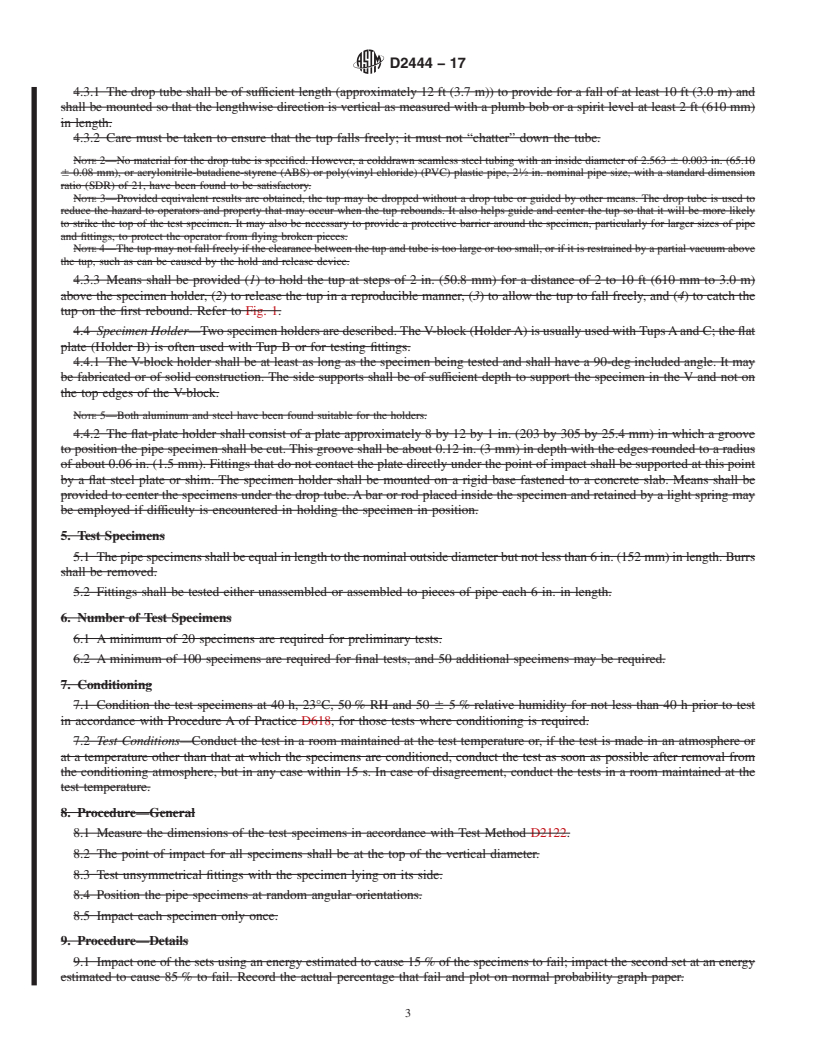
This document is not an ASTM standard and is intended only to provide the user of an ASTM standard an indication of what changes have been made to the previous version. Because
it may not be technically possible to adequately depict all changes accurately, ASTM recommends that users consult prior editions as appropriate. In all cases only the current version
of the standard as published by ASTM is to be considered the official document.
An American National Standard
Designation:D2444–99 (Reapproved 2005) Designation: D2444 – 99 (Reapproved 2010)
Standard Test Method for
Determination of the Impact Resistance of Thermoplastic
Pipe and Fittings by Means of a Tup (Falling Weight)
This standard is issued under the fixed designation D2444; the number immediately following the designation indicates the year of
original adoption or, in the case of revision, the year of last revision. A number in parentheses indicates the year of last reapproval. A
superscript epsilon (´) indicates an editorial change since the last revision or reapproval.
This standard has been approved for use by agencies of the Department of Defense.
1. Scope
1.1 This test method covers the determination of the impact resistance of thermoplastic pipe and fittings under specified
conditions of impact by means of a tup (falling weight). Three interchangeable striking noses are used on the tup, differing in
geometrical configuration. Two specimen holders are described.
1.2The values stated in inch-pound units are to be regarded as the standard. The values in parentheses are provided for
information purposes only.
1.2 The values stated in inch-pound units are to be regarded as standard. The values given in parentheses are mathematical
conversions to SI units that are provided for information only and are not considered standard.
1.3 This standard does not purport to address all of the safety concerns, if any, associated with its use. It is the responsibility
of the user of this standard to establish appropriate safety and health practices and determine the applicability of regulatory
limitations prior to use.
2. Referenced Documents
2.1 ASTM Standards:
D618 Practice for Conditioning Plastics for Testing
D2122 Test Method for Determining Dimensions of Thermoplastic Pipe and Fittings
3. Significance and Use
3.1 The impact resistance of thermoplastic pipe and fittings relates to suitability for service and to quality of processing. Impact
resistance may also provide a relative measure of a material’s resistance to breakage during handling and installation and, for
non-buried applications, to in-service breakage. See Appendix X4 for guidelines for selecting testing combinations.
3.2 Results obtained by use of this test method can be used in three ways:
3.2.1 As the basis for establishing impact test requirements in product standards,
3.2.2 To measure the effect of changes in materials or processing, and
3.2.3 To measure the effect of the environment.
4. Apparatus
4.1 General—One type of impact tester is illustrated in Fig. 1.
4.2 Tup:
4.2.1 The tup nose shall be as shown in Fig. 2. When used with the 0.50-in. (12.7-mm) radius nose, it is designated as Tup A.
When used with the 2.00-in. (51-mm) radius nose, it is designated as Tup B. When used with the 0.25-in. (6.3-mm) radius nose,
it is designated as Tup C.
NOTE 1—It is suggested that tups be made of scratch-resistant steel to reduce damage to the nose. Badly scarred noses may affect test results.
4.2.2 The mass of the tup shall be 6, 12, 20, or 30 lb (2.7, 5.4, 9.1, or 13.6 kg).
4.3 Drop Tube:
4.3.1 The drop tube shall be of sufficient length (approximately 12 ft (3.7 m)) to provide for a fall of at least 10 ft (3.0 m) and
This test method is under the jurisdiction ofASTM Committee F17 on Plastic Piping Systems and is the direct responsibility of Subcommittee F17.40 on Test Methods.
Current edition approved MayAug. 1, 2005.2010. Published June 2005.November 2010. Originally approved in 1965. Last previous edition approved in 19992005 as
D2444 – 99(2005). DOI: 10.1520/D2444-99R105.
For referencedASTM standards, visit theASTM website, www.astm.org, or contactASTM Customer Service at service@astm.org. ForAnnualBookofASTMStandards
volume information, refer to the standard’s Document Summary page on the ASTM website.
Copyright © ASTM International, 100 Barr Harbor Drive, PO Box C700, West Conshohocken, PA 19428-2959, United States.
D2444 – 99 (2010)
FIG. 1 One Type of Tup Impact Tester
NOTE 1—Dimensions are in inches (millimetres).
FIG. 2 Tup Nose Detail
D2444 – 99 (2010)
shall be mounted so that the lengthwise direction is vertical as measured with a plumb bob or a spirit level at least 2 ft (610 mm)
in length.
4.3.2 Care must be taken to ensure that the tup falls freely; it must not “chatter” down the tube.
NOTE 2—No material for the drop tube is specified. However, a colddrawn seamless steel tubing with an inside diameter of 2.563 6 0.003 in. (65.10
6 0.08 mm), or acrylonitrile-butadiene-styrene (ABS) or poly(vinyl chloride) (PVC) plastic pipe, 2 ⁄2 in. nominal pipe size, with a standard dimension
ratio (SDR) of 21, have been found to be satisfactory.
NOTE 3—Provided equivalent results are obtained, the tup may be dropped without a drop tube or guided by other means. The drop tube is used to
reduce the hazard to operators and property that may occur when the tup rebounds. It also helps guide and center the tup so that it will be more likely
to strike the top of the test specimen. It may also be necessary to provide a protective barrier around the specimen, particularly for larger sizes of pipe
and fittings, to protect the operator from flying broken pieces.
NOTE 4—The tup may not fall freely if the clearance between the tup and tube is too large or too small, or if it is restrained by a partial vacuum above
the tup, such as can be caused by the hold and release device.
4.3.3 Means shall be provided (1) to hold the tup at steps of 2 in. (50.8 mm) for a distance of 2 to 10 ft (610 mm to 3.0 m)
above the specimen holder, (2) to release the tup in a reproducible manner, (3) to allow the tup to fall freely, and (4) to catch the
tup on the first rebound. Refer to Fig. 1.
4.4 Specimen Holder—Two specimen holders are described. The V-block (Holder A) is usually used with Tups A and C; the
flat plate (Holder B) is often used with Tup B or for testing fittings.
4.4.1 The V-block holder shall be at least as long as the specimen being tested and shall have a 90-deg included angle. It may
be fabricated or of solid construction. The side supports shall be of sufficient depth to support the specimen in the V and not on
the top edges of the V-block.
NOTE 5—Both aluminum and steel have been found suitable for the holders.
4.4.2 The flat-plate holder shall consist of a plate approximately 8 by 12 by 1 in. (203 by 305 by 25.4 mm) in which a groove
to position the pipe specimen shall be cut. This groove shall be about 0.12 in. (3 mm) in depth with the edges rounded to a radius
of about 0.06 in. (1.5 mm). Fittings that do not contact the plate directly under the point of impact shall be supported at this point
by a flat steel plate or shim. The specimen holder shall be mounted on a rigid base fastened to a concrete slab. Means shall be
provided to center the specimens under the drop tube.Abar or rod placed inside the specimen and retained by a light spring may
be employed if difficulty is encountered in holding the specimen in position.
5. Test Specimens
5.1 Thepipespecimensshallbeequalinlengthtothenominaloutsidediameterbutnotlessthan6in.(152mm)inlength.Burrs
shall be removed.
5.2 Fittings shall be tested either unassembled or assembled to pieces of pipe each 6 in. in length.
6. Number of Test Specimens
6.1 A minimum of 20 specimens are required for preliminary tests.
6.2 A minimum of 100 specimens are required for final tests, and 50 additional specimens may be required.
7. Conditioning
7.1 Condition the test specimens at 40 h, 23°C, 50 % RH and 50 6 5 % relative humidity for not less than 40 h prior to test
in accordance with Procedure A of Practice D618, for those tests where conditioning is required.
7.2 Test Conditions—Conduct the test in a room maintained at the test temperature or, if the test is made in an atmosphere or
at a temperature other than that at which the specimens are conditioned, conduct the test as soon as possible after removal from
the conditioning atmosphere, but in any case within 15 s. In case of disagreement, conduct the tests in a room maintained at the
test temperature.
8. Procedure—General
8.1 Measure the dimensions of the test specimens in accordance with Test Method D2122.
8.2 The point of impact for all specimens shall be at the top of the vertical diameter.
8.3 Test unsymmetrical fittings with the specimen lying on its side.
8.4 Position the pipe specimens at random angular orientations.
8.5 Impact each specimen only once.
9. Procedure—Details
9.1 Impact one of the sets using an energy estimated to cause 15 % of the specimens to fail; impact the second set at an energy
estimated to cause 85 % to fail. Record the actual percentage that fail and plot on normal probability graph paper.
9.2 Preliminary Tests:
9.2.1 The purpose of the preliminary tests is to identify the optimum tup mass and to determine the drop heights to be used for
the final tests.
D2444 – 99 (2010)
NOTE 6—The use of this preliminary procedure is optional. Trial and error, previous experience with the material, or guesswork may serve as well.
Also, see Appendix X3.
NOTE 7—The chief source of problems in conducting impact tests is the ratio of the standard deviation to the mean strength. Use of Tup C with pipe
specimens will reduce the size of the problem.
9.2.2 Select a tup estimated to cause failure of some specimens when dropped from a height of 5 ft (1.5 m) and use it to test
four specimens.
9.2.2.1 If at least one but not all four specimens fail with the first tup selected, continue the test as described in 9.2.3.
9.2.2.2 If all four specimens fail, test four more specimens with a lighter tup.
9.2.2.3 If all four specimens pass, test the same specimens with a heavier tup, at a drop height of 5 ft (1.5 m).
9.2.2.4 Onceaweighthasbeenusedthatresultsinthefailureofsome,butnotall,specimensataheightof5ft(1.5m),continue
the test as described in 9.2.3. If no failures occur with the heaviest tup at a drop height of 5 ft (1.5 m), test at the maximum drop
height. If no failures occur with the maximum weight at the maximum drop height, test a total of 50 specimens at this drop height,
record the results, and discontinue testing. If one or more of the preliminary test specimens passes with the maximum weight at
the maximum drop height, proceed to 9.2.3.
9.2.3 After the optimum tup weight has been determined, divide the remaining group of preliminary test specimens into two
equal lots. Each group shall contain at least eight specimens.Test one lot at a lesser drop height so that substantially less than 50 %
failures result. Test the second lot at a greater drop height so that substantially more than 50 % failures result. Plot these results
on probability graph paper to serve as the basis for estimating the proper drop heights for the final test.
9.2.4 If the 6-lb (2.7-kg) tup produces 100 % failures at 5 ft (1.5 m), use lesser drop heights for the procedures outlined in 9.2.3.
NOTE 8—Because there must be both failures and nonfailures in this test, conditions that result in 100 % failures or 100 % passes are of limited value
in the development of information. When all specimens pass, the problem can be helped by (1) changing from the flat-plate holder to the V-block holder
(in the case of pipe specimens), (2) changing from Tup B to TupA, and finally to Tup C, and (3) lowering the test temperature. When all specimens fail,
the sequence is reversed.
9.3 Final Test:
9.3.1 Divide 100 test specimens into two equal sets.
9.3.2 On the basis of the preliminary test, trial and error, or judgment, estimate the drop height at which 85 % of the specimens
will pass and test the first set of 50 specimens at this height. Record the value of the mass, the drop height, and the number of
passes.
9.3.3 Estimate the drop height at which 85 % of the specimens will fail and, if it is 10 ft (3.0 m) or more, use this height. Test
50 specimens and record the number of passes and the drop height.
9.3.4 Acceptable Data:
9.3.4.1 To be acceptable, there must be at least one pass and at least one fail in each set of data; one set of data should list less
than 50 % failures; the number of passes in the two sets should differ by at least 20.
9.3.4.2 If the requirements of 9.3.4.1 have not been met, test 50 additional specimens at a drop height chosen to rectify the
deficiency.
9.3.5 Construct a straight-line plot of the test results on normal probability paper. Preliminary tests which were conducted at
the same drop height as the final tests shall be used to compute the percent passing at that height.All other preliminary test results
are ignored for purposes of obtaining the final plot.
9.3.6 The intercept of the plot with the 50 % pass/fail line is the average impact resistance of the set as measured by the test.
9.3.7 The intercept of the plot at the 16 % or the 84 % pass/fail line differs from the average strength by (for practical purposes)
one standard deviation.
10. Definition of Failure
10.1 Failureinthetestspecimensshallbeshatteringoranycrackorsplitcreatedbytheimpactandthatcanbeseenbythenaked
eye. Lighting devices may be used to assist in examining the specimens.Acrease visible on the surface shall not be construed as
failure. If criteria of failure other than those cited here are used, they shall be listed in the report.
11. Report
11.1 The report shall include the following:
11.1.1 Complete identification of pipe or fittings tested, including type of plastic, source, manufacturer’s code, size, average
dimensions and minimum wall thickness, and history,
11.1.2 In the case of fittings, the dimensions of pipe used to prepare the specimens, how joints were made, and the position of
the weld mark in relation to the point of impact,
11.1.3 Test temperature and conditioning procedure,
11.1.4 Tup used,
11.1.5 Holder used,
11.1.6 The mass of the tup, lb (kg),
11.1.7 Point of impact for fittings,
11.1.8 Types of failure and any deformation observed,
D2444 – 99 (2010)
11.1.9 Date of test, and
11.1.10 Copy of probability plot, including number of specimens tested at each drop height.
12. Precision and Bias
12.1 This test method is neither precise nor accurate within the limits usually associated with those terms unless larger numbers
of test specimens are employed. Therefore, no statement of bias can be made.
NOTE 9—A brief treatment of the subject of pre
...
Questions, Comments and Discussion
Ask us and Technical Secretary will try to provide an answer. You can facilitate discussion about the standard in here.