ASTM E604-18
(Test Method)Standard Test Method for Dynamic Tear Testing of Metallic Materials
Standard Test Method for Dynamic Tear Testing of Metallic Materials
SIGNIFICANCE AND USE
5.1 The DT energy value is a measure of resistance to rapid progressive fracturing. In a number of applications, the enhanced resistance that may develop during about one plate thickness of crack extension from a sharp notch is of major interest. In the test method, a sufficiently long fracture path is provided so that the results serve as a measure of this property.
5.2 Fracture surfaces of nonaustenitic steels tested in their temperature transition region have areas that appear bright and areas that appear dull. The bright, faceted appearing areas are termed “cleavage” fracture, and the dull appearing areas are termed “shear” fracture after their respective mode of fracture on a micro scale.
5.3 This test method can serve the following purposes:
5.3.1 In research and development, to evaluate the effects of metallurgical variables such as composition, processing, or heat treatment, or of fabricating operations such as forming and welding on the dynamic tear fracture resistance of new or existing materials.
5.3.2 In service evaluation, to establish the suitability of a material for a specific application only where a correlation between DT energy and service performance has been established.3
5.3.3 For information, specifications of acceptance, and manufacturing quality control when a minimum DT energy is requested. Detailed discussion of the basis for determining such minimum values in a particular case is beyond the scope of this test method.
SCOPE
1.1 This test method covers the dynamic tear (DT) test using specimens that are 3/16 in. to 5/8 in. (5 mm to 16 mm) inclusive in thickness.
1.2 This test method is applicable to materials with a minimum thickness of 3/16 in. (5 mm).
1.3 The pressed-knife procedure described for sharpening the notch tip generally limits this test method to materials with a hardness level less than 36 HRC.
Note 1: The designation 36 HRC is a Rockwell hardness number of 36 on Rockwell C scale as defined in Test Methods E18.
1.4 The values stated in inch-pound units are to be regarded as standard. The values given in parentheses are mathematical conversions to SI units that are provided for information only and are not considered standard.
1.5 This standard does not purport to address all of the safety concerns, if any, associated with its use. It is the responsibility of the user of this standard to establish appropriate safety, health, and environmental practices and determine the applicability of regulatory limitations prior to use.
1.6 This international standard was developed in accordance with internationally recognized principles on standardization established in the Decision on Principles for the Development of International Standards, Guides and Recommendations issued by the World Trade Organization Technical Barriers to Trade (TBT) Committee.
General Information
Relations
Buy Standard
Standards Content (Sample)
This international standard was developed in accordance with internationally recognized principles on standardization established in the Decision on Principles for the
Development of International Standards, Guides and Recommendations issued by the World Trade Organization Technical Barriers to Trade (TBT) Committee.
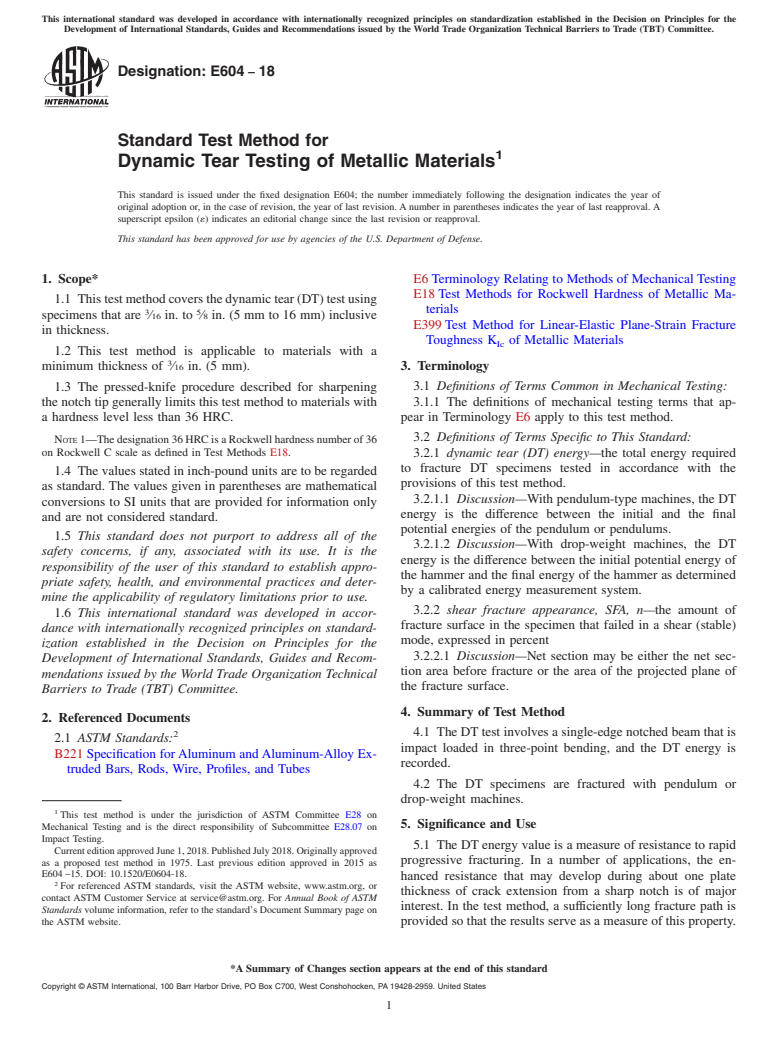
Designation: E604 − 18
Standard Test Method for
1
Dynamic Tear Testing of Metallic Materials
This standard is issued under the fixed designation E604; the number immediately following the designation indicates the year of
original adoption or, in the case of revision, the year of last revision.Anumber in parentheses indicates the year of last reapproval.A
superscript epsilon (´) indicates an editorial change since the last revision or reapproval.
This standard has been approved for use by agencies of the U.S. Department of Defense.
1. Scope* E6Terminology Relating to Methods of Mechanical Testing
E18Test Methods for Rockwell Hardness of Metallic Ma-
1.1 Thistestmethodcoversthedynamictear(DT)testusing
terials
3 5
specimens that are ⁄16 in. to ⁄8 in. (5 mm to 16 mm) inclusive
E399Test Method for Linear-Elastic Plane-Strain Fracture
in thickness.
Toughness K of Metallic Materials
Ic
1.2 This test method is applicable to materials with a
3
minimum thickness of ⁄16 in. (5 mm). 3. Terminology
1.3 The pressed-knife procedure described for sharpening 3.1 Definitions of Terms Common in Mechanical Testing:
the notch tip generally limits this test method to materials with 3.1.1 The definitions of mechanical testing terms that ap-
a hardness level less than 36 HRC. pear in Terminology E6 apply to this test method.
3.2 Definitions of Terms Specific to This Standard:
NOTE1—Thedesignation36HRCisaRockwellhardnessnumberof36
on Rockwell C scale as defined in Test Methods E18.
3.2.1 dynamic tear (DT) energy—the total energy required
to fracture DT specimens tested in accordance with the
1.4 The values stated in inch-pound units are to be regarded
provisions of this test method.
as standard. The values given in parentheses are mathematical
3.2.1.1 Discussion—With pendulum-type machines, the DT
conversions to SI units that are provided for information only
energy is the difference between the initial and the final
and are not considered standard.
potential energies of the pendulum or pendulums.
1.5 This standard does not purport to address all of the
3.2.1.2 Discussion—With drop-weight machines, the DT
safety concerns, if any, associated with its use. It is the
energy is the difference between the initial potential energy of
responsibility of the user of this standard to establish appro-
the hammer and the final energy of the hammer as determined
priate safety, health, and environmental practices and deter-
by a calibrated energy measurement system.
mine the applicability of regulatory limitations prior to use.
3.2.2 shear fracture appearance, SFA, n—the amount of
1.6 This international standard was developed in accor-
fracture surface in the specimen that failed in a shear (stable)
dance with internationally recognized principles on standard-
mode, expressed in percent
ization established in the Decision on Principles for the
3.2.2.1 Discussion—Net section may be either the net sec-
Development of International Standards, Guides and Recom-
tion area before fracture or the area of the projected plane of
mendations issued by the World Trade Organization Technical
the fracture surface.
Barriers to Trade (TBT) Committee.
4. Summary of Test Method
2. Referenced Documents
4.1 TheDTtestinvolvesasingle-edgenotchedbeamthatis
2
2.1 ASTM Standards:
impact loaded in three-point bending, and the DT energy is
B221Specification forAluminum andAluminum-Alloy Ex-
recorded.
truded Bars, Rods, Wire, Profiles, and Tubes
4.2 The DT specimens are fractured with pendulum or
drop-weight machines.
1
This test method is under the jurisdiction of ASTM Committee E28 on
5. Significance and Use
Mechanical Testing and is the direct responsibility of Subcommittee E28.07 on
Impact Testing.
5.1 The DTenergy value is a measure of resistance to rapid
CurrenteditionapprovedJune1,2018.PublishedJuly2018.Originallyapproved
progressive fracturing. In a number of applications, the en-
as a proposed test method in 1975. Last previous edition approved in 2015 as
E604–15. DOI: 10.1520/E0604-18.
hanced resistance that may develop during about one plate
2
For referenced ASTM standards, visit the ASTM website, www.astm.org, or
thickness of crack extension from a sharp notch is of major
contact ASTM Customer Service at service@astm.org. For Annual Book of ASTM
interest. In the test method, a sufficiently long fracture path is
Standards volume information, refer to the standard’s Document Summary page on
the ASTM website. provided so that the results serve as a measure of this property.
*A Summary of Changes section appears at the end of this standard
Copyright © ASTM International, 100 Barr Harbor Drive, PO Box C700, West Conshohocken, PA 19428-2959. United States
1
--
...
This document is not an ASTM standard and is intended only to provide the user of an ASTM standard an indication of what changes have been made to the previous version. Because
it may not be technically possible to adequately depict all changes accurately, ASTM recommends that users consult prior editions as appropriate. In all cases only the current version
of the standard as published by ASTM is to be considered the official document.
Designation: E604 − 15 E604 − 18
Standard Test Method for
1
Dynamic Tear Testing of Metallic Materials
This standard is issued under the fixed designation E604; the number immediately following the designation indicates the year of
original adoption or, in the case of revision, the year of last revision. A number in parentheses indicates the year of last reapproval. A
superscript epsilon (´) indicates an editorial change since the last revision or reapproval.
This standard has been approved for use by agencies of the U.S. Department of Defense.
1. Scope*
3 5
1.1 This test method covers the dynamic tear (DT) test using specimens that are ⁄16 in. to ⁄8 in. (5 mm to 16 mm) inclusive
in thickness.
3
1.2 This test method is applicable to materials with a minimum thickness of ⁄16 in. (5 mm).
1.3 The pressed-knife procedure described for sharpening the notch tip generally limits this test method to materials with a
hardness level less than 36 HRC.
NOTE 1—The designation 36 HRC is a Rockwell hardness number of 36 on Rockwell C scale as defined in Test Methods E18.
1.4 The values stated in inch-pound units are to be regarded as standard. The values given in parentheses are mathematical
conversions to SI units that are provided for information only and are not considered standard.
1.5 This standard does not purport to address all of the safety concerns, if any, associated with its use. It is the responsibility
of the user of this standard to establish appropriate safety safety, health, and healthenvironmental practices and determine the
applicability of regulatory limitations prior to use.
1.6 This international standard was developed in accordance with internationally recognized principles on standardization
established in the Decision on Principles for the Development of International Standards, Guides and Recommendations issued
by the World Trade Organization Technical Barriers to Trade (TBT) Committee.
2. Referenced Documents
2
2.1 ASTM Standards:
B221 Specification for Aluminum and Aluminum-Alloy Extruded Bars, Rods, Wire, Profiles, and Tubes
E6 Terminology Relating to Methods of Mechanical Testing
E18 Test Methods for Rockwell Hardness of Metallic Materials
E399 Test Method for Linear-Elastic Plane-Strain Fracture Toughness K of Metallic Materials
Ic
3. Terminology
3.1 Definitions of Terms Common in Mechanical Testing:
3.1.1 The definitions of mechanical testing terms that appear in Terminology E6 apply to this test method.
3.2 Definitions of Terms Specific to This Standard:
3.2.1 dynamic tear (DT) energy—the total energy required to fracture DT specimens tested in accordance with the provisions
of this test method.
3.2.1.1 Discussion—
With pendulum-type machines, the DT energy is the difference between the initial and the final potential energies of the pendulum
or pendulums.
1
This test method is under the jurisdiction of ASTM Committee E28 on Mechanical Testing and is the direct responsibility of Subcommittee E28.07 on Impact Testing.
Current edition approved Dec. 1, 2015June 1, 2018. Published February 2016July 2018. Originally approved as a proposed test method in 1975. Last previous edition
approved in 20082015 as E604 –83(2008). –15. DOI: 10.1520/E0604-15.10.1520/E0604-18.
2
For referenced ASTM standards, visit the ASTM website, www.astm.org, or contact ASTM Customer Service at service@astm.org. For Annual Book of ASTM Standards
volume information, refer to the standard’s Document Summary page on the ASTM website.
*A Summary of Changes section appears at the end of this standard
Copyright © ASTM International, 100 Barr Harbor Drive, PO Box C700, West Conshohocken, PA 19428-2959. United States
1
---------------------- Page: 1 ----------------------
E604 − 18
3.2.1.2 Discussion—
With drop-weight machines, the DT energy is the difference between the initial potential energy of the hammer and the final energy
of the hammer as determined by a calibrated energy measurement system.
3.2.2 percent shear fracture appearance—appearance, SFA, n—the percent of the net section that fracturedamount of fracture
surface in the specimen that failed in a shear mode. (stable) mode, expressed in percent
3.2.2.1 Discussion—
Net section may be either the net section area before fracture or the area of the projected plane of the fracture surface.
4. Summary of Test Method
4.1 The DT test involves a single-edge notched beam that is impact loaded in three-point bending, and the total energy loss
during separation DT energy is recorded.
4.2 The DT specimens are fractured with pendulum or drop-weight mac
...


Questions, Comments and Discussion
Ask us and Technical Secretary will try to provide an answer. You can facilitate discussion about the standard in here.