ASTM E1106-12(2017)
(Test Method)Standard Test Method for Primary Calibration of Acoustic Emission Sensors
Standard Test Method for Primary Calibration of Acoustic Emission Sensors
SIGNIFICANCE AND USE
4.1 Transfer Standards—One purpose of this test method is for the direct calibration of displacement transducers for use as secondary standards for the calibration of AE sensors for use in nondestructive evaluation. For this purpose, the transfer standard should be high fidelity and very well behaved and understood. If this can be established, the stated accuracy should apply over the full frequency range up to 1 MHz.
Note 1: The stated accuracy applies only if the transfer standard returns to quiescence, following the transient input, before any wave reflected from the boundary of the calibration block returns to the transfer standard (∼100 μs). For low frequencies with periods on the order of the time window, this condition is problematical to prove.
4.2 Applications Sensors—This test method may also be used for the calibration of AE sensors for use in nondestructive evaluation. Some of these sensors are less well behaved than devices suitable for a transfer standard. The stated accuracy for such devices applies in the range of 100 kHz to 1 MHz and with less accuracy below 100 kHz.
SCOPE
1.1 This test method covers the requirements for the absolute calibration of acoustic emission (AE) sensors. The calibration yields the frequency response of a transducer to waves, at a surface, of the type normally encountered in acoustic emission work. The transducer voltage response is determined at discrete frequency intervals of approximately 10 kHz up to 1 MHz. The input is a given well-established dynamic displacement normal to the mounting surface. The units of the calibration are output voltage per unit mechanical input (displacement, velocity, or acceleration).
1.2 Units—The values stated in SI units are to be regarded as standard. No other units of measurement are included in this standard.
1.3 This standard does not purport to address all of the safety concerns, if any, associated with its use. It is the responsibility of the user of this standard to establish appropriate safety and health practices and determine the applicability of regulatory limitations prior to use.
1.4 This international standard was developed in accordance with internationally recognized principles on standardization established in the Decision on Principles for the Development of International Standards, Guides and Recommendations issued by the World Trade Organization Technical Barriers to Trade (TBT) Committee.
General Information
Buy Standard
Standards Content (Sample)
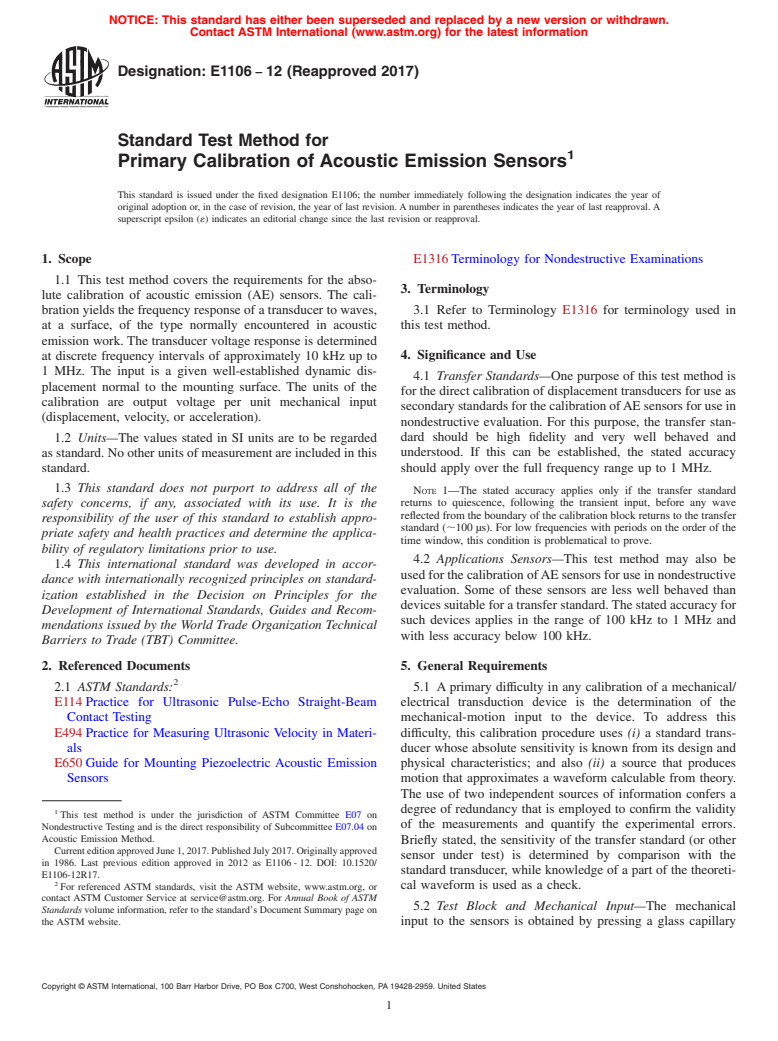
NOTICE: This standard has either been superseded and replaced by a new version or withdrawn.
Contact ASTM International (www.astm.org) for the latest information
Designation: E1106 − 12 (Reapproved 2017)
Standard Test Method for
1
Primary Calibration of Acoustic Emission Sensors
This standard is issued under the fixed designation E1106; the number immediately following the designation indicates the year of
original adoption or, in the case of revision, the year of last revision.Anumber in parentheses indicates the year of last reapproval.A
superscript epsilon (´) indicates an editorial change since the last revision or reapproval.
1. Scope E1316Terminology for Nondestructive Examinations
1.1 This test method covers the requirements for the abso-
3. Terminology
lute calibration of acoustic emission (AE) sensors. The cali-
bration yields the frequency response of a transducer to waves, 3.1 Refer to Terminology E1316 for terminology used in
at a surface, of the type normally encountered in acoustic this test method.
emission work. The transducer voltage response is determined
4. Significance and Use
at discrete frequency intervals of approximately 10 kHz up to
1 MHz. The input is a given well-established dynamic dis-
4.1 Transfer Standards—One purpose of this test method is
placement normal to the mounting surface. The units of the
forthedirectcalibrationofdisplacementtransducersforuseas
calibration are output voltage per unit mechanical input
secondarystandardsforthecalibrationofAEsensorsforusein
(displacement, velocity, or acceleration).
nondestructive evaluation. For this purpose, the transfer stan-
1.2 Units—The values stated in SI units are to be regarded dard should be high fidelity and very well behaved and
understood. If this can be established, the stated accuracy
asstandard.Nootherunitsofmeasurementareincludedinthis
standard. should apply over the full frequency range up to 1 MHz.
1.3 This standard does not purport to address all of the
NOTE 1—The stated accuracy applies only if the transfer standard
safety concerns, if any, associated with its use. It is the returns to quiescence, following the transient input, before any wave
reflected from the boundary of the calibration block returns to the transfer
responsibility of the user of this standard to establish appro-
standard (;100 µs). For low frequencies with periods on the order of the
priate safety and health practices and determine the applica-
time window, this condition is problematical to prove.
bility of regulatory limitations prior to use.
4.2 Applications Sensors—This test method may also be
1.4 This international standard was developed in accor-
usedforthecalibrationofAEsensorsforuseinnondestructive
dance with internationally recognized principles on standard-
evaluation. Some of these sensors are less well behaved than
ization established in the Decision on Principles for the
devicessuitableforatransferstandard.Thestatedaccuracyfor
Development of International Standards, Guides and Recom-
such devices applies in the range of 100 kHz to 1 MHz and
mendations issued by the World Trade Organization Technical
with less accuracy below 100 kHz.
Barriers to Trade (TBT) Committee.
2. Referenced Documents 5. General Requirements
2
2.1 ASTM Standards: 5.1 Aprimary difficulty in any calibration of a mechanical/
E114 Practice for Ultrasonic Pulse-Echo Straight-Beam electrical transduction device is the determination of the
Contact Testing mechanical-motion input to the device. To address this
E494Practice for Measuring Ultrasonic Velocity in Materi- difficulty, this calibration procedure uses (i) a standard trans-
als ducer whose absolute sensitivity is known from its design and
physical characteristics; and also (ii) a source that produces
E650Guide for Mounting Piezoelectric Acoustic Emission
Sensors motion that approximates a waveform calculable from theory.
The use of two independent sources of information confers a
degree of redundancy that is employed to confirm the validity
1
This test method is under the jurisdiction of ASTM Committee E07 on
of the measurements and quantify the experimental errors.
Nondestructive Testing and is the direct responsibility of Subcommittee E07.04 on
Acoustic Emission Method.
Briefly stated, the sensitivity of the transfer standard (or other
CurrenteditionapprovedJune1,2017.PublishedJuly2017.Originallyapproved
sensor under test) is determined by comparison with the
in 1986. Last previous edition approved in 2012 as E1106-12. DOI: 10.1520/
standard transducer, while knowledge of a part of the theoreti-
E1106-12R17.
2
For referenced ASTM standards, visit the ASTM website, www.astm.org, or cal waveform is used as a check.
contact ASTM Customer Service at service@astm.org. For Annual Book of ASTM
5.2 Test Block and Mechanical Input—The mechanical
Standards volume information, refer to the standard’s Document Summary page on
the ASTM website. input to the sensors is obtained by pressing a glass capillary
Copyright © ASTM Int
...
This document is not an ASTM standard and is intended only to provide the user of an ASTM standard an indication of what changes have been made to the previous version. Because
it may not be technically possible to adequately depict all changes accurately, ASTM recommends that users consult prior editions as appropriate. In all cases only the current version
of the standard as published by ASTM is to be considered the official document.
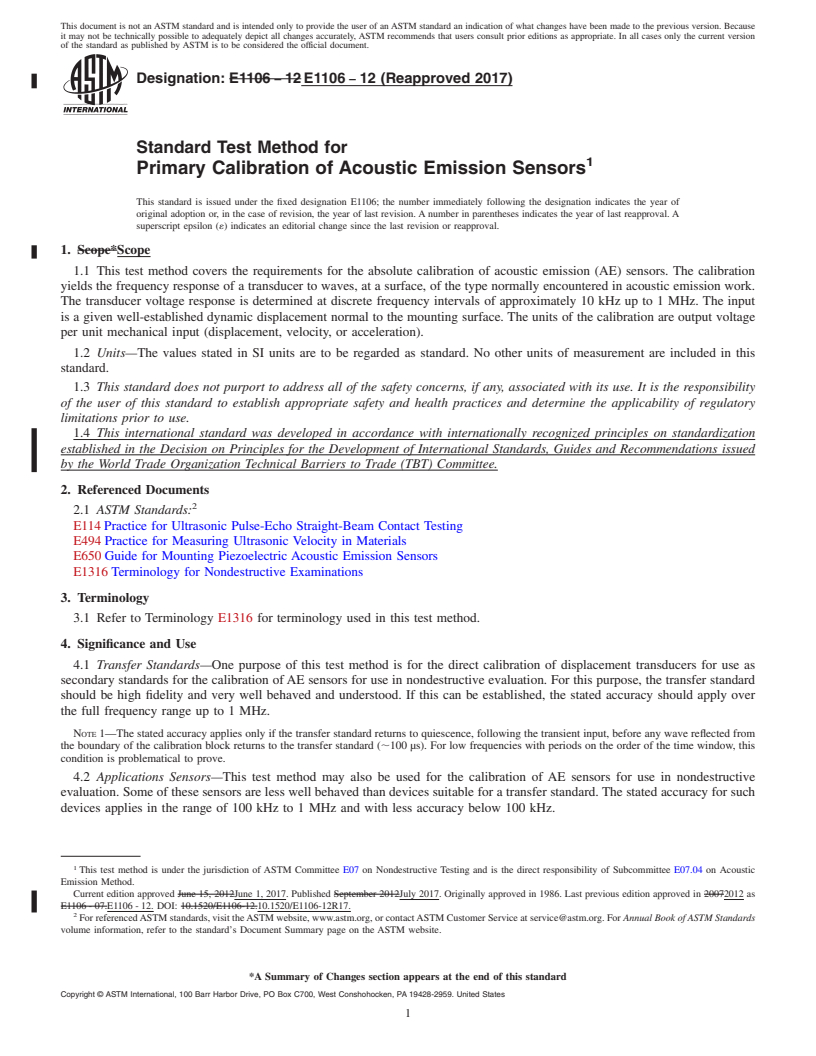
Designation: E1106 − 12 E1106 − 12 (Reapproved 2017)
Standard Test Method for
1
Primary Calibration of Acoustic Emission Sensors
This standard is issued under the fixed designation E1106; the number immediately following the designation indicates the year of
original adoption or, in the case of revision, the year of last revision. A number in parentheses indicates the year of last reapproval. A
superscript epsilon (´) indicates an editorial change since the last revision or reapproval.
1. Scope*Scope
1.1 This test method covers the requirements for the absolute calibration of acoustic emission (AE) sensors. The calibration
yields the frequency response of a transducer to waves, at a surface, of the type normally encountered in acoustic emission work.
The transducer voltage response is determined at discrete frequency intervals of approximately 10 kHz up to 1 MHz. The input
is a given well-established dynamic displacement normal to the mounting surface. The units of the calibration are output voltage
per unit mechanical input (displacement, velocity, or acceleration).
1.2 Units—The values stated in SI units are to be regarded as standard. No other units of measurement are included in this
standard.
1.3 This standard does not purport to address all of the safety concerns, if any, associated with its use. It is the responsibility
of the user of this standard to establish appropriate safety and health practices and determine the applicability of regulatory
limitations prior to use.
1.4 This international standard was developed in accordance with internationally recognized principles on standardization
established in the Decision on Principles for the Development of International Standards, Guides and Recommendations issued
by the World Trade Organization Technical Barriers to Trade (TBT) Committee.
2. Referenced Documents
2
2.1 ASTM Standards:
E114 Practice for Ultrasonic Pulse-Echo Straight-Beam Contact Testing
E494 Practice for Measuring Ultrasonic Velocity in Materials
E650 Guide for Mounting Piezoelectric Acoustic Emission Sensors
E1316 Terminology for Nondestructive Examinations
3. Terminology
3.1 Refer to Terminology E1316 for terminology used in this test method.
4. Significance and Use
4.1 Transfer Standards—One purpose of this test method is for the direct calibration of displacement transducers for use as
secondary standards for the calibration of AE sensors for use in nondestructive evaluation. For this purpose, the transfer standard
should be high fidelity and very well behaved and understood. If this can be established, the stated accuracy should apply over
the full frequency range up to 1 MHz.
NOTE 1—The stated accuracy applies only if the transfer standard returns to quiescence, following the transient input, before any wave reflected from
the boundary of the calibration block returns to the transfer standard (;100 μs). For low frequencies with periods on the order of the time window, this
condition is problematical to prove.
4.2 Applications Sensors—This test method may also be used for the calibration of AE sensors for use in nondestructive
evaluation. Some of these sensors are less well behaved than devices suitable for a transfer standard. The stated accuracy for such
devices applies in the range of 100 kHz to 1 MHz and with less accuracy below 100 kHz.
1
This test method is under the jurisdiction of ASTM Committee E07 on Nondestructive Testing and is the direct responsibility of Subcommittee E07.04 on Acoustic
Emission Method.
Current edition approved June 15, 2012June 1, 2017. Published September 2012July 2017. Originally approved in 1986. Last previous edition approved in 20072012 as
E1106 - 07.E1106 - 12. DOI: 10.1520/E1106-12.10.1520/E1106-12R17.
2
For referenced ASTM standards, visit the ASTM website, www.astm.org, or contact ASTM Customer Service at service@astm.org. For Annual Book of ASTM Standards
volume information, refer to the standard’s Document Summary page on the ASTM website.
*A Summary of Changes section appears at the end of this standard
Copyright © ASTM International, 100 Barr Harbor Drive, PO Box C700, West Conshohocken, PA 19428-2959. United States
1
---------------------- Page: 1 ----------------------
E1106 − 12 (2017)
5. General Requirements
5.1 A primary difficulty in any calibration of a mechanical/electrical transduction device is the determination of the
mechanical-motion input to the device. To address this difficulty, this calibration procedure uses (i) a standard transducer whose
absolute sensitivity is known from its design a
...


Questions, Comments and Discussion
Ask us and Technical Secretary will try to provide an answer. You can facilitate discussion about the standard in here.