ASTM E92-16
(Test Method)Standard Test Methods for Vickers Hardness and Knoop Hardness of Metallic Materials
Standard Test Methods for Vickers Hardness and Knoop Hardness of Metallic Materials
SIGNIFICANCE AND USE
4.1 Vickers and Knoop hardness tests have been found to be very useful for materials evaluation, quality control of manufacturing processes and research and development efforts. Hardness, although empirical in nature, can be correlated to tensile strength for many metals, and is an indicator of wear resistance and ductility.
4.2 Microindentation hardness tests extend testing to materials that are too thin or too small for macroindentation hardness tests. Microindentation hardness tests also allow specific phases or constituents and regions or gradients too small for macroindentation hardness testing to be evaluated. Recommendations for microindentation testing can be found in Test Method E384.
4.3 Because the Vickers and Knoop hardness will reveal hardness variations that may exist within a material, a single test value may not be representative of the bulk hardness.
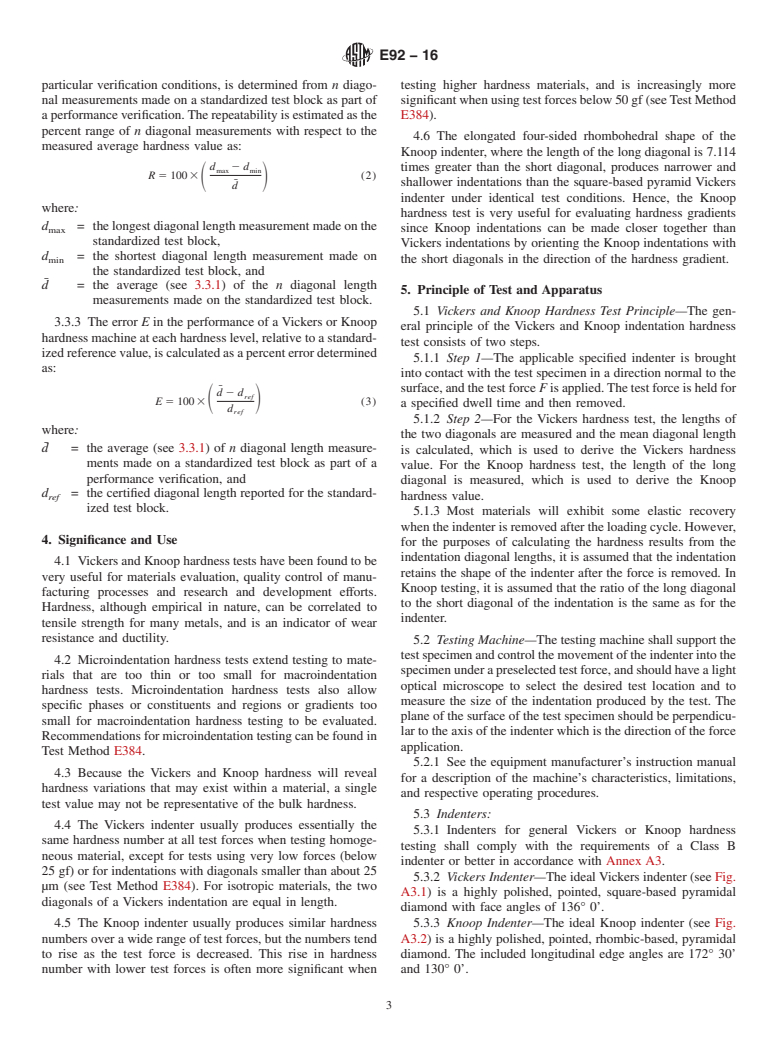
4.4 The Vickers indenter usually produces essentially the same hardness number at all test forces when testing homogeneous material, except for tests using very low forces (below 25 gf) or for indentations with diagonals smaller than about 25 µm (see Test Method E384). For isotropic materials, the two diagonals of a Vickers indentation are equal in length.
4.5 The Knoop indenter usually produces similar hardness numbers over a wide range of test forces, but the numbers tend to rise as the test force is decreased. This rise in hardness number with lower test forces is often more significant when testing higher hardness materials, and is increasingly more significant when using test forces below 50 gf (see Test Method E384).
4.6 The elongated four-sided rhombohedral shape of the Knoop indenter, where the length of the long diagonal is 7.114 times greater than the short diagonal, produces narrower and shallower indentations than the square-based pyramid Vickers indenter under identical test conditions. Hence, the Knoop hardness test is very useful for evaluating hardness gradients since Knoo...
SCOPE
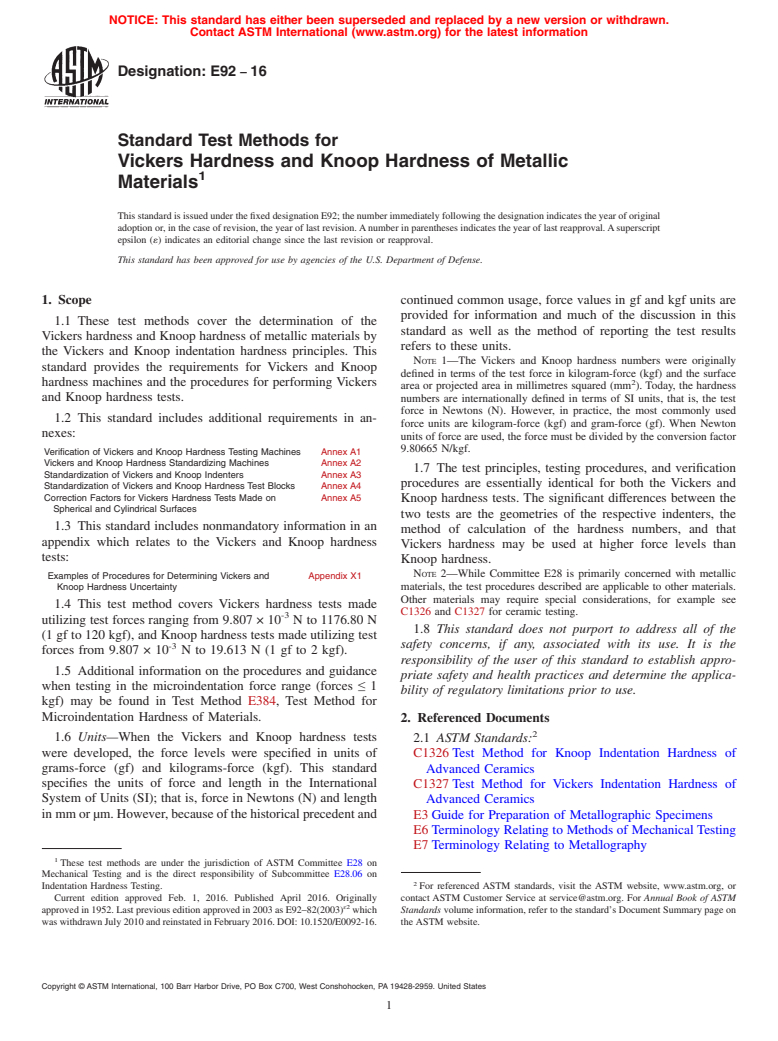
1.1 These test methods cover the determination of the Vickers hardness and Knoop hardness of metallic materials by the Vickers and Knoop indentation hardness principles. This standard provides the requirements for Vickers and Knoop hardness machines and the procedures for performing Vickers and Knoop hardness tests.
1.2 This standard includes additional requirements in annexes:
Verification of Vickers and Knoop Hardness Testing Machines
Annex A1
Vickers and Knoop Hardness Standardizing Machines
Annex A2
Standardization of Vickers and Knoop Indenters
Annex A3
Standardization of Vickers and Knoop Hardness Test Blocks
Annex A4
Correction Factors for Vickers Hardness Tests Made on Spherical and Cylindrical Surfaces
Annex A5
1.3 This standard includes nonmandatory information in an appendix which relates to the Vickers and Knoop hardness tests:
Examples of Procedures for Determining Vickers and Knoop Hardness Uncertainty
Appendix X1
1.4 This test method covers Vickers hardness tests made utilizing test forces ranging from 9.807 × 10⁻³ N to 1176.80 N (1 gf to 120 kgf), and Knoop hardness tests made utilizing test forces from 9.807 × 10⁻³ N to 19.613 N (1 gf to 2 kgf).
1.5 Additional information on the procedures and guidance when testing in the microindentation force range (forces ≤ 1 kgf) may be found in Test Method E384, Test Method for Microindentation Hardness of Materials.
1.6 Units—When the Vickers and Knoop hardness tests were developed, the force levels were specified in units of grams-force (gf) and kilograms-force (kgf). This standard specifies the units of force and length in the International System of Units (SI); that is, force in Newtons (N) and length in mm or µm. However, because of the historical precedent and continued common usage, force values in gf and kgf units are provided for information and much of the discussion in this standard as well as the...
General Information
Standards Content (Sample)
NOTICE: This standard has either been superseded and replaced by a new version or withdrawn.
Contact ASTM International (www.astm.org) for the latest information
Designation: E92 − 16
Standard Test Methods for
Vickers Hardness and Knoop Hardness of Metallic
1
Materials
ThisstandardisissuedunderthefixeddesignationE92;thenumberimmediatelyfollowingthedesignationindicatestheyearoforiginal
adoptionor,inthecaseofrevision,theyearoflastrevision.Anumberinparenthesesindicatestheyearoflastreapproval.Asuperscript
epsilon (´) indicates an editorial change since the last revision or reapproval.
This standard has been approved for use by agencies of the U.S. Department of Defense.
1. Scope continued common usage, force values in gf and kgf units are
provided for information and much of the discussion in this
1.1 These test methods cover the determination of the
standard as well as the method of reporting the test results
Vickers hardness and Knoop hardness of metallic materials by
refers to these units.
the Vickers and Knoop indentation hardness principles. This
NOTE 1—The Vickers and Knoop hardness numbers were originally
standard provides the requirements for Vickers and Knoop
defined in terms of the test force in kilogram-force (kgf) and the surface
2
hardness machines and the procedures for performing Vickers
area or projected area in millimetres squared (mm ). Today, the hardness
and Knoop hardness tests. numbers are internationally defined in terms of SI units, that is, the test
force in Newtons (N). However, in practice, the most commonly used
1.2 This standard includes additional requirements in an-
force units are kilogram-force (kgf) and gram-force (gf). When Newton
nexes:
units of force are used, the force must be divided by the conversion factor
9.80665 N/kgf.
Verification of Vickers and Knoop Hardness Testing Machines Annex A1
Vickers and Knoop Hardness Standardizing Machines Annex A2
1.7 The test principles, testing procedures, and verification
Standardization of Vickers and Knoop Indenters Annex A3
procedures are essentially identical for both the Vickers and
Standardization of Vickers and Knoop Hardness Test Blocks Annex A4
Correction Factors for Vickers Hardness Tests Made on Annex A5
Knoop hardness tests. The significant differences between the
Spherical and Cylindrical Surfaces
two tests are the geometries of the respective indenters, the
1.3 This standard includes nonmandatory information in an
method of calculation of the hardness numbers, and that
appendix which relates to the Vickers and Knoop hardness
Vickers hardness may be used at higher force levels than
tests:
Knoop hardness.
NOTE 2—While Committee E28 is primarily concerned with metallic
Examples of Procedures for Determining Vickers and Appendix X1
Knoop Hardness Uncertainty materials, the test procedures described are applicable to other materials.
Other materials may require special considerations, for example see
1.4 This test method covers Vickers hardness tests made
C1326 and C1327 for ceramic testing.
-3
utilizing test forces ranging from 9.807 × 10 N to 1176.80 N
1.8 This standard does not purport to address all of the
(1 gf to 120 kgf), and Knoop hardness tests made utilizing test
-3 safety concerns, if any, associated with its use. It is the
forces from 9.807 × 10 N to 19.613 N (1 gf to 2 kgf).
responsibility of the user of this standard to establish appro-
1.5 Additional information on the procedures and guidance
priate safety and health practices and determine the applica-
when testing in the microindentation force range (forces ≤ 1
bility of regulatory limitations prior to use.
kgf) may be found in Test Method E384, Test Method for
Microindentation Hardness of Materials. 2. Referenced Documents
2
1.6 Units—When the Vickers and Knoop hardness tests
2.1 ASTM Standards:
were developed, the force levels were specified in units of C1326Test Method for Knoop Indentation Hardness of
grams-force (gf) and kilograms-force (kgf). This standard
Advanced Ceramics
specifies the units of force and length in the International
C1327Test Method for Vickers Indentation Hardness of
System of Units (SI); that is, force in Newtons (N) and length
Advanced Ceramics
inmmorµm.However,becauseofthehistoricalprecedentand
E3Guide for Preparation of Metallographic Specimens
E6Terminology Relating to Methods of Mechanical Testing
E7Terminology Relating to Metallography
1
These test methods are under the jurisdiction of ASTM Committee E28 on
Mechanical Testing and is the direct responsibility of Subcommittee E28.06 on
2
Indentation Hardness Testing. For referenced ASTM standards, visit the ASTM website, www.astm.org, or
Current edition approved Feb. 1, 2016. Published April 2016. Originally contact ASTM Customer Service at service@astm.org. For Annual Book of ASTM
ɛ2
approvedin1952.Lastpreviouseditionapprovedin2003asE92–82(2003) which Standards volume information, refer to the standard’s Document Summary page on
waswithdrawnJuly2010andreinstatedinFebruary2016.DOI:10.152
...


Questions, Comments and Discussion
Ask us and Technical Secretary will try to provide an answer. You can facilitate discussion about the standard in here.