ASTM C326-03
(Test Method)Standard Test Method for Drying and Firing Shrinkages of Ceramic Whiteware Clays
Standard Test Method for Drying and Firing Shrinkages of Ceramic Whiteware Clays
SIGNIFICANCE AND USE
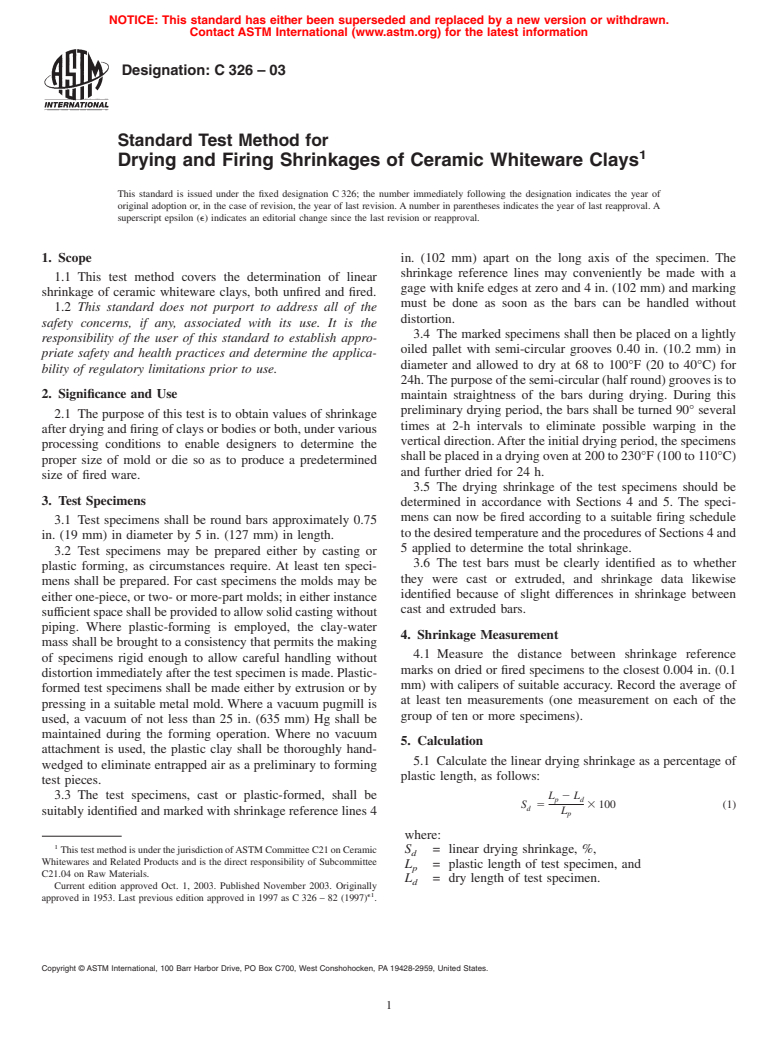
The purpose of this test is to obtain values of shrinkage after drying and firing of clays or bodies or both, under various processing conditions to enable designers to determine the proper size of mold or die so as to produce a predetermined size of fired ware.
SCOPE
1.1 This method covers the determination of linear shrinkage of ceramic whiteware clays, both unfired and fired.
1.2 This standard does not purport to address all of the safety concerns, if any, associated with its use. It is the responsibility of the user of this standard to establish appropriate safety and health practices and determine the applicability of regulatory limitations prior to use.
General Information
Relations
Standards Content (Sample)
NOTICE: This standard has either been superseded and replaced by a new version or withdrawn.
Contact ASTM International (www.astm.org) for the latest information
Designation:C326–03
Standard Test Method for
1
Drying and Firing Shrinkages of Ceramic Whiteware Clays
This standard is issued under the fixed designation C 326; the number immediately following the designation indicates the year of
original adoption or, in the case of revision, the year of last revision. A number in parentheses indicates the year of last reapproval. A
superscript epsilon (e) indicates an editorial change since the last revision or reapproval.
1. Scope in. (102 mm) apart on the long axis of the specimen. The
shrinkage reference lines may conveniently be made with a
1.1 This test method covers the determination of linear
gage with knife edges at zero and 4 in. (102 mm) and marking
shrinkage of ceramic whiteware clays, both unfired and fired.
must be done as soon as the bars can be handled without
1.2 This standard does not purport to address all of the
distortion.
safety concerns, if any, associated with its use. It is the
3.4 The marked specimens shall then be placed on a lightly
responsibility of the user of this standard to establish appro-
oiled pallet with semi-circular grooves 0.40 in. (10.2 mm) in
priate safety and health practices and determine the applica-
diameter and allowed to dry at 68 to 100°F (20 to 40°C) for
bility of regulatory limitations prior to use.
24h.Thepurposeofthesemi-circular(halfround)groovesisto
2. Significance and Use maintain straightness of the bars during drying. During this
preliminary drying period, the bars shall be turned 90° several
2.1 The purpose of this test is to obtain values of shrinkage
times at 2-h intervals to eliminate possible warping in the
after drying and firing of clays or bodies or both, under various
vertical direction.After the initial drying period, the specimens
processing conditions to enable designers to determine the
shall be placed in a drying oven at 200 to 230°F (100 to 110°C)
proper size of mold or die so as to produce a predetermined
and further dried for 24 h.
size of fired ware.
3.5 The drying shrinkage of the test specimens should be
3. Test Specimens
determined in accordance with Sections 4 and 5. The speci-
mens can now be fired according to a suitable firing schedule
3.1 Test specimens shall be round bars approximately 0.75
to the desired temperature and the procedures of Sections 4 and
in. (19 mm) in diameter by 5 in. (127 mm) in length.
5 applied to determine the total shrinkage.
3.2 Test specimens may be prepared either by casting or
3.6 The test bars must be clearly identified as to whether
plastic forming, as circumstances require. At least ten speci-
they were cast or extruded, and shrinkage data likewise
mens shall be prepared. For cast specimens the molds may be
identified because of slight differences in shrinkage between
either one-piece, or two- or more-part molds; in either instance
cast and extruded bars.
sufficient space shall be provided to allow solid casting without
piping. Where plastic-forming is employed, the clay-water
4. Shrinkage Measurement
mass shall be brought to a consistency that permits the making
4.1 Measure the distance between shrinkage reference
of specimens rigid enough to allow careful handling without
marks on dried or fired specimens to the closest 0.004 in. (0.1
distortion immediately after the test specimen is made. Plastic-
mm) with calipers of suitable accuracy. Record the average of
formed test specimens shall be made either by extrusion or by
at least ten measurements (one measurement on each of the
pressing in a suitable metal mold. Where a vacuum pugmill is
group of ten or more specimens).
used, a vacuum of not less than 25 in. (635 mm) Hg shall be
maintained during the forming operation. Where no vacuum
5. Calculation
attachment is used, the plastic clay shall be thoroughly hand-
5.1 Calculate the linear drying shrinkage as a percentage of
wedged to eliminate entrapped air as a preliminary to forming
plastic length, as follows:
test pieces.
3.3 The test specimens, cast or plastic-formed, shall be L 2 L
p d
S 5 3 100 (1)
d
L
suitably identified and marked with shrinkage reference lines 4
p
where:
1
This test method is under the jurisdiction ofASTM Committee C21 on Ceramic S = linear drying shrinkage, %,
d
Whitewares and Related Products and is the direct responsibility of Subcommittee
L = plastic length of test specimen, and
p
C21.04 on Raw Materials.
L = dry length of test specimen.
d
Current edition approved Oct. 1, 2003. Published November 2003. Originally
e1
approved in 1953. Last previous edition approved in 1997 as C 326 – 82 (1997) .
Copyright © ASTM International, 100 Barr Harbor Drive, PO Box C700, West Conshohocken, PA 19428-2959, United States.
1
---------------------- Page: 1 ----------------------
C326–03
5.2 Calculate the total linear shrinkage after drying and
L = plastic length of test specimen, and
p
firing o
...


Questions, Comments and Discussion
Ask us and Technical Secretary will try to provide an answer. You can facilitate discussion about the standard in here.