ASTM D2749-02(2008)
(Terminology)Standard Symbols for Dimensions of Plastic Pipe Fittings
Standard Symbols for Dimensions of Plastic Pipe Fittings
SCOPE
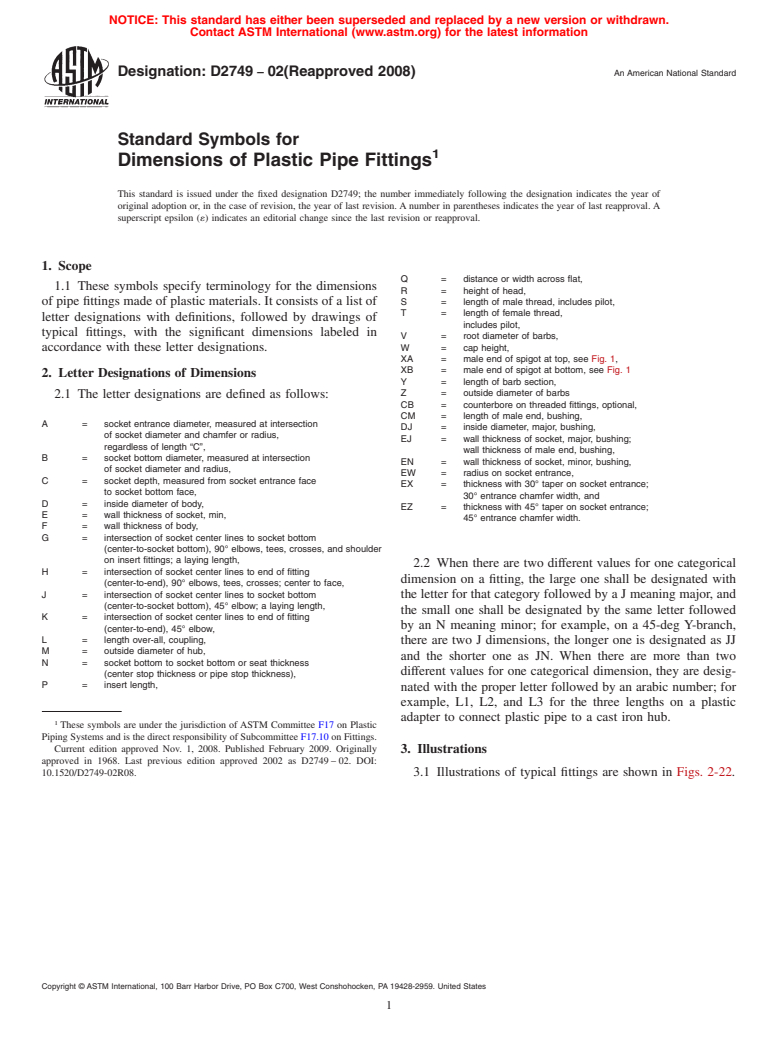
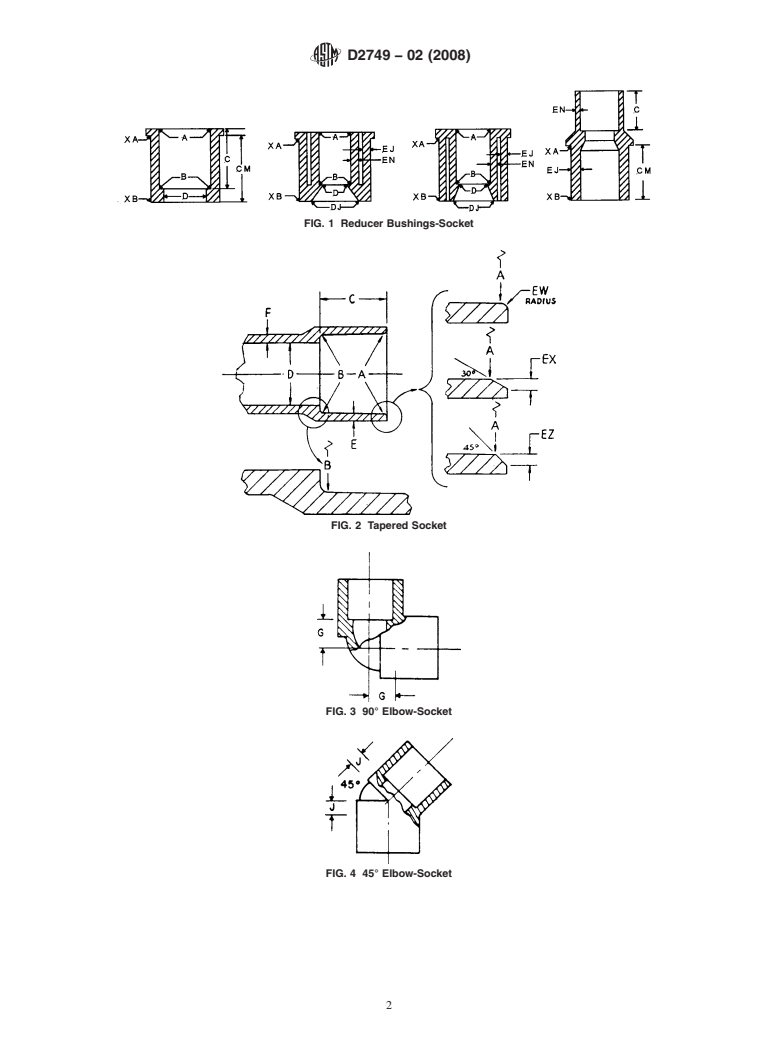
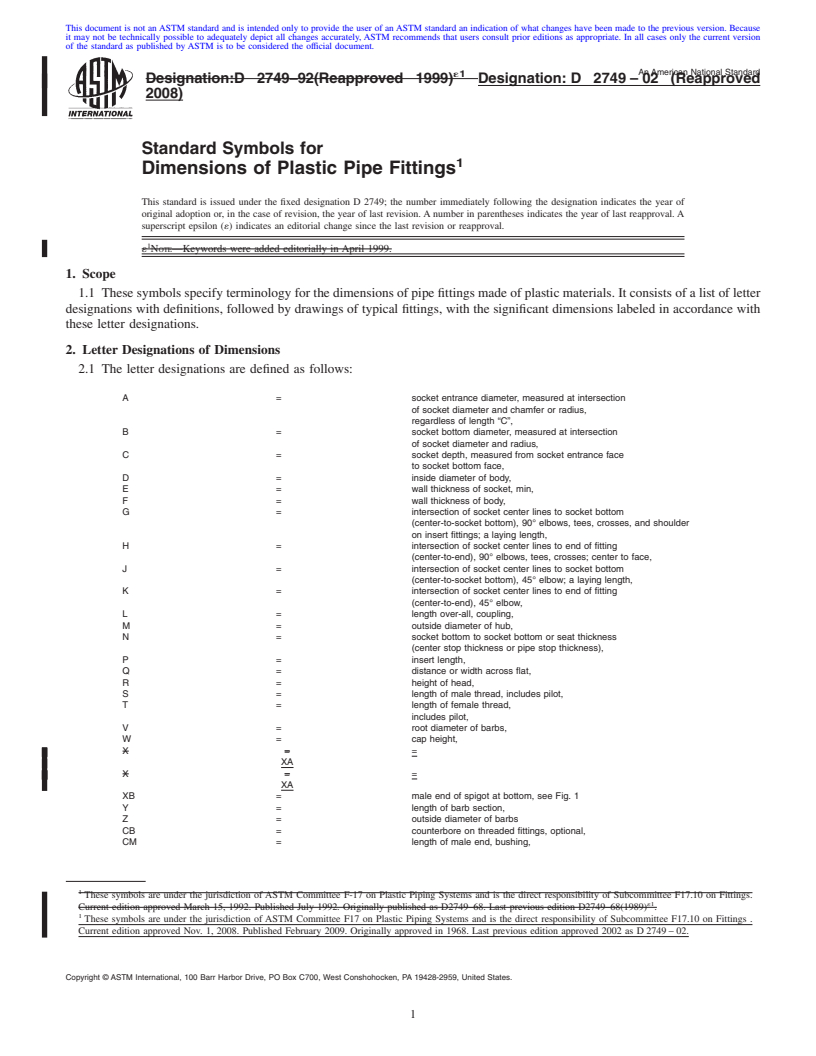
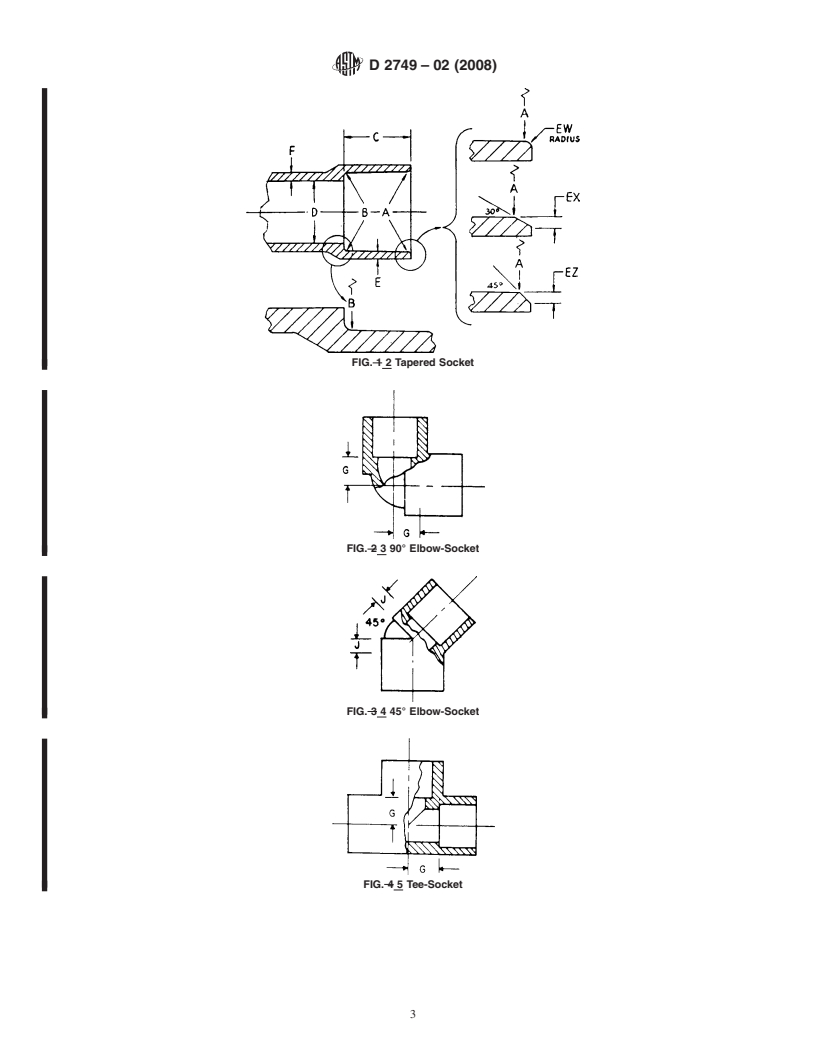
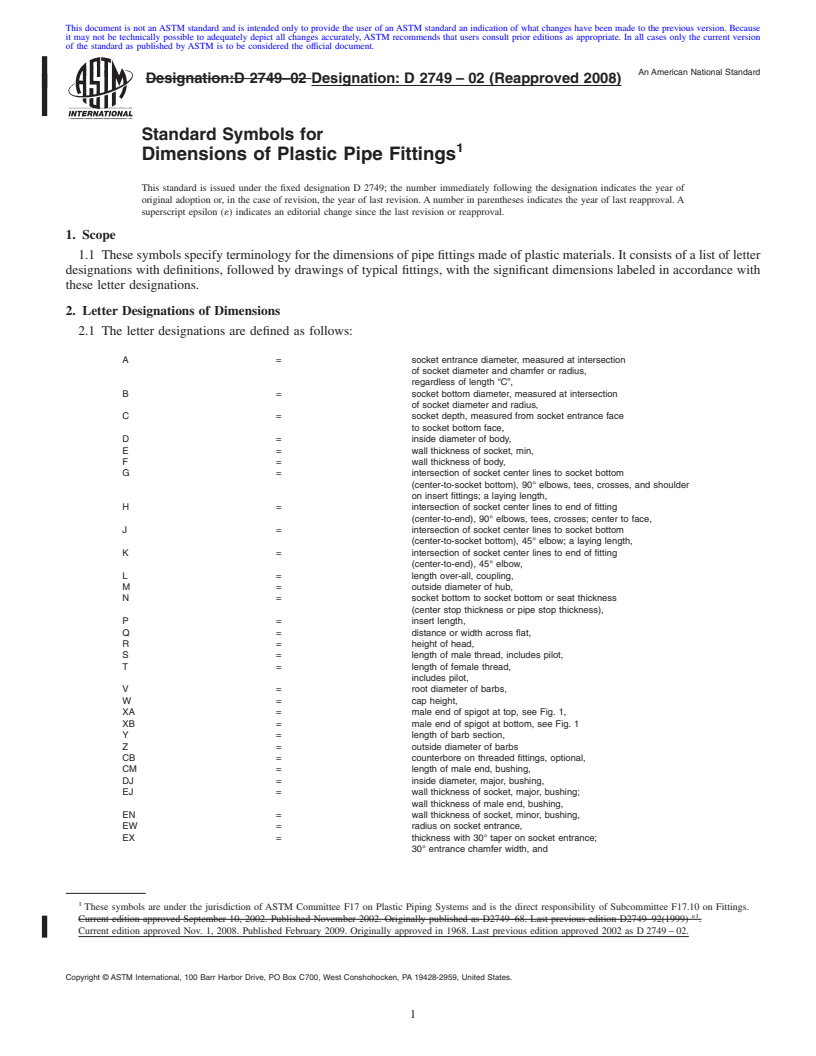
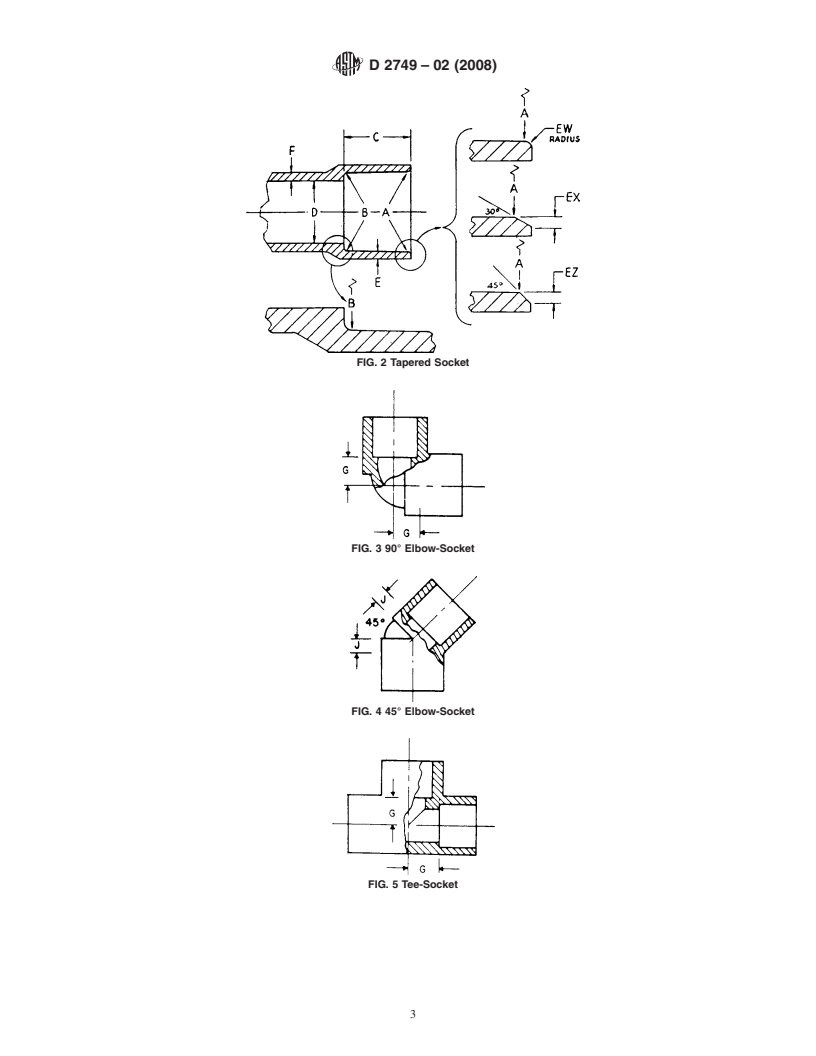
1.1 These symbols specify terminology for the dimensions of pipe fittings made of plastic materials. It consists of a list of letter designations with definitions, followed by drawings of typical fittings, with the significant dimensions labeled in accordance with these letter designations.
General Information
Relations
Buy Standard
Standards Content (Sample)
NOTICE: This standard has either been superseded and replaced by a new version or withdrawn.
Contact ASTM International (www.astm.org) for the latest information
Designation: D2749 − 02(Reapproved 2008) An American National Standard
Standard Symbols for
Dimensions of Plastic Pipe Fittings
This standard is issued under the fixed designation D2749; the number immediately following the designation indicates the year of
original adoption or, in the case of revision, the year of last revision. A number in parentheses indicates the year of last reapproval. A
superscript epsilon (´) indicates an editorial change since the last revision or reapproval.
1. Scope
Q = distance or width across flat,
1.1 These symbols specify terminology for the dimensions
R = height of head,
of pipe fittings made of plastic materials. It consists of a list of S = length of male thread, includes pilot,
T = length of female thread,
letter designations with definitions, followed by drawings of
includes pilot,
typical fittings, with the significant dimensions labeled in
V = root diameter of barbs,
accordance with these letter designations. W = cap height,
XA = male end of spigot at top, see Fig. 1,
XB = male end of spigot at bottom, see Fig. 1
2. Letter Designations of Dimensions
Y = length of barb section,
Z = outside diameter of barbs
2.1 The letter designations are defined as follows:
CB = counterbore on threaded fittings, optional,
CM = length of male end, bushing,
A = socket entrance diameter, measured at intersection
DJ = inside diameter, major, bushing,
of socket diameter and chamfer or radius,
EJ = wall thickness of socket, major, bushing;
regardless of length “C”,
wall thickness of male end, bushing,
B = socket bottom diameter, measured at intersection
EN = wall thickness of socket, minor, bushing,
of socket diameter and radius,
EW = radius on socket entrance,
C = socket depth, measured from socket entrance face
EX = thickness with 30° taper on socket entrance;
to socket bottom face,
30° entrance chamfer width, and
D = inside diameter of body,
EZ = thickness with 45° taper on socket entrance;
E = wall thickness of socket, min,
45° entrance chamfer width.
F = wall thickness of body,
G = intersection of socket center lines to socket bottom
(center-to-socket bottom), 90° elbows, tees, crosses, and shoulder
on insert fittings; a laying length,
2.2 When there are two different values for one categorical
H = intersection of socket center lines to end of fitting
dimension on a fitting, the large one shall be designated with
(center-to-end), 90° elbows, tees, crosses; center to face,
J = intersection of socket center lines to socket bottom
the letter for that category followed by a J meaning major, and
(center-to-socket bottom), 45° elbow; a laying length,
the small one shall be designated by the same letter followed
K = intersection of socket center lines to end of fitting
by an N meaning minor; for example, on a 45-deg Y-branch,
(center-to-end), 45° elbow,
L = length over-all, coupling,
there are two J dimensions, the longer one is designated as JJ
M = outside diameter of hub,
and the shorter one as JN. When there are more than two
N = socket bottom to socket bottom or seat thickness
different values for one categorical dimension, they are
...
This document is not an ASTM standard and is intended only to provide the user of an ASTM standard an indication of what changes have been made to the previous version. Because
it may not be technically possible to adequately depict all changes accurately, ASTM recommends that users consult prior editions as appropriate. In all cases only the current version
of the standard as published by ASTM is to be considered the official document.
An American National Standard
´1
Designation:D 2749–92(Reapproved 1999) Designation: D 2749 – 02 (Reapproved
2008)
Standard Symbols for
Dimensions of Plastic Pipe Fittings
This standard is issued under the fixed designation D 2749; the number immediately following the designation indicates the year of
original adoption or, in the case of revision, the year of last revision. A number in parentheses indicates the year of last reapproval. A
superscript epsilon (´) indicates an editorial change since the last revision or reapproval.
´ NOTE—Keywords were added editorially in April 1999.
1. Scope
1.1 These symbols specify terminology for the dimensions of pipe fittings made of plastic materials. It consists of a list of letter
designations with definitions, followed by drawings of typical fittings, with the significant dimensions labeled in accordance with
these letter designations.
2. Letter Designations of Dimensions
2.1 The letter designations are defined as follows:
A = socket entrance diameter, measured at intersection
of socket diameter and chamfer or radius,
regardless of length “C”,
B = socket bottom diameter, measured at intersection
of socket diameter and radius,
C = socket depth, measured from socket entrance face
to socket bottom face,
D = inside diameter of body,
E = wall thickness of socket, min,
F = wall thickness of body,
G = intersection of socket center lines to socket bottom
(center-to-socket bottom), 90° elbows, tees, crosses, and shoulder
on insert fittings; a laying length,
H = intersection of socket center lines to end of fitting
(center-to-end), 90° elbows, tees, crosses; center to face,
J = intersection of socket center lines to socket bottom
(center-to-socket bottom), 45° elbow; a laying length,
K = intersection of socket center lines to end of fitting
(center-to-end), 45° elbow,
L = length over-all, coupling,
M = outside diameter of hub,
N = socket bottom to socket bottom or seat thickness
(center stop thickness or pipe stop thickness),
P = insert length,
Q = distance or width across flat,
R = height of head,
S = length of male thread, includes pilot,
T = length of female thread,
includes pilot,
V = root diameter of barbs,
W = cap height,
X = =
XA
X = =
XA
XB = male end of spigot at bottom, see Fig. 1
Y = length of barb section,
Z = outside diameter of barbs
CB = counterbore on threaded fittings, optional,
CM = length of male end, bushing,
These symbols are under the jurisdiction of ASTM Committee F-17 on Plastic Piping Systems and is the direct responsibility of Subcommittee F17.10 on Fittings.
´1
Current edition approved March 15, 1992. Published July 1992. Originally published as D2749–68. Last previous edition D2749–68(1989) .
These symbols are under the jurisdiction of ASTM Committee F17 on Plastic Piping Systems and is the direct responsibility of Subcommittee F17.10 on Fittings .
Current edition approved Nov. 1, 2008. Published February 2009. Originally approved in 1968. Last previous edition approved 2002 as D 2749 – 02.
Copyright © ASTM International, 100 Barr Harbor Drive, PO Box C700, West Conshohocken, PA 19428-2959, United States
...
This document is not an ASTM standard and is intended only to provide the user of an ASTM standard an indication of what changes have been made to the previous version. Because
it may not be technically possible to adequately depict all changes accurately, ASTM recommends that users consult prior editions as appropriate. In all cases only the current version
of the standard as published by ASTM is to be considered the official document.
An American National Standard
Designation:D 2749–02 Designation: D 2749 – 02 (Reapproved 2008)
Standard Symbols for
Dimensions of Plastic Pipe Fittings
This standard is issued under the fixed designation D 2749; the number immediately following the designation indicates the year of
original adoption or, in the case of revision, the year of last revision. A number in parentheses indicates the year of last reapproval. A
superscript epsilon (´) indicates an editorial change since the last revision or reapproval.
1. Scope
1.1 These symbols specify terminology for the dimensions of pipe fittings made of plastic materials. It consists of a list of letter
designations with definitions, followed by drawings of typical fittings, with the significant dimensions labeled in accordance with
these letter designations.
2. Letter Designations of Dimensions
2.1 The letter designations are defined as follows:
A = socket entrance diameter, measured at intersection
of socket diameter and chamfer or radius,
regardless of length “C”,
B = socket bottom diameter, measured at intersection
of socket diameter and radius,
C = socket depth, measured from socket entrance face
to socket bottom face,
D = inside diameter of body,
E = wall thickness of socket, min,
F = wall thickness of body,
G = intersection of socket center lines to socket bottom
(center-to-socket bottom), 90° elbows, tees, crosses, and shoulder
on insert fittings; a laying length,
H = intersection of socket center lines to end of fitting
(center-to-end), 90° elbows, tees, crosses; center to face,
J = intersection of socket center lines to socket bottom
(center-to-socket bottom), 45° elbow; a laying length,
K = intersection of socket center lines to end of fitting
(center-to-end), 45° elbow,
L = length over-all, coupling,
M = outside diameter of hub,
N = socket bottom to socket bottom or seat thickness
(center stop thickness or pipe stop thickness),
P = insert length,
Q = distance or width across flat,
R = height of head,
S = length of male thread, includes pilot,
T = length of female thread,
includes pilot,
V = root diameter of barbs,
W = cap height,
XA = male end of spigot at top, see Fig. 1,
XB = male end of spigot at bottom, see Fig. 1
Y = length of barb section,
Z = outside diameter of barbs
CB = counterbore on threaded fittings, optional,
CM = length of male end, bushing,
DJ = inside diameter, major, bushing,
EJ = wall thickness of socket, major, bushing;
wall thickness of male end, bushing,
EN = wall thickness of socket, minor, bushing,
EW = radius on socket entrance,
EX = thickness with 30° taper on socket entrance;
30° entrance chamfer width, and
These symbols are under the jurisdiction of ASTM Committee F17 on Plastic Piping Systems and is the direct responsibility of Subcommittee F17.10 on Fittings.
´1
Current edition approved September 10, 2002. Published November 2002. Originally published as D2749–68. Last previous edition D2749–92(1999) .
Current edition approved Nov. 1, 2008. Published February 2009. Originall
...


Questions, Comments and Discussion
Ask us and Technical Secretary will try to provide an answer. You can facilitate discussion about the standard in here.