ASTM C1624-22
(Test Method)Standard Test Method for Adhesion Strength and Mechanical Failure Modes of Ceramic Coatings by Quantitative Single Point Scratch Testing
Standard Test Method for Adhesion Strength and Mechanical Failure Modes of Ceramic Coatings by Quantitative Single Point Scratch Testing
SIGNIFICANCE AND USE
5.1 This test is intended to assess the mechanical integrity, failure modes, and practical adhesion strength of a specific hard ceramic coating on a given metal or ceramic substrate. The test method does not measure the fundamental “adhesion strength” of the bond between the coating and the substrate. Rather, the test method gives a quantitative engineering measurement of the practical (extrinsic) adhesion strength and damage resistance of the coating-substrate system as a function of applied normal force. The adhesion strength and damage modes depend on the complex interaction of the coating-substrate properties (hardness, fracture strength, modulus of elasticity, damage mechanisms, microstructure, flaw population, surface roughness, and so forth) and the test parameters (stylus properties and geometry, loading rate, displacement rate, and so forth).
5.2 The test method as described herein is not appropriate for polymer coatings, ductile metal coatings, very thin (30 μm) ceramic coatings.
Note 2: Under narrow circumstances, the test may be used for ceramic coatings on polymer substrates with due consideration of the differences in elastic modulus, ductility, and strength between the two types of materials. Commonly, the low comparative modulus of the polymer substrate means that the ceramic coating will generally tend to fail in bending (through-thickness adhesive failure) before cohesive failure in the coating itself.
5.3 The quantitative coating adhesion scratch test is a simple, practical, and rapid test. However, reliable and reproducible test results require careful control of the test system configuration and testing parameters, detailed analysis of the coating damage features, and appropriate characterization of the properties and morphology of the coating and the substrate of the test specimens.
5.4 The coating adhesion test has direct application across the full range of coating development, engineering, and production efforts. Measurements of t...
SCOPE
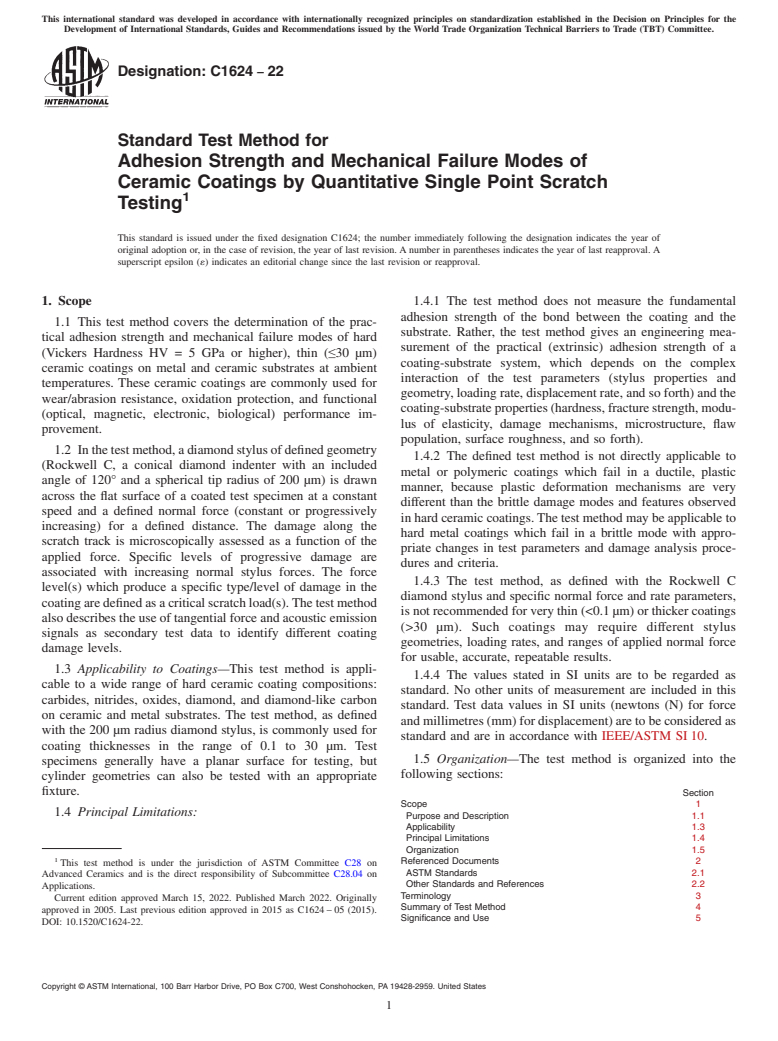
1.1 This test method covers the determination of the practical adhesion strength and mechanical failure modes of hard (Vickers Hardness HV = 5 GPa or higher), thin (≤30 μm) ceramic coatings on metal and ceramic substrates at ambient temperatures. These ceramic coatings are commonly used for wear/abrasion resistance, oxidation protection, and functional (optical, magnetic, electronic, biological) performance improvement.
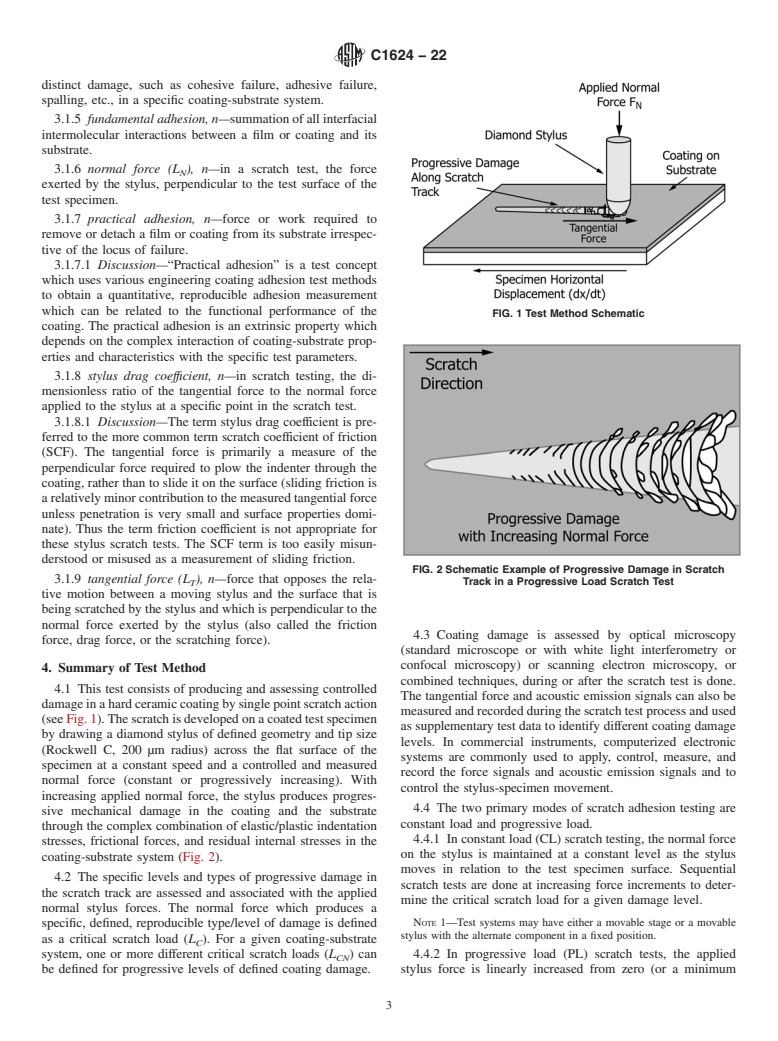
1.2 In the test method, a diamond stylus of defined geometry (Rockwell C, a conical diamond indenter with an included angle of 120° and a spherical tip radius of 200 μm) is drawn across the flat surface of a coated test specimen at a constant speed and a defined normal force (constant or progressively increasing) for a defined distance. The damage along the scratch track is microscopically assessed as a function of the applied force. Specific levels of progressive damage are associated with increasing normal stylus forces. The force level(s) which produce a specific type/level of damage in the coating are defined as a critical scratch load(s). The test method also describes the use of tangential force and acoustic emission signals as secondary test data to identify different coating damage levels.
1.3 Applicability to Coatings—This test method is applicable to a wide range of hard ceramic coating compositions: carbides, nitrides, oxides, diamond, and diamond-like carbon on ceramic and metal substrates. The test method, as defined with the 200 μm radius diamond stylus, is commonly used for coating thicknesses in the range of 0.1 to 30 μm. Test specimens generally have a planar surface for testing, but cylinder geometries can also be tested with an appropriate fixture.
1.4 Principal Limitations:
1.4.1 The test method does not measure the fundamental adhesion strength of the bond between the coating and the substrate. Rather, the test method gives an engineering measurement of the practical (ext...
General Information
Relations
Buy Standard
Standards Content (Sample)
This international standard was developed in accordance with internationally recognized principles on standardization established in the Decision on Principles for the
Development of International Standards, Guides and Recommendations issued by the World Trade Organization Technical Barriers to Trade (TBT) Committee.
Designation: C1624 − 22
Standard Test Method for
Adhesion Strength and Mechanical Failure Modes of
Ceramic Coatings by Quantitative Single Point Scratch
1
Testing
This standard is issued under the fixed designation C1624; the number immediately following the designation indicates the year of
original adoption or, in the case of revision, the year of last revision.Anumber in parentheses indicates the year of last reapproval.A
superscript epsilon (´) indicates an editorial change since the last revision or reapproval.
1. Scope 1.4.1 The test method does not measure the fundamental
adhesion strength of the bond between the coating and the
1.1 This test method covers the determination of the prac-
substrate. Rather, the test method gives an engineering mea-
tical adhesion strength and mechanical failure modes of hard
surement of the practical (extrinsic) adhesion strength of a
(Vickers Hardness HV = 5 GPa or higher), thin (≤30 µm)
coating-substrate system, which depends on the complex
ceramic coatings on metal and ceramic substrates at ambient
interaction of the test parameters (stylus properties and
temperatures. These ceramic coatings are commonly used for
geometry,loadingrate,displacementrate,andsoforth)andthe
wear/abrasion resistance, oxidation protection, and functional
coating-substrateproperties(hardness,fracturestrength,modu-
(optical, magnetic, electronic, biological) performance im-
lus of elasticity, damage mechanisms, microstructure, flaw
provement.
population, surface roughness, and so forth).
1.2 Inthetestmethod,adiamondstylusofdefinedgeometry
1.4.2 The defined test method is not directly applicable to
(Rockwell C, a conical diamond indenter with an included
metal or polymeric coatings which fail in a ductile, plastic
angle of 120° and a spherical tip radius of 200 µm) is drawn
manner, because plastic deformation mechanisms are very
across the flat surface of a coated test specimen at a constant
different than the brittle damage modes and features observed
speed and a defined normal force (constant or progressively
inhardceramiccoatings.Thetestmethodmaybeapplicableto
increasing) for a defined distance. The damage along the
hard metal coatings which fail in a brittle mode with appro-
scratch track is microscopically assessed as a function of the
priate changes in test parameters and damage analysis proce-
applied force. Specific levels of progressive damage are
dures and criteria.
associated with increasing normal stylus forces. The force
1.4.3 The test method, as defined with the Rockwell C
level(s) which produce a specific type/level of damage in the
diamond stylus and specific normal force and rate parameters,
coatingaredefinedasacriticalscratchload(s).Thetestmethod
isnotrecommendedforverythin(<0.1µm)orthickercoatings
alsodescribestheuseoftangentialforceandacousticemission
(>30 µm). Such coatings may require different stylus
signals as secondary test data to identify different coating
geometries, loading rates, and ranges of applied normal force
damage levels.
for usable, accurate, repeatable results.
1.3 Applicability to Coatings—This test method is appli-
1.4.4 The values stated in SI units are to be regarded as
cable to a wide range of hard ceramic coating compositions:
standard. No other units of measurement are included in this
carbides, nitrides, oxides, diamond, and diamond-like carbon
standard. Test data values in SI units (newtons (N) for force
on ceramic and metal substrates. The test method, as defined
andmillimetres(mm)fordisplacement)aretobeconsideredas
with the 200 µm radius diamond stylus, is commonly used for
standard and are in accordance with IEEE/ASTM SI10.
coating thicknesses in the range of 0.1 to 30 µm. Test
1.5 Organization—The test method is organized into the
specimens generally have a planar surface for testing, but
following sections:
cylinder geometries can also be tested with an appropriate
fixture. Section
Scope 1
1.4 Principal Limitations:
Purpose and Description 1.1
Applicability 1.3
Principal Limitations 1.4
Organization 1.5
1
Referenced Documents 2
This test method is under the jurisdiction of ASTM Committee C28 on
ASTM Standards 2.1
Advanced Ceramics and is the direct responsibility of Subcommittee C28.04 on
Other Standards and References 2.2
Applications.
Terminology 3
Current edition approved March 15, 2022. Published March 2022. Originally
Summary of Test Method 4
approved in 2005. Last previous edition approved in 2015 as C1624–05 (2015).
Significance and Use 5
DOI: 10.1520/C1624-22.
Copyright ©ASTM International, 100 Barr Harbor Drive, PO Box C700, West Conshohocken, PA19428-2959. United States
1
---------------------- Page: 1 ----------------------
C16
...
This document is not an ASTM standard and is intended only to provide the user of an ASTM standard an indication of what changes have been made to the previous version. Because
it may not be technically possible to adequately depict all changes accurately, ASTM recommends that users consult prior editions as appropriate. In all cases only the current version
of the standard as published by ASTM is to be considered the official document.
Designation: C1624 − 05 (Reapproved 2015) C1624 − 22
Standard Test Method for
Adhesion Strength and Mechanical Failure Modes of
Ceramic Coatings by Quantitative Single Point Scratch
1
Testing
This standard is issued under the fixed designation C1624; the number immediately following the designation indicates the year of
original adoption or, in the case of revision, the year of last revision. A number in parentheses indicates the year of last reapproval. A
superscript epsilon (´) indicates an editorial change since the last revision or reapproval.
1. Scope
1.1 This test method covers the determination of the practical adhesion strength and mechanical failure modes of hard (Vickers
Hardness HV = 5 GPa or higher), thin (≤30 μm) ceramic coatings on metal and ceramic substrates at ambient temperatures. These
ceramic coatings are commonly used for wear/abrasion resistance, oxidation protection, and functional (optical, magnetic,
electronic, biological) performance improvement.
1.2 In the test method, a diamond stylus of defined geometry (Rockwell C, a conical diamond indenter with an included angle of
120° and a spherical tip radius of 200 μm) is drawn across the flat surface of a coated test specimen at a constant speed and a
defined normal force (constant or progressively increasing) for a defined distance. The damage along the scratch track is
microscopically assessed as a function of the applied force. Specific levels of progressive damage are associated with increasing
normal stylus forces. The force level(s) which produce a specific type/level of damage in the coating are defined as a critical scratch
load(s). The test method also describes the use of tangential force and acoustic emission signals as secondary test data to identify
different coating damage levels.
1.3 Applicability to Coatings—This test method is applicable to a wide range of hard ceramic coating compositions: carbides,
nitrides, oxides, diamond, and diamond-like carbon on ceramic and metal substrates. The test method, as defined with the 200 μm
radius diamond stylus, is commonly used for coating thicknesses in the range of 0.1 to 30 μm. Test specimens generally have a
planar surface for testing, but cylinder geometries can also be tested with an appropriate fixture.
1.4 Principal Limitations:
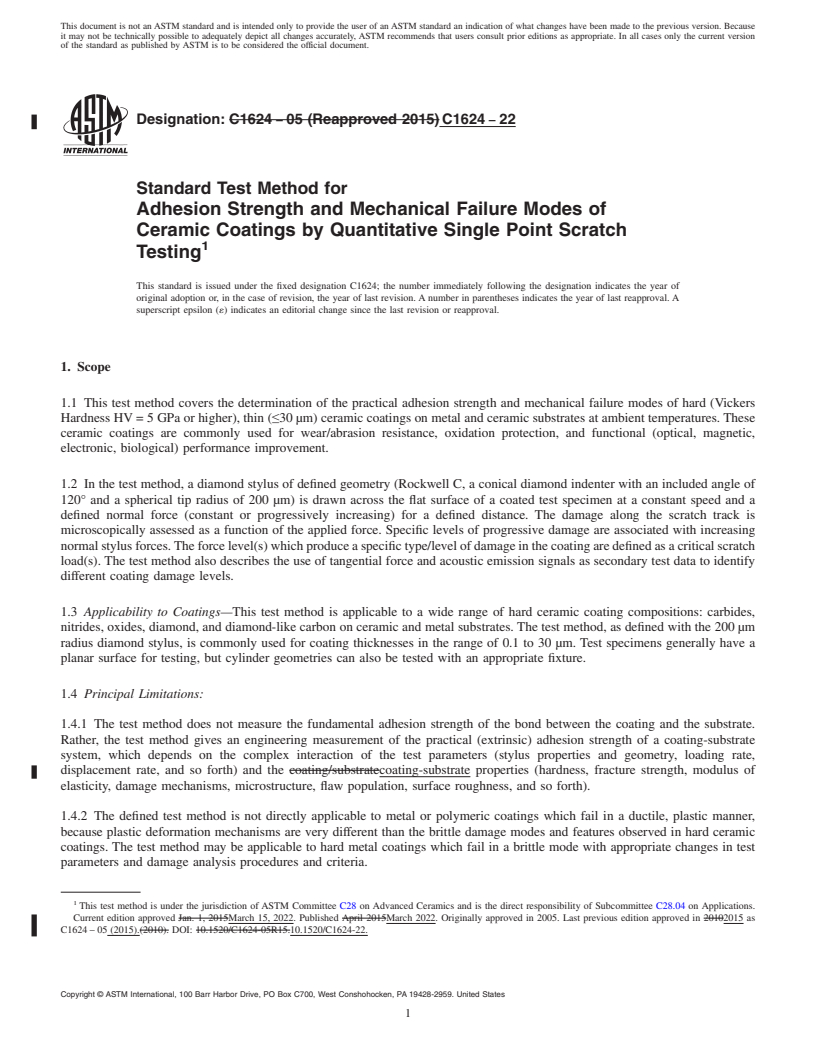
1.4.1 The test method does not measure the fundamental adhesion strength of the bond between the coating and the substrate.
Rather, the test method gives an engineering measurement of the practical (extrinsic) adhesion strength of a coating-substrate
system, which depends on the complex interaction of the test parameters (stylus properties and geometry, loading rate,
displacement rate, and so forth) and the coating/substratecoating-substrate properties (hardness, fracture strength, modulus of
elasticity, damage mechanisms, microstructure, flaw population, surface roughness, and so forth).
1.4.2 The defined test method is not directly applicable to metal or polymeric coatings which fail in a ductile, plastic manner,
because plastic deformation mechanisms are very different than the brittle damage modes and features observed in hard ceramic
coatings. The test method may be applicable to hard metal coatings which fail in a brittle mode with appropriate changes in test
parameters and damage analysis procedures and criteria.
1
This test method is under the jurisdiction of ASTM Committee C28 on Advanced Ceramics and is the direct responsibility of Subcommittee C28.04 on Applications.
Current edition approved Jan. 1, 2015March 15, 2022. Published April 2015March 2022. Originally approved in 2005. Last previous edition approved in 20102015 as
C1624 – 05 (2015).(2010). DOI: 10.1520/C1624-05R15.10.1520/C1624-22.
Copyright © ASTM International, 100 Barr Harbor Drive, PO Box C700, West Conshohocken, PA 19428-2959. United States
1
---------------------- Page: 1 ----------------------
C1624 − 22
1.4.3 The test method, as defined with the Rockwell C diamond stylus and specific normal force and rate parameters, is not
recommended for very thin (<0.1 μm) or thicker coatings (>30 μm). Such coatings may require different stylus geometries, loading
rates, and ranges of applied normal force for usable, accurate, repeatable results.
1.4.4 The values stated in SI units are to be regarded as standard. No other units of measurement are included in this standard.
Test data values in SI units (newtons (N) for force and millimetres (mm) for displacement) are to be considered as standard and
are in accordance with IEEE/ASTM SI 10.
1.4.5 This standard does
...


Questions, Comments and Discussion
Ask us and Technical Secretary will try to provide an answer. You can facilitate discussion about the standard in here.