ASTM C661-15
(Test Method)Standard Test Method for Indentation Hardness of Elastomeric-Type Sealants by Means of a Durometer
Standard Test Method for Indentation Hardness of Elastomeric-Type Sealants by Means of a Durometer
SIGNIFICANCE AND USE
4.1 The results obtained by this test method are simply a measure of the indentation into the sealant material of the indentor under load; they are not generally considered a measure of abrasion or wear resistance of the sealant.
SCOPE
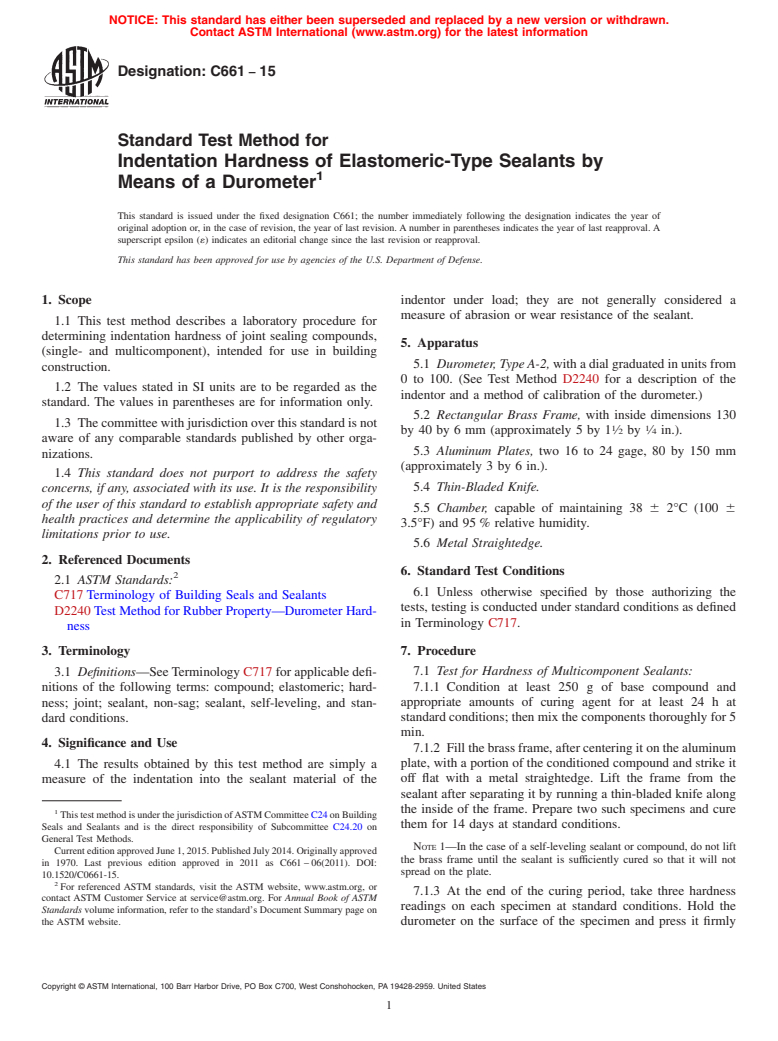
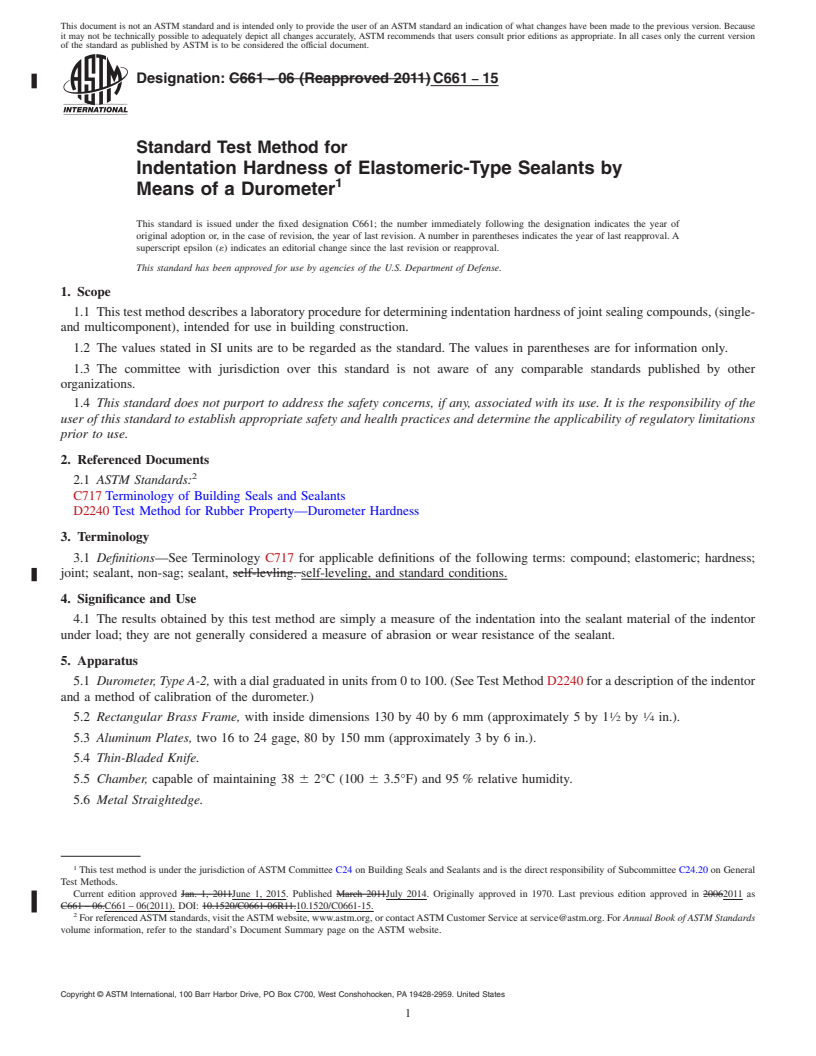
1.1 This test method describes a laboratory procedure for determining indentation hardness of joint sealing compounds, (single- and multicomponent), intended for use in building construction.
1.2 The values stated in SI units are to be regarded as the standard. The values in parentheses are for information only.
1.3 The committee with jurisdiction over this standard is not aware of any comparable standards published by other organizations.
1.4 This standard does not purport to address the safety concerns, if any, associated with its use. It is the responsibility of the user of this standard to establish appropriate safety and health practices and determine the applicability of regulatory limitations prior to use.
General Information
Buy Standard
Standards Content (Sample)
NOTICE: This standard has either been superseded and replaced by a new version or withdrawn.
Contact ASTM International (www.astm.org) for the latest information
Designation: C661 − 15
Standard Test Method for
Indentation Hardness of Elastomeric-Type Sealants by
1
Means of a Durometer
This standard is issued under the fixed designation C661; the number immediately following the designation indicates the year of
original adoption or, in the case of revision, the year of last revision. A number in parentheses indicates the year of last reapproval. A
superscript epsilon (´) indicates an editorial change since the last revision or reapproval.
This standard has been approved for use by agencies of the U.S. Department of Defense.
1. Scope indentor under load; they are not generally considered a
measure of abrasion or wear resistance of the sealant.
1.1 This test method describes a laboratory procedure for
determining indentation hardness of joint sealing compounds,
5. Apparatus
(single- and multicomponent), intended for use in building
5.1 Durometer, Type A-2, with a dial graduated in units from
construction.
0 to 100. (See Test Method D2240 for a description of the
1.2 The values stated in SI units are to be regarded as the
indentor and a method of calibration of the durometer.)
standard. The values in parentheses are for information only.
5.2 Rectangular Brass Frame, with inside dimensions 130
1.3 Thecommitteewithjurisdictionoverthisstandardisnot
1 1
by 40 by 6 mm (approximately 5 by 1 ⁄2 by ⁄4 in.).
aware of any comparable standards published by other orga-
5.3 Aluminum Plates, two 16 to 24 gage, 80 by 150 mm
nizations.
(approximately 3 by 6 in.).
1.4 This standard does not purport to address the safety
5.4 Thin-Bladed Knife.
concerns, if any, associated with its use. It is the responsibility
of the user of this standard to establish appropriate safety and
5.5 Chamber, capable of maintaining 38 6 2°C (100 6
health practices and determine the applicability of regulatory
3.5°F) and 95 % relative humidity.
limitations prior to use.
5.6 Metal Straightedge.
2. Referenced Documents
6. Standard Test Conditions
2
2.1 ASTM Standards:
6.1 Unless otherwise specified by those authorizing the
C717 Terminology of Building Seals and Sealants
tests, testing is conducted under standard conditions as defined
D2240 Test Method for Rubber Property—Durometer Hard-
in Terminology C717.
ness
7. Procedure
3. Terminology
3.1 Definitions—See Terminology C717 for applicable defi- 7.1 Test for Hardness of Multicomponent Sealants:
7.1.1 Condition at least 250 g of base compound and
nitions of the following terms: compound; elastomeric; hard-
appropriate amounts of curing agent for at least 24 h at
ness; joint; sealant, non-sag; sealant, self-leveling, and stan-
dard conditions. standard conditions; then mix the components thoroughly for 5
min.
4. Significance and Use
7.1.2 Fill the brass frame, after centering it on the aluminum
plate, with a portion of the conditioned compound and strike it
4.1 The results obtained by this test method are simply a
measure of the indentation into the sealant material of the off flat with a metal straightedge. Lift the frame from the
sealant after separating it by running a thin-bladed knife along
the inside of the frame. Prepare two such specimens and cure
1
ThistestmethodisunderthejurisdictionofASTMCommitteeC24onBuilding
them for 14 days at standard conditions.
Seals and Sealants and is the direct responsibility of Subcommittee C24.20 on
General Test Methods.
NOTE 1—In the case of a self-leveling sealant or compound, do not lift
CurrenteditionapprovedJune1,2015.PublishedJuly2014.Originallyapproved
the brass frame until the sealant is sufficiently cured so that it will not
in 1970. Last previous edition approved in 2011 as C661 – 06(2011). DOI:
spread on the plate.
10.1520/C0661-15.
2
For referenced ASTM standards, visit the ASTM website, www.astm.org, or
7.1.3 At the end of the curing period, take three hardness
contact ASTM Customer Service at service@astm.org. For Annual Book of ASTM
readings on each specimen at standard conditions. Hold the
Standards volume information, refer to the standard’s Document Summary page on
the ASTM website. durometer on the surface of the specimen and press it firmly
Copyright © ASTM International, 100 Barr Harbor Drive, PO Box C700, West Conshohocken, PA 19428-2959. United States
1
---------------------- Page: 1 ----------------------
C661 − 15
against the surface using a force of about 1.3 kgf (3 lbf). Keep 7.2.1 Condition at least 250 g of compound for a minimum
the pressure foot parallel to the surface of the specimen. Take of 24 h at standard conditions before starting the test.
the instantaneous indentation reading immediately after mak- 7.2.2 Center the brass frame on the aluminum plate and fill
ing firm contact between the pressure foot and the specimen. the opening with a portion of the conditioned compound,
After taking the first reading, shift the durometer (or specim
...
This document is not an ASTM standard and is intended only to provide the user of an ASTM standard an indication of what changes have been made to the previous version. Because
it may not be technically possible to adequately depict all changes accurately, ASTM recommends that users consult prior editions as appropriate. In all cases only the current version
of the standard as published by ASTM is to be considered the official document.
Designation: C661 − 06 (Reapproved 2011) C661 − 15
Standard Test Method for
Indentation Hardness of Elastomeric-Type Sealants by
1
Means of a Durometer
This standard is issued under the fixed designation C661; the number immediately following the designation indicates the year of
original adoption or, in the case of revision, the year of last revision. A number in parentheses indicates the year of last reapproval. A
superscript epsilon (´) indicates an editorial change since the last revision or reapproval.
This standard has been approved for use by agencies of the U.S. Department of Defense.
1. Scope
1.1 This test method describes a laboratory procedure for determining indentation hardness of joint sealing compounds, (single-
and multicomponent), intended for use in building construction.
1.2 The values stated in SI units are to be regarded as the standard. The values in parentheses are for information only.
1.3 The committee with jurisdiction over this standard is not aware of any comparable standards published by other
organizations.
1.4 This standard does not purport to address the safety concerns, if any, associated with its use. It is the responsibility of the
user of this standard to establish appropriate safety and health practices and determine the applicability of regulatory limitations
prior to use.
2. Referenced Documents
2
2.1 ASTM Standards:
C717 Terminology of Building Seals and Sealants
D2240 Test Method for Rubber Property—Durometer Hardness
3. Terminology
3.1 Definitions—See Terminology C717 for applicable definitions of the following terms: compound; elastomeric; hardness;
joint; sealant, non-sag; sealant, self-levling. self-leveling, and standard conditions.
4. Significance and Use
4.1 The results obtained by this test method are simply a measure of the indentation into the sealant material of the indentor
under load; they are not generally considered a measure of abrasion or wear resistance of the sealant.
5. Apparatus
5.1 Durometer, Type A-2, with a dial graduated in units from 0 to 100. (See Test Method D2240 for a description of the indentor
and a method of calibration of the durometer.)
1 1
5.2 Rectangular Brass Frame, with inside dimensions 130 by 40 by 6 mm (approximately 5 by 1 ⁄2 by ⁄4 in.).
5.3 Aluminum Plates, two 16 to 24 gage, 80 by 150 mm (approximately 3 by 6 in.).
5.4 Thin-Bladed Knife.
5.5 Chamber, capable of maintaining 38 6 2°C (100 6 3.5°F) and 95 % relative humidity.
5.6 Metal Straightedge.
1
This test method is under the jurisdiction of ASTM Committee C24 on Building Seals and Sealants and is the direct responsibility of Subcommittee C24.20 on General
Test Methods.
Current edition approved Jan. 1, 2011June 1, 2015. Published March 2011July 2014. Originally approved in 1970. Last previous edition approved in 20062011 as
C661 – 06.C661 – 06(2011). DOI: 10.1520/C0661-06R11.10.1520/C0661-15.
2
For referenced ASTM standards, visit the ASTM website, www.astm.org, or contact ASTM Customer Service at service@astm.org. For Annual Book of ASTM Standards
volume information, refer to the standard’s Document Summary page on the ASTM website.
Copyright © ASTM International, 100 Barr Harbor Drive, PO Box C700, West Conshohocken, PA 19428-2959. United States
1
---------------------- Page: 1 ----------------------
C661 − 15
6. Standard Test Conditions
6.1 Unless otherwise specified by those authorizing the tests, standard conditions for test are roomtesting is conducted under
standard conditions as defined in Terminology C717temperature: 23 6 2°C (73.4 6 3.6°F) and 50 6 5 % relative humidity. .
7. Procedure
7.1 Test for Hardness of Multicomponent Sealants:
7.1.1 Condition at least 250 g of base compound and appropriate amounts of curing agent for at least 24 h at standard conditions;
then mix the components thoroughly for 5 min.
7.1.2 Fill the brass frame, after centering it on the aluminum plate, with a portion of the conditioned compound and strike it
off flat with a metal straightedge. Lift the frame from the sealant after separating it by running a thin-bladed knife along the inside
of the frame. Prepare two such specimens and cure them for 14 days at standard conditions.
NOTE 1—In the case of a self-leveling sealant or compound, do not lift the brass frame until the sealant is sufficiently cured so that it will not spread
on the plate.
7.1.3 At the end of the curing period, take three hardness readings on each specimen at standard conditions. Hold the durometer
on the surface of the specimen and press it firmly against the surface using a force of
...


Questions, Comments and Discussion
Ask us and Technical Secretary will try to provide an answer. You can facilitate discussion about the standard in here.