ASTM F428-19
(Test Method)Standard Test Method for Intensity of Scratches on Aerospace Glass Enclosures
Standard Test Method for Intensity of Scratches on Aerospace Glass Enclosures
SIGNIFICANCE AND USE
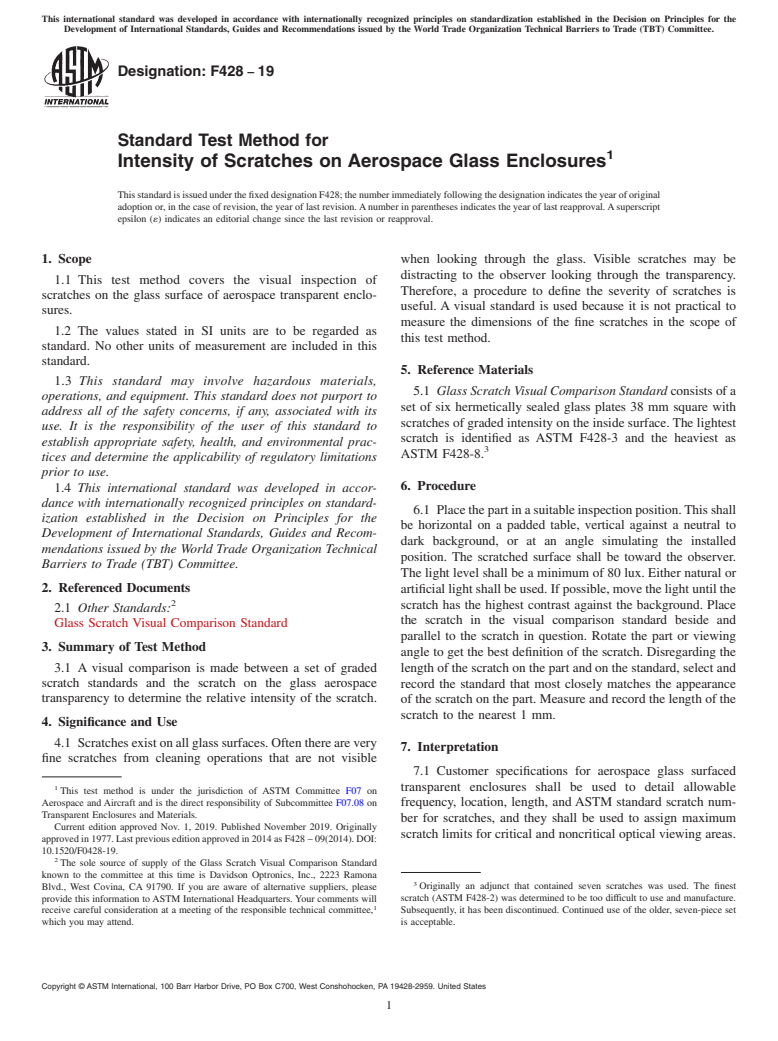
4.1 Scratches exist on all glass surfaces. Often there are very fine scratches from cleaning operations that are not visible when looking through the glass. Visible scratches may be distracting to the observer looking through the transparency. Therefore, a procedure to define the severity of scratches is useful. A visual standard is used because it is not practical to measure the dimensions of the fine scratches in the scope of this test method.
SCOPE
1.1 This test method covers the visual inspection of scratches on the glass surface of aerospace transparent enclosures.
1.2 The values stated in SI units are to be regarded as standard. No other units of measurement are included in this standard.
1.3 This standard may involve hazardous materials, operations, and equipment. This standard does not purport to address all of the safety concerns, if any, associated with its use. It is the responsibility of the user of this standard to establish appropriate safety, health, and environmental practices and determine the applicability of regulatory limitations prior to use.
1.4 This international standard was developed in accordance with internationally recognized principles on standardization established in the Decision on Principles for the Development of International Standards, Guides and Recommendations issued by the World Trade Organization Technical Barriers to Trade (TBT) Committee.
General Information
Relations
Buy Standard
Standards Content (Sample)
This international standard was developed in accordance with internationally recognized principles on standardization established in the Decision on Principles for the
Development of International Standards, Guides and Recommendations issued by the World Trade Organization Technical Barriers to Trade (TBT) Committee.
Designation: F428 − 19
Standard Test Method for
1
Intensity of Scratches on Aerospace Glass Enclosures
ThisstandardisissuedunderthefixeddesignationF428;thenumberimmediatelyfollowingthedesignationindicatestheyearoforiginal
adoption or, in the case of revision, the year of last revision.Anumber in parentheses indicates the year of last reapproval.Asuperscript
epsilon (´) indicates an editorial change since the last revision or reapproval.
1. Scope when looking through the glass. Visible scratches may be
distracting to the observer looking through the transparency.
1.1 This test method covers the visual inspection of
Therefore, a procedure to define the severity of scratches is
scratches on the glass surface of aerospace transparent enclo-
useful. A visual standard is used because it is not practical to
sures.
measure the dimensions of the fine scratches in the scope of
1.2 The values stated in SI units are to be regarded as
this test method.
standard. No other units of measurement are included in this
standard.
5. Reference Materials
1.3 This standard may involve hazardous materials,
5.1 GlassScratchVisualComparisonStandardconsistsofa
operations, and equipment. This standard does not purport to
set of six hermetically sealed glass plates 38 mm square with
address all of the safety concerns, if any, associated with its
scratches of graded intensity on the inside surface.The lightest
use. It is the responsibility of the user of this standard to
scratch is identified as ASTM F428-3 and the heaviest as
establish appropriate safety, health, and environmental prac-
3
ASTM F428-8.
tices and determine the applicability of regulatory limitations
prior to use.
6. Procedure
1.4 This international standard was developed in accor-
dance with internationally recognized principles on standard-
6.1 Placethepartinasuitableinspectionposition.Thisshall
ization established in the Decision on Principles for the
be horizontal on a padded table, vertical against a neutral to
Development of International Standards, Guides and Recom-
dark background, or at an angle simulating the installed
mendations issued by the World Trade Organization Technical
position. The scratched surface shall be toward the observer.
Barriers to Trade (TBT) Committee.
The light level shall be a minimum of 80 lux. Either natural or
2. Referenced Documents
artificiallightshallbeused.Ifpossible,movethelightuntilthe
2
scratch has the highest contrast against the background. Place
2.1 Other Standards:
the scratch in the visual comparison standard beside and
Glass Scratch Visual Comparison Standard
parallel to the scratch in question. Rotate the part or viewing
3. Summary of Test Method
angle to get the best definition of the scratch. Disregarding the
3.1 A visual comparison is made between a set of graded length of the scratch on the part and on the standard, select and
scratch standards and the scratch on the glass aerospace
record the standard that most closely matches the appearance
transparency to determine the relative intensity of the scratch.
of the scratch on the part. Measure and record the length of the
scratch to the nearest 1 mm.
4. Significance and Use
4.1 Scratchesexistonallglasssurfaces.Oftentherearevery
7. Interpretation
fine scratches from cleaning operations that are not visible
7.1 Customer specifications for aerospace glass surfaced
1 transparent enclosures shall be used to detail allowable
This test method is under the jurisdiction of ASTM Committee F07 on
Aerospace and Aircraft and is the direct responsibility of Subcommittee F07.08 on
frequency, location, length, and ASTM standard scratch num-
Transparent Enclosures and Materials.
ber for scratches, and they shall be used to assign maximum
Current edition approved Nov. 1, 2019. Published November 2019. Originally
scratch limits for critical and noncritical optical viewing areas.
approvedin1977.Lastpreviouseditionapprovedin2014asF428 – 09(2014).DOI:
10.1520/F0428-19.
2
The sole source of supply of the Glass Scratch Visual Comparison Standard
known to the committee at this time is Davidson Optronics, Inc., 2223 Ramona
3
Blvd., West Covina, CA 91790. If you are aware of alternative suppliers, please Originally an adjunct that contained seven scratches was used. The finest
provide this information toASTM International Headquarters. Your comments will scratch (ASTM F428-2) was determined to be too difficult to use and manufacture.
1
receive careful consideration at a meeting of the responsible technical committee, Subsequently, it has been discontinued. Continued use of the older, seven-piece set
which you may attend. is acceptable.
Copyright © ASTM International, 100 Barr Harbor Drive, PO B
...
This document is not an ASTM standard and is intended only to provide the user of an ASTM standard an indication of what changes have been made to the previous version. Because
it may not be technically possible to adequately depict all changes accurately, ASTM recommends that users consult prior editions as appropriate. In all cases only the current version
of the standard as published by ASTM is to be considered the official document.
Designation: F428 − 09 (Reapproved 2014) F428 − 19
Standard Test Method for
1
Intensity of Scratches on Aerospace Glass Enclosures
This standard is issued under the fixed designation F428; the number immediately following the designation indicates the year of original
adoption or, in the case of revision, the year of last revision. A number in parentheses indicates the year of last reapproval. A superscript
epsilon (´) indicates an editorial change since the last revision or reapproval.
1. Scope
1.1 This test method covers the visual inspection of scratches on the glass surface of aerospace transparent enclosures.
1.2 The values stated in SI units are to be regarded as standard. No other units of measurement are included in this standard.
1.3 This standard may involve hazardous materials, operations, and equipment. This standard does not purport to address all
of the safety concerns, if any, associated with its use. It is the responsibility of the user of this standard to establish appropriate
safety safety, health, and healthenvironmental practices and determine the applicability of regulatory limitations prior to use.
1.4 This international standard was developed in accordance with internationally recognized principles on standardization
established in the Decision on Principles for the Development of International Standards, Guides and Recommendations issued
by the World Trade Organization Technical Barriers to Trade (TBT) Committee.
2. Referenced Documents
2
2.1 Other Standards:
Glass Scratch Visual Comparison Standard
3. Summary of Test Method
3.1 A visual comparison is made between a set of graded scratch standards and the scratch on the glass aerospace transparency
to determine the relative intensity of the scratch.
4. Significance and Use
4.1 Scratches exist on all glass surfaces. Often there are very fine scratches from cleaning operations that are not visible when
looking through the glass. Visible scratches may be distracting to the observer looking through the transparency. Therefore, a
procedure to define the severity of scratches is useful. A visual standard is used because it is not practical to measure the dimensions
of the fine scratches in the scope of this test method.
5. Reference Materials
5.1 Glass Scratch Visual Comparison Standard consists of a set of six hermetically sealed glass plates 38 mm square with
scratches of graded intensity on the inside surface. The lightest scratch is identified as ASTM F428-3 and the heaviest as ASTM
3
F428-8.
6. Procedure
6.1 Place the part in a suitable inspection position. This mayshall be horizontal on a padded table, vertical against a neutral to
dark background, or at an angle simulating the installed position. The scratched surface shall be toward the observer. The light level
shall be a minimum of 80 lux. Either natural or artificial light mayshall be used. If possible, move the light until the scratch has
the highest contrast against the background. Place the scratch in the visual comparison standard beside and parallel to the scratch
in question. Rotate the part or viewing angle to get the best definition of the scratch. Disregarding the length of the scratch on the
1
This test method is under the jurisdiction of ASTM Committee F07 on Aerospace and Aircraft and is the direct responsibility of Subcommittee F07.08 on Transparent
Enclosures and Materials.
Current edition approved Dec. 1, 2014Nov. 1, 2019. Published December 2014November 2019. Originally publishedapproved in 1977. Last previous edition approved in
20092014 as F428 – 09.F428 – 09(2014). DOI: 10.1520/F0428-09R14.10.1520/F0428-19.
2
The sole source of supply of the Glass Scratch Visual Comparison Standard known to the committee at this time is Davidson Optronics, Inc., 2223 Ramona Blvd., West
Covina, CA 91790. If you are aware of alternative suppliers, please provide this information to ASTM International Headquarters. Your comments will receive careful
1
consideration at a meeting of the responsible technical committee, which you may attend.
3
Originally an adjunct that contained seven scratches was used. The finest scratch (ASTM F428-2) was determined to be too difficult to use and manufacture. Subsequently,
it has been discontinued. Continued use of the older, seven-piece set is acceptable.
Copyright © ASTM International, 100 Barr Harbor Drive, PO Box C700, West Conshohocken, PA 19428-2959. United States
1
---------------------- Page: 1 ----------------------
F428 − 19
part and on the standard, select and record the standard that most closely matches t
...


Questions, Comments and Discussion
Ask us and Technical Secretary will try to provide an answer. You can facilitate discussion about the standard in here.