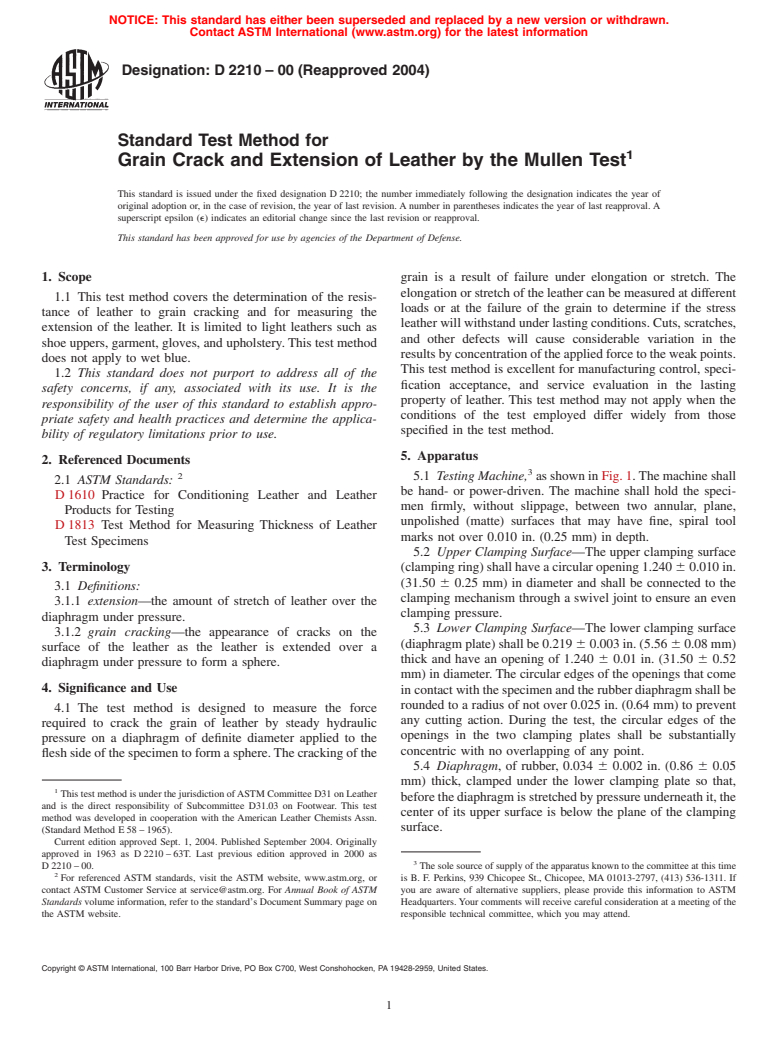
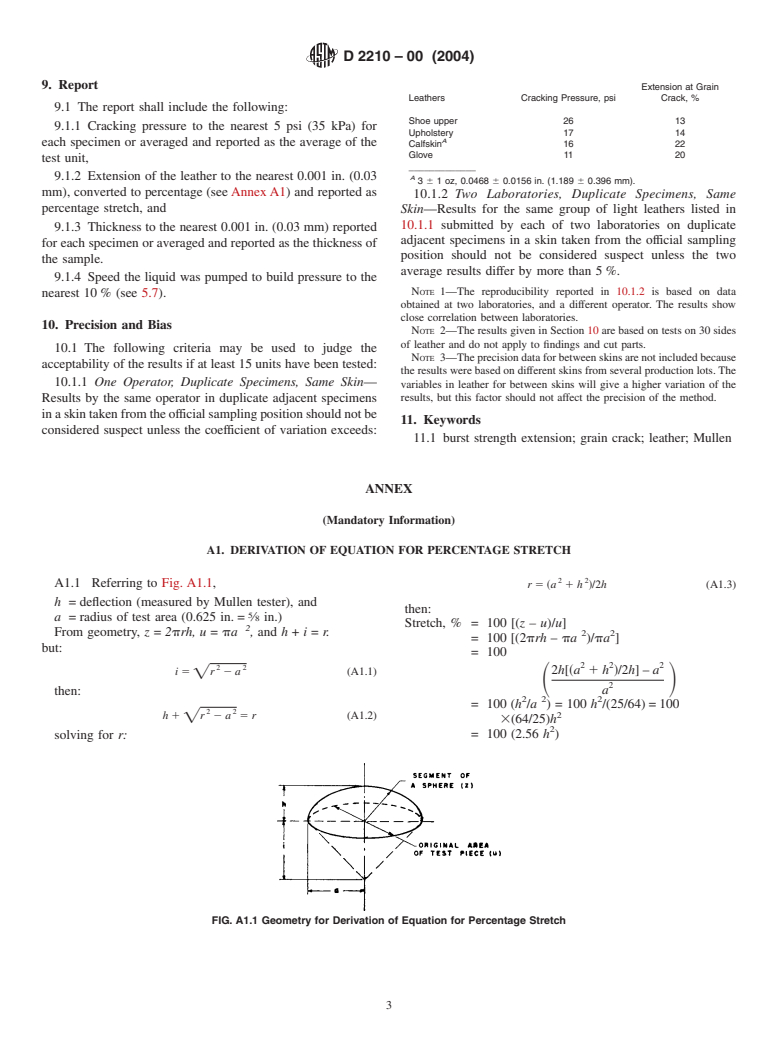
ASTM D2210-00(2004)
(Test Method)Standard Test Method for Grain Crack and Extension of Leather by the Mullen Test
Standard Test Method for Grain Crack and Extension of Leather by the Mullen Test
SIGNIFICANCE AND USE
The test method is designed to measure the force required to crack the grain of leather by steady hydraulic pressure on a diaphragm of definite diameter applied to the flesh side of the specimen to form a sphere. The cracking of the grain is a result of failure under elongation or stretch. The elongation or stretch of the leather can be measured at different loads or at the failure of the grain to determine if the stress leather will withstand under lasting conditions. Cuts, scratches, and other defects will cause considerable variation in the results by concentration of the applied force to the weak points. This test method is excellent for manufacturing control, specification acceptance, and service evaluation in the lasting property of leather. This test method may not apply when the conditions of the test employed differ widely from those specified in the test method.
SCOPE
1.1 This test method covers the determination of the resistance of leather to grain cracking and for measuring the extension of the leather. It is limited to light leathers such as shoe uppers, garment, gloves, and upholstery. This test method does not apply to wet blue.
1.2 This standard does not purport to address all of the safety problems, if any, associated with its use. It is the responsibility of the user of this standard to establish appropriate safety and health practices and determine the applicability of regulatory limitations prior to use.
General Information
Relations
Standards Content (Sample)
NOTICE: This standard has either been superseded and replaced by a new version or withdrawn.
Contact ASTM International (www.astm.org) for the latest information
Designation:D2210–00(Reapproved 2004)
Standard Test Method for
Grain Crack and Extension of Leather by the Mullen Test
This standard is issued under the fixed designation D 2210; the number immediately following the designation indicates the year of
original adoption or, in the case of revision, the year of last revision. A number in parentheses indicates the year of last reapproval. A
superscript epsilon (e) indicates an editorial change since the last revision or reapproval.
This standard has been approved for use by agencies of the Department of Defense.
1. Scope grain is a result of failure under elongation or stretch. The
elongation or stretch of the leather can be measured at different
1.1 This test method covers the determination of the resis-
loads or at the failure of the grain to determine if the stress
tance of leather to grain cracking and for measuring the
leather will withstand under lasting conditions. Cuts, scratches,
extension of the leather. It is limited to light leathers such as
and other defects will cause considerable variation in the
shoe uppers, garment, gloves, and upholstery. This test method
results by concentration of the applied force to theweakpoints.
does not apply to wet blue.
This test method is excellent for manufacturing control, speci-
1.2 This standard does not purport to address all of the
fication acceptance, and service evaluation in the lasting
safety concerns, if any, associated with its use. It is the
property of leather. This test method may not apply when the
responsibility of the user of this standard to establish appro-
conditions of the test employed differ widely from those
priate safety and health practices and determine the applica-
specified in the test method.
bility of regulatory limitations prior to use.
5. Apparatus
2. Referenced Documents
5.1 Testing Machine, as shown in Fig. 1.The machine shall
2.1 ASTM Standards:
be hand- or power-driven. The machine shall hold the speci-
D 1610 Practice for Conditioning Leather and Leather
men firmly, without slippage, between two annular, plane,
Products for Testing
unpolished (matte) surfaces that may have fine, spiral tool
D 1813 Test Method for Measuring Thickness of Leather
marks not over 0.010 in. (0.25 mm) in depth.
Test Specimens
5.2 Upper Clamping Surface—The upper clamping surface
3. Terminology
(clamping ring) shall have a circular opening 1.240 6 0.010 in.
(31.50 6 0.25 mm) in diameter and shall be connected to the
3.1 Definitions:
clamping mechanism through a swivel joint to ensure an even
3.1.1 extension—the amount of stretch of leather over the
clamping pressure.
diaphragm under pressure.
5.3 Lower Clamping Surface—The lower clamping surface
3.1.2 grain cracking—the appearance of cracks on the
(diaphragm plate) shall be 0.219 6 0.003 in. (5.56 6 0.08 mm)
surface of the leather as the leather is extended over a
thick and have an opening of 1.240 6 0.01 in. (31.50 6 0.52
diaphragm under pressure to form a sphere.
mm) in diameter. The circular edges of the openings that come
4. Significance and Use
in contact with the specimen and the rubber diaphragm shall be
rounded to a radius of not over 0.025 in. (0.64 mm) to prevent
4.1 The test method is designed to measure the force
any cutting action. During the test, the circular edges of the
required to crack the grain of leather by steady hydraulic
openings in the two clamping plates shall be substantially
pressure on a diaphragm of definite diameter applied to the
concentric with no overlapping of any point.
flesh side of the specimen to form a sphere.The cracking of the
5.4 Diaphragm, of rubber, 0.034 6 0.002 in. (0.86 6 0.05
mm) thick, clamped under the lower clamping plate so that,
This test method is under the jurisdiction ofASTM Committee D31 on Leather
before the diaphragm is stretched by pressure underneath it, the
and is the direct responsibility of Subcommittee D31.03 on Footwear. This test
center of its upper surface is below the plane of the clamping
method was developed in cooperation with the American Leather Chemists Assn.
surface.
(Standard Method E 58 – 1965).
Current edition approved Sept. 1, 2004. Published September 2004. Originally
approved in 1963 as D 2210 – 63T. Last previous edition approved in 2000 as
D 2210 – 00. The sole source of supply of the apparatus known to the committee at this time
For referenced ASTM standards, visit the ASTM website, www.astm.org, or is B. F. Perkins, 939 Chicopee St., Chicopee, MA 01013-2797, (413) 536-1311. If
contact ASTM Customer Service at service@astm.org. For Annual Book of ASTM you are aware of alternative suppliers, please provide this information to ASTM
Standards volume information, refer to the standard’s Document Summary page on Headquarters. Your comments will receive careful consideration at a meeting of the
the ASTM website. responsible technical committee, which you may attend.
Copyright © ASTM International, 100 Barr Harbor Drive, PO Box C700, West Conshohocken, PA 19428-2959, United States.
D2210–00 (2004)
FIG. 1 Mullen Tester, Model A
5.5 Dial Gage, as shown in Fig. 2, to measure the extension machines shown in Fig. 1 where the cracking pressure is the
of the leather specimen and mounted on the machine through only measurement, the pressure will be generated by pumping
screw shaft or on side of clamps on platform. This gage shall liquid at a rate of 170 6 10 mL/min or by turning a handwheel
becalibratedtoreaddirectlytothenearest0.001in.(0.03mm). atapproximately30r/min.FormachinesshowninFig.2where
It shall be equipped with a flat anvil and a presser foot. cracking pressure and extension are measured, the pressure
5.6 Bourdon Tube—The apparatus shall be equipped with a willbegeneratedbypumpingliquidatarateof15 62mL/min
Bourdon tube, maximum-reading-type, pressure gage gradu- or by turning a handwheel at approximately 3 r/min.
ated in pounds-force per square inch and accurate throughout 5.8 Thickness Gage—Adead-weight type of thickness gage
the entire range of its scale to within a value of 1 % of its as described in Test Method D 1813.
maximum capacity. The capacity of the gage shall be such that
6. Test Specimen
the individual readings will be not less than 25 % nor more
than 75 % of the total capacity of the gage.
6.1 The specimen shall be a square of leather 3 by 3 in. (76
5.7 Pressure Control—The machine shall be equipped with
by 76 mm) cut from the test unit of leather.
means of applying controlled increasing hydraulic pressure to
6.2 The specimen shall be free of mechanical damage and
the underside of the diaphragm until the specimen cracks. This
surface defects.
pressure shall be generated by a piston forcing a liquor (usually
glycerin) into the pressure chamber of the apparatus. For
7. Conditioning
7.1 All specimens shall be conditioned for 48 h in an
atmosphere maintained at 73.4 6 1.8°F (23 6 1°C) and 50 6
4 % relative humidity and tested under these conditions as
described in Practice D 1610.
8. Procedure
8.1 Determine the thickness of the specimen by taking three
measurements in the area to be cracked and determine the
average value.
8.2 Place the flesh side of the specimen in contact with the
rubber diaphragm of the testing machine.
8.3 Clamp the specimen securely in the apparatus in such a
manner that the leather will not be damaged.
8.4 Rest the presser foot of the extension gage on the flat
surface of the specimen and set the gage at zero.
8.5 Apply pressure to the specimen until the specimen
cracks.
8.6 At the moment the first crack appears in the specimen
stop the machine, note the applied pressure from the gage, and
FIG. 2 Mullen Tester with Dial Gage record the value as the cracking strength of the specimen.
D2210–00 (2004)
9. Report
Extension at Grain
Leathers Cracking Pressure, psi Crack, %
9.1 The report shall include the following:
Shoe upper 26 13
9.1.1 Cracking pressure to the nearest 5 psi (35 kPa) for
Upholstery 17 14
A
each specimen or averaged and reported as the average of the
Calfskin 16 22
Glove 11 20
test unit,
_____________
9.1.2 Extension of the leather to the nearest 0.001 in. (0.03 A
3 6 1 oz, 0.0468 6 0.0156 in. (1.189 6 0.396 mm).
mm), converted to percentage (see Annex A1) and reported as
10.1.2 Two Laboratories, Duplicate Specimens, Same
percentage stretch, and
Skin—Results for the same group of light leathers listed in
10.1.1 submitted by each of two laboratories on duplicate
9.1.3 Thickness to the nearest 0.001 in. (0.03 mm) reported
adjacent specimens in a skin taken from the official sampling
for each specimen or averaged and reported as the thickness of
position should not be considered suspect unless the two
the sample.
average results differ by more than 5 %.
9.1.4 Speed the liquid was pumped to build pressure to the
NOTE 1—The reproducibility reported in 10.1.2 is based on data
nearest 10 % (see 5.7).
obtained at two laboratories, and a different operator. The results show
close correlation between laboratories.
10. Precision and Bias
NOTE 2—The results given in Section 10 are based on tests on 30 sides
of leather and do not apply to findings and cut parts.
10.1 The following criteria may be used to judge the
NOTE 3—The precision data for between skins are not included because
acceptability of the results if at least 15 units have been tested:
...


Questions, Comments and Discussion
Ask us and Technical Secretary will try to provide an answer. You can facilitate discussion about the standard in here.