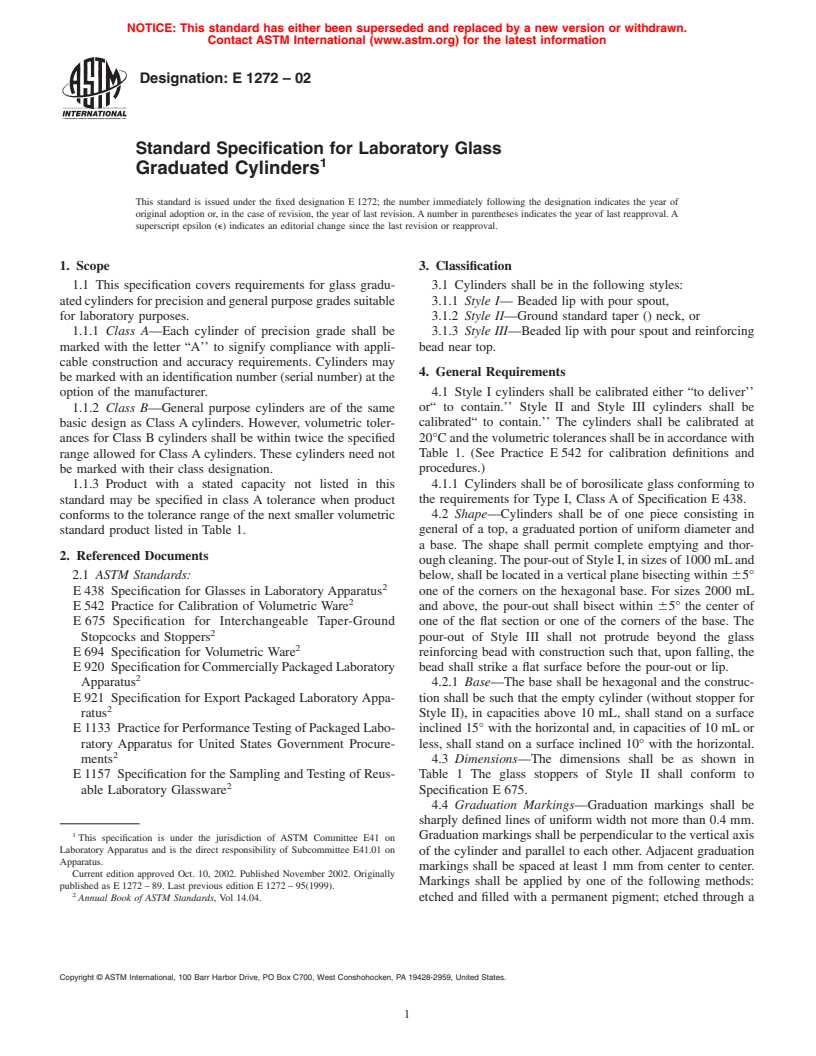
ASTM E1272-02
(Specification)Standard Specification for Laboratory Glass Graduated Cylinders
Standard Specification for Laboratory Glass Graduated Cylinders
SCOPE
1.1 This specification covers requirements for glass graduated cylinders for precision and general purpose grades suitable for laboratory purposes.
1.1.1 Class A—Each cylinder of precision grade shall be marked with the letter "A'' to signify compliance with applicable construction and accuracy requirements. Cylinders may be marked with an identification number (serial number) at the option of the manufacturer.
1.1.2 Class B—General purpose cylinders are of the same basic design as Class A cylinders. However, volumetric tolerances for Class B cylinders shall be within twice the specified range allowed for Class A cylinders. These cylinders need not be marked with their class designation.
1.1.3 Product with a stated capacity not listed in this standard may be specified in class A tolerance when product conforms to the tolerance range of the next smaller volumetric standard product listed in Table 1.
General Information
Relations
Standards Content (Sample)
NOTICE: This standard has either been superseded and replaced by a new version or withdrawn.
Contact ASTM International (www.astm.org) for the latest information
Designation: E 1272 – 02
Standard Specification for Laboratory Glass
1
Graduated Cylinders
This standard is issued under the fixed designation E 1272; the number immediately following the designation indicates the year of
original adoption or, in the case of revision, the year of last revision. A number in parentheses indicates the year of last reapproval. A
superscript epsilon (e) indicates an editorial change since the last revision or reapproval.
1. Scope 3. Classification
1.1 This specification covers requirements for glass gradu- 3.1 Cylinders shall be in the following styles:
atedcylindersforprecisionandgeneralpurposegradessuitable 3.1.1 Style I— Beaded lip with pour spout,
for laboratory purposes. 3.1.2 Style II—Ground standard taper () neck, or
1.1.1 Class A—Each cylinder of precision grade shall be 3.1.3 Style III—Beaded lip with pour spout and reinforcing
marked with the letter “A’’ to signify compliance with appli- bead near top.
cable construction and accuracy requirements. Cylinders may
4. General Requirements
be marked with an identification number (serial number) at the
4.1 Style I cylinders shall be calibrated either “to deliver’’
option of the manufacturer.
1.1.2 Class B—General purpose cylinders are of the same or“ to contain.’’ Style II and Style III cylinders shall be
calibrated“ to contain.’’ The cylinders shall be calibrated at
basic design as Class A cylinders. However, volumetric toler-
ances for Class B cylinders shall be within twice the specified 20°C and the volumetric tolerances shall be in accordance with
Table 1. (See Practice E 542 for calibration definitions and
range allowed for Class A cylinders. These cylinders need not
be marked with their class designation. procedures.)
4.1.1 Cylinders shall be of borosilicate glass conforming to
1.1.3 Product with a stated capacity not listed in this
standard may be specified in class A tolerance when product the requirements for Type I, Class A of Specification E 438.
4.2 Shape—Cylinders shall be of one piece consisting in
conforms to the tolerance range of the next smaller volumetric
standard product listed in Table 1. general of a top, a graduated portion of uniform diameter and
a base. The shape shall permit complete emptying and thor-
2. Referenced Documents
oughcleaning.Thepour-outofStyleI,insizesof1000mLand
2.1 ASTM Standards: below, shall be located in a vertical plane bisecting within 65°
2
E 438 Specification for Glasses in Laboratory Apparatus one of the corners on the hexagonal base. For sizes 2000 mL
2
E 542 Practice for Calibration of Volumetric Ware and above, the pour-out shall bisect within 65° the center of
E 675 Specification for Interchangeable Taper-Ground one of the flat section or one of the corners of the base. The
2
Stopcocks and Stoppers pour-out of Style III shall not protrude beyond the glass
2
E 694 Specification for Volumetric Ware reinforcing bead with construction such that, upon falling, the
E 920 Specification for Commercially Packaged Laboratory bead shall strike a flat surface before the pour-out or lip.
2
Apparatus 4.2.1 Base—The base shall be hexagonal and the construc-
E 921 Specification for Export Packaged Laboratory Appa- tion shall be such that the empty cylinder (without stopper for
2
ratus Style II), in capacities above 10 mL, shall stand on a surface
E 1133 PracticeforPerformanceTestingofPackagedLabo- inclined 15° with the horizontal and, in capacities of 10 mL or
ratory Apparatus for United States Government Procure- less, shall stand on a surface inclined 10° with the horizontal.
2
ments 4.3 Dimensions—The dimensions shall be as shown in
E 1157 Specification for the Sampling and Testing of Reus- Table 1 The glass stoppers of Style II shall conform to
2
able Laboratory Glassware Specification E 675.
4.4 Graduation Markings—Graduation markings shall be
sharply defined lines of uniform width not more than 0.4 mm.
1
Graduation markings shall be perpendicular to the vertical axis
This specification is under the jurisdiction of ASTM Committee E41 on
Laboratory Apparatus and is the direct responsibility of Subcommittee E41.01 on
of the cylinder and parallel to each other. Adjacent graduation
Apparatus.
markings shall be spaced at least 1 mm from center to center.
Current edition approved Oct. 10, 2002. Published November 2002. Originally
Markings shall be applied by one of the following methods:
published as E 1272 – 89. Last previous edition E 1272 – 95(1999).
2
Annual Book of ASTM Standards, Vol 14.04. etched and filled with a permanent pigment; etched through a
Copyright © ASTM International, 100 Barr Harbor Drive, PO Box C700, West Conshohocken, PA 19428-2959, United States.
1
---------------------- Page: 1 ----------------------
E1272–02
TABLE 1 Dimensions and Tolerances
Maximum
Distance From Scale to Tolerances to Contain or to
Minimum Standard T
...


Questions, Comments and Discussion
Ask us and Technical Secretary will try to provide an answer. You can facilitate discussion about the standard in here.