ASTM E2593-11e1
(Guide)Standard Guide for Accuracy Verification of Industrial Platinum Resistance Thermometers
Standard Guide for Accuracy Verification of Industrial Platinum Resistance Thermometers
SIGNIFICANCE AND USE
This guide is intended to be used by laboratories interested in the calibration of industrial platinum resistance thermometers that are intended to satisfy the requirements of Specification E 1137/E 1137M. It is intended to provide a consistent method for calibration and uncertainty evaluation while still allowing the user some flexibility in choice of apparatus and instrumentation. It is understood that the limits of uncertainty obtained depend in a large part upon the apparatus and instrumentation used. Therefore, since this guide is not prescriptive in approach, it provides detailed instruction in uncertainty evaluation to accommodate the variety of apparatus and instrumentation that may be employed.
This guide is intended primarily to satisfy applications requiring compliance to Specification E 1137/E 1137M. However, the techniques described may be appropriate for applications where higher accuracy calibrations are needed.
SCOPE
1.1 This guide describes the techniques and apparatus required for the accuracy verification of industrial platinum resistance thermometers constructed in accordance with Specification E 1137/E 1137M and the evaluation of calibration uncertainties. The procedures described apply over the range of –200 °C to 650 °C.
1.2 This guide is not intended to describe the procedures necessary for the calibration of platinum resistance thermometers intended to be used as calibration standards or Standard Platinum Resistance Thermometers. Consequently, calibration of these types of instruments is outside the scope of this guide.
1.3 Industrial platinum resistance thermometers are available in many styles and configurations. This guide does not purport to determine the suitability of any particular design, style, or configuration for calibration over a desired temperature range.
1.4 The evaluation of uncertainties is based upon current international practices as described in ISO/TAG 4/WG 3 “Guide to the Evaluation of Uncertainty in Measurement” and ANSI/NCSL Z540-2-1997 “U.S. Guide to the Expression of Uncertainty in Measurement”.
1.5 This standard does not purport to address all of the safety concerns, if any, associated with its use. It is the responsibility of the user of this standard to establish appropriate safety and health practices and determine the applicability of regulatory limitations prior to use.
General Information
Relations
Buy Standard
Standards Content (Sample)
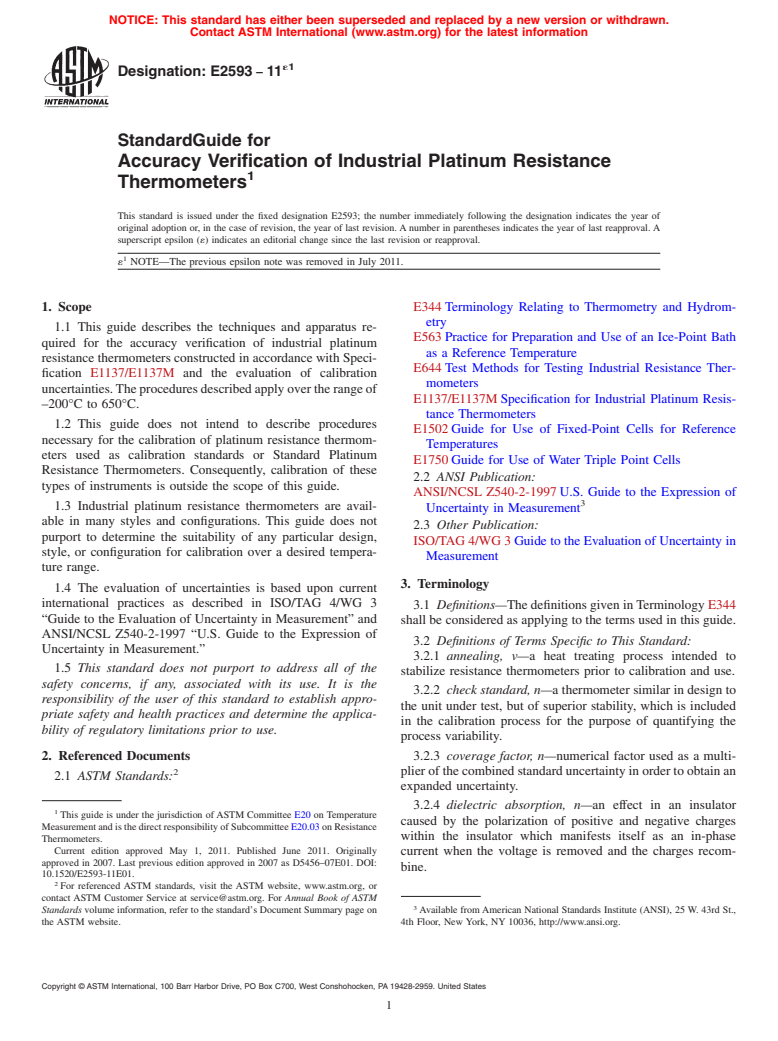
NOTICE: This standard has either been superseded and replaced by a new version or withdrawn.
Contact ASTM International (www.astm.org) for the latest information
´1
Designation:E2593 −11
StandardGuide for
Accuracy Verification of Industrial Platinum Resistance
1
Thermometers
This standard is issued under the fixed designation E2593; the number immediately following the designation indicates the year of
original adoption or, in the case of revision, the year of last revision.Anumber in parentheses indicates the year of last reapproval.A
superscript epsilon (´) indicates an editorial change since the last revision or reapproval.
1
´ NOTE—The previous epsilon note was removed in July 2011.
1. Scope E344Terminology Relating to Thermometry and Hydrom-
etry
1.1 This guide describes the techniques and apparatus re-
E563Practice for Preparation and Use of an Ice-Point Bath
quired for the accuracy verification of industrial platinum
as a Reference Temperature
resistancethermometersconstructedinaccordancewithSpeci-
E644Test Methods for Testing Industrial Resistance Ther-
fication E1137/E1137M and the evaluation of calibration
mometers
uncertainties.Theproceduresdescribedapplyovertherangeof
E1137/E1137MSpecification for Industrial Platinum Resis-
–200°C to 650°C.
tance Thermometers
1.2 This guide does not intend to describe procedures
E1502Guide for Use of Fixed-Point Cells for Reference
necessary for the calibration of platinum resistance thermom-
Temperatures
eters used as calibration standards or Standard Platinum
E1750Guide for Use of Water Triple Point Cells
Resistance Thermometers. Consequently, calibration of these
2.2 ANSI Publication:
types of instruments is outside the scope of this guide.
ANSI/NCSL Z540-2-1997U.S. Guide to the Expression of
3
1.3 Industrial platinum resistance thermometers are avail-
Uncertainty in Measurement
able in many styles and configurations. This guide does not
2.3 Other Publication:
purport to determine the suitability of any particular design,
ISO/TAG 4/WG 3Guide to the Evaluation of Uncertainty in
style, or configuration for calibration over a desired tempera-
Measurement
ture range.
3. Terminology
1.4 The evaluation of uncertainties is based upon current
international practices as described in ISO/TAG 4/WG 3
3.1 Definitions—ThedefinitionsgiveninTerminologyE344
“Guide to the Evaluation of Uncertainty in Measurement” and
shall be considered as applying to the terms used in this guide.
ANSI/NCSL Z540-2-1997 “U.S. Guide to the Expression of
3.2 Definitions of Terms Specific to This Standard:
Uncertainty in Measurement.”
3.2.1 annealing, v—a heat treating process intended to
1.5 This standard does not purport to address all of the
stabilize resistance thermometers prior to calibration and use.
safety concerns, if any, associated with its use. It is the
3.2.2 check standard, n—athermometersimilarindesignto
responsibility of the user of this standard to establish appro-
the unit under test, but of superior stability, which is included
priate safety and health practices and determine the applica-
in the calibration process for the purpose of quantifying the
bility of regulatory limitations prior to use.
process variability.
2. Referenced Documents 3.2.3 coverage factor, n—numerical factor used as a multi-
2 plierofthecombinedstandarduncertaintyinordertoobtainan
2.1 ASTM Standards:
expanded uncertainty.
3.2.4 dielectric absorption, n—an effect in an insulator
1
This guide is under the jurisdiction ofASTM Committee E20 on Temperature
caused by the polarization of positive and negative charges
MeasurementandisthedirectresponsibilityofSubcommitteeE20.03onResistance
within the insulator which manifests itself as an in-phase
Thermometers.
Current edition approved May 1, 2011. Published June 2011. Originally
current when the voltage is removed and the charges recom-
approved in 2007. Last previous edition approved in 2007 as D5456–07E01. DOI:
bine.
10.1520/E2593-11E01.
2
For referenced ASTM standards, visit the ASTM website, www.astm.org, or
contact ASTM Customer Service at service@astm.org. For Annual Book of ASTM
3
Standards volume information, refer to the standard’s Document Summary page on Available fromAmerican National Standards Institute (ANSI), 25 W. 43rd St.,
the ASTM website. 4th Floor, New York, NY 10036, http://www.ansi.org.
Copyright © ASTM International, 100 Barr Harbor Drive, PO Box C700, West Conshohocken, PA 19428-2959. United States
1
---------------------- Page: 1 ----------------------
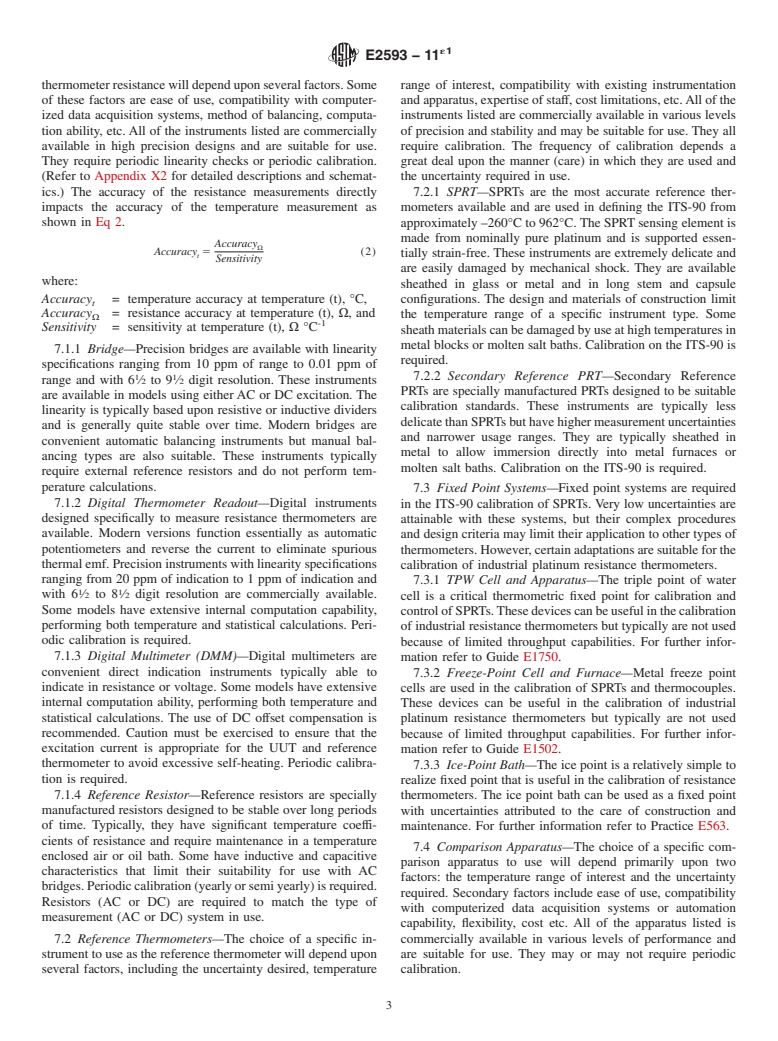
´1
E2593−11
3.2.5 expanded uncertainty, U, n—quantity defining an temperatures covering the temperature range of interest. The
interval about the result of a measurement that may be known temperatures may be established by means of fixed-
expected to encompass a large fraction of the distribution of point systems or by using a reference thermometer. Either an
values that could reasonably be attributed to the measurand. SPRT or a PRT is recommended for use as the reference
3.2.5.1 Discussion—Normally
...
This document is not an ASTM standard and is intended only to provide the user of an ASTM standard an indication of what changes have been made to the previous version. Because
it may not be technically possible to adequately depict all changes accurately, ASTM recommends that users consult prior editions as appropriate. In all cases only the current version
of the standard as published by ASTM is to be considered the official document.
´1
Designation:E2593–11 Designation: E2593 – 11
Standard Guide for
Accuracy Verification of Industrial Platinum Resistance
1
Thermometers
This standard is issued under the fixed designation E2593; the number immediately following the designation indicates the year of
original adoption or, in the case of revision, the year of last revision. A number in parentheses indicates the year of last reapproval. A
superscript epsilon (´) indicates an editorial change since the last revision or reapproval.
1
´ NOTE—Editorial changes were made throughout in March 2008.
—The previous epsilon note was removed in July 2011.
1. Scope
1.1 This guide describes the techniques and apparatus required for the accuracy verification of industrial platinum resistance
thermometers constructed in accordance with Specification E1137/E1137M and the evaluation of calibration uncertainties. The
procedures described apply over the range of –200°C to 650°C.
1.2 This guide does not intend to describe procedures necessary for the calibration of platinum resistance thermometers used
as calibration standards or Standard Platinum Resistance Thermometers. Consequently, calibration of these types of instruments
is outside the scope of this guide.
1.3 Industrial platinum resistance thermometers are available in many styles and configurations. This guide does not purport to
determine the suitability of any particular design, style, or configuration for calibration over a desired temperature range.
1.4 The evaluation of uncertainties is based upon current international practices as described in ISO/TAG 4/WG 3 “Guide to
the Evaluation of Uncertainty in Measurement” and ANSI/NCSL Z540-2-1997 “U.S. Guide to the Expression of Uncertainty in
Measurement.”
1.5 This standard does not purport to address all of the safety concerns, if any, associated with its use. It is the responsibility
of the user of this standard to establish appropriate safety and health practices and determine the applicability of regulatory
limitations prior to use.
2. Referenced Documents
2
2.1 ASTM Standards:
E344 Terminology Relating to Thermometry and Hydrometry
E563 Practice for Preparation and Use of an Ice-Point Bath as a Reference Temperature
E644 Test Methods for Testing Industrial Resistance Thermometers
E1137/E1137M Specification for Industrial Platinum Resistance Thermometers
E1502 Guide for Use of Fixed-Point Cells for Reference Temperatures
E1750 Guide for Use of Water Triple Point Cells
2.2 ANSI Publication:
3
ANSI/NCSL Z540-2-1997 U.S. Guide to the Expression of Uncertainty in Measurement
2.3 Other Publication:
ISO/TAG 4/WG 3 Guide to the Evaluation of Uncertainty in Measurement
3. Terminology
3.1 Definitions—The definitions given in Terminology E344 shall be considered as applying to the terms used in this guide.
3.2 Definitions of Terms Specific to This Standard:
3.2.1 annealing, v—a heat treating process intended to stabilize resistance thermometers prior to calibration and use.
3.2.2 check standard, n—a thermometer similar in design to the unit under test, but of superior stability, which is included in
the calibration process for the purpose of quantifying the process variability.
1
This guide is under the jurisdiction of ASTM Committee E20 on Temperature Measurement and is the direct responsibility of Subcommittee E20.03 on Resistance
Thermometers.
Current edition approved May 1, 2011. Published June 2011. Originally approved in 2007. Last previous edition approved in 2007 as D5456–07E01. DOI:
10.1520/E2593-11E01.
2
For referencedASTM standards, visit theASTM website, www.astm.org, or contactASTM Customer Service at service@astm.org. For Annual Book of ASTM Standards
volume information, refer to the standard’s Document Summary page on the ASTM website.
3
Available from American National Standards Institute (ANSI), 25 W. 43rd St., 4th Floor, New York, NY 10036, http://www.ansi.org.
Copyright © ASTM International, 100 Barr Harbor Drive, PO Box C700, West Conshohocken, PA 19428-2959, United States.
1
---------------------- Page: 1 ----------------------
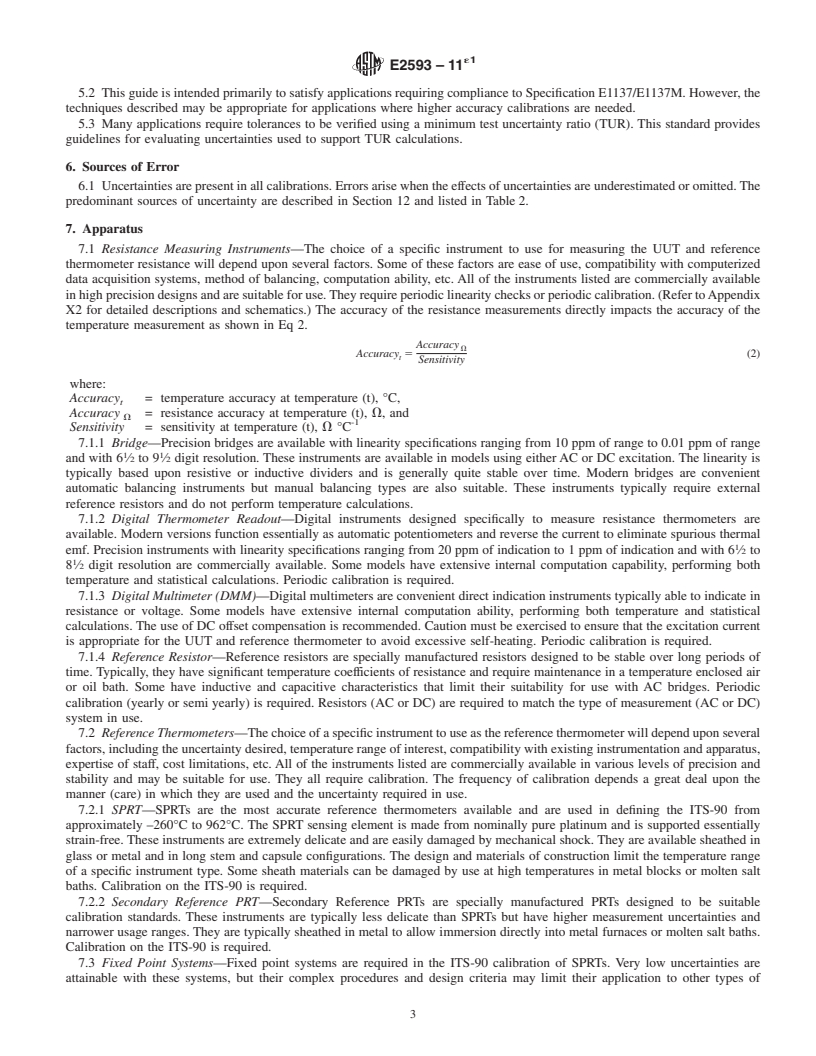
´1
E2593 – 11
3.2.3 coverage factor, n—numerical factor used as a multiplier of the combined standard uncertainty in order to obtain an
expanded uncertainty.
3.2.4 dielectric absorption, n—an effect in an insulator caused by the polarization of positive and negative charges within the
insulator which manifests itself as an in-phase current when the voltage is removed and the charges recombine.
3.2.5 expanded uncertainty, U, n—quantity defining an interval about the result of a measurement tha
...


Questions, Comments and Discussion
Ask us and Technical Secretary will try to provide an answer. You can facilitate discussion about the standard in here.