ASTM G46-94(2018)
(Guide)Standard Guide for Examination and Evaluation of Pitting Corrosion
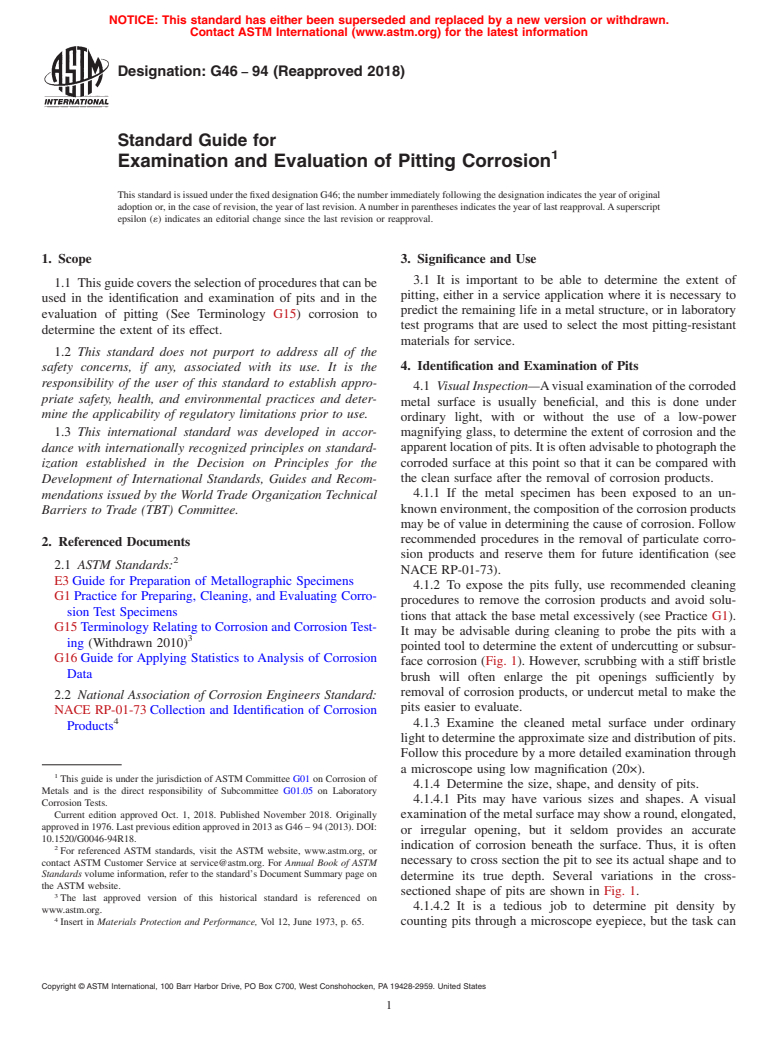
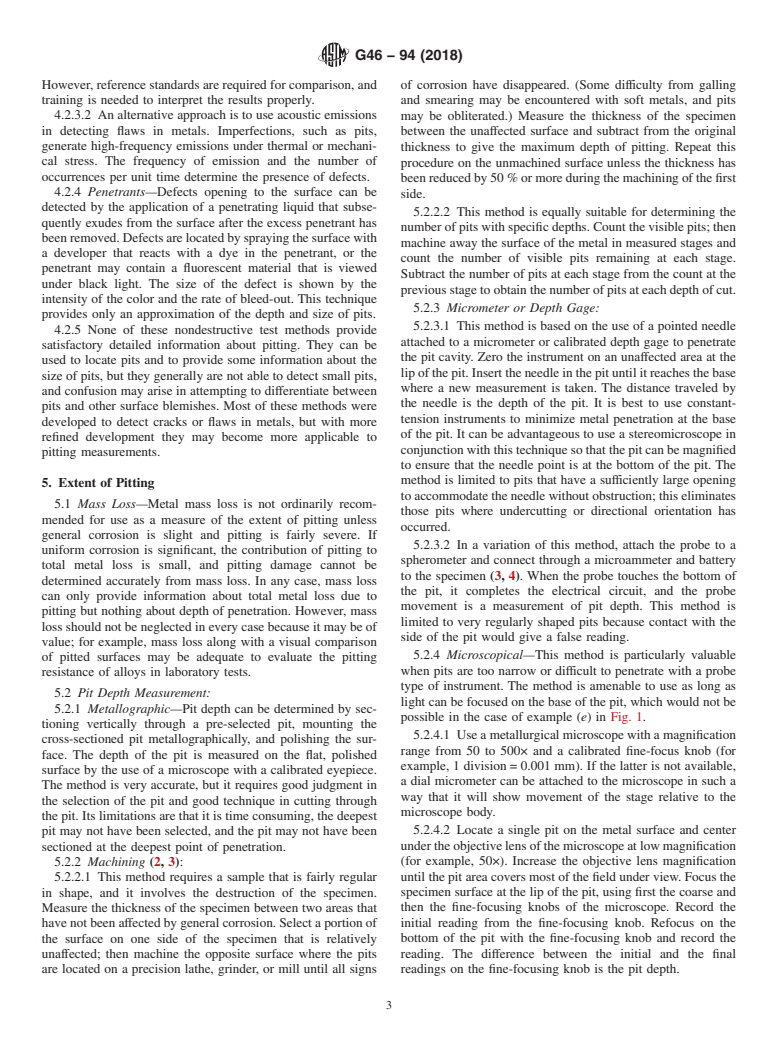
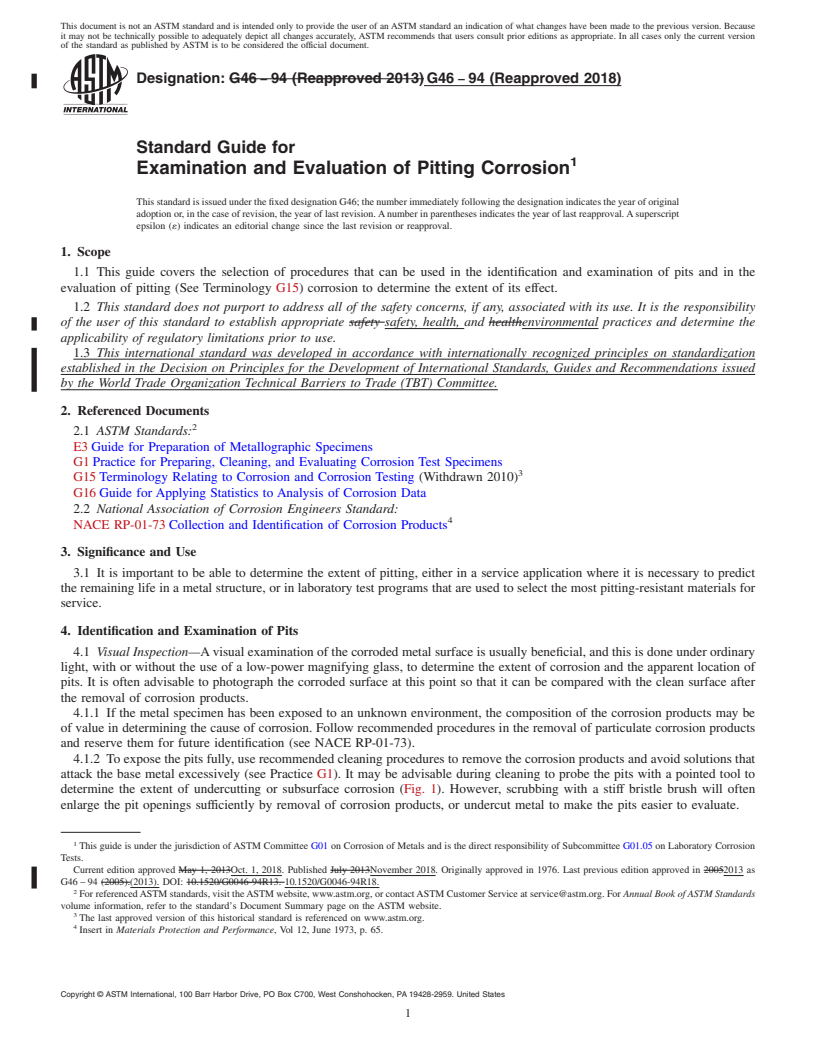
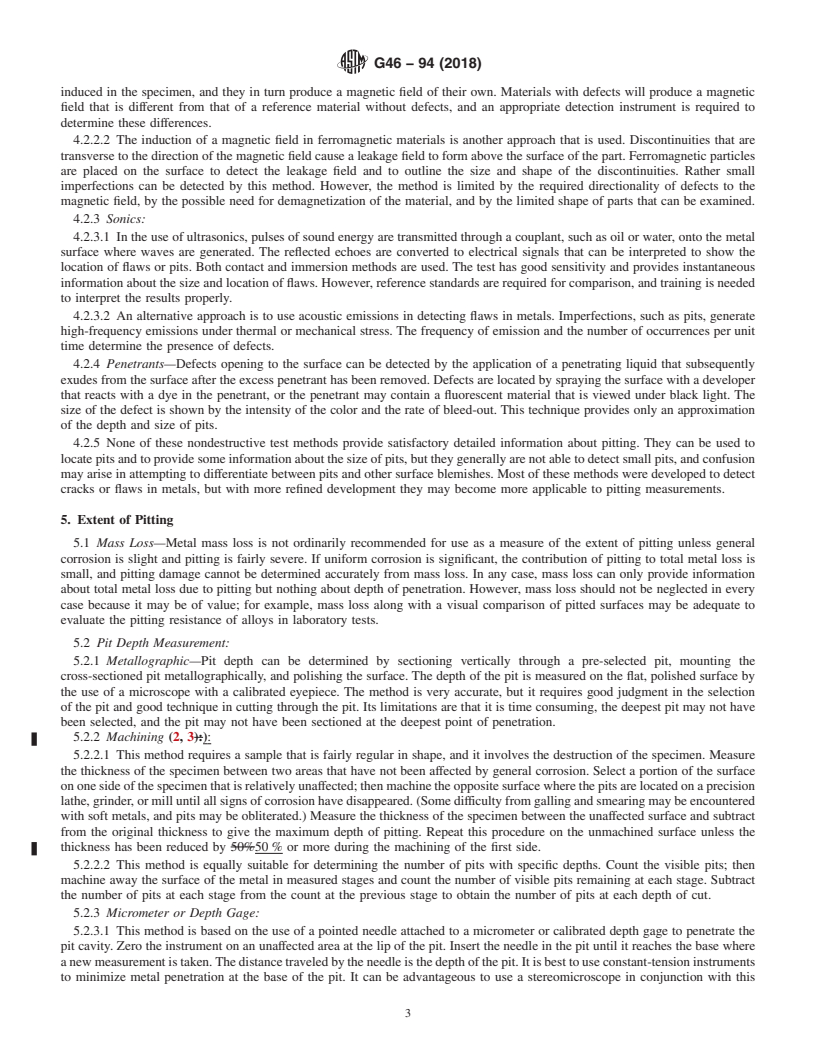
Standard Guide for Examination and Evaluation of Pitting Corrosion
SIGNIFICANCE AND USE
3.1 It is important to be able to determine the extent of pitting, either in a service application where it is necessary to predict the remaining life in a metal structure, or in laboratory test programs that are used to select the most pitting-resistant materials for service.
SCOPE
1.1 This guide covers the selection of procedures that can be used in the identification and examination of pits and in the evaluation of pitting (See Terminology G15) corrosion to determine the extent of its effect.
1.2 This standard does not purport to address all of the safety concerns, if any, associated with its use. It is the responsibility of the user of this standard to establish appropriate safety, health, and environmental practices and determine the applicability of regulatory limitations prior to use.
1.3 This international standard was developed in accordance with internationally recognized principles on standardization established in the Decision on Principles for the Development of International Standards, Guides and Recommendations issued by the World Trade Organization Technical Barriers to Trade (TBT) Committee.
General Information
Buy Standard
Standards Content (Sample)
NOTICE: This standard has either been superseded and replaced by a new version or withdrawn.
Contact ASTM International (www.astm.org) for the latest information
Designation: G46 − 94 (Reapproved 2018)
Standard Guide for
1
Examination and Evaluation of Pitting Corrosion
ThisstandardisissuedunderthefixeddesignationG46;thenumberimmediatelyfollowingthedesignationindicatestheyearoforiginal
adoptionor,inthecaseofrevision,theyearoflastrevision.Anumberinparenthesesindicatestheyearoflastreapproval.Asuperscript
epsilon (´) indicates an editorial change since the last revision or reapproval.
1. Scope 3. Significance and Use
3.1 It is important to be able to determine the extent of
1.1 Thisguidecoverstheselectionofproceduresthatcanbe
pitting, either in a service application where it is necessary to
used in the identification and examination of pits and in the
predict the remaining life in a metal structure, or in laboratory
evaluation of pitting (See Terminology G15) corrosion to
test programs that are used to select the most pitting-resistant
determine the extent of its effect.
materials for service.
1.2 This standard does not purport to address all of the
4. Identification and Examination of Pits
safety concerns, if any, associated with its use. It is the
responsibility of the user of this standard to establish appro-
4.1 VisualInspection—Avisualexaminationofthecorroded
priate safety, health, and environmental practices and deter-
metal surface is usually beneficial, and this is done under
mine the applicability of regulatory limitations prior to use.
ordinary light, with or without the use of a low-power
1.3 This international standard was developed in accor- magnifying glass, to determine the extent of corrosion and the
dance with internationally recognized principles on standard- apparentlocationofpits.Itisoftenadvisabletophotographthe
corroded surface at this point so that it can be compared with
ization established in the Decision on Principles for the
the clean surface after the removal of corrosion products.
Development of International Standards, Guides and Recom-
4.1.1 If the metal specimen has been exposed to an un-
mendations issued by the World Trade Organization Technical
knownenvironment,thecompositionofthecorrosionproducts
Barriers to Trade (TBT) Committee.
may be of value in determining the cause of corrosion. Follow
recommended procedures in the removal of particulate corro-
2. Referenced Documents
sion products and reserve them for future identification (see
2
2.1 ASTM Standards:
NACE RP-01-73).
E3Guide for Preparation of Metallographic Specimens
4.1.2 To expose the pits fully, use recommended cleaning
G1Practice for Preparing, Cleaning, and Evaluating Corro-
procedures to remove the corrosion products and avoid solu-
sion Test Specimens
tions that attack the base metal excessively (see Practice G1).
G15TerminologyRelatingtoCorrosionandCorrosionTest-
It may be advisable during cleaning to probe the pits with a
3
ing (Withdrawn 2010)
pointed tool to determine the extent of undercutting or subsur-
G16Guide for Applying Statistics to Analysis of Corrosion
face corrosion (Fig. 1). However, scrubbing with a stiff bristle
Data
brush will often enlarge the pit openings sufficiently by
removal of corrosion products, or undercut metal to make the
2.2 National Association of Corrosion Engineers Standard:
pits easier to evaluate.
NACE RP-01-73Collection and Identification of Corrosion
4
4.1.3 Examine the cleaned metal surface under ordinary
Products
lighttodeterminetheapproximatesizeanddistributionofpits.
Follow this procedure by a more detailed examination through
a microscope using low magnification (20×).
1
This guide is under the jurisdiction ofASTM Committee G01 on Corrosion of
4.1.4 Determine the size, shape, and density of pits.
Metals and is the direct responsibility of Subcommittee G01.05 on Laboratory
4.1.4.1 Pits may have various sizes and shapes. A visual
Corrosion Tests.
Current edition approved Oct. 1, 2018. Published November 2018. Originally
examinationofthemetalsurfacemayshowaround,elongated,
approvedin1976.Lastpreviouseditionapprovedin2013asG46–94(2013).DOI:
or irregular opening, but it seldom provides an accurate
10.1520/G0046-94R18.
indication of corrosion beneath the surface. Thus, it is often
2
For referenced ASTM standards, visit the ASTM website, www.astm.org, or
necessary to cross section the pit to see its actual shape and to
contact ASTM Customer Service at service@astm.org. For Annual Book of ASTM
Standards volume information, refer to the standard’s Document Summary page on
determine its true depth. Several variations in the cross-
the ASTM website.
sectioned shape of pits are shown in Fig. 1.
3
The last approved version of this historical standard is referenced on
4.1.4.2 It is a tedious job to determine pit density by
www.astm.org.
4
Insert in Materials Protection and Performance, Vol 12, June 1973, p. 65. counting pits through a microscope eyepiece, but the task can
Copyright © ASTM I
...
This document is not an ASTM standard and is intended only to provide the user of an ASTM standard an indication of what changes have been made to the previous version. Because
it may not be technically possible to adequately depict all changes accurately, ASTM recommends that users consult prior editions as appropriate. In all cases only the current version
of the standard as published by ASTM is to be considered the official document.
Designation: G46 − 94 (Reapproved 2013) G46 − 94 (Reapproved 2018)
Standard Guide for
1
Examination and Evaluation of Pitting Corrosion
This standard is issued under the fixed designation G46; the number immediately following the designation indicates the year of original
adoption or, in the case of revision, the year of last revision. A number in parentheses indicates the year of last reapproval. A superscript
epsilon (´) indicates an editorial change since the last revision or reapproval.
1. Scope
1.1 This guide covers the selection of procedures that can be used in the identification and examination of pits and in the
evaluation of pitting (See Terminology G15) corrosion to determine the extent of its effect.
1.2 This standard does not purport to address all of the safety concerns, if any, associated with its use. It is the responsibility
of the user of this standard to establish appropriate safety safety, health, and healthenvironmental practices and determine the
applicability of regulatory limitations prior to use.
1.3 This international standard was developed in accordance with internationally recognized principles on standardization
established in the Decision on Principles for the Development of International Standards, Guides and Recommendations issued
by the World Trade Organization Technical Barriers to Trade (TBT) Committee.
2. Referenced Documents
2
2.1 ASTM Standards:
E3 Guide for Preparation of Metallographic Specimens
G1 Practice for Preparing, Cleaning, and Evaluating Corrosion Test Specimens
3
G15 Terminology Relating to Corrosion and Corrosion Testing (Withdrawn 2010)
G16 Guide for Applying Statistics to Analysis of Corrosion Data
2.2 National Association of Corrosion Engineers Standard:
4
NACE RP-01-73 Collection and Identification of Corrosion Products
3. Significance and Use
3.1 It is important to be able to determine the extent of pitting, either in a service application where it is necessary to predict
the remaining life in a metal structure, or in laboratory test programs that are used to select the most pitting-resistant materials for
service.
4. Identification and Examination of Pits
4.1 Visual Inspection—A visual examination of the corroded metal surface is usually beneficial, and this is done under ordinary
light, with or without the use of a low-power magnifying glass, to determine the extent of corrosion and the apparent location of
pits. It is often advisable to photograph the corroded surface at this point so that it can be compared with the clean surface after
the removal of corrosion products.
4.1.1 If the metal specimen has been exposed to an unknown environment, the composition of the corrosion products may be
of value in determining the cause of corrosion. Follow recommended procedures in the removal of particulate corrosion products
and reserve them for future identification (see NACE RP-01-73).
4.1.2 To expose the pits fully, use recommended cleaning procedures to remove the corrosion products and avoid solutions that
attack the base metal excessively (see Practice G1). It may be advisable during cleaning to probe the pits with a pointed tool to
determine the extent of undercutting or subsurface corrosion (Fig. 1). However, scrubbing with a stiff bristle brush will often
enlarge the pit openings sufficiently by removal of corrosion products, or undercut metal to make the pits easier to evaluate.
1
This guide is under the jurisdiction of ASTM Committee G01 on Corrosion of Metals and is the direct responsibility of Subcommittee G01.05 on Laboratory Corrosion
Tests.
Current edition approved May 1, 2013Oct. 1, 2018. Published July 2013November 2018. Originally approved in 1976. Last previous edition approved in 20052013 as
G46 – 94 (2005).(2013). DOI: 10.1520/G0046-94R13. 10.1520/G0046-94R18.
2
For referenced ASTM standards, visit the ASTM website, www.astm.org, or contact ASTM Customer Service at service@astm.org. For Annual Book of ASTM Standards
volume information, refer to the standard’s Document Summary page on the ASTM website.
3
The last approved version of this historical standard is referenced on www.astm.org.
4
Insert in Materials Protection and Performance, Vol 12, June 1973, p. 65.
Copyright © ASTM International, 100 Barr Harbor Drive, PO Box C700, West Conshohocken, PA 19428-2959. United States
1
---------------------- Page: 1 ----------------------
G46 − 94 (2018)
FIG. 1 Variations in the Cross-Sectional Shape of Pits
4.1.3 Examine the cleaned metal surface under ordinary light to determine the approximate size and distributio
...


Questions, Comments and Discussion
Ask us and Technical Secretary will try to provide an answer. You can facilitate discussion about the standard in here.