ASTM C730-98(2008)
(Test Method)Standard Test Method for Knoop Indentation Hardness of Glass
Standard Test Method for Knoop Indentation Hardness of Glass
SIGNIFICANCE AND USE
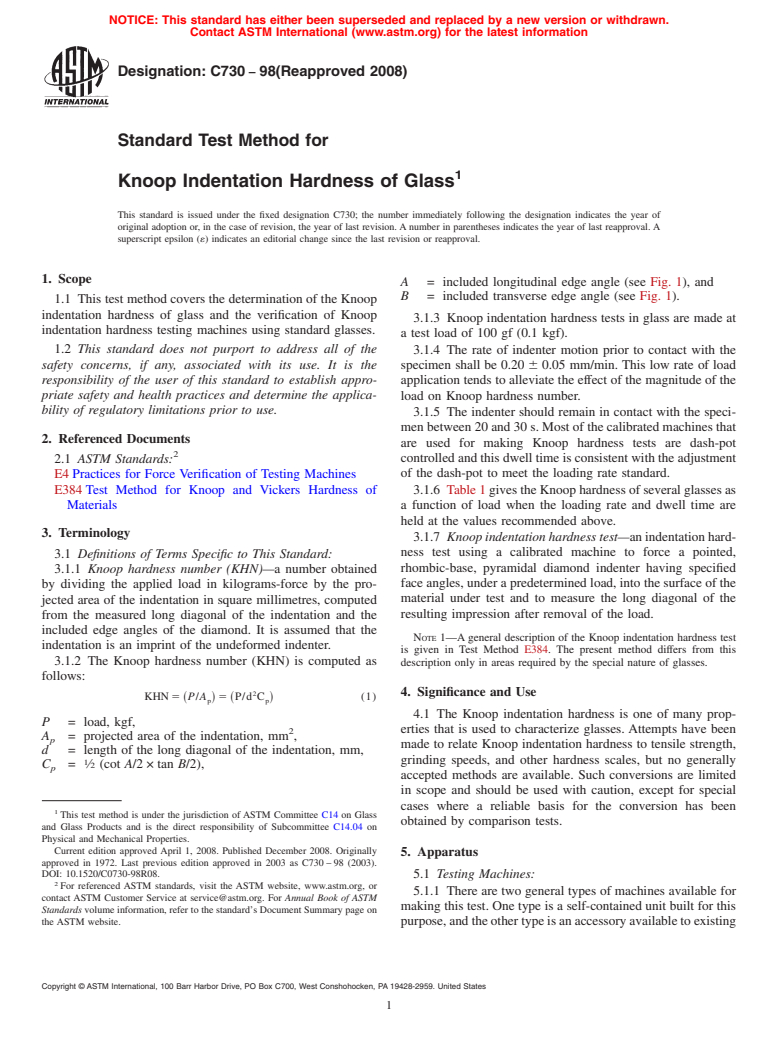
The Knoop indentation hardness is one of many properties that is used to characterize glasses. Attempts have been made to relate Knoop indentation hardness to tensile strength, grinding speeds, and other hardness scales, but no generally accepted methods are available. Such conversions are limited in scope and should be used with caution, except for special cases where a reliable basis for the conversion has been obtained by comparison tests.
SCOPE
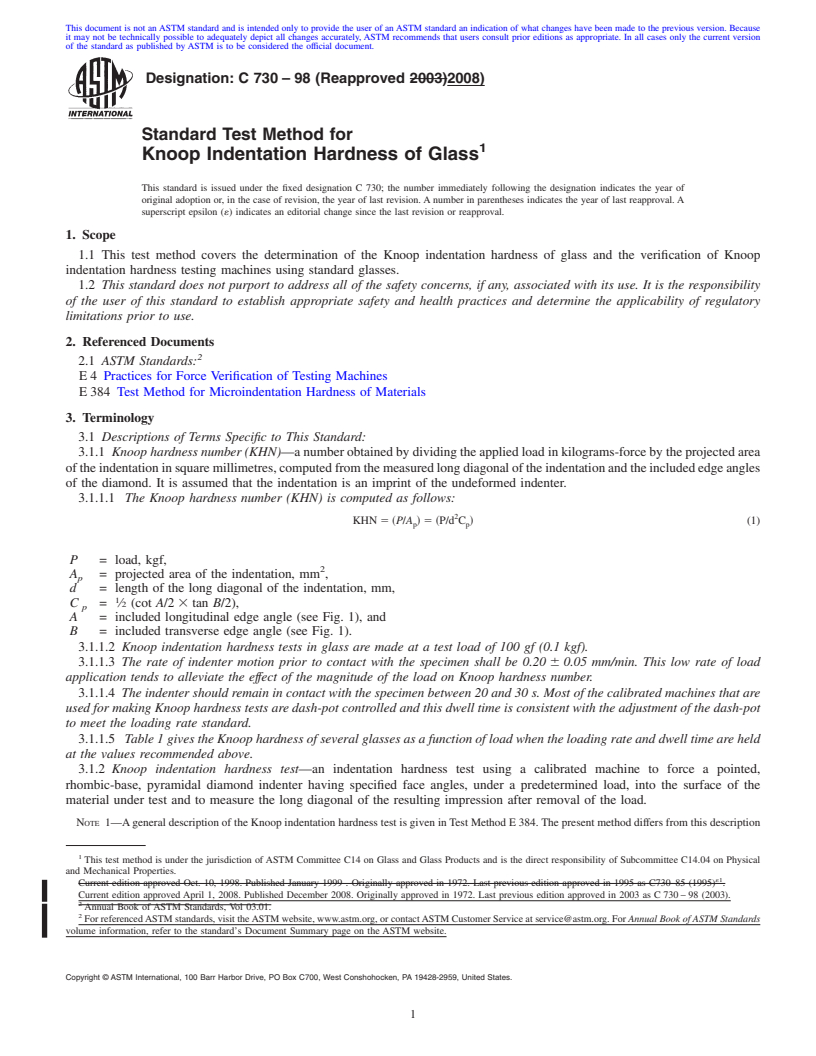
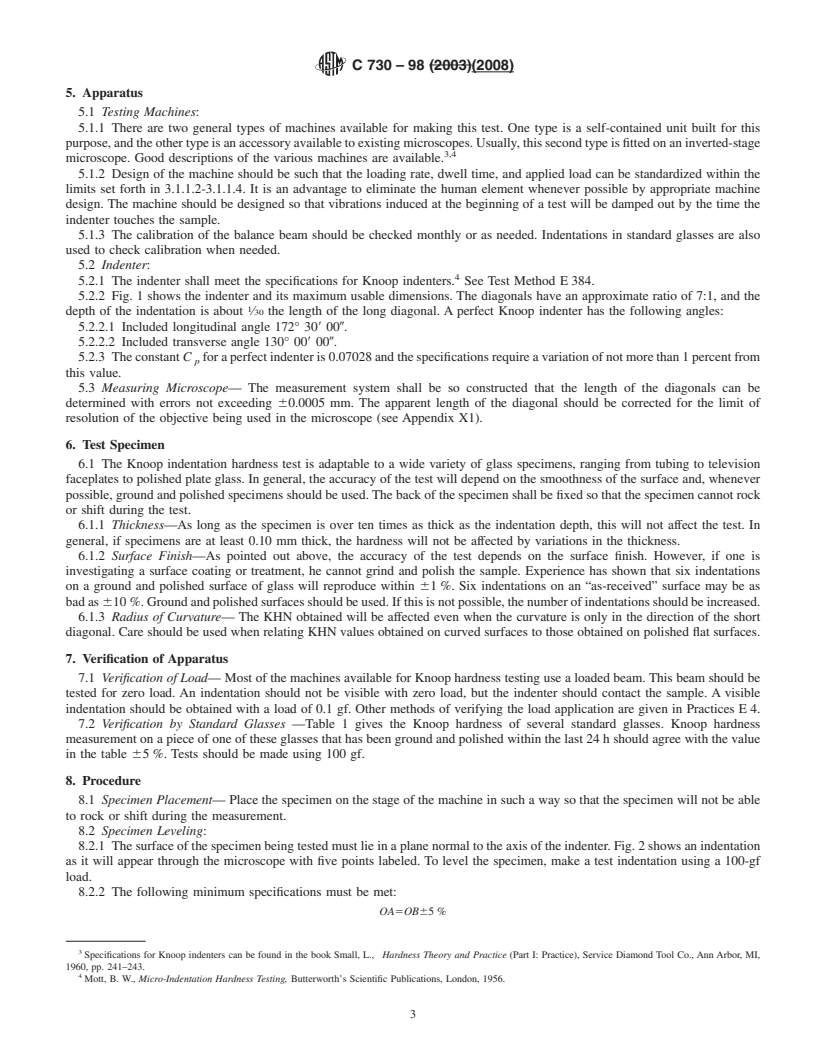
1.1 This test method covers the determination of the Knoop indentation hardness of glass and the verification of Knoop indentation hardness testing machines using standard glasses.
1.2 This standard does not purport to address all of the safety concerns, if any, associated with its use. It is the responsibility of the user of this standard to establish appropriate safety and health practices and determine the applicability of regulatory limitations prior to use.
General Information
Relations
Buy Standard
Standards Content (Sample)
NOTICE: This standard has either been superseded and replaced by a new version or withdrawn.
Contact ASTM International (www.astm.org) for the latest information
Designation: C730 − 98(Reapproved 2008)
Standard Test Method for
1
Knoop Indentation Hardness of Glass
This standard is issued under the fixed designation C730; the number immediately following the designation indicates the year of
original adoption or, in the case of revision, the year of last revision.Anumber in parentheses indicates the year of last reapproval.A
superscript epsilon (´) indicates an editorial change since the last revision or reapproval.
1. Scope
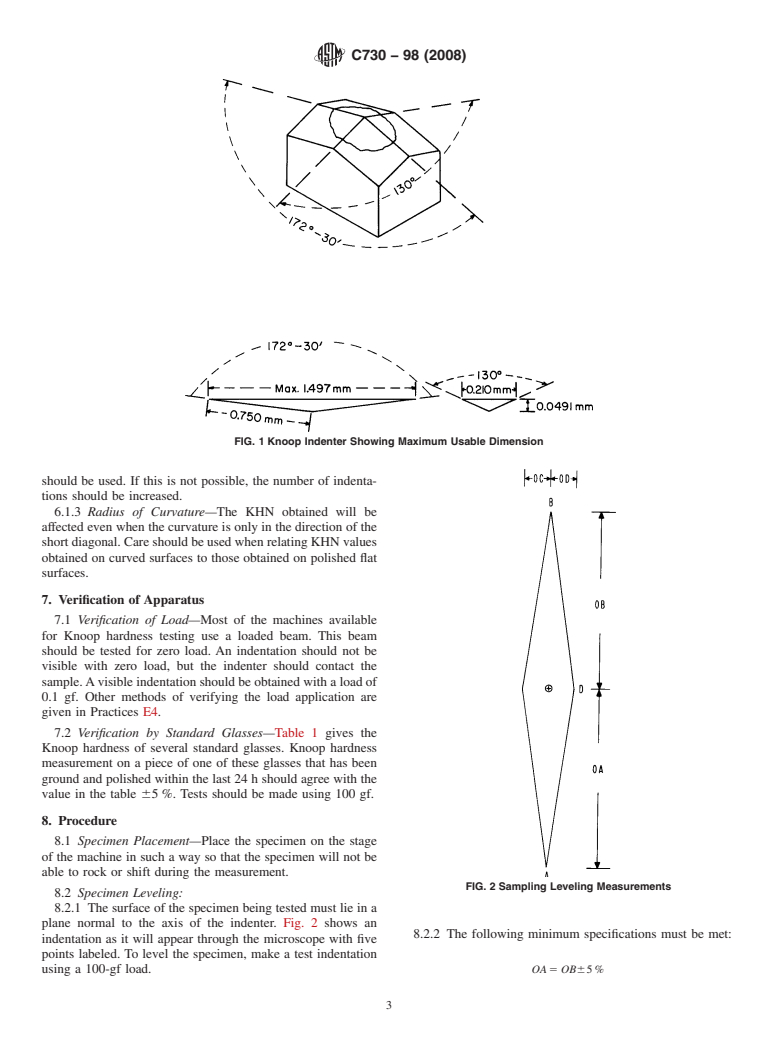
A = included longitudinal edge angle (see Fig. 1), and
B = included transverse edge angle (see Fig. 1).
1.1 This test method covers the determination of the Knoop
indentation hardness of glass and the verification of Knoop
3.1.3 Knoop indentation hardness tests in glass are made at
indentation hardness testing machines using standard glasses.
a test load of 100 gf (0.1 kgf).
1.2 This standard does not purport to address all of the 3.1.4 The rate of indenter motion prior to contact with the
safety concerns, if any, associated with its use. It is the
specimen shall be 0.20 60.05 mm/min. This low rate of load
responsibility of the user of this standard to establish appro- application tends to alleviate the effect of the magnitude of the
priate safety and health practices and determine the applica-
load on Knoop hardness number.
bility of regulatory limitations prior to use.
3.1.5 The indenter should remain in contact with the speci-
menbetween20and30s.Mostofthecalibratedmachinesthat
2. Referenced Documents
are used for making Knoop hardness tests are dash-pot
2
2.1 ASTM Standards: controlledandthisdwelltimeisconsistentwiththeadjustment
of the dash-pot to meet the loading rate standard.
E4Practices for Force Verification of Testing Machines
E384Test Method for Knoop and Vickers Hardness of 3.1.6 Table1givestheKnoophardnessofseveralglassesas
Materials a function of load when the loading rate and dwell time are
held at the values recommended above.
3. Terminology
3.1.7 Knoop indentation hardness test—anindentationhard-
ness test using a calibrated machine to force a pointed,
3.1 Definitions of Terms Specific to This Standard:
rhombic-base, pyramidal diamond indenter having specified
3.1.1 Knoop hardness number (KHN)—a number obtained
faceangles,underapredeterminedload,intothesurfaceofthe
by dividing the applied load in kilograms-force by the pro-
material under test and to measure the long diagonal of the
jected area of the indentation in square millimetres, computed
resulting impression after removal of the load.
from the measured long diagonal of the indentation and the
included edge angles of the diamond. It is assumed that the
NOTE 1—Ageneral description of the Knoop indentation hardness test
indentation is an imprint of the undeformed indenter.
is given in Test Method E384. The present method differs from this
3.1.2 The Knoop hardness number (KHN) is computed as
description only in areas required by the special nature of glasses.
follows:
2 4. Significance and Use
KHN 5 P/A 5 P/d C (1)
~ ! ~ !
p p
4.1 The Knoop indentation hardness is one of many prop-
P = load, kgf,
erties that is used to characterize glasses. Attempts have been
2
A = projected area of the indentation, mm ,
p
made to relate Knoop indentation hardness to tensile strength,
d = length of the long diagonal of the indentation, mm,
grinding speeds, and other hardness scales, but no generally
1
C = ⁄2 (cot A/2×tan B/2),
p
accepted methods are available. Such conversions are limited
in scope and should be used with caution, except for special
cases where a reliable basis for the conversion has been
1
This test method is under the jurisdiction of ASTM Committee C14 on Glass
obtained by comparison tests.
and Glass Products and is the direct responsibility of Subcommittee C14.04 on
Physical and Mechanical Properties.
Current edition approved April 1, 2008. Published December 2008. Originally
5. Apparatus
approved in 1972. Last previous edition approved in 2003 as C730–98 (2003).
DOI: 10.1520/C0730-98R08.
5.1 Testing Machines:
2
For referenced ASTM standards, visit the ASTM website, www.astm.org, or
5.1.1 There are two general types of machines available for
contact ASTM Customer Service at service@astm.org. For Annual Book of ASTM
making this test. One type is a self-contained unit built for this
Standards volume information, refer to the standard’s Document Summary page on
the ASTM website. purpose,andtheothertypeisanaccessoryavailabletoexisting
Copyright ©ASTM International, 100 Barr Harbor Drive, PO Box C700, West Conshohocken, PA19428-2959. United States
1
---------------------- Page: 1 ----------------------
C730 − 98 (2008)
A ,B
TABLE 1 Knoop Hardness of NIST Standard and Other Glasses
GE
Laboratory NIST 710 NIST 711 NIST 715 Fused NIST 710 NIST 711 NIST 715 GE Fused Quartz
Quartz
25-gf Load 50-gf Load
A 486 411 589 614 497 394
...
This document is not anASTM standard and is intended only to provide the user of anASTM standard an indication of what changes have been made to the previous version. Because
it may not be technically possible to adequately depict all changes accurately, ASTM recommends that users consult prior editions as appropriate. In all cases only the current version
of the standard as published by ASTM is to be considered the official document.
Designation:C 730–98 (Reapproved 2003)2008)
Standard Test Method for
1
Knoop Indentation Hardness of Glass
This standard is issued under the fixed designation C 730; the number immediately following the designation indicates the year of
original adoption or, in the case of revision, the year of last revision. A number in parentheses indicates the year of last reapproval. A
superscript epsilon (´) indicates an editorial change since the last revision or reapproval.
1. Scope
1.1 This test method covers the determination of the Knoop indentation hardness of glass and the verification of Knoop
indentation hardness testing machines using standard glasses.
1.2 This standard does not purport to address all of the safety concerns, if any, associated with its use. It is the responsibility
of the user of this standard to establish appropriate safety and health practices and determine the applicability of regulatory
limitations prior to use.
2. Referenced Documents
2
2.1 ASTM Standards:
E4 Practices for Force Verification of Testing Machines
E 384 Test Method for Microindentation Hardness of Materials
3. Terminology
3.1 Descriptions of Terms Specific to This Standard:
3.1.1 Knoop hardness number (KHN)—anumberobtainedbydividingtheappliedloadinkilograms-forcebytheprojectedarea
oftheindentationinsquaremillimetres,computedfromthemeasuredlongdiagonaloftheindentationandtheincludededgeangles
of the diamond. It is assumed that the indentation is an imprint of the undeformed indenter.
3.1.1.1 The Knoop hardness number (KHN) is computed as follows:
2
KHN 5 ~P/A !5~P/d C ! (1)
p p
P = load, kgf,
2
A = projected area of the indentation, mm ,
p
d = length of the long diagonal of the indentation, mm,
1
C = ⁄2 (cot A/2 3 tan B/2),
p
A = included longitudinal edge angle (see Fig. 1), and
B = included transverse edge angle (see Fig. 1).
3.1.1.2 Knoop indentation hardness tests in glass are made at a test load of 100 gf (0.1 kgf).
3.1.1.3 The rate of indenter motion prior to contact with the specimen shall be 0.20 6 0.05 mm/min. This low rate of load
application tends to alleviate the effect of the magnitude of the load on Knoop hardness number.
3.1.1.4 The indenter should remain in contact with the specimen between 20 and 30 s. Most of the calibrated machines that are
used for making Knoop hardness tests are dash-pot controlled and this dwell time is consistent with the adjustment of the dash-pot
to meet the loading rate standard.
3.1.1.5 Table 1 gives the Knoop hardness of several glasses as a function of load when the loading rate and dwell time are held
at the values recommended above.
3.1.2 Knoop indentation hardness test—an indentation hardness test using a calibrated machine to force a pointed,
rhombic-base, pyramidal diamond indenter having specified face angles, under a predetermined load, into the surface of the
material under test and to measure the long diagonal of the resulting impression after removal of the load.
NOTE 1—Ageneral description of the Knoop indentation hardness test is given in Test Method E 384. The present method differs from this description
1
This test method is under the jurisdiction of ASTM Committee C14 on Glass and Glass Products and is the direct responsibility of Subcommittee C14.04 on Physical
and Mechanical Properties.
´1
Current edition approved Oct. 10, 1998. Published January 1999 . Originally approved in 1972. Last previous edition approved in 1995 as C730–85 (1995) .
Current edition approved April 1, 2008. Published December 2008. Originally approved in 1972. Last previous edition approved in 2003 as C 730 – 98 (2003).
2
Annual Book of ASTM Standards, Vol 03.01.
2
For referencedASTM standards, visit theASTM website, www.astm.org, or contactASTM Customer Service at service@astm.org. For Annual Book of ASTM Standards
volume information, refer to the standard’s Document Summary page on the ASTM website.
Copyright ©ASTM International, 100 Barr Harbor Drive, PO Box C700, West Conshohocken, PA19428-2959, United States.
1
---------------------- Page: 1 ----------------------
C 730–98 (2003)(2008)
FIG. 1 Knoop Indenter Showing Maximum Usable Dimension
A ,B
TABLE 1 Knoop Hardness of NIST Standard and Other Glasses
GE
Laboratory NIST 710 NIST 711 NIST 715 Fused NIST 710 NIST 711 NIST 715 GE Fused Quartz
Quartz
25-gf Load 50-gf Load
A 486 411 589 614 497 394 575 559
C 594 450 537 415
D 479 426 505 541 478 380 538 501
E 521 415 608 620 497 392 574 586
F 498 414 568 643 484 403 567 577
G
Avg 516 423 567.5 609.5 499 397 563.5 556
Departure, max, 15 6 11 11 8 5 5 10
%
Range,
...


Questions, Comments and Discussion
Ask us and Technical Secretary will try to provide an answer. You can facilitate discussion about the standard in here.