ISO 4385:2024
(Main)Plain bearings — Compression testing of bearing materials
Plain bearings — Compression testing of bearing materials
This document specifies a method for compression testing of bearing materials. It is applicable for both bulk materials and coatings. Compression testing within the meaning of this document serves for the determination of the behaviour of bearing materials under uniaxial compression loading which is uniformly distributed over the cross-section. For this purpose, a cylindrical specimen or a setup of two such specimen, with an original cross-section, A0, is loaded at constant crosshead speed and the resulting compressive stress and compressive strain are recorded.
Paliers lisses — Essai de compression des matériaux paliers
La présente Norme internationale spécifie une méthode d'essai de compression des matériaux antifriction. Au sens de la présente Norme internationale, un essai de compression sert à déterminer le comportement des métaux sous une compression uniaxiale répartie uniformément sur toute la section droite. On soumet à cet effet une éprouvette cylindrique de section initiale, S0, à une compression, croissant de façon lente et continue, et l'on mesure la force de compression nécessaire.
General Information
Relations
Standards Content (Sample)
International
Standard
ISO 4385
Second edition
Plain bearings — Compression
2024-12
testing of bearing materials
Paliers lisses — Essai de compression des matériaux paliers
Reference number
© ISO 2024
All rights reserved. Unless otherwise specified, or required in the context of its implementation, no part of this publication may
be reproduced or utilized otherwise in any form or by any means, electronic or mechanical, including photocopying, or posting on
the internet or an intranet, without prior written permission. Permission can be requested from either ISO at the address below
or ISO’s member body in the country of the requester.
ISO copyright office
CP 401 • Ch. de Blandonnet 8
CH-1214 Vernier, Geneva
Phone: +41 22 749 01 11
Email: copyright@iso.org
Website: www.iso.org
Published in Switzerland
ii
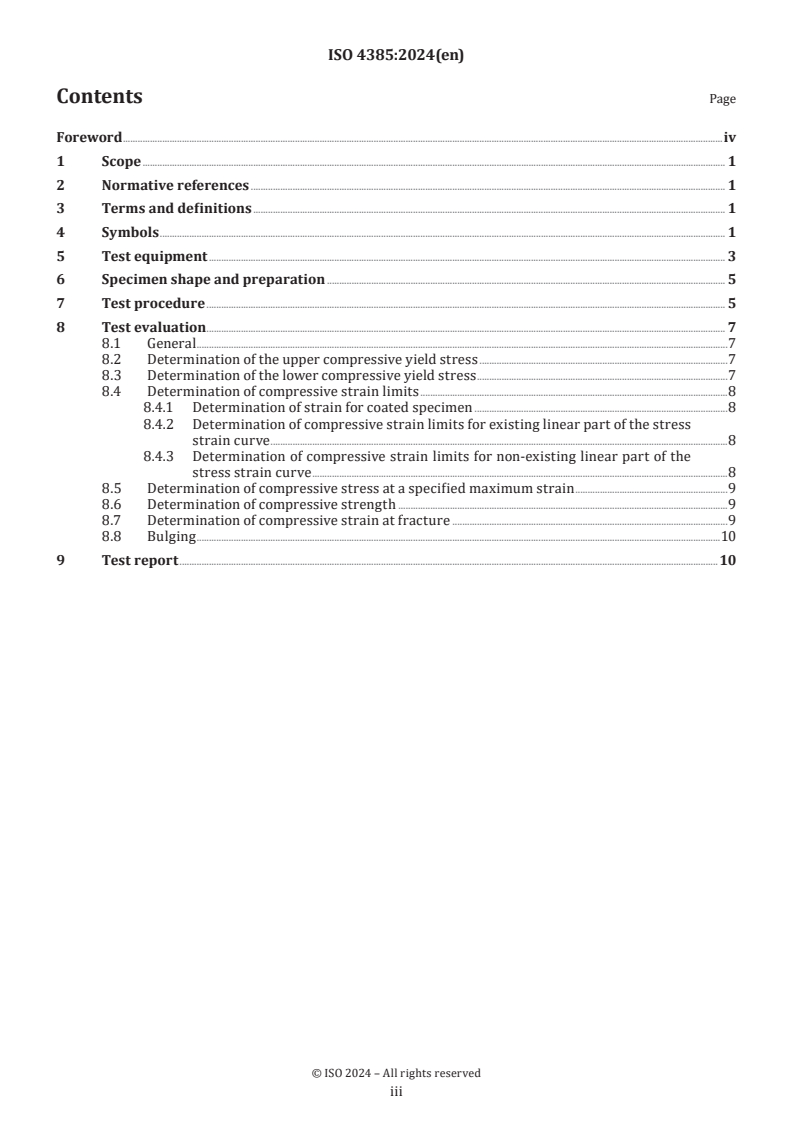
Contents Page
Foreword .iv
1 Scope . 1
2 Normative references . 1
3 Terms and definitions . 1
4 Symbols . 1
5 Test equipment . 3
6 Specimen shape and preparation . 5
7 Test procedure . 5
8 Test evaluation . 7
8.1 General .7
8.2 Determination of the upper compressive yield stress .7
8.3 Determination of the lower compressive yield stress .7
8.4 Determination of compressive strain limits .8
8.4.1 Determination of strain for coated specimen .8
8.4.2 Determination of compressive strain limits for existing linear part of the stress
strain curve .8
8.4.3 Determination of compressive strain limits for non-existing linear part of the
stress strain curve .8
8.5 Determination of compressive stress at a specified maximum strain .9
8.6 Determination of compressive strength .9
8.7 Determination of compressive strain at fracture .9
8.8 Bulging .10
9 Test report .10
iii
Foreword
ISO (the International Organization for Standardization) is a worldwide federation of national standards
bodies (ISO member bodies). The work of preparing International Standards is normally carried out through
ISO technical committees. Each member body interested in a subject for which a technical committee
has been established has the right to be represented on that committee. International organizations,
governmental and non-governmental, in liaison with ISO, also take part in the work. ISO collaborates closely
with the International Electrotechnical Commission (IEC) on all matters of electrotechnical standardization.
The procedures used to develop this document and those intended for its further maintenance are described
in the ISO/IEC Directives, Part 1. In particular, the different approval criteria needed for the different types
of ISO document should be noted. This document was drafted in accordance with the editorial rules of the
ISO/IEC Directives, Part 2 (see www.iso.org/directives).
ISO draws attention to the possibility that the implementation of this document may involve the use of (a)
patent(s). ISO takes no position concerning the evidence, validity or applicability of any claimed patent
rights in respect thereof. As of the date of publication of this document, ISO had not received notice of (a)
patent(s) which may be required to implement this document. However, implementers are cautioned that
this may not represent the latest information, which may be obtained from the patent database available at
www.iso.org/patents. ISO shall not be held responsible for identifying any or all such patent rights.
Any trade name used in this document is information given for the convenience of users and does not
constitute an endorsement.
For an explanation of the voluntary nature of standards, the meaning of ISO specific terms and expressions
related to conformity assessment, as well as information about ISO's adherence to the World Trade
Organization (WTO) principles in the Technical Barriers to Trade (TBT), see www.iso.org/iso/foreword.html.
This document was prepared by Technical Committee ISO/TC 123, Plain bearings, Subcommittee SC 2,
Materials and lubricants, their properties, characteristics, test methods and testing conditions.
This second edition cancels and replaces the first edition (ISO 4385:1981), which has been technically
revised.
The main changes compared to the previous edition are as follows:
— change of scope;
— restructure of the document;
— implementation of Clause 2;
— revision of Clause 3, Terms and definition;
— implementation of Clause 4;
— revision and of Clause 4 and 5, and implementation of Figures 1, 2, 3, 4, 5 and 6;
— revision of Clause 6.
Any feedback or questions on this document should be directed to the user’s national standards body. A
complete listing of these bodies can be found at www.iso.org/members.html.
iv
International Standard ISO 4385:2024(en)
Plain bearings — Compression testing of bearing materials
1 Scope
This document specifies a method for compression testing of bearing materials. It is applicable for both bulk
materials and coatings.
Compression testing within the meaning of this document serves for the determination of the behaviour of
bearing materials under uniaxial compression loading which is uniformly distributed over the cross-section.
For this purpose, a cylindrical specimen or a setup of two such specimen, with an original cross-section,
A , is loaded at constant crosshead speed and the resulting compressive stress and compressive strain are
recorded.
2 Normative references
The following documents are referred to in the text in such a way that some or all of their content constitutes
requirements of this document. For dated references, only the edition cited applies. For undated references,
the last edition of the referenced document (including any amendments) applies.
ISO 1101, Geometrical product specifications (GPS) — Geometrical tolerancing — Tolerances of form,
orientation, location and run-out
ISO 7500-1, Metallic materials — Calibration and verification of static uniaxial testing machines — Part 1:
Tension/compression testing machines — Calibration and verification of the force-measuring system
ISO 9513, Metallic materials — Calibration of extensometer systems used in uniaxial testing
ISO 21920-1, Geometrical product specifications (GPS) — Surface texture: Profile — Part 1: Indication of
surface texture
ISO 21920-2, Geometrical product specifications (GPS) — Surface texture: Profile — Part 2: Terms, definitions
and surface texture parameters
3 Terms and definitions
No terms and definition are listed in this document.
ISO and IEC maintain terminology databases for use in standardization at the following addresses:
— ISO Online browsing platform: available at https:// www .iso .org/ obp
— IEC Electropedia: available at https:// www .electropedia .org/
4 Symbols
For the purposes of this document, the symbols and definitions as listed in Table 1 apply.
Table 1 — Symbols description and units
Symbol Description Unit
A Original cross-sectional area of a specimen prior to loading. A is calculated using the original mm
0 0
diameter as A = π/4·d .
0 0
A Final cross-sectional area of a specimen after loading. A is calculated using the final diam- mm
u u
eter as A = π/4·d .
u u
d Original diameter, diameter of a compression specimen prior loading, calculated as the mean mm
of two measurements taken at the specimen centre at right angles to each other.
NOTE 1 The original cross-sectional area of the specimen prior to loading, A , is calculated
. 2
using this diameter (A = π/4 d ).
0 0
d Final diameter, diameter of a compression specimen after loading, calculated as the mean of mm
u
two measurements taken at the axial specimen centre at right angles to each other.
NOTE 2 The final cross-sectional area of the specimen, A , is calculated using this diameter
u
. 2
(A = π/4 d ).
u u
d Compression plate diameter mm
s
E Elastic modulus of specimen base material MPa
b
e Compressive strain; percentage change in gauge length (L or L ) as given in Formulae (1) %
c e 0
and (2):
ΔL
(determined directly at the specimen using an
e
e =⋅100
(1)
c
extensometer)
L
e
or
ΔL
(determined via displacement of the compres-
e =⋅100 (2)
c
sion dies)
L
NOTE 3 The compressive strain e is the sum of elastic and plastic strain.
c
e Elastic compressive strain of the original gauge length section; reversible component of %
ce
compressive strain
e Calculated change rate of strain %
c eff
e Compressive strain at fracture, percentage change in gauge length (L or L ) at fracture of %
cF e 0
the specimen, as given in Formulae (3) and (4):
ΔL
(determined directly at the specimen using an
eF
e =⋅100
(3)
cB
extensometer)
L
e
or
ΔL
(determined via the displacement of the compres-
0F
e =⋅100 (4)
cF
sion dies)
L
e Plastic compressive strain of the original gauge length section, total compressive strain minus %
cp
the elastic component at any moment of the test
-1
ė Change rate of strain along gauge length L or L s
c e 0
f Sampling frequency Hz
m
F Compressive force at any moment of the test N
c
h Height of a specimen prior loading mm
L Original gauge length on which strain measurements are based mm
L Base gauge length for the extensometer used for continuously measuring the change in length mm
e
of the specimen during the test, as measured directly at the specimen.
L Initial length of the specimen prior loading mm
L = h , for non coated specimen
0 0
L = 2 ⋅ h , for coated specimen
0 0
Is only applicable, if the measurement is carried out without a measurement gauge
ΔL Change in gauge length due to specimen loading mm
ΔL Change in extensometer gauge length, change in L at any moment during the extensometer mm
e e
test, as measured directly at the specimen
TTabablele 1 1 ((ccoonnttiinnueuedd))
Symbol Description Unit
ΔL Change in extensometer gauge length at fracture, total (elastic and plastic) change in length mm
eF
at specimen fracture, as measured directly at the specimen.
ΔL Change in gauge length of the specimen, change in L at any moment during the extensometer mm
0 0
test, as measured via the displacement of the compression plates
ΔL Change in gauge length of the specimen at fracture, total (elastic and plastic) change in length mm
0F
at specimen fracture, as measured via the displacement of the compression plates.
m Slope of the elastic part of the stress-strain-curve MPa
de
R Compressive stress; ratio of compressive force F to the original cross-sectional area of the MPa
c c
specimen A at any moment of the test, as given in Formula (5):
F
c
R = (5)
c
A
R Upper compressive yield strength, maximum compressive stress at the end of the elastic MPa
ceH
range prior to a measured decrease in force
NOTE 4 See Figure 4.
R Lower compressive yield strength; minimum compressive stress during plastic deformation MPa
ceL
following a rise o
...


Questions, Comments and Discussion
Ask us and Technical Secretary will try to provide an answer. You can facilitate discussion about the standard in here.