ISO/IEC 29158
(Main)Automatic identification and data capture techniques — Bar code symbol quality test specification — Direct part mark (DPM)
Automatic identification and data capture techniques — Bar code symbol quality test specification — Direct part mark (DPM)
This document is an engineering document intended for verifier manufacturers and application specification developers. This document describes modifications to the symbol quality methodology defined in ISO/IEC 15415 and a symbology specification. It defines alternative illumination conditions, some new terms and parameters, modifications to the measurement and subsequent grading of certain parameters and the reporting of the grading results. This document was developed to assess the symbol quality of direct marked parts, where the mark is applied directly to the surface of the item and the reading device is a two-dimensional imager. When application specifications allow, this method is also potentially applicable to symbols produced by other methods. This is appropriate when direct part marked (DPM) symbols and non-DPM symbols are being scanned in the same scanning environment. The symbol grade is reported as a DPM grade rather than as an ISO/IEC 15415 grade.
Titre manque
General Information
Relations
Buy Standard
Standards Content (Sample)
International
Standard
Second edition
Automatic identification and data
capture techniques — Bar code
symbol quality test specification —
Direct part mark (DPM)
PROOF/ÉPREUVE
Reference number
© ISO/IEC 2025
All rights reserved. Unless otherwise specified, or required in the context of its implementation, no part of this publication may
be reproduced or utilized otherwise in any form or by any means, electronic or mechanical, including photocopying, or posting on
the internet or an intranet, without prior written permission. Permission can be requested from either ISO at the address below
or ISO’s member body in the country of the requester.
ISO copyright office
CP 401 • Ch. de Blandonnet 8
CH-1214 Vernier, Geneva
Phone: +41 22 749 01 11
Email: copyright@iso.org
Website: www.iso.org
Published in Switzerland
PROOF/ÉPREUVE
© ISO/IEC 2025 – All rights reserved
ii
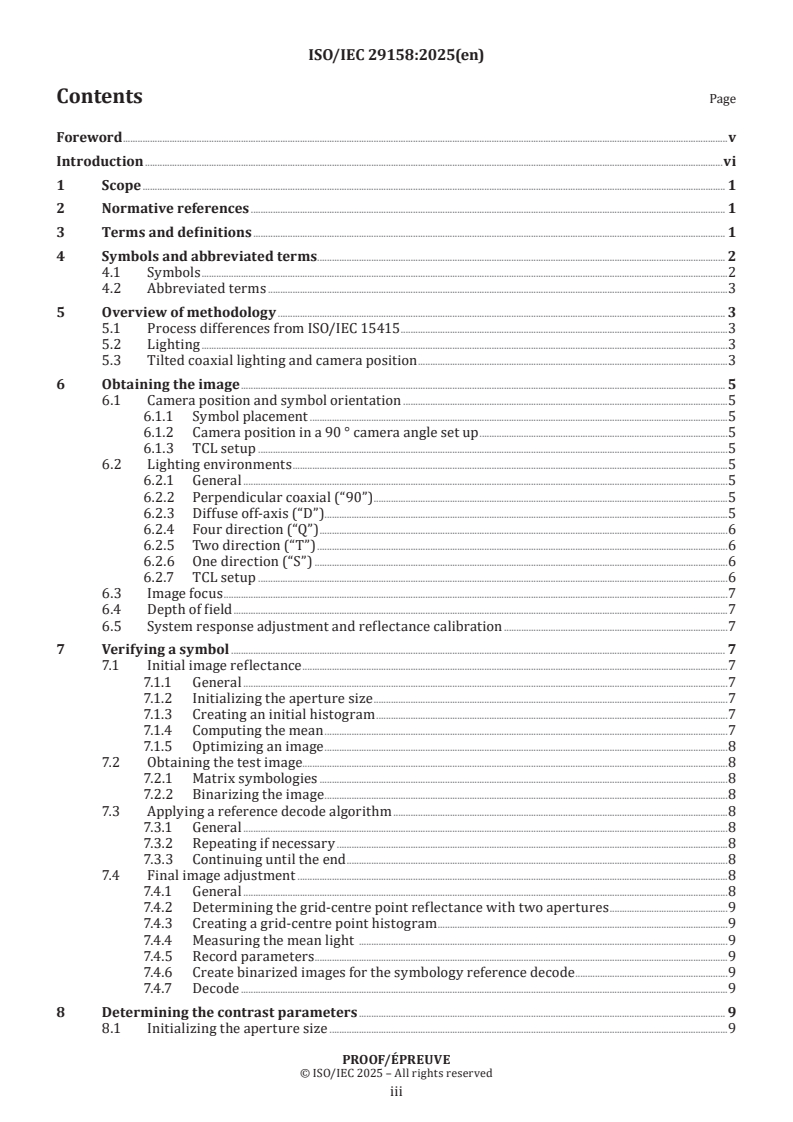
Contents Page
Foreword .v
Introduction .vi
1 Scope . 1
2 Normative references . 1
3 Terms and definitions . 1
4 Symbols and abbreviated terms. 2
4.1 Symbols .2
4.2 Abbreviated terms .3
5 Overview of methodology . 3
5.1 Process differences from ISO/IEC 15415 .3
5.2 Lighting .3
5.3 Tilted coaxial lighting and camera position .3
6 Obtaining the image . 5
6.1 Camera position and symbol orientation .5
6.1.1 Symbol placement .5
6.1.2 Camera position in a 90 ° camera angle set up .5
6.1.3 TCL setup .5
6.2 Lighting environments .5
6.2.1 General .5
6.2.2 Perpendicular coaxial (“90”) .5
6.2.3 Diffuse off-axis (“D”) . .5
6.2.4 Four direction (“Q”) .6
6.2.5 Two direction (“T”) .6
6.2.6 One direction (“S”) .6
6.2.7 TCL setup .6
6.3 Image focus .7
6.4 Depth of field .7
6.5 System response adjustment and reflectance calibration .7
7 Verifying a symbol . 7
7.1 Initial image reflectance .7
7.1.1 General .7
7.1.2 Initializing the aperture size .7
7.1.3 Creating an initial histogram .7
7.1.4 Computing the mean .7
7.1.5 Optimizing an image .8
7.2 Obtaining the test image.8
7.2.1 Matrix symbologies .8
7.2.2 Binarizing the image .8
7.3 Applying a reference decode algorithm .8
7.3.1 General .8
7.3.2 Repeating if necessary .8
7.3.3 Continuing until the end .8
7.4 Final image adjustment .8
7.4.1 General .8
7.4.2 Determining the grid-centre point reflectance with two apertures .9
7.4.3 Creating a grid-centre point histogram .9
7.4.4 Measuring the mean light .9
7.4.5 Record parameters .9
7.4.6 Create binarized images for the symbology reference decode .9
7.4.7 Decode .9
8 Determining the contrast parameters . 9
8.1 Initializing the aperture size .9
PROOF/ÉPREUVE
© ISO/IEC 2025 – All rights reserved
iii
8.2 Calculating cell contrast .9
8.3 Calculating the cell module modulation .10
8.4 Calculating the minimum reflectance .10
9 Grading . 10
9.1 Cell contrast .10
9.2 Minimum reflectance .11
9.3 Cell modulation .11
9.4 Fixed pattern damage . 12
9.5 Final grade . 12
10 Communicating grade requirements and results .12
10.1 General . 12
10.2 Communication of application requirements . 12
10.3 Communicating from verifier to application . 13
10.4 Communicating the use of a proprietary decode . 13
Annex A (normative) Threshold determination method. 14
Annex B (informative) Evaluation of image at virtual 90° camera position from real tilted
camera position .18
Annex C (normative) Dot connecting algorithm .
...
ISO/IEC DISPRF 29158:2024(en)
ISO/IEC JTC 1/SC 31
Secretariat: ANSI
Date: 2025-01-29
Automatic identification and data capture techniques — Bar code
symbol quality test specification — Direct part mark (DPM)
Techniques automatiques d'identification et de capture de données — Ligne directrice de qualité du
marquage direct sur pièce (DPM)
Second edition
Date: 2024-05-31
ISO/IEC DIS 29158:2024(en)Error! Reference source not found.
FDIS stage
© ISO/IEC 2024 – All rights reserved
ISO/IEC PRF 29158:2025(en)
© ISO/IEC 20242025
All rights reserved. Unless otherwise specified, or required in the context of its implementation, no part of this publication
may be reproduced or utilized otherwise in any form or by any means, electronic or mechanical, including photocopying,
or posting on the internet or an intranet, without prior written permission. Permission can be requested from either ISO
at the address below or ISO'sISO’s member body in the country of the requester.
ISO Copyright Officecopyright office
CP 401 • Ch. de Blandonnet 8
CH-1214 Vernier, Geneva
Phone: + 41 22 749 01 11
Email: E-mail: copyright@iso.org
Website: www.iso.org
Published in Switzerland.
© ISO/IEC 2025 – All rights reserved
iii
ISO/IEC PRF 29158:2025(en)
Contents Page
Foreword . vi
Introduction . vii
1 Scope . 1
2 Normative references . 1
3 Terms and definitions . 1
4 Symbols and abbreviated terms . 1
4.1 Symbols . 2
4.2 Abbreviated terms . 3
5 Overview of methodology . 3
5.1 Process differences from ISO/IEC 15415 . 3
5.2 Lighting . 3
5.3 Tilted coaxial lighting and camera position . 4
6 Obtaining the image . 6
6.1 Camera position and symbol orientation. 6
6.2 Lighting environments . 6
6.3 Image focus . 8
6.4 Depth of field . 8
6.5 System response adjustment and reflectance calibration . 8
7 Verifying a symbol . 8
7.1 Initial image reflectance . 8
7.2 Obtaining the test image . 9
7.3 Applying a reference decode algorithm . 9
7.4 Final image adjustment . 10
8 Determining the contrast parameters . 11
8.1 Initializing the aperture size . 11
8.2 Calculating cell contrast . 11
8.3 Calculating the cell module modulation . 11
8.4 Calculating the minimum reflectance. 11
9 Grading . 11
9.1 Cell contrast . 11
9.2 Minimum reflectance. 12
9.3 Cell modulation. 13
9.4 Fixed pattern damage . 13
9.5 Final grade . 13
10 Communicating grade requirements and results . 14
10.1 General. 14
10.2 Communication of application requirements . 14
10.3 Communicating from verifier to application . 14
10.4 Communicating the use of a proprietary decode . 14
Annex A (normative) Threshold determination method . 16
Annex B (informative) Evaluation of image at virtual 90° camera position from real tilted
camera position . 21
Annex C (normative) Dot connecting algorithm . 26
Annex D (informative) Communicating the grade . 28
© ISO/IEC 2025 – All rights reserved
iv
ISO/IEC PRF 29158:2025(en)
Annex E (informative) Cross-reference comparison to ISO/IEC 15415 . 32
Bibliography . 33
© ISO/IEC 2025 – All rights reserved
v
ISO/IEC PRF 29158:2025(en)
Foreword
ISO (the International Organization for Standardization) and IEC (the International Electrotechnical
Commission) form the specialized system for worldwide standardization. National bodies that are members
of ISO or IEC participate in the development of International Standards through technical committees
established by the respective organization to deal with particular fields of technical activity. ISO and IEC
technical committees collaborate in fields of mutual interest. Other international organizations, governmental
and non-governmental, in liaison with ISO and IEC, also take part in the work.
The procedures used to develop this document and those intended for its further maintenance are described
in the ISO/IEC Directives, Part 1. In particular, the different approval criteria needed for the different types of
document should be noted. This document was drafted in accordance with the editorial rules of the ISO/IEC
Directives, Part 2 (see www.iso.org/directives or www.iec.ch/members_experts/refdocs).
ISO and IEC draw attention to the possibility that the implementation of this document may involve the use of
(a) patent(s). ISO and IEC take no position concerning the evidence, validity or applicability of any claimed
patent rights in respect thereof. As of the date of publication of this document, ISO and IEC had not received
notice of (a) patent(s) which may be required to implement this document. However, implementers are
cautioned that this may not represent the latest information, which may be obtained from the patent database
available at www.iso.org/patents and https://patents.iec.ch. ISO and IEC shall not be held responsible for
identifying any or all such patent rights.
Any trade name used in this document is information given for the convenience of users and does not
constitute an endorsement.
For an explanation of the voluntary nature of standards, the meaning of ISO specific terms and expressions
related to conformity assessment, as well as information about ISO's adherence to the World Trade
Organization (WTO) principles in the Technical Barriers to Trade (TBT) see www.iso.org/iso/foreword.html.
In the IEC, see www.iec.ch/understanding-standards.
This document was prepared by Joint Technical Committee ISO/TC JTC 1, Information Technology,
Subcommittee SC 31, Automatic identification and data capture techniques.
This second edition cancels and replaces the first edition (ISO/IEC 29158:2020), which has been technically
revised.
The main changes are as follows:
— — the definition of continuous grading has been deleted (it is now defined in ISO/IEC 15415);
— — the rounding method has been revised to always round down.
Any feedback or questions on this document should be directed to the user’s national standards body. A
complete listing of these bodies can be found at www.iso.org/members.html and www.iec.ch/national-
committees.
© ISO/IEC 2025 – All rights reserved
vi
ISO/IEC PRF 29158:2025(en)
Introduction
Direct part marking (DPM) is a technology whereby, generally, an item is physically altered to produce two
different surface conditions. This alteration can be accomplished by various means including, but not limited
to, dot peen, laser mark, ink jetting, and electro-chemical etch. The area of the alteration is called "the mark."
The area that includes the mark and background as a whole, when containing a pattern defined by a bar code
symbology specification, is called "a symbol."
When light illuminates a symbol, it reflects differently depending on whether it impinges on the background
of the part or on the physical alteration. In most non-DPM bar code scanning environments, light is reflected
off a smooth surface that has been coloured to produce two different diffuse reflected states. The DPM
environment generally does not fit this model because the two different reflected states depend on at least
one of the states having material oriented to the lighting such that the angle of incidence is equal to the angle
of reflection. Sometimes, the material so oriented produces a specular (mirror like) reflectance that results in
a signal that is orders of magnitude greater than the signal from diffuse reflectance.
In addition, from the scanner point-of-view, some marking and printing methods generate dots and are not
capable of producing smooth lines. This is important for symbologies such as data matrix, which is specified
to contain smooth continuous lines, but can be marked with disconnected dots in DPM applications.
Current specifications for matrix symbologies and two-dimensional print quality are not exactly suited to
reading situations that have either specular reflection or unconnected dots or both. Additionally, symbologies
specified to consist of smooth continuous lines may appear with unconnected dots. This is intended to act as
a bridge between the existing specifications and the DPM environment in order to provide a standardized
image-based measurement method for DPM that is predictive of scanner performance.
As with all symbology and quality standards, it is the responsibility of the application to define the appropriate
parameters of this document for use in conjunction with a particular application.
This document was developed to assess the symbol quality of direct marked parts, where the mark is applied
directly to the surface of the item and the reading device is a two-dimensional imager.
When application specifications allow, this method is also potentially applicable to symbols produced by other
methods. This is appropriate when DPM symbols and non-DPM symbols are being scanned in the same
scanning environment. The symbol grade is reported as a DPM grade rather than as an ISO/IEC 15415 grade.
© ISO/IEC 2025 – All rights reserved
vii
ISO/IEC PRF 29158:2025(en)
Automatic identification and data capture techniques — Bar code
symbol quality test specification — Direct part mark (DPM)
1 Scope
This document describes the modifications to the symbol quality m
...


Questions, Comments and Discussion
Ask us and Technical Secretary will try to provide an answer. You can facilitate discussion about the standard in here.