ISO 9345:2019
(Main)Microscopes — Interfacing dimensions for imaging components
Microscopes — Interfacing dimensions for imaging components
This document specifies optically and mechanically related dimensions for imaging components of a microscope such as a) the dimensions related to objective, eyepiece and tube lens, b) the dimensions of screw thread types for connecting a microscope objective to the nosepiece, and c) the diameters of interchangeable eyepieces and corresponding viewing tubes of microscopes.
Microscopes — Dimensions d’interfaçage pour composants d’imagerie
General Information
- Status
- Published
- Publication Date
- 21-Mar-2019
- Technical Committee
- ISO/TC 172/SC 5 - Microscopes and endoscopes
- Drafting Committee
- ISO/TC 172/SC 5/WG 3 - Terms and definitions
- Current Stage
- 9093 - International Standard confirmed
- Start Date
- 11-Oct-2024
- Completion Date
- 12-Feb-2026
Relations
- Consolidated By
ISO 787-19:2020 - General methods of test for pigments — Part 19: Determination of water-soluble nitrates (Salicylic acid method) - Effective Date
- 06-Jun-2022
- Effective Date
- 13-Feb-2016
- Effective Date
- 13-Feb-2016
- Effective Date
- 13-Feb-2016
- Effective Date
- 13-Feb-2016
Overview - ISO 9345:2019 (Microscopes: interfacing dimensions for imaging components)
ISO 9345:2019 defines the opto-mechanical interfacing dimensions for microscope imaging components. It standardizes nominal dimensions and tolerances for key parts such as objectives, eyepieces, tube lenses, connecting screw threads (objective ↔ nosepiece), and interchangeable eyepiece/viewing-tube diameters. The document includes tables, figures and informative annexes with examples for infinity-corrected systems, cover-glass parfocal adjustments, and OEM recommendations.
Key topics and technical requirements
- Imaging distances and reference planes: parfocalizing distances for objectives and eyepieces (e.g., common objective parfocalizing distance l1 = 45 mm for 160 mm tube length; eyepiece parfocalizing distance l3 = 10 ± 0.2 mm); mechanical tube length l4 = 160 ± 0.5 mm where applicable.
- Objective-to-primary-image and tube-lens parameters: objective primary image distance (finite values like 150 mm or infinity for infinity-corrected systems); focal length range for a normal tube lens fNTL between 150 mm and 250 mm.
- Thread standards for objectives/nosepieces: recommended screw thread types and dimensional tolerances for RMS, W26 and metric threads M25, M27, M32, with detailed limits of size, pitch and play to ensure mechanical compatibility.
- Eyepiece and viewing-tube diameters: nominal diameters such as 23.2 mm or 30.0 mm (with specified tolerances) to support interchangeable eyepieces.
- Marking and tube factors: requirement to mark tube magnification changes (e.g., “1.25×”) when built-in optics alter primary image magnification.
- Informative annexes: Annex A (examples for infinity-corrected systems), Annex B (parfocal distance vs cover-glass thickness), Annex C (OEM recommendations).
Practical applications - who uses ISO 9345:2019
- Microscope manufacturers (OEMs) designing optical trains and nosepieces to ensure component interchangeability.
- Objective/eyepiece and tube-lens suppliers to produce parts that fit common microscope platforms.
- Laboratory instrument engineers and designers integrating microscope modules into imaging systems.
- Quality, procurement and calibration teams verifying dimensional compliance and mechanical compatibility.
- Repair and maintenance services replacing objectives, eyepieces or nosepieces while preserving optical alignment.
Related standards
- ISO 10934-1 (microscopy vocabulary) is normatively referenced for terms and definitions.
- ISO 9345:2019 supersedes earlier documents such as ISO 8038:2013, ISO 9345-1:2012, ISO 9345-2:2014 and ISO 10937:2000.
Using ISO 9345:2019 helps ensure mechanical interchangeability and predictable optical performance across microscope components-key for reliable imaging systems, component sourcing, and OEM system integration.
Frequently Asked Questions
ISO 9345:2019 is a standard published by the International Organization for Standardization (ISO). Its full title is "Microscopes — Interfacing dimensions for imaging components". This standard covers: This document specifies optically and mechanically related dimensions for imaging components of a microscope such as a) the dimensions related to objective, eyepiece and tube lens, b) the dimensions of screw thread types for connecting a microscope objective to the nosepiece, and c) the diameters of interchangeable eyepieces and corresponding viewing tubes of microscopes.
This document specifies optically and mechanically related dimensions for imaging components of a microscope such as a) the dimensions related to objective, eyepiece and tube lens, b) the dimensions of screw thread types for connecting a microscope objective to the nosepiece, and c) the diameters of interchangeable eyepieces and corresponding viewing tubes of microscopes.
ISO 9345:2019 is classified under the following ICS (International Classification for Standards) categories: 37.020 - Optical equipment. The ICS classification helps identify the subject area and facilitates finding related standards.
ISO 9345:2019 has the following relationships with other standards: It is inter standard links to ISO 787-19:2020, ISO 9345-2:2014, ISO 8038:2013, ISO 9345-1:2012, ISO 10937:2000. Understanding these relationships helps ensure you are using the most current and applicable version of the standard.
ISO 9345:2019 is available in PDF format for immediate download after purchase. The document can be added to your cart and obtained through the secure checkout process. Digital delivery ensures instant access to the complete standard document.
Standards Content (Sample)
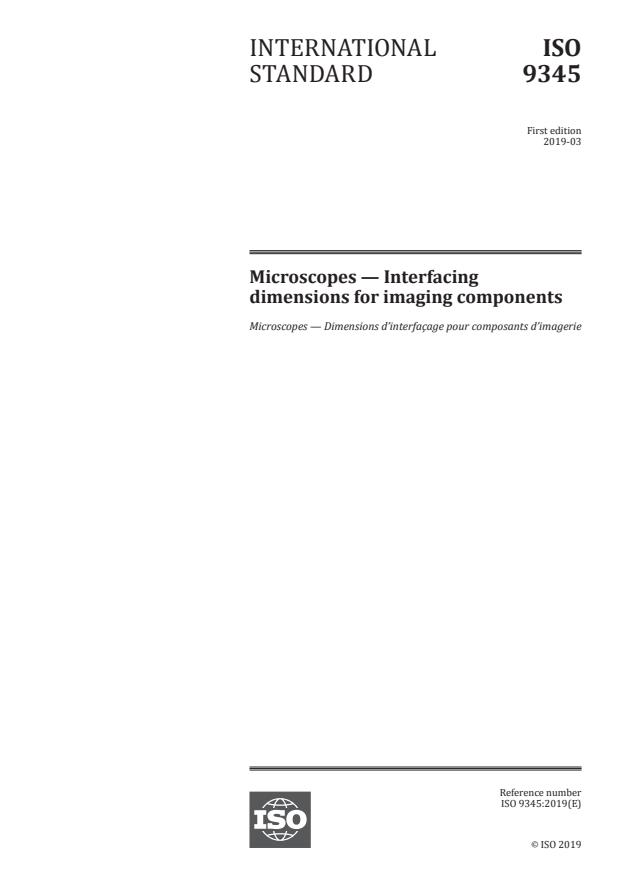
INTERNATIONAL ISO
STANDARD 9345
First edition
2019-03
Microscopes — Interfacing
dimensions for imaging components
Microscopes — Dimensions d’interfaçage pour composants d’imagerie
Reference number
©
ISO 2019
© ISO 2019
All rights reserved. Unless otherwise specified, or required in the context of its implementation, no part of this publication may
be reproduced or utilized otherwise in any form or by any means, electronic or mechanical, including photocopying, or posting
on the internet or an intranet, without prior written permission. Permission can be requested from either ISO at the address
below or ISO’s member body in the country of the requester.
ISO copyright office
CP 401 • Ch. de Blandonnet 8
CH-1214 Vernier, Geneva
Phone: +41 22 749 01 11
Fax: +41 22 749 09 47
Email: copyright@iso.org
Website: www.iso.org
Published in Switzerland
ii © ISO 2019 – All rights reserved
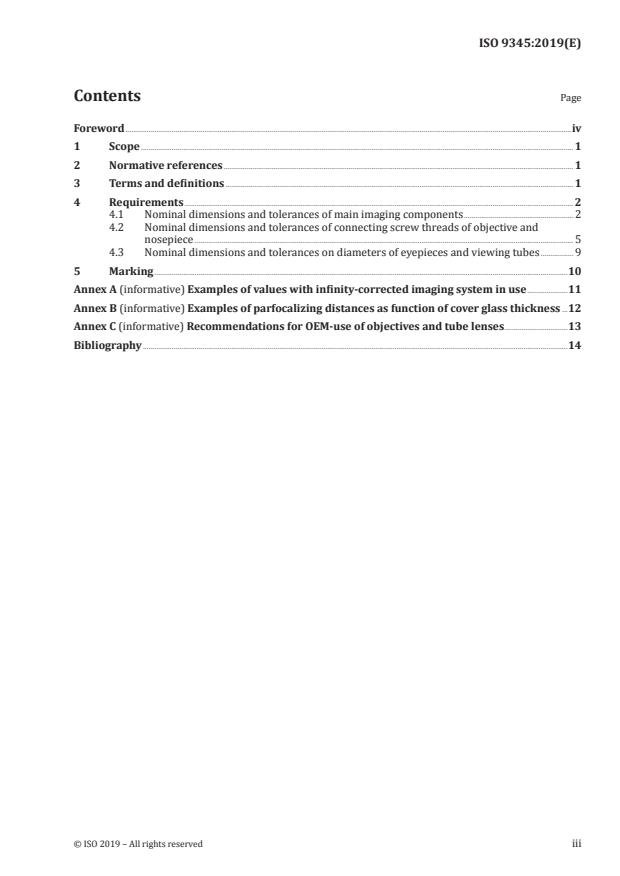
Contents Page
Foreword .iv
1 Scope . 1
2 Normative references . 1
3 Terms and definitions . 1
4 Requirements . 2
4.1 Nominal dimensions and tolerances of main imaging components . 2
4.2 Nominal dimensions and tolerances of connecting screw threads of objective and
nosepiece . 5
4.3 Nominal dimensions and tolerances on diameters of eyepieces and viewing tubes . 9
5 Marking .10
Annex A (informative) Examples of values with infinity-corrected imaging system in use .11
Annex B (informative) Examples of parfocalizing distances as function of cover glass thickness .12
Annex C (informative) Recommendations for OEM-use of objectives and tube lenses .13
Bibliography .14
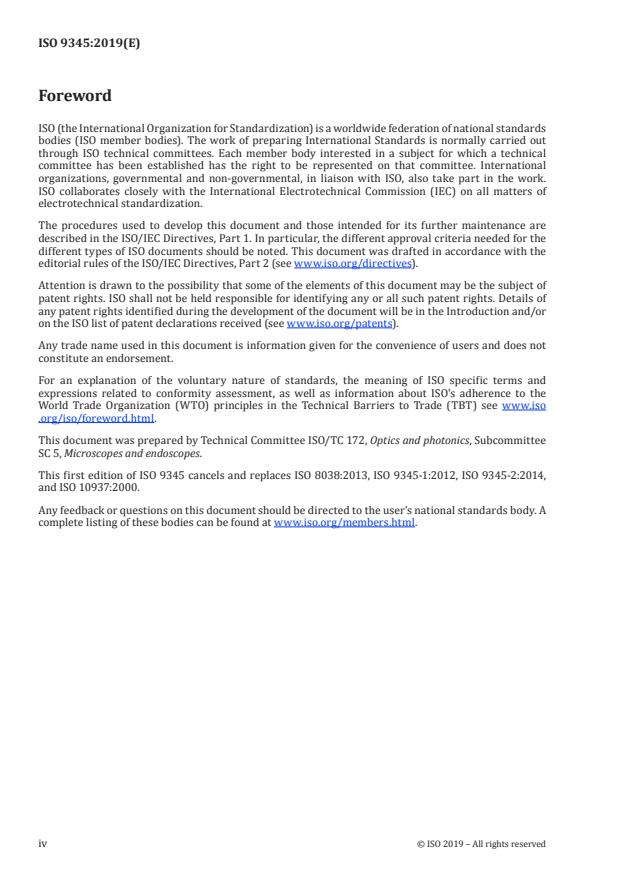
Foreword
ISO (the International Organization for Standardization) is a worldwide federation of national standards
bodies (ISO member bodies). The work of preparing International Standards is normally carried out
through ISO technical committees. Each member body interested in a subject for which a technical
committee has been established has the right to be represented on that committee. International
organizations, governmental and non-governmental, in liaison with ISO, also take part in the work.
ISO collaborates closely with the International Electrotechnical Commission (IEC) on all matters of
electrotechnical standardization.
The procedures used to develop this document and those intended for its further maintenance are
described in the ISO/IEC Directives, Part 1. In particular, the different approval criteria needed for the
different types of ISO documents should be noted. This document was drafted in accordance with the
editorial rules of the ISO/IEC Directives, Part 2 (see www .iso .org/directives).
Attention is drawn to the possibility that some of the elements of this document may be the subject of
patent rights. ISO shall not be held responsible for identifying any or all such patent rights. Details of
any patent rights identified during the development of the document will be in the Introduction and/or
on the ISO list of patent declarations received (see www .iso .org/patents).
Any trade name used in this document is information given for the convenience of users and does not
constitute an endorsement.
For an explanation of the voluntary nature of standards, the meaning of ISO specific terms and
expressions related to conformity assessment, as well as information about ISO's adherence to the
World Trade Organization (WTO) principles in the Technical Barriers to Trade (TBT) see www .iso
.org/iso/foreword .html.
This document was prepared by Technical Committee ISO/TC 172, Optics and photonics, Subcommittee
SC 5, Microscopes and endoscopes.
This first edition of ISO 9345 cancels and replaces ISO 8038:2013, ISO 9345-1:2012, ISO 9345-2:2014,
and ISO 10937:2000.
Any feedback or questions on this document should be directed to the user’s national standards body. A
complete listing of these bodies can be found at www .iso .org/members .html.
iv © ISO 2019 – All rights reserved
INTERNATIONAL STANDARD ISO 9345:2019(E)
Microscopes — Interfacing dimensions for imaging
components
1 Scope
This document specifies optically and mechanically related dimensions for imaging components of a
microscope such as
a) the dimensions related to objective, eyepiece and tube lens,
b) the dimensions of screw thread types for connecting a microscope objective to the nosepiece, and
c) the diameters of interchangeable eyepieces and corresponding viewing tubes of microscopes.
2 Normative references
The following documents are referred to in the text in such a way that some or all of their content
constitutes requirements of this document. For dated references, only the edition cited applies. For
undated references, the latest edition of the referenced document (including any amendments) applies.
ISO 10934-1, Optics and optical instruments — Vocabulary for microscopy — Part 1: Light microscopy
3 Terms and definitions
For the purposes of this document, the terms and definitions given in ISO 10934-1 and the following apply.
ISO and IEC maintain terminological databases for use in standardization at the following addresses:
— ISO Online browsing platform: available at https: //www .iso .org/obp
— IEC Electropedia: available at http: //www .electropedia .org/
3.1
parfocalizing distance of the objective
l
distance in air between the object plane (i.e. the uncovered surface of the object) and the locating flange
of the objective, when the microscope is in its working position
Note 1 to entry: See Figure 1, Figure 2 and Footnote b in Table 1.
[SOURCE: ISO 10934-1:2002, 2.80.2.4; modified — the symbol l added in the definition; Note from
ISO 10934-1:2002 omitted, and Note 1 to entry added.]
3.2
objective to primary image distance
l
distance in air between the objective locating surface (of the nosepiece) and the primary image plane
Note 1 to entry: It commonly has a value either 150 mm or infinity. It is a hypothetical value applied to
microscopes designed for infinity-corrected objectives.
Note 2 to entry: See Figure 1, 2 and Table 1.
[SOURCE: ISO 10934-1:2002, 2.80.2.1, modified — the symbol l added, Note 1 to entry modified, and
Note 2 to entry added.]
3.3
focal length of the normal tube lens
f
NTL
focal length related to the magnification and the focal length of the objectives which are designed to
operate with this tube lens
Note 1 to entry: See Figure 2.
3.4
mechanical tube length
l
distance in air between the objective-locating surface of the nosepiece and the eyepiece-locating
surface of the viewing tube
Note 1 to entry: It is the length of the tube in its simplest form without any intermediate lenses for objectives
corrected for a finite primary image distance.
Note 2 to entry: It commonly has a value of 160 mm. See Figure 1.
Note 3 to entry: For infinity-corrected objectives, the mechanical tube length is hypothetically considered to be
infinite.
3.5
parfocalizing distance of the eyepiece
l
distance between the locating flange of the eyepiece and the plane upon which the eyepiece is focused
Note 1 to entry: The plane upon which the eyepiece is focused is coincident with the plane of the final real image
of the microscope when the eyepiece is mounted in the viewing tube. The parfocalizing distance of the eyepiece
is one of the optical interfacing dimensions, and is commonly 10 mm.
Note 2 to entry: This plane is coincident with the primary image plane of the microscope when the eyepiece is
mounted in the viewing tube. See Figure 1 and Figure 2.
[SOURCE: ISO 10934-1:2002, 2.80.2.3, modified — the symbol l added, and Note 2 to entry added.]
3.6
image distance of the tube lens
l
NTL
distance between the primary image plane and the locating flange of the tube lens
Note 1 to entry: It depends on the optical and mechanical design concept and is an important dimension for
OEM use.
3.7
distance between objective and tube lens
d
∞
distance between the locating flange of the objective and the locating flange of the tube lens
Note 1 to entry: It depends on the optical and mechanical design concept. To ensure correct optical performance
for OEM the indication of the minimum and maximum value is recommended.
4 Requirements
4.1 Nominal dimensions and tolerances of main imaging components
The nominal dimensions and tolerances of imaging components shall be as given in Table 1 and as
illustrated in Figure 1 and Figure 2.
A specific combination of eyepiece, objective, and tube lens is frequently used to correct aberrations.
Therefore, there is a possibility that the combination of an objective from one manufacturer and the
2 © ISO 2019 – All rights reserved
tube lens or eyepiece from another manufacturer, although conforming to this document, causes errors
in magnification and/or in optical performance.
Table 1 — Nominal dimensions and tolerances of imaging components
Feature Used for imaging Symbol Nominal value/ Numerical Tolerance
system range aperture
mm
mm
c
≤0,1 ±0,2
parfocalizing both with 160 mm me-
45 + 15 k >0,1 to ≤0,25 ±0,06
distance of the chanical tube length and l
(k = −1,0,1,2,3,4) >0,25 to ≤0,45 ±0,03
a b
objective infinity-corrected
>0,45 ±0,01
with 160 mm mechani-
l 150 ±0,5
cal tube length
objective to
with infinity-corrected
primary image
optical systems (in com-
distance
l ∞
bination with a tube lens
d
to produce an image)
focal length
of the normal with infinity-corrected f 150 ≤ f ≤ 250
NTL NTL
e
tube lens
parfoca
...


Questions, Comments and Discussion
Ask us and Technical Secretary will try to provide an answer. You can facilitate discussion about the standard in here.
Loading comments...