ASTM E517-19
(Test Method)Standard Test Method for Plastic Strain Ratio r for Sheet Metal
Standard Test Method for Plastic Strain Ratio <emph type="bdit">r</emph> for Sheet Metal
SIGNIFICANCE AND USE
4.1 The plastic strain ratio r is a parameter that indicates the ability of a sheet metal to resist thinning or thickening when subjected to either tensile or compressive forces in the plane of the sheet. It is a measure of plastic anisotropy and is related to the preferred crystallographic orientations within a polycrystalline metal. This resistance to thinning or thickening contributes to the forming of shapes, such as cylindrical flat-bottom cups, by the deep-drawing process. The value of r , therefore, is considered a measure of sheet-metal drawability. It is particularly useful for evaluating materials intended for parts where a substantial portion of the blank is drawn from beneath the blank holder into the die opening.
4.2 For many materials the plastic strain ratio remains essentially constant over a range of plastic strains up to maximum applied force in a tension test. For materials that give different values of r at various strain levels, a superscript is used to designate the percent strain at which the value of r was measured. For example, if a 20 % elongation is used, the report would show r20.
4.3 Materials usually have different values of r when tested in different orientations relative to the rolling direction. The angle of sampling of the individual test specimen is noted by a subscript. Thus, for a test specimen whose length is aligned parallel to the rolling direction, plastic strain ratio, r , is reported as r0. If, in addition, the measurement was made at 20 % elongation and it was deemed necessary to note the percent strain at which the value was measured, the value would be reported as r020.
4.4 A material that has an upper yield strength (yield point) point followed by discontinuous yielding stretches unevenly while this yielding is taking place. In steels, this is associated with the propagation of Lüders' bands on the surface. The accuracy and reproducibility of the determination of plastic strain ratio, r , will be redu...
SCOPE
1.1 This test method covers special tension testing for the measurement of the plastic strain ratio, r, of sheet metal intended for deep-drawing applications.
1.2 The values stated in inch-pound units are to be regarded as standard. The values given in parentheses are mathematical conversions to SI units that are provided for information only and are not considered standard.
1.3 This standard does not purport to address all of the safety concerns, if any, associated with its use. It is the responsibility of the user of this standard to establish appropriate safety, health, and environmental practices and determine the applicability of regulatory limitations prior to use.
1.4 This international standard was developed in accordance with internationally recognized principles on standardization established in the Decision on Principles for the Development of International Standards, Guides and Recommendations issued by the World Trade Organization Technical Barriers to Trade (TBT) Committee.
General Information
Relations
Buy Standard
Standards Content (Sample)
This international standard was developed in accordance with internationally recognized principles on standardization established in the Decision on Principles for the
Development of International Standards, Guides and Recommendations issued by the World Trade Organization Technical Barriers to Trade (TBT) Committee.
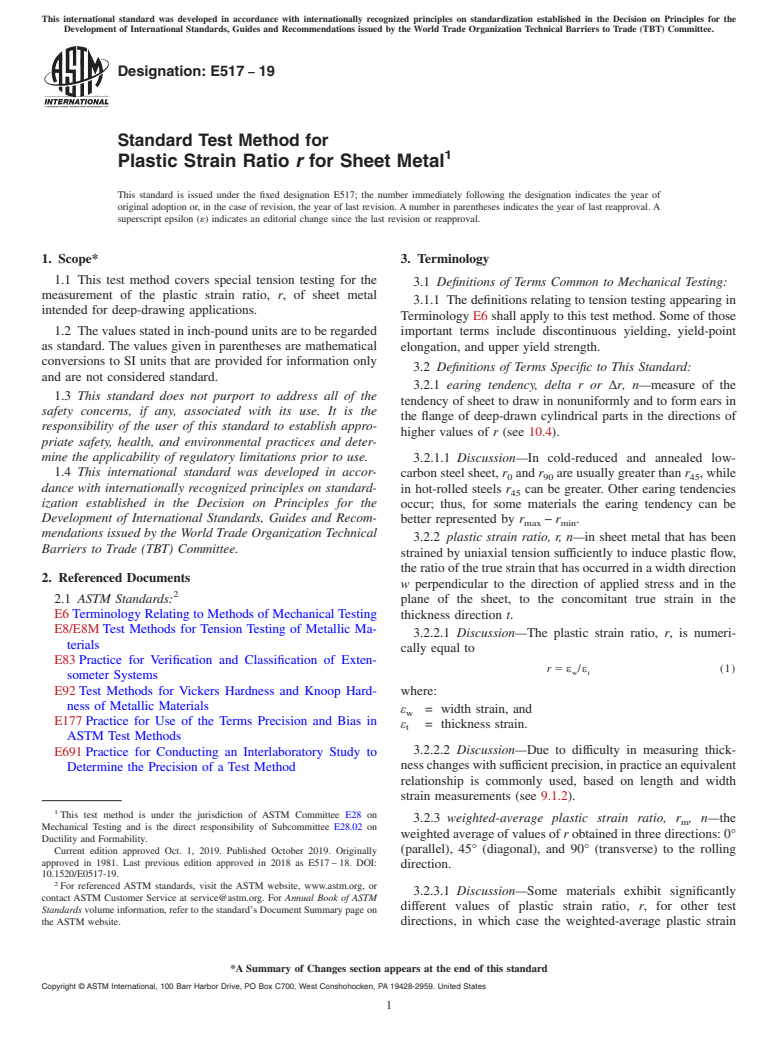
Designation: E517 − 19
Standard Test Method for
1
Plastic Strain Ratio r for Sheet Metal
This standard is issued under the fixed designation E517; the number immediately following the designation indicates the year of
original adoption or, in the case of revision, the year of last revision.Anumber in parentheses indicates the year of last reapproval.A
superscript epsilon (´) indicates an editorial change since the last revision or reapproval.
1. Scope* 3. Terminology
1.1 This test method covers special tension testing for the
3.1 Definitions of Terms Common to Mechanical Testing:
measurement of the plastic strain ratio, r, of sheet metal
3.1.1 The definitions relating to tension testing appearing in
intended for deep-drawing applications.
Terminology E6 shall apply to this test method. Some of those
1.2 The values stated in inch-pound units are to be regarded important terms include discontinuous yielding, yield-point
as standard. The values given in parentheses are mathematical
elongation, and upper yield strength.
conversions to SI units that are provided for information only
3.2 Definitions of Terms Specific to This Standard:
and are not considered standard.
3.2.1 earing tendency, delta r or ∆r, n—measure of the
1.3 This standard does not purport to address all of the
tendency of sheet to draw in nonuniformly and to form ears in
safety concerns, if any, associated with its use. It is the
the flange of deep-drawn cylindrical parts in the directions of
responsibility of the user of this standard to establish appro-
higher values of r (see 10.4).
priate safety, health, and environmental practices and deter-
mine the applicability of regulatory limitations prior to use. 3.2.1.1 Discussion—In cold-reduced and annealed low-
1.4 This international standard was developed in accor-
carbonsteelsheet, r and r areusuallygreaterthan r ,while
0 90 45
dance with internationally recognized principles on standard- in hot-rolled steels r can be greater. Other earing tendencies
45
ization established in the Decision on Principles for the
occur; thus, for some materials the earing tendency can be
Development of International Standards, Guides and Recom-
better represented by r − r .
max min
mendations issued by the World Trade Organization Technical
3.2.2 plastic strain ratio, r, n—in sheet metal that has been
Barriers to Trade (TBT) Committee.
strained by uniaxial tension sufficiently to induce plastic flow,
theratioofthetruestrainthathasoccurredinawidthdirection
2. Referenced Documents
w perpendicular to the direction of applied stress and in the
2
2.1 ASTM Standards: plane of the sheet, to the concomitant true strain in the
E6Terminology Relating to Methods of Mechanical Testing thickness direction t.
E8/E8MTest Methods for Tension Testing of Metallic Ma-
3.2.2.1 Discussion—The plastic strain ratio, r, is numeri-
terials
cally equal to
E83Practice for Verification and Classification of Exten-
r 5 ε /ε (1)
w t
someter Systems
E92Test Methods for Vickers Hardness and Knoop Hard-
where:
ness of Metallic Materials
ε = width strain, and
w
E177Practice for Use of the Terms Precision and Bias in
ε = thickness strain.
t
ASTM Test Methods
3.2.2.2 Discussion—Due to difficulty in measuring thick-
E691Practice for Conducting an Interlaboratory Study to
nesschangeswithsufficientprecision,inpracticeanequivalent
Determine the Precision of a Test Method
relationship is commonly used, based on length and width
strain measurements (see 9.1.2).
1
This test method is under the jurisdiction of ASTM Committee E28 on
3.2.3 weighted-average plastic strain ratio, r ,n—the
m
Mechanical Testing and is the direct responsibility of Subcommittee E28.02 on
weightedaverageofvaluesof robtainedinthreedirections:0°
Ductility and Formability.
Current edition approved Oct. 1, 2019. Published October 2019. Originally (parallel), 45° (diagonal), and 90° (transverse) to the rolling
approved in 1981. Last previous edition approved in 2018 as E517–18. DOI:
direction.
10.1520/E0517-19.
2
For referenced ASTM standards, visit the ASTM website, www.astm.org, or
3.2.3.1 Discussion—Some materials exhibit significantly
contact ASTM Customer Service at service@astm.org. For Annual Book of ASTM
different values of plastic strain ratio, r, for other test
Standards volume information, refer to the standard’s Document Summary page on
the ASTM website. directions, in which case the weighted-average plastic strain
*A Summary of Changes section appears at the end of this standard
Copyright © ASTM International, 100 Barr Harbor Drive, PO Box C700, West Conshohocken, PA 19428-2959. United States
1
---------------------- Page: 1 ----------------------
E517 − 19
ratio may
...
This document is not an ASTM standard and is intended only to provide the user of an ASTM standard an indication of what changes have been made to the previous version. Because
it may not be technically possible to adequately depict all changes accurately, ASTM recommends that users consult prior editions as appropriate. In all cases only the current version
of the standard as published by ASTM is to be considered the official document.
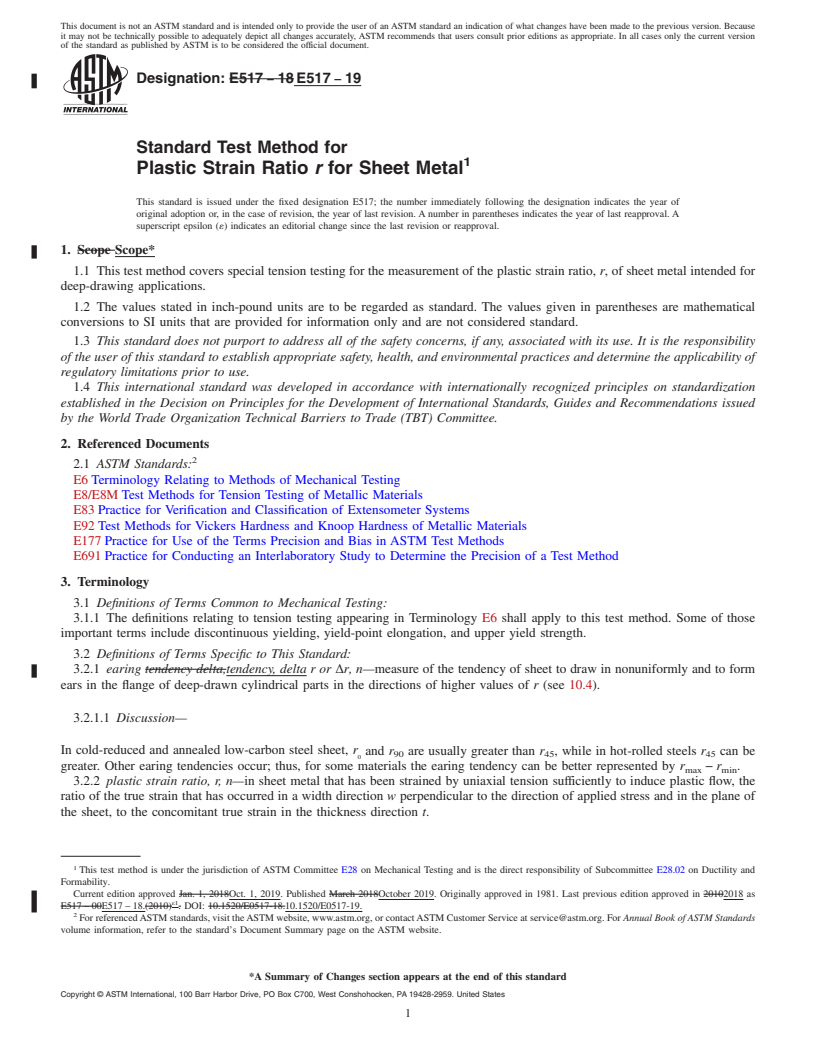
Designation: E517 − 18 E517 − 19
Standard Test Method for
1
Plastic Strain Ratio r for Sheet Metal
This standard is issued under the fixed designation E517; the number immediately following the designation indicates the year of
original adoption or, in the case of revision, the year of last revision. A number in parentheses indicates the year of last reapproval. A
superscript epsilon (´) indicates an editorial change since the last revision or reapproval.
1. Scope Scope*
1.1 This test method covers special tension testing for the measurement of the plastic strain ratio, r, of sheet metal intended for
deep-drawing applications.
1.2 The values stated in inch-pound units are to be regarded as standard. The values given in parentheses are mathematical
conversions to SI units that are provided for information only and are not considered standard.
1.3 This standard does not purport to address all of the safety concerns, if any, associated with its use. It is the responsibility
of the user of this standard to establish appropriate safety, health, and environmental practices and determine the applicability of
regulatory limitations prior to use.
1.4 This international standard was developed in accordance with internationally recognized principles on standardization
established in the Decision on Principles for the Development of International Standards, Guides and Recommendations issued
by the World Trade Organization Technical Barriers to Trade (TBT) Committee.
2. Referenced Documents
2
2.1 ASTM Standards:
E6 Terminology Relating to Methods of Mechanical Testing
E8/E8M Test Methods for Tension Testing of Metallic Materials
E83 Practice for Verification and Classification of Extensometer Systems
E92 Test Methods for Vickers Hardness and Knoop Hardness of Metallic Materials
E177 Practice for Use of the Terms Precision and Bias in ASTM Test Methods
E691 Practice for Conducting an Interlaboratory Study to Determine the Precision of a Test Method
3. Terminology
3.1 Definitions of Terms Common to Mechanical Testing:
3.1.1 The definitions relating to tension testing appearing in Terminology E6 shall apply to this test method. Some of those
important terms include discontinuous yielding, yield-point elongation, and upper yield strength.
3.2 Definitions of Terms Specific to This Standard:
3.2.1 earing tendency delta,tendency, delta r or Δr, n—measure of the tendency of sheet to draw in nonuniformly and to form
ears in the flange of deep-drawn cylindrical parts in the directions of higher values of r (see 10.4).
3.2.1.1 Discussion—
In cold-reduced and annealed low-carbon steel sheet, r and r are usually greater than r , while in hot-rolled steels r can be
90 45 45
0
greater. Other earing tendencies occur; thus, for some materials the earing tendency can be better represented by r − r .
max min
3.2.2 plastic strain ratio, r, n—in sheet metal that has been strained by uniaxial tension sufficiently to induce plastic flow, the
ratio of the true strain that has occurred in a width direction w perpendicular to the direction of applied stress and in the plane of
the sheet, to the concomitant true strain in the thickness direction t.
1
This test method is under the jurisdiction of ASTM Committee E28 on Mechanical Testing and is the direct responsibility of Subcommittee E28.02 on Ductility and
Formability.
Current edition approved Jan. 1, 2018Oct. 1, 2019. Published March 2018October 2019. Originally approved in 1981. Last previous edition approved in 20102018 as
ε1
E517 – 00E517 – 18.(2010) . DOI: 10.1520/E0517-18.10.1520/E0517-19.
2
For referenced ASTM standards, visit the ASTM website, www.astm.org, or contact ASTM Customer Service at service@astm.org. For Annual Book of ASTM Standards
volume information, refer to the standard’s Document Summary page on the ASTM website.
*A Summary of Changes section appears at the end of this standard
Copyright © ASTM International, 100 Barr Harbor Drive, PO Box C700, West Conshohocken, PA 19428-2959. United States
1
---------------------- Page: 1 ----------------------
E517 − 19
3.2.2.1 Discussion—
The plastic strain ratio, r, is numerically equal to
r 5 ε /ε (1)
w t
where:
ε = width strain, and
w
ε = thickness strain.
t
3.2.2.2 Discussion—
Due to difficulty in measuring thickness changes with sufficient precision, in practice an equivalent relationship is commonly used,
based on length and width strain measurements (see 9.1.2).
3.2.3 weighted-average plastic strain ratio, r —, n—the weighted average of values of r obtained in three directions: 0°
m
(parallel), 45°
...
NOTICE: This standard has either been superseded and replaced by a new version or withdrawn.
Contact ASTM International (www.astm.org) for the latest information
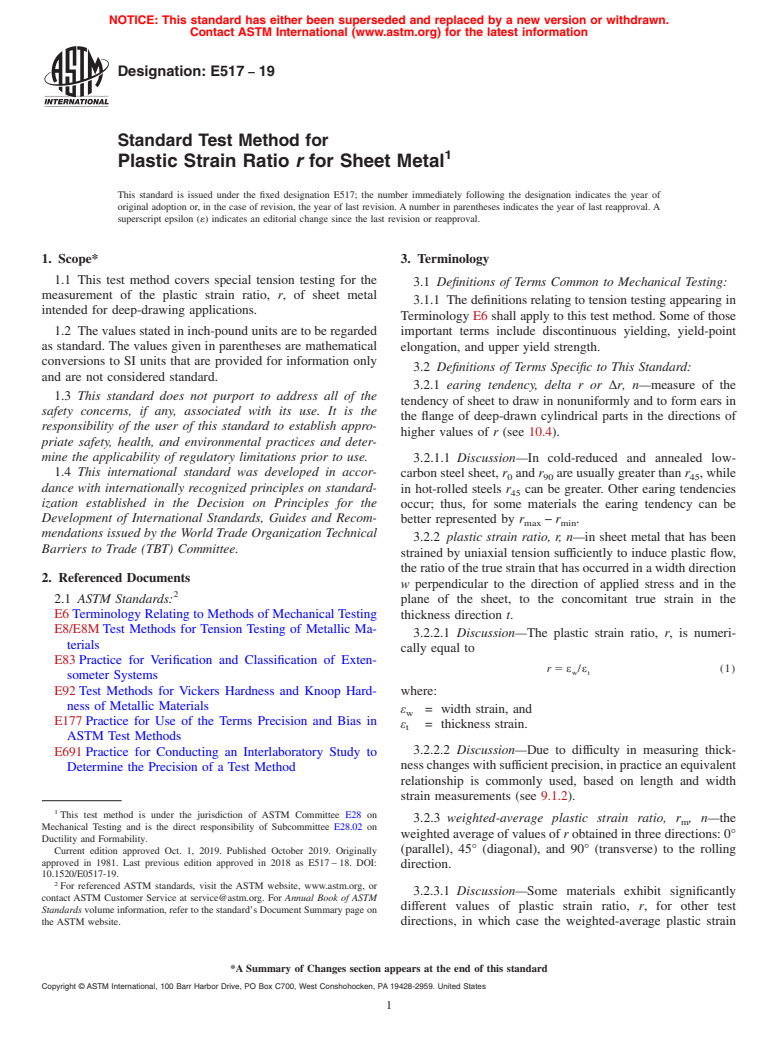
Designation: E517 − 19
Standard Test Method for
1
Plastic Strain Ratio r for Sheet Metal
This standard is issued under the fixed designation E517; the number immediately following the designation indicates the year of
original adoption or, in the case of revision, the year of last revision. A number in parentheses indicates the year of last reapproval. A
superscript epsilon (´) indicates an editorial change since the last revision or reapproval.
1. Scope* 3. Terminology
1.1 This test method covers special tension testing for the
3.1 Definitions of Terms Common to Mechanical Testing:
measurement of the plastic strain ratio, r, of sheet metal
3.1.1 The definitions relating to tension testing appearing in
intended for deep-drawing applications.
Terminology E6 shall apply to this test method. Some of those
1.2 The values stated in inch-pound units are to be regarded
important terms include discontinuous yielding, yield-point
as standard. The values given in parentheses are mathematical elongation, and upper yield strength.
conversions to SI units that are provided for information only
3.2 Definitions of Terms Specific to This Standard:
and are not considered standard.
3.2.1 earing tendency, delta r or Δr, n—measure of the
1.3 This standard does not purport to address all of the
tendency of sheet to draw in nonuniformly and to form ears in
safety concerns, if any, associated with its use. It is the
the flange of deep-drawn cylindrical parts in the directions of
responsibility of the user of this standard to establish appro-
higher values of r (see 10.4).
priate safety, health, and environmental practices and deter-
mine the applicability of regulatory limitations prior to use.
3.2.1.1 Discussion—In cold-reduced and annealed low-
1.4 This international standard was developed in accor- carbon steel sheet, r and r are usually greater than r , while
0 90 45
dance with internationally recognized principles on standard-
in hot-rolled steels r can be greater. Other earing tendencies
45
ization established in the Decision on Principles for the occur; thus, for some materials the earing tendency can be
Development of International Standards, Guides and Recom-
better represented by r − r .
max min
mendations issued by the World Trade Organization Technical
3.2.2 plastic strain ratio, r, n—in sheet metal that has been
Barriers to Trade (TBT) Committee.
strained by uniaxial tension sufficiently to induce plastic flow,
the ratio of the true strain that has occurred in a width direction
2. Referenced Documents
w perpendicular to the direction of applied stress and in the
2
2.1 ASTM Standards: plane of the sheet, to the concomitant true strain in the
E6 Terminology Relating to Methods of Mechanical Testing thickness direction t.
E8/E8M Test Methods for Tension Testing of Metallic Ma-
3.2.2.1 Discussion—The plastic strain ratio, r, is numeri-
terials
cally equal to
E83 Practice for Verification and Classification of Exten-
r 5 ε /ε (1)
w t
someter Systems
E92 Test Methods for Vickers Hardness and Knoop Hard- where:
ness of Metallic Materials
ε = width strain, and
w
E177 Practice for Use of the Terms Precision and Bias in
ε = thickness strain.
t
ASTM Test Methods
3.2.2.2 Discussion—Due to difficulty in measuring thick-
E691 Practice for Conducting an Interlaboratory Study to
ness changes with sufficient precision, in practice an equivalent
Determine the Precision of a Test Method
relationship is commonly used, based on length and width
strain measurements (see 9.1.2).
1
This test method is under the jurisdiction of ASTM Committee E28 on
3.2.3 weighted-average plastic strain ratio, r , n—the
m
Mechanical Testing and is the direct responsibility of Subcommittee E28.02 on
weighted average of values of r obtained in three directions: 0°
Ductility and Formability.
(parallel), 45° (diagonal), and 90° (transverse) to the rolling
Current edition approved Oct. 1, 2019. Published October 2019. Originally
approved in 1981. Last previous edition approved in 2018 as E517 – 18. DOI:
direction.
10.1520/E0517-19.
2
For referenced ASTM standards, visit the ASTM website, www.astm.org, or
3.2.3.1 Discussion—Some materials exhibit significantly
contact ASTM Customer Service at service@astm.org. For Annual Book of ASTM
different values of plastic strain ratio, r, for other test
Standards volume information, refer to the standard’s Document Summary page on
the ASTM website. directions, in which case the weighted-average plastic strain
*A Summary of Changes section appears at the end of this standard
Copyright © ASTM International, 100 Barr Harbor Drive, PO Box C700, West Conshohocken, PA 19428-2959. United States
1
---------------------- Page: 1 ----------------------
E517 − 19
ratio may include these values when special note is made and measurements of the change in width are compensa
...



Questions, Comments and Discussion
Ask us and Technical Secretary will try to provide an answer. You can facilitate discussion about the standard in here.