ASTM E1290-08
(Test Method)Standard Test Method for Crack-Tip Opening Displacement (CTOD) Fracture Toughness Measurement
Standard Test Method for Crack-Tip Opening Displacement (CTOD) Fracture Toughness Measurement
SIGNIFICANCE AND USE
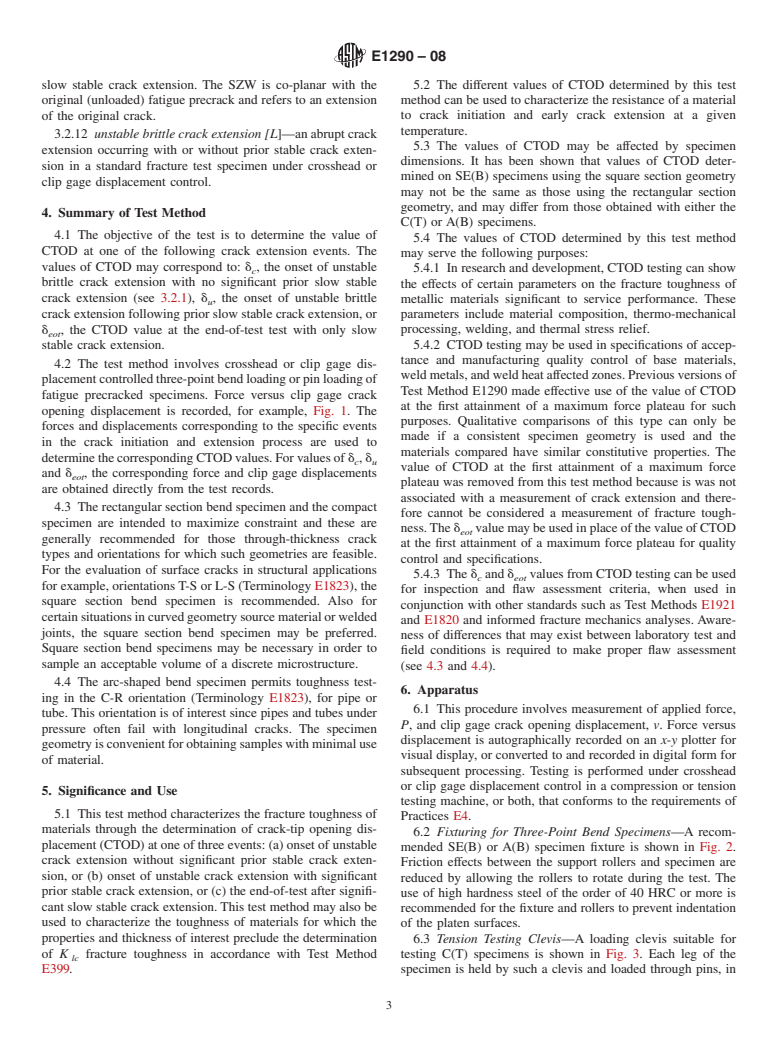
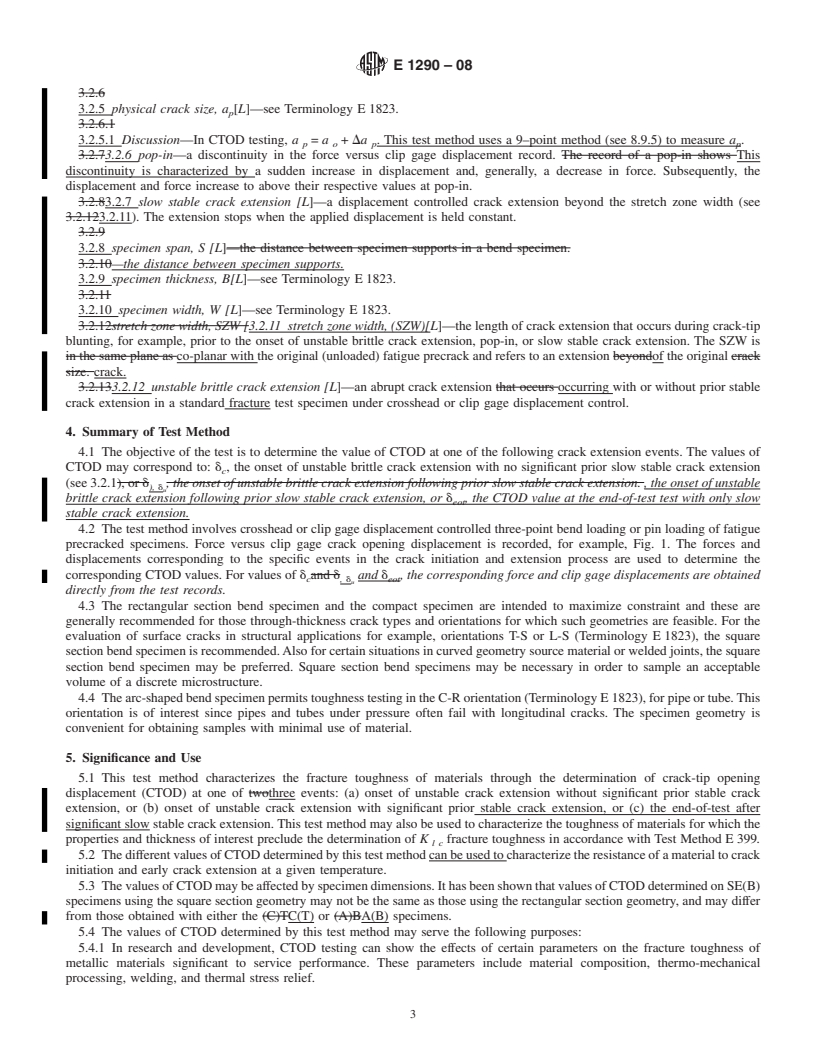
This test method characterizes the fracture toughness of materials through the determination of crack-tip opening displacement (CTOD) at one of three events: (a) onset of unstable crack extension without significant prior stable crack extension, or (b) onset of unstable crack extension with significant prior stable crack extension, or (c) the end-of-test after significant slow stable crack extension. This test method may also be used to characterize the toughness of materials for which the properties and thickness of interest preclude the determination of K lc fracture toughness in accordance with Test Method E 399.
The different values of CTOD determined by this test method can be used to characterize the resistance of a material to crack initiation and early crack extension at a given temperature.
The values of CTOD may be affected by specimen dimensions. It has been shown that values of CTOD determined on SE(B) specimens using the square section geometry may not be the same as those using the rectangular section geometry, and may differ from those obtained with either the C(T) or A(B) specimens.
The values of CTOD determined by this test method may serve the following purposes:
In research and development, CTOD testing can show the effects of certain parameters on the fracture toughness of metallic materials significant to service performance. These parameters include material composition, thermo-mechanical processing, welding, and thermal stress relief.
CTOD testing may be used in specifications of acceptance and manufacturing quality control of base materials, weld metals, and weld heat affected zones. Previous versions of Test Method E 1290 made effective use of the value of CTOD at the first attainment of a maximum force plateau for such purposes. Qualitative comparisons of this type can only be made if a consistent specimen geometry is used and the materials compared have similar constitutive properties. The value of CTOD at the first attainment of...
SCOPE
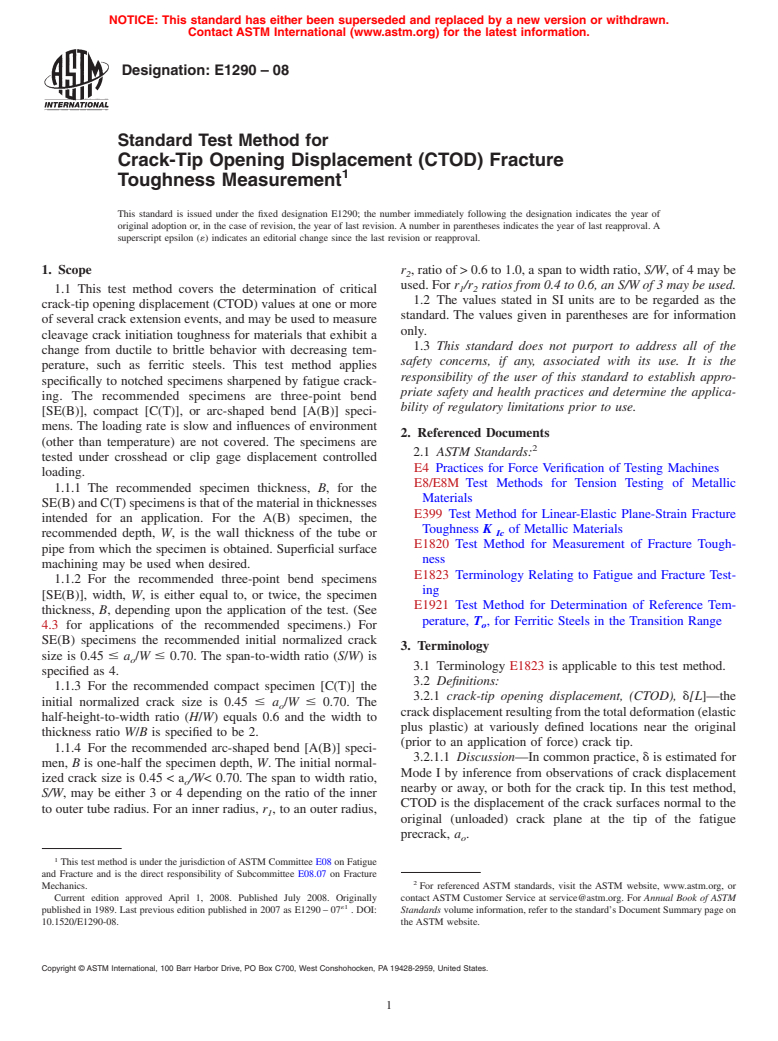
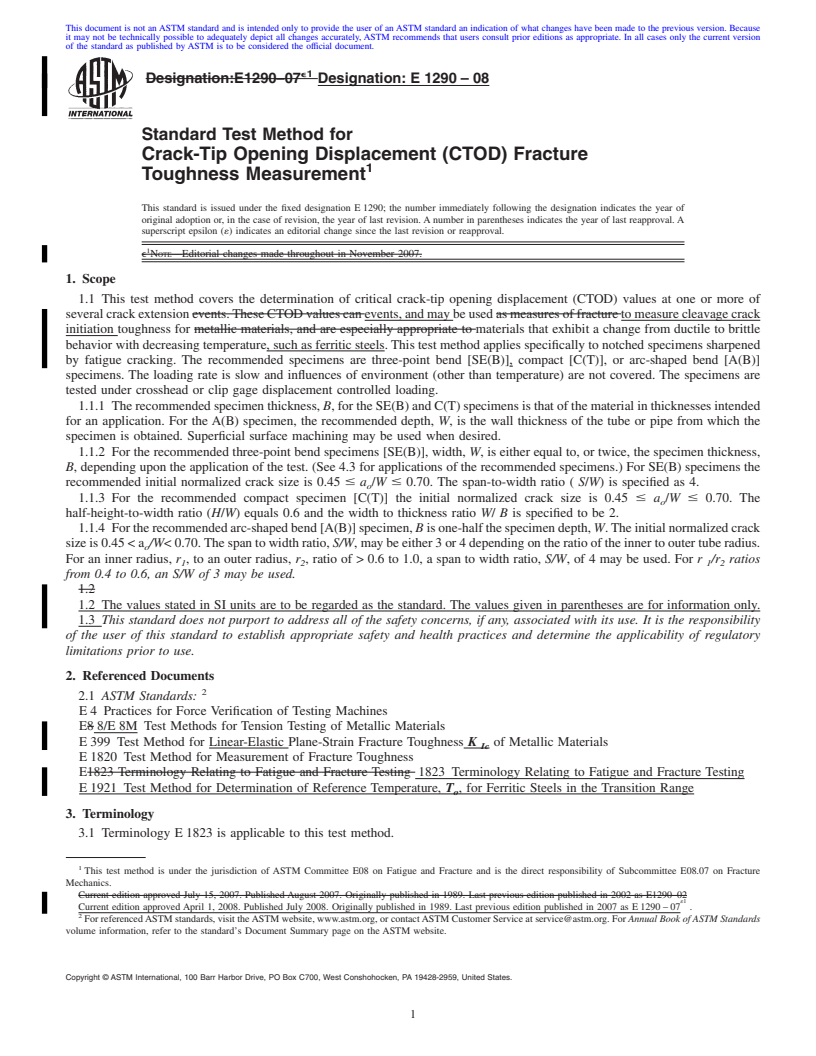
1.1 This test method covers the determination of critical crack-tip opening displacement (CTOD) values at one or more of several crack extension events, and may be used to measure cleavage crack initiation toughness for materials that exhibit a change from ductile to brittle behavior with decreasing temperature, such as ferritic steels. This test method applies specifically to notched specimens sharpened by fatigue cracking. The recommended specimens are three-point bend [SE(B)], compact [C(T)], or arc-shaped bend [A(B)] specimens. The loading rate is slow and influences of environment (other than temperature) are not covered. The specimens are tested under crosshead or clip gage displacement controlled loading.
1.1.1 The recommended specimen thickness, B, for the SE(B) and C(T) specimens is that of the material in thicknesses intended for an application. For the A(B) specimen, the recommended depth, W, is the wall thickness of the tube or pipe from which the specimen is obtained. Superficial surface machining may be used when desired.
1.1.2 For the recommended three-point bend specimens [SE(B)], width, W, is either equal to, or twice, the specimen thickness, B, depending upon the application of the test. (See 4.3 for applications of the recommended specimens.) For SE(B) specimens the recommended initial normalized crack size is 0.45 ≤ ao/W ≤ 0.70. The span-to-width ratio (S/W) is specified as 4.
1.1.3 For the recommended compact specimen [C(T)] the initial normalized crack size is 0.45 ≤ ao/W ≤ 0.70. The half-height-to-width ratio (H/W) equals 0.6 and the width to thickness ratio W/B is specified to be 2.
1.1.4 For the recommended arc-shaped bend [A(B)] specimen, B is one-half the specimen depth, W. The initial normalized crack size is 0.45 ao/W 0.70. The span to width ratio, S/W, may be either 3 or 4 depending on the ratio of the inner to outer tube radius. For an inner radius, r1, to an outer radius, r2, rat...
General Information
Relations
Buy Standard
Standards Content (Sample)
NOTICE: This standard has either been superseded and replaced by a new version or withdrawn.
Contact ASTM International (www.astm.org) for the latest information.
Designation: E1290 – 08
Standard Test Method for
Crack-Tip Opening Displacement (CTOD) Fracture
1
Toughness Measurement
This standard is issued under the fixed designation E1290; the number immediately following the designation indicates the year of
original adoption or, in the case of revision, the year of last revision.Anumber in parentheses indicates the year of last reapproval.A
superscript epsilon (´) indicates an editorial change since the last revision or reapproval.
1. Scope r ,ratioof>0.6to1.0,aspantowidthratio, S/W,of4maybe
2
used.For r /r ratios from 0.4 to 0.6, an S/W of 3 may be used.
1 2
1.1 This test method covers the determination of critical
1.2 The values stated in SI units are to be regarded as the
crack-tip opening displacement (CTOD) values at one or more
standard. The values given in parentheses are for information
of several crack extension events, and may be used to measure
only.
cleavage crack initiation toughness for materials that exhibit a
1.3 This standard does not purport to address all of the
change from ductile to brittle behavior with decreasing tem-
safety concerns, if any, associated with its use. It is the
perature, such as ferritic steels. This test method applies
responsibility of the user of this standard to establish appro-
specifically to notched specimens sharpened by fatigue crack-
priate safety and health practices and determine the applica-
ing. The recommended specimens are three-point bend
bility of regulatory limitations prior to use.
[SE(B)], compact [C(T)], or arc-shaped bend [A(B)] speci-
mens. The loading rate is slow and influences of environment
2. Referenced Documents
(other than temperature) are not covered. The specimens are
2
2.1 ASTM Standards:
tested under crosshead or clip gage displacement controlled
E4 Practices for Force Verification of Testing Machines
loading.
E8/E8M Test Methods for Tension Testing of Metallic
1.1.1 The recommended specimen thickness, B, for the
Materials
SE(B)andC(T)specimensisthatofthematerialinthicknesses
E399 Test Method for Linear-Elastic Plane-Strain Fracture
intended for an application. For the A(B) specimen, the
Toughness K of Metallic Materials
Ic
recommended depth, W, is the wall thickness of the tube or
E1820 Test Method for Measurement of Fracture Tough-
pipe from which the specimen is obtained. Superficial surface
ness
machining may be used when desired.
E1823 Terminology Relating to Fatigue and Fracture Test-
1.1.2 For the recommended three-point bend specimens
ing
[SE(B)], width, W, is either equal to, or twice, the specimen
E1921 Test Method for Determination of Reference Tem-
thickness, B, depending upon the application of the test. (See
perature, T , for Ferritic Steels in the Transition Range
o
4.3 for applications of the recommended specimens.) For
SE(B) specimens the recommended initial normalized crack
3. Terminology
size is 0.45# a /W# 0.70. The span-to-width ratio (S/W)is
o
3.1 Terminology E1823 is applicable to this test method.
specified as 4.
3.2 Definitions:
1.1.3 For the recommended compact specimen [C(T)] the
3.2.1 crack-tip opening displacement, (CTOD), d[L]—the
initial normalized crack size is 0.45 # a /W # 0.70. The
o
crackdisplacementresultingfromthetotaldeformation(elastic
half-height-to-width ratio (H/W) equals 0.6 and the width to
plus plastic) at variously defined locations near the original
thickness ratio W/B is specified to be 2.
(prior to an application of force) crack tip.
1.1.4 For the recommended arc-shaped bend [A(B)] speci-
3.2.1.1 Discussion—In common practice, d is estimated for
men, B is one-half the specimen depth, W. The initial normal-
Mode I by inference from observations of crack displacement
ized crack size is 0.45 < a /W< 0.70. The span to width ratio,
o
nearby or away, or both for the crack tip. In this test method,
S/W, may be either 3 or 4 depending on the ratio of the inner
CTOD is the displacement of the crack surfaces normal to the
to outer tube radius. For an inner radius, r , to an outer radius,
1
original (unloaded) crack plane at the tip of the fatigue
precrack, a .
o
1
This test method is under the jurisdiction ofASTM Committee E08 on Fatigue
and Fracture and is the direct responsibility of Subcommittee E08.07 on Fracture
2
Mechanics. For referenced ASTM standards, visit the ASTM website, www.astm.org, or
Current edition approved April 1, 2008. Published July 2008. Originally contact ASTM Customer Service at service@astm.org. For Annual Book of ASTM
´1
published in 1989. Last previous edition published in 2007 as E1290–07 . DOI: Standards volume information, refer to the standard’s Document Summary page on
10.1520/E1290-08. the ASTM website.
Copyright © ASTM International, 100 Barr Harbor Drive, PO Box C700, West Conshohocken, PA 19428-2959, United States.
1
---------------------- Page: 1 --------------
...
This document is not anASTM standard and is intended only to provide the user of anASTM standard an indication of what changes have been made to the previous version. Because
it may not be technically possible to adequately depict all changes accurately, ASTM recommends that users consult prior editions as appropriate. In all cases only the current version
of the standard as published by ASTM is to be considered the official document.
e1
Designation:E1290–07 Designation: E 1290 – 08
Standard Test Method for
Crack-Tip Opening Displacement (CTOD) Fracture
1
Toughness Measurement
This standard is issued under the fixed designation E1290; the number immediately following the designation indicates the year of
original adoption or, in the case of revision, the year of last revision.Anumber in parentheses indicates the year of last reapproval.A
superscript epsilon (´) indicates an editorial change since the last revision or reapproval.
1
e NOTE—Editorial changes made throughout in November 2007.
1. Scope
1.1 This test method covers the determination of critical crack-tip opening displacement (CTOD) values at one or more of
severalcrackextensionevents.TheseCTODvaluescanevents,andmaybeusedasmeasuresoffracturetomeasurecleavagecrack
initiation toughness for metallic materials, and are especially appropriate to materials that exhibit a change from ductile to brittle
behaviorwithdecreasingtemperature,suchasferriticsteels.Thistestmethodappliesspecificallytonotchedspecimenssharpened
by fatigue cracking. The recommended specimens are three-point bend [SE(B)], compact [C(T)], or arc-shaped bend [A(B)]
specimens. The loading rate is slow and influences of environment (other than temperature) are not covered. The specimens are
tested under crosshead or clip gage displacement controlled loading.
1.1.1 Therecommendedspecimenthickness,B,fortheSE(B)andC(T)specimensisthatofthematerialinthicknessesintended
for an application. For the A(B) specimen, the recommended depth, W, is the wall thickness of the tube or pipe from which the
specimen is obtained. Superficial surface machining may be used when desired.
1.1.2 For the recommended three-point bend specimens [SE(B)], width, W, is either equal to, or twice, the specimen thickness,
B, depending upon the application of the test. (See 4.3 for applications of the recommended specimens.) For SE(B) specimens the
recommended initial normalized crack size is 0.45# a /W# 0.70. The span-to-width ratio ( S/W) is specified as 4.
o
1.1.3 For the recommended compact specimen [C(T)] the initial normalized crack size is 0.45 # a /W # 0.70. The
o
half-height-to-width ratio (H/W) equals 0.6 and the width to thickness ratio W/ B is specified to be 2.
1.1.4 Fortherecommendedarc-shapedbend[A(B)]specimen,Bisone-halfthespecimendepth,W.Theinitialnormalizedcrack
sizeis0.45
o
For an inner radius, r , to an outer radius, r , ratio of > 0.6 to 1.0, a span to width ratio, S/W, of 4 may be used. For r /r ratios
1 2 1 2
from 0.4 to 0.6, an S/W of 3 may be used.
1.2
1.2 The values stated in SI units are to be regarded as the standard. The values given in parentheses are for information only.
1.3 This standard does not purport to address all of the safety concerns, if any, associated with its use. It is the responsibility
of the user of this standard to establish appropriate safety and health practices and determine the applicability of regulatory
limitations prior to use.
2. Referenced Documents
2
2.1 ASTM Standards:
E4 Practices for Force Verification of Testing Machines
E88/E8M Test Methods for Tension Testing of Metallic Materials
E399 Test Method for Linear-Elastic Plane-Strain Fracture Toughness K of Metallic Materials
Ic
E1820 Test Method for Measurement of Fracture Toughness
E1823 Terminology Relating to Fatigue and Fracture Testing 1823 Terminology Relating to Fatigue and Fracture Testing
E1921 Test Method for Determination of Reference Temperature, T , for Ferritic Steels in the Transition Range
o
3. Terminology
3.1 Terminology E1823 is applicable to this test method.
1
This test method is under the jurisdiction of ASTM Committee E08 on Fatigue and Fracture and is the direct responsibility of Subcommittee E08.07 on Fracture
Mechanics.
Current edition approved July 15, 2007. Published August 2007. Originally published in 1989. Last previous edition published in 2002 as E1290–02
´1
Current edition approved April 1, 2008. Published July 2008. Originally published in 1989. Last previous edition published in 2007 as E1290–07 .
2
ForreferencedASTMstandards,visittheASTMwebsite,www.astm.org,orcontactASTMCustomerServiceatservice@astm.org.For Annual Book ofASTM Standards
volume information, refer to the standard’s Document Summary page on the ASTM website.
Copyright © ASTM International, 100 Barr Harbor Drive, PO Box C700, West Conshohocken, PA 19428-2959, United States.
1
---------------------- Page: 1 -------------------
...


Questions, Comments and Discussion
Ask us and Technical Secretary will try to provide an answer. You can facilitate discussion about the standard in here.