ASTM F2537-06(2017)
(Practice)Standard Practice for Calibration of Linear Displacement Sensor Systems Used to Measure Micromotion
Standard Practice for Calibration of Linear Displacement Sensor Systems Used to Measure Micromotion
SIGNIFICANCE AND USE
4.1 Linear displacement sensor systems play an important role in orthopedic applications to measure micromotion during simulated use of joint prostheses.
4.2 Linear displacement sensor systems must be calibrated for use in the laboratory to ensure reliable conversions of the system’s electrical output to engineering units.
4.3 Linear displacement sensor systems should be calibrated before initial use, at least annually thereafter, after any change in the electronic configuration that employs the sensor, after any significant change in test conditions using the sensor that differ from conditions during the last calibration, and after any physical action on the sensor that might affect its response.
4.4 Verification of sensor performance in accordance with calibration should be performed on a per use basis both before and after testing. Such verification can be done with a less accurate standard than that used for calibration, and may be done with only a few points.
4.5 Linear displacement sensor systems generally have a working range within which voltage output is linearly proportional to displacement of the sensor. This procedure is applicable to the linear range of the sensor. Recommended practice is to use the linear displacement sensor system only within its linear working range.
SCOPE
1.1 This practice covers the procedures for calibration of linear displacement sensors and their corresponding power supply, signal conditioner, and data acquisition systems (linear displacement sensor systems) for use in measuring micromotion. It covers any sensor used to measure displacement that gives an electrical voltage output that is linearly proportional to displacement. This includes, but is not limited to, linear variable differential transformers (LVDTs) and differential variable reluctance transducers (DVRTs).
1.2 This calibration procedure is used to determine the relationship between output of the linear displacement sensor system and displacement. This relationship is used to convert readings from the linear displacement sensor system into engineering units.
1.3 This calibration procedure is also used to determine the error of the linear displacement sensor system over the range of its use.
1.4 The values stated in SI units are to be regarded as standard. No other units of measurement are included in this standard.
1.5 This standard does not purport to address all of the safety concerns, if any, associated with its use. It is the responsibility of the user of this standard to establish appropriate safety, health, and environmental practices and determine the applicability of regulatory limitations prior to use.
1.6 This international standard was developed in accordance with internationally recognized principles on standardization established in the Decision on Principles for the Development of International Standards, Guides and Recommendations issued by the World Trade Organization Technical Barriers to Trade (TBT) Committee.
General Information
Relations
Buy Standard
Standards Content (Sample)
This international standard was developed in accordance with internationally recognized principles on standardization established in the Decision on Principles for the
Development of International Standards, Guides and Recommendations issued by the World Trade Organization Technical Barriers to Trade (TBT) Committee.
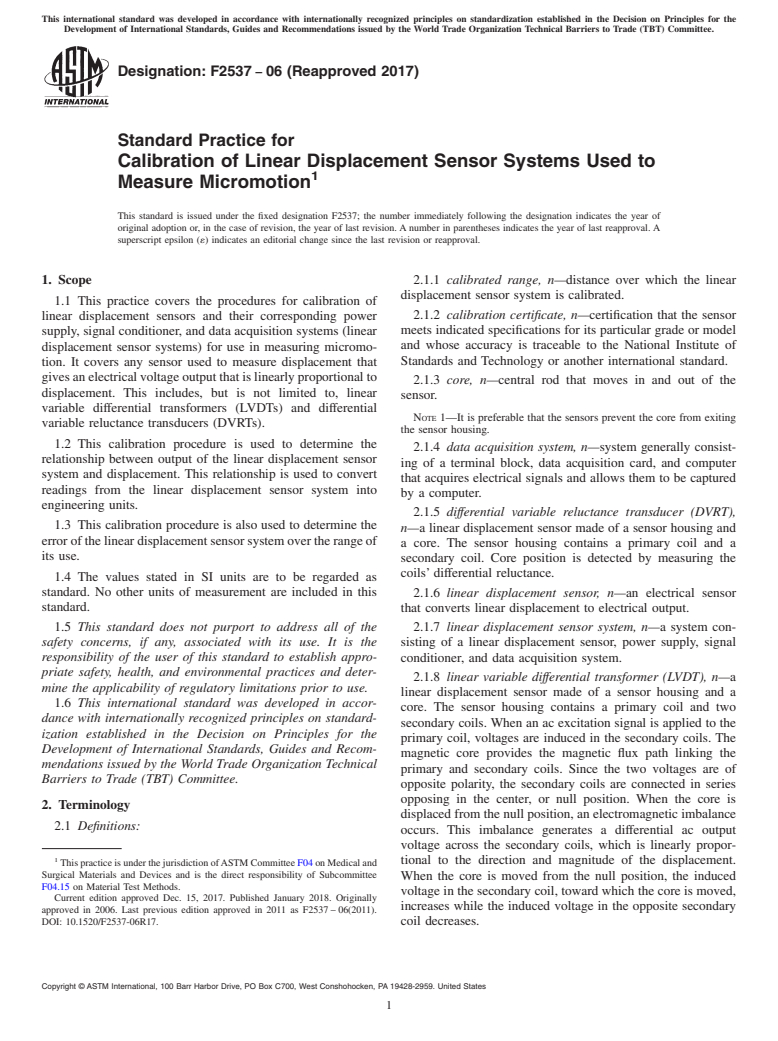
Designation: F2537 − 06 (Reapproved 2017)
Standard Practice for
Calibration of Linear Displacement Sensor Systems Used to
Measure Micromotion
This standard is issued under the fixed designation F2537; the number immediately following the designation indicates the year of
original adoption or, in the case of revision, the year of last revision. A number in parentheses indicates the year of last reapproval. A
superscript epsilon (´) indicates an editorial change since the last revision or reapproval.
1. Scope 2.1.1 calibrated range, n—distance over which the linear
displacement sensor system is calibrated.
1.1 This practice covers the procedures for calibration of
2.1.2 calibration certificate, n—certification that the sensor
linear displacement sensors and their corresponding power
meets indicated specifications for its particular grade or model
supply, signal conditioner, and data acquisition systems (linear
and whose accuracy is traceable to the National Institute of
displacement sensor systems) for use in measuring micromo-
Standards and Technology or another international standard.
tion. It covers any sensor used to measure displacement that
givesanelectricalvoltageoutputthatislinearlyproportionalto
2.1.3 core, n—central rod that moves in and out of the
displacement. This includes, but is not limited to, linear
sensor.
variable differential transformers (LVDTs) and differential
NOTE 1—It is preferable that the sensors prevent the core from exiting
variable reluctance transducers (DVRTs).
the sensor housing.
1.2 This calibration procedure is used to determine the
2.1.4 data acquisition system, n—system generally consist-
relationship between output of the linear displacement sensor
ing of a terminal block, data acquisition card, and computer
system and displacement. This relationship is used to convert
that acquires electrical signals and allows them to be captured
readings from the linear displacement sensor system into
by a computer.
engineering units.
2.1.5 differential variable reluctance transducer (DVRT),
1.3 This calibration procedure is also used to determine the
n—a linear displacement sensor made of a sensor housing and
errorofthelineardisplacementsensorsystemovertherangeof
a core. The sensor housing contains a primary coil and a
its use.
secondary coil. Core position is detected by measuring the
coils’ differential reluctance.
1.4 The values stated in SI units are to be regarded as
standard. No other units of measurement are included in this
2.1.6 linear displacement sensor, n—an electrical sensor
standard.
that converts linear displacement to electrical output.
1.5 This standard does not purport to address all of the 2.1.7 linear displacement sensor system, n—a system con-
safety concerns, if any, associated with its use. It is the
sisting of a linear displacement sensor, power supply, signal
responsibility of the user of this standard to establish appro- conditioner, and data acquisition system.
priate safety, health, and environmental practices and deter-
2.1.8 linear variable differential transformer (LVDT), n—a
mine the applicability of regulatory limitations prior to use.
linear displacement sensor made of a sensor housing and a
1.6 This international standard was developed in accor-
core. The sensor housing contains a primary coil and two
dance with internationally recognized principles on standard-
secondary coils. When an ac excitation signal is applied to the
ization established in the Decision on Principles for the
primary coil, voltages are induced in the secondary coils. The
Development of International Standards, Guides and Recom-
magnetic core provides the magnetic flux path linking the
mendations issued by the World Trade Organization Technical
primary and secondary coils. Since the two voltages are of
Barriers to Trade (TBT) Committee.
opposite polarity, the secondary coils are connected in series
opposing in the center, or null position. When the core is
2. Terminology
displaced from the null position, an electromagnetic imbalance
2.1 Definitions:
occurs. This imbalance generates a differential ac output
voltage across the secondary coils, which is linearly propor-
tional to the direction and magnitude of the displacement.
ThispracticeisunderthejurisdictionofASTMCommitteeF04onMedicaland
Surgical Materials and Devices and is the direct responsibility of Subcommittee
When the core is moved from the null position, the induced
F04.15 on Material Test Methods.
voltage in the secondary coil, toward which the core is moved,
Current edition approved Dec. 15, 2017. Published January 2018. Originally
increases while the induced voltage in the opposite secondary
approved in 2006. Last previous edition approved in 2011 as F2537–06(2011).
DOI: 10.1520/F2537-06R17. coil decreases.
Copyright © ASTM International, 100 Barr Harbor Drive, PO Box C700, West Conshohocken, PA 19428-2959. United States
F2537 − 06 (2017)
2.1.9 null position, n—the core position within the sensor 4.4 Verification of sensor performance in accordance with
housing where the sensor voltage output is zero (some sensors calibration should be performed on a per use basis both before
do not have a null position). and after testing. Such verification can be done with a less
accurate standard than that used for calibration, and may be
2.1.10 offset correction, n—removal of any offset in a
done with only a few points.
sensor’s output so that at zero displacement, zero voltage is
recorded.
4.5 Linear displacement sensor systems generally have a
working range within which voltage output is linearly propor-
2.1.11 percent error, n—the difference between a measure-
tional to displacement of the sensor. This procedure is appli-
ment of a reference standard and the actual length of the
cable to the linear range of the sensor. Recommended practice
referencestandarddividedbytheactuallengthofthereference
is to use the linear displacement sensor system only within its
standard and the result converted to a percent.
linear working range.
2.1.12 power supply, n—a regulated voltage source with
outputequaltothatrequiredbythesensorforproperoperation.
5. Apparatus and Equipment
2.1.13 sensor housing, n—central hole in a linear displace-
5.1 Linear Displacement Sensor.
ment sensor that senses movement of the core within it.
5.2 Power Supply, with output equal to that required by the
2.1.14 signal conditioner, n—electronic equipment that acts
sensor.
to convert the raw electrical output from the linear displace-
ment sensor into a more useful signal by amplification and 5.3 Signal Conditioner, Data Acquisition System, and Re-
filtering.
lated Cables and Fittings.
5.4 Test Method—Micrometer Fixture Calibration:
3. Summary of Practice
5.4.1 CalibrationFixture,afixturethatprovidesameansfor
fixing both a micrometer head and the linear displacement
3.1 Alinear displacement sensor is mounted in a calibration
fixture such that it can be subjected to a precise, known sensor along a parallel displacement axis, and is capable of
applying displacement to the linear displacement sensor
displacement.
throughout its linear range. The alignment tolerance of the
3.2 Displacement is applied in steps over the full range of
calibration fixture must be measured.
the linear displacement sensor and electrical readings (for
5.4.2 Micrometer Head, a precision instrument with known
example, voltages) are collected using the linear displacement
error(thatis,tolerance).Thespindleofthemicrometermustbe
sensor system.
non-rotating and spring-loaded. The micrometer head shall be
3.3 Each voltage reading is taken as the average of 100
calibrated annually by the manufacturer or other qualified
readings over 0.1 s, decreasing the error of the reading. The
personnel.
errorinthereadingsisrecordedasthestandarddeviationinthe
readings. This error should be constant and independent of
6. Hazards
displacement. It should be noted that the error in the readings
6.1 Safety Hazards:
is a summation of errors in each of the linear displacement
6.1.1 This practice involves electrical equipment. Verify
sensor system components.
that all electrical wiring is connected properly and that the
3.4 The calibration factor (S) is calculated as the slope of
power supply and signal conditioner are grounded properly to
the voltage versus displacement curve using linear regression.
prevent electrical shock to the operator. Take necessary pre-
cautions to avoid exposure to power signals.
3.5 Linearity of the sensor is assessed.
6.2 Safety Precautions:
3.6 The percent error is determined for each calibration
6.2.1 Examine the sensor housing for burrs or sharp edges,
point collected. This percent error is evaluated together with
or both. Remove any protrusions that might cause harm.
the tolerance of the micrometer head calibration.
6.2.2 The sensor can be permanently damaged if incorrectly
handled. Consult the manufacturer’s guidelines for handling.
4. Significance and Use
6.2.3 The sensor can be permanently damaged if incorrectly
4.1 Linear displacement sensor systems play an important
connected to the power supply, or if connected to a power
role in orthopedic applications to measure micromotion during
supply with the wrong excitation level. Consult the manufac-
simulated use of joint prostheses.
turer’s guidelines for use.
4.2 Linear displacement sensor systems must be calibrated 6.2.4 Follow all manufacturer’s recommendations with re-
for use in the laboratory to ensure reliable conversions of the
gard to safety.
system’s electrical output to engineering units.
6.3 Technical Precautions:
4.3 Li
...
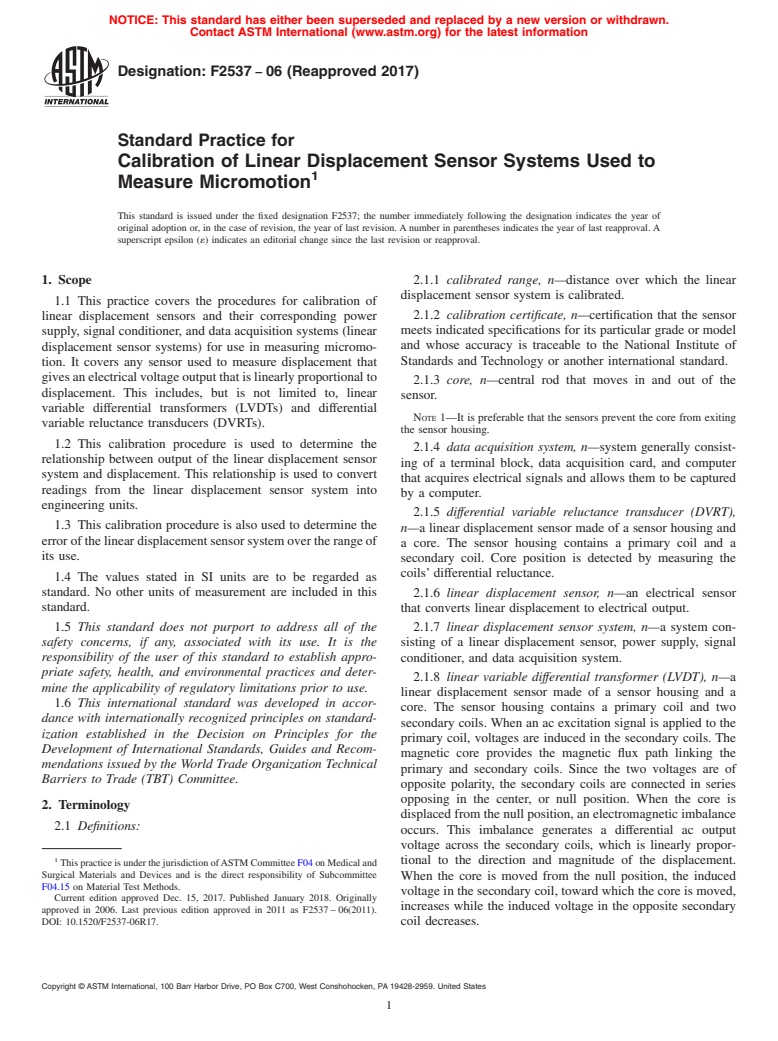
NOTICE: This standard has either been superseded and replaced by a new version or withdrawn.
Contact ASTM International (www.astm.org) for the latest information
Designation: F2537 − 06 (Reapproved 2017)
Standard Practice for
Calibration of Linear Displacement Sensor Systems Used to
Measure Micromotion
This standard is issued under the fixed designation F2537; the number immediately following the designation indicates the year of
original adoption or, in the case of revision, the year of last revision. A number in parentheses indicates the year of last reapproval. A
superscript epsilon (´) indicates an editorial change since the last revision or reapproval.
1. Scope 2.1.1 calibrated range, n—distance over which the linear
displacement sensor system is calibrated.
1.1 This practice covers the procedures for calibration of
2.1.2 calibration certificate, n—certification that the sensor
linear displacement sensors and their corresponding power
meets indicated specifications for its particular grade or model
supply, signal conditioner, and data acquisition systems (linear
and whose accuracy is traceable to the National Institute of
displacement sensor systems) for use in measuring micromo-
Standards and Technology or another international standard.
tion. It covers any sensor used to measure displacement that
gives an electrical voltage output that is linearly proportional to
2.1.3 core, n—central rod that moves in and out of the
displacement. This includes, but is not limited to, linear
sensor.
variable differential transformers (LVDTs) and differential
NOTE 1—It is preferable that the sensors prevent the core from exiting
variable reluctance transducers (DVRTs).
the sensor housing.
1.2 This calibration procedure is used to determine the
2.1.4 data acquisition system, n—system generally consist-
relationship between output of the linear displacement sensor
ing of a terminal block, data acquisition card, and computer
system and displacement. This relationship is used to convert
that acquires electrical signals and allows them to be captured
readings from the linear displacement sensor system into
by a computer.
engineering units.
2.1.5 differential variable reluctance transducer (DVRT),
1.3 This calibration procedure is also used to determine the
n—a linear displacement sensor made of a sensor housing and
error of the linear displacement sensor system over the range of
a core. The sensor housing contains a primary coil and a
its use.
secondary coil. Core position is detected by measuring the
coils’ differential reluctance.
1.4 The values stated in SI units are to be regarded as
standard. No other units of measurement are included in this
2.1.6 linear displacement sensor, n—an electrical sensor
standard. that converts linear displacement to electrical output.
1.5 This standard does not purport to address all of the
2.1.7 linear displacement sensor system, n—a system con-
safety concerns, if any, associated with its use. It is the sisting of a linear displacement sensor, power supply, signal
responsibility of the user of this standard to establish appro-
conditioner, and data acquisition system.
priate safety, health, and environmental practices and deter-
2.1.8 linear variable differential transformer (LVDT), n—a
mine the applicability of regulatory limitations prior to use.
linear displacement sensor made of a sensor housing and a
1.6 This international standard was developed in accor-
core. The sensor housing contains a primary coil and two
dance with internationally recognized principles on standard-
secondary coils. When an ac excitation signal is applied to the
ization established in the Decision on Principles for the
primary coil, voltages are induced in the secondary coils. The
Development of International Standards, Guides and Recom-
magnetic core provides the magnetic flux path linking the
mendations issued by the World Trade Organization Technical
primary and secondary coils. Since the two voltages are of
Barriers to Trade (TBT) Committee.
opposite polarity, the secondary coils are connected in series
opposing in the center, or null position. When the core is
2. Terminology
displaced from the null position, an electromagnetic imbalance
2.1 Definitions:
occurs. This imbalance generates a differential ac output
voltage across the secondary coils, which is linearly propor-
tional to the direction and magnitude of the displacement.
This practice is under the jurisdiction of ASTM Committee F04 on Medical and
Surgical Materials and Devices and is the direct responsibility of Subcommittee
When the core is moved from the null position, the induced
F04.15 on Material Test Methods.
voltage in the secondary coil, toward which the core is moved,
Current edition approved Dec. 15, 2017. Published January 2018. Originally
increases while the induced voltage in the opposite secondary
approved in 2006. Last previous edition approved in 2011 as F2537 – 06(2011).
DOI: 10.1520/F2537-06R17. coil decreases.
Copyright © ASTM International, 100 Barr Harbor Drive, PO Box C700, West Conshohocken, PA 19428-2959. United States
F2537 − 06 (2017)
2.1.9 null position, n—the core position within the sensor 4.4 Verification of sensor performance in accordance with
housing where the sensor voltage output is zero (some sensors calibration should be performed on a per use basis both before
do not have a null position). and after testing. Such verification can be done with a less
accurate standard than that used for calibration, and may be
2.1.10 offset correction, n—removal of any offset in a
done with only a few points.
sensor’s output so that at zero displacement, zero voltage is
recorded.
4.5 Linear displacement sensor systems generally have a
working range within which voltage output is linearly propor-
2.1.11 percent error, n—the difference between a measure-
tional to displacement of the sensor. This procedure is appli-
ment of a reference standard and the actual length of the
cable to the linear range of the sensor. Recommended practice
reference standard divided by the actual length of the reference
is to use the linear displacement sensor system only within its
standard and the result converted to a percent.
linear working range.
2.1.12 power supply, n—a regulated voltage source with
output equal to that required by the sensor for proper operation.
5. Apparatus and Equipment
2.1.13 sensor housing, n—central hole in a linear displace-
5.1 Linear Displacement Sensor.
ment sensor that senses movement of the core within it.
5.2 Power Supply, with output equal to that required by the
2.1.14 signal conditioner, n—electronic equipment that acts
sensor.
to convert the raw electrical output from the linear displace-
ment sensor into a more useful signal by amplification and
5.3 Signal Conditioner, Data Acquisition System, and Re-
filtering. lated Cables and Fittings.
5.4 Test Method—Micrometer Fixture Calibration:
3. Summary of Practice
5.4.1 Calibration Fixture, a fixture that provides a means for
3.1 A linear displacement sensor is mounted in a calibration fixing both a micrometer head and the linear displacement
sensor along a parallel displacement axis, and is capable of
fixture such that it can be subjected to a precise, known
displacement. applying displacement to the linear displacement sensor
throughout its linear range. The alignment tolerance of the
3.2 Displacement is applied in steps over the full range of
calibration fixture must be measured.
the linear displacement sensor and electrical readings (for
5.4.2 Micrometer Head, a precision instrument with known
example, voltages) are collected using the linear displacement
error (that is, tolerance). The spindle of the micrometer must be
sensor system.
non-rotating and spring-loaded. The micrometer head shall be
3.3 Each voltage reading is taken as the average of 100
calibrated annually by the manufacturer or other qualified
readings over 0.1 s, decreasing the error of the reading. The
personnel.
error in the readings is recorded as the standard deviation in the
readings. This error should be constant and independent of
6. Hazards
displacement. It should be noted that the error in the readings
6.1 Safety Hazards:
is a summation of errors in each of the linear displacement
6.1.1 This practice involves electrical equipment. Verify
sensor system components.
that all electrical wiring is connected properly and that the
3.4 The calibration factor (S) is calculated as the slope of
power supply and signal conditioner are grounded properly to
the voltage versus displacement curve using linear regression.
prevent electrical shock to the operator. Take necessary pre-
cautions to avoid exposure to power signals.
3.5 Linearity of the sensor is assessed.
6.2 Safety Precautions:
3.6 The percent error is determined for each calibration
6.2.1 Examine the sensor housing for burrs or sharp edges,
point collected. This percent error is evaluated together with
or both. Remove any protrusions that might cause harm.
the tolerance of the micrometer head calibration.
6.2.2 The sensor can be permanently damaged if incorrectly
handled. Consult the manufacturer’s guidelines for handling.
4. Significance and Use
6.2.3 The sensor can be permanently damaged if incorrectly
4.1 Linear displacement sensor systems play an important
connected to the power supply, or if connected to a power
role in orthopedic applications to measure micromotion during
supply with the wrong excitation level. Consult the manufac-
simulated use of joint prostheses.
turer’s guidelines for use.
4.2 Linear displacement sensor systems must be calibrated 6.2.4 Follow all manufacturer’s recommendations with re-
for use in the laboratory to ensure reliable conversions of the gard to safety.
system’s electrical output to engineering units.
6.3 Technical Precautions:
4.3 Linear displacement sensor systems should be calibrated 6.3.1 If using a linear displacement sensor
...
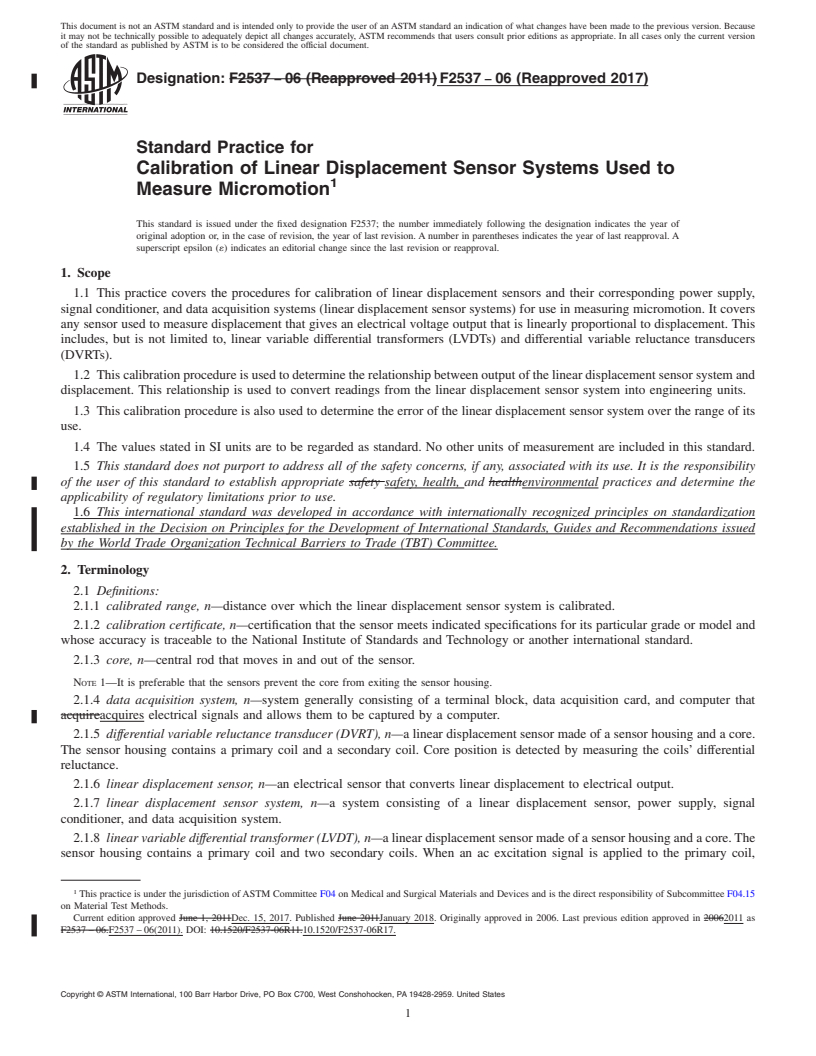
This document is not an ASTM standard and is intended only to provide the user of an ASTM standard an indication of what changes have been made to the previous version. Because
it may not be technically possible to adequately depict all changes accurately, ASTM recommends that users consult prior editions as appropriate. In all cases only the current version
of the standard as published by ASTM is to be considered the official document.
Designation: F2537 − 06 (Reapproved 2011) F2537 − 06 (Reapproved 2017)
Standard Practice for
Calibration of Linear Displacement Sensor Systems Used to
Measure Micromotion
This standard is issued under the fixed designation F2537; the number immediately following the designation indicates the year of
original adoption or, in the case of revision, the year of last revision. A number in parentheses indicates the year of last reapproval. A
superscript epsilon (´) indicates an editorial change since the last revision or reapproval.
1. Scope
1.1 This practice covers the procedures for calibration of linear displacement sensors and their corresponding power supply,
signal conditioner, and data acquisition systems (linear displacement sensor systems) for use in measuring micromotion. It covers
any sensor used to measure displacement that gives an electrical voltage output that is linearly proportional to displacement. This
includes, but is not limited to, linear variable differential transformers (LVDTs) and differential variable reluctance transducers
(DVRTs).
1.2 This calibration procedure is used to determine the relationship between output of the linear displacement sensor system and
displacement. This relationship is used to convert readings from the linear displacement sensor system into engineering units.
1.3 This calibration procedure is also used to determine the error of the linear displacement sensor system over the range of its
use.
1.4 The values stated in SI units are to be regarded as standard. No other units of measurement are included in this standard.
1.5 This standard does not purport to address all of the safety concerns, if any, associated with its use. It is the responsibility
of the user of this standard to establish appropriate safety safety, health, and healthenvironmental practices and determine the
applicability of regulatory limitations prior to use.
1.6 This international standard was developed in accordance with internationally recognized principles on standardization
established in the Decision on Principles for the Development of International Standards, Guides and Recommendations issued
by the World Trade Organization Technical Barriers to Trade (TBT) Committee.
2. Terminology
2.1 Definitions:
2.1.1 calibrated range, n—distance over which the linear displacement sensor system is calibrated.
2.1.2 calibration certificate, n—certification that the sensor meets indicated specifications for its particular grade or model and
whose accuracy is traceable to the National Institute of Standards and Technology or another international standard.
2.1.3 core, n—central rod that moves in and out of the sensor.
NOTE 1—It is preferable that the sensors prevent the core from exiting the sensor housing.
2.1.4 data acquisition system, n—system generally consisting of a terminal block, data acquisition card, and computer that
acquireacquires electrical signals and allows them to be captured by a computer.
2.1.5 differential variable reluctance transducer (DVRT), n—a linear displacement sensor made of a sensor housing and a core.
The sensor housing contains a primary coil and a secondary coil. Core position is detected by measuring the coils’ differential
reluctance.
2.1.6 linear displacement sensor, n—an electrical sensor that converts linear displacement to electrical output.
2.1.7 linear displacement sensor system, n—a system consisting of a linear displacement sensor, power supply, signal
conditioner, and data acquisition system.
2.1.8 linear variable differential transformer (LVDT), n—a linear displacement sensor made of a sensor housing and a core. The
sensor housing contains a primary coil and two secondary coils. When an ac excitation signal is applied to the primary coil,
This practice is under the jurisdiction of ASTM Committee F04 on Medical and Surgical Materials and Devices and is the direct responsibility of Subcommittee F04.15
on Material Test Methods.
Current edition approved June 1, 2011Dec. 15, 2017. Published June 2011January 2018. Originally approved in 2006. Last previous edition approved in 20062011 as
F2537 – 06.F2537 – 06(2011). DOI: 10.1520/F2537-06R11.10.1520/F2537-06R17.
Copyright © ASTM International, 100 Barr Harbor Drive, PO Box C700, West Conshohocken, PA 19428-2959. United States
F2537 − 06 (2017)
voltages are induced in the secondary coils. The magnetic core provides the magnetic flux path linking the primary and secondary
coils. Since the two voltages are of opposite polarity, the secondary coils are connected in series opposing in the center, or null
position. When the core is displaced from the null position, an electromagnetic imbalance occurs. This imbalance generates a
differential ac output voltage across the secondary coils, which is linearly proportional to the direction and magnitude of the
displacement. When the core is moved from the null position, the induced voltage in the secondary coil, toward which the core
is moved, increases while the induced voltage in the opposite secondary coil decreases.
2.1.9 null position, n—the core position within the sensor housing where the sensor voltage output is zero (some sensors do not
have a null position).
2.1.10 offset correction, n—removal of any offset in a sensor’s output so that at zero displacement, zero voltage is recorded.
2.1.11 percent error, n—the difference between a measurement of a reference standard and the actual length of the reference
standard divided by the actual length of the reference standard and the result converted to a percent.
2.1.12 power supply, n—a regulated voltage source with output equal to that required by the sensor for proper operation.
2.1.13 sensor housing, n—central hole in a linear displacement sensor that senses movement of the core within it.
2.1.14 signal conditioner, n—electronic equipment that acts to convert the raw electrical output from the linear displacement
sensor into a more useful signal by amplification and filtering.
3. Summary of Practice
3.1 A linear displacement sensor is mounted in a calibration fixture such that it can be subjected to a precise, known
displacement.
3.2 Displacement is applied in steps over the full range of the linear displacement sensor and electrical readings (for example,
voltages) are collected using the linear displacement sensor system.
3.3 Each voltage reading is taken as the average of 100 readings over 0.1 s, decreasing the error of the reading. The error in
the readings is recorded as the standard deviation in the readings. This error should be constant and independent of displacement.
It should be noted that the error in the readings is a summation of errors in each of the linear displacement sensor system
components.
3.4 The calibration factor (S) is calculated as the slope of the voltage versus displacement curve using linear regression.
3.5 Linearity of the sensor is assessed.
3.6 The percent error is determined for each calibration point collected. This percent error is evaluated together with the
tolerance of the micrometer head calibration.
4. Significance and Use
4.1 Linear displacement sensor systems play an important role in orthopedic applications to measure micromotion during
simulated use of joint prostheses.
4.2 Linear displacement sensor systems must be calibrated for use in the laboratory to ensure reliable conversions of the
system’s electrical output to engineering units.
4.3 Linear displacement sensor systems should be calibrated before initial use, at least annually thereafter, after any change in
the electronic configuration that employs the sensor, after any significant change in test conditions using the sensor that differ from
conditions during the last calibration, and after any physical action on the sensor that might affect its response.
4.4 Verification of sensor performance in accordance with calibration should be performed on a per use basis both before and
after testing. Such verification can be done with a less accurate standard than that used for calibration, and may be done with only
a few points.
4.5 Linear displacement sensor systems generally have a working range within which voltage output is linearly proportional to
displacement of the sensor. This procedure is applicable to the linear range of the sensor. Recommended practice is to use the linear
displacement sensor system only within its linear working range.
5. Apparatus and Equipment
5.1 Linear Displacement Sensor.
5.2 Power Supply, with output equal to that required by the sensor.
5.3 Signal Conditioner, Data Acquisition System, and Related Cables and Fittings.
5.4 Test Method—Micrometer Fixture Calibration:
5.4.1 Calibration Fixture, a fixture that provides a means for fixing both a micrometer head and the linear displacement sensor
along a parallel displacement axis, and is capable of applying displacement to the linear displacement sensor throughout its linear
range. The alignment tolerance of the calibration fixture must be measured.
F2537 − 06 (2017)
5.4.2 Micrometer Head, a precision instrument with known error (that is, tolerance). The spindle of the micrometer must be
non-rotating and spring-loaded. The micrometer head shall be calibrated annually by the manufacturer or other qualified personnel.
6. Hazards
6.1 Safety Hazards:
6.1.1 This practice involves electrical equipment. Verify that all electrical wiring is connected properly and that the power
supply and signal conditioner are grounded properly to prevent electrical shock to the operator. Take necessary precautions to avoid
exposure to power signals.
6.2 Safety Precautions:
6.2.1 Examine the sensor housing for burrs o
...



Questions, Comments and Discussion
Ask us and Technical Secretary will try to provide an answer. You can facilitate discussion about the standard in here.