ASTM F2156-11
(Test Method)Standard Test Method for Measuring Optical Distortion in Transparent Parts Using Grid Line Slope
Standard Test Method for Measuring Optical Distortion in Transparent Parts Using Grid Line Slope
SIGNIFICANCE AND USE
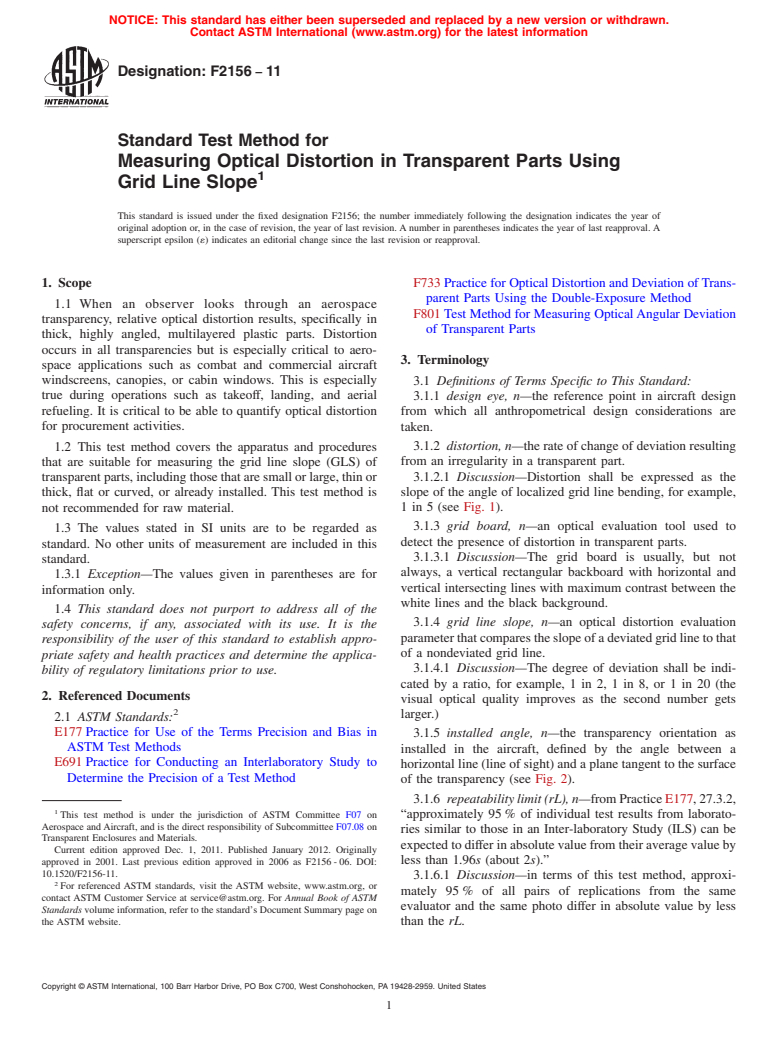
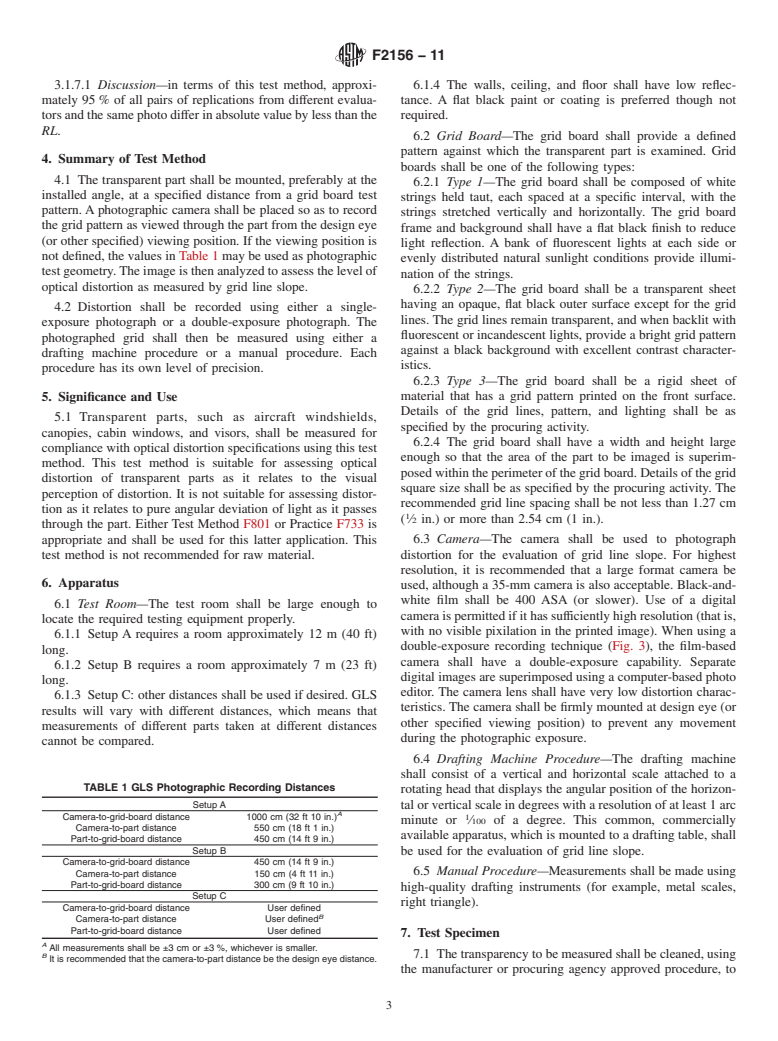
Transparent parts, such as aircraft windshields, canopies, cabin windows, and visors, shall be measured for compliance with optical distortion specifications using this test method. This test method is suitable for assessing optical distortion of transparent parts as it relates to the visual perception of distortion. It is not suitable for assessing distortion as it relates to pure angular deviation of light as it passes through the part. Either Test Method F801 or Practice F733 is appropriate and shall be used for this latter application. This test method is not recommended for raw material.
SCOPE
1.1 When an observer looks through an aerospace transparency, relative optical distortion results, specifically in thick, highly angled, multilayered plastic parts. Distortion occurs in all transparencies but is especially critical to aerospace applications such as combat and commercial aircraft windscreens, canopies, or cabin windows. This is especially true during operations such as takeoff, landing, and aerial refueling. It is critical to be able to quantify optical distortion for procurement activities.
1.2 This test method covers the apparatus and procedures that are suitable for measuring the grid line slope (GLS) of transparent parts, including those that are small or large, thin or thick, flat or curved, or already installed. This test method is not recommended for raw material.
1.3 The values stated in SI units are to be regarded as standard. No other units of measurement are included in this standard.
1.3.1 Exception—The values given in parentheses are for information only.
1.4 This standard does not purport to address all of the safety concerns, if any, associated with its use. It is the responsibility of the user of this standard to establish appropriate safety and health practices and determine the applicability of regulatory limitations prior to use.
General Information
Relations
Buy Standard
Standards Content (Sample)
NOTICE: This standard has either been superseded and replaced by a new version or withdrawn.
Contact ASTM International (www.astm.org) for the latest information
Designation: F2156 − 11
Standard Test Method for
Measuring Optical Distortion in Transparent Parts Using
1
Grid Line Slope
This standard is issued under the fixed designation F2156; the number immediately following the designation indicates the year of
original adoption or, in the case of revision, the year of last revision. A number in parentheses indicates the year of last reapproval. A
superscript epsilon (´) indicates an editorial change since the last revision or reapproval.
1. Scope F733 Practice for Optical Distortion and Deviation of Trans-
parent Parts Using the Double-Exposure Method
1.1 When an observer looks through an aerospace
F801 Test Method for Measuring OpticalAngular Deviation
transparency, relative optical distortion results, specifically in
of Transparent Parts
thick, highly angled, multilayered plastic parts. Distortion
occurs in all transparencies but is especially critical to aero-
3. Terminology
space applications such as combat and commercial aircraft
windscreens, canopies, or cabin windows. This is especially
3.1 Definitions of Terms Specific to This Standard:
true during operations such as takeoff, landing, and aerial 3.1.1 design eye, n—the reference point in aircraft design
refueling. It is critical to be able to quantify optical distortion from which all anthropometrical design considerations are
for procurement activities.
taken.
3.1.2 distortion, n—the rate of change of deviation resulting
1.2 This test method covers the apparatus and procedures
that are suitable for measuring the grid line slope (GLS) of from an irregularity in a transparent part.
3.1.2.1 Discussion—Distortion shall be expressed as the
transparent parts, including those that are small or large, thin or
thick, flat or curved, or already installed. This test method is slope of the angle of localized grid line bending, for example,
1 in 5 (see Fig. 1).
not recommended for raw material.
3.1.3 grid board, n—an optical evaluation tool used to
1.3 The values stated in SI units are to be regarded as
detect the presence of distortion in transparent parts.
standard. No other units of measurement are included in this
3.1.3.1 Discussion—The grid board is usually, but not
standard.
always, a vertical rectangular backboard with horizontal and
1.3.1 Exception—The values given in parentheses are for
vertical intersecting lines with maximum contrast between the
information only.
white lines and the black background.
1.4 This standard does not purport to address all of the
3.1.4 grid line slope, n—an optical distortion evaluation
safety concerns, if any, associated with its use. It is the
parameterthatcomparestheslopeofadeviatedgridlinetothat
responsibility of the user of this standard to establish appro-
of a nondeviated grid line.
priate safety and health practices and determine the applica-
3.1.4.1 Discussion—The degree of deviation shall be indi-
bility of regulatory limitations prior to use.
cated by a ratio, for example, 1 in 2, 1 in 8, or 1 in 20 (the
2. Referenced Documents
visual optical quality improves as the second number gets
2
larger.)
2.1 ASTM Standards:
E177 Practice for Use of the Terms Precision and Bias in
3.1.5 installed angle, n—the transparency orientation as
ASTM Test Methods
installed in the aircraft, defined by the angle between a
E691 Practice for Conducting an Interlaboratory Study to
horizontal line (line of sight) and a plane tangent to the surface
Determine the Precision of a Test Method
of the transparency (see Fig. 2).
3.1.6 repeatability limit (rL), n—fromPracticeE177,27.3.2,
1
This test method is under the jurisdiction of ASTM Committee F07 on
“approximately 95 % of individual test results from laborato-
Aerospace andAircraft, and is the direct responsibility of Subcommittee F07.08 on
ries similar to those in an Inter-laboratory Study (ILS) can be
Transparent Enclosures and Materials.
expected to differ in absolute value from their average value by
Current edition approved Dec. 1, 2011. Published January 2012. Originally
less than 1.96s (about 2s).”
approved in 2001. Last previous edition approved in 2006 as F2156 - 06. DOI:
10.1520/F2156-11.
3.1.6.1 Discussion—in terms of this test method, approxi-
2
For referenced ASTM standards, visit the ASTM website, www.astm.org, or
mately 95 % of all pairs of replications from the same
contact ASTM Customer Service at service@astm.org. For Annual Book of ASTM
evaluator and the same photo differ in absolute value by less
Standards volume information, refer to the standard’s Document Summary page on
the ASTM website. than the rL.
Copyright © ASTM International, 100 Barr Harbor Drive, PO Box C700, West Conshohocken, PA 19428-2959. United States
1
---------------------- Page: 1 ----------------------
F2156 − 11
FIG. 1 Optical Distortion Represented By Tangent
FIG. 2 Schematic Diagrams of GLS Photo
...
This document is not an ASTM standard and is intended only to provide the user of an ASTM standard an indication of what changes have been made to the previous version. Because
it may not be technically possible to adequately depict all changes accurately, ASTM recommends that users consult prior editions as appropriate. In all cases only the current version
of the standard as published by ASTM is to be considered the official document.
Designation:F2156–06 Designation:F2156–11
Standard Test Method for
Measuring Optical Distortion in Transparent Parts Using
1
Grid Line Slope
This standard is issued under the fixed designation F2156; the number immediately following the designation indicates the year of
original adoption or, in the case of revision, the year of last revision. A number in parentheses indicates the year of last reapproval. A
superscript epsilon (´) indicates an editorial change since the last revision or reapproval.
1. Scope
1.1 When an observer looks through an aerospace transparency, relative optical distortion results, specifically in thick, highly
angled, multilayered plastic parts. Distortion occurs in all transparencies but is especially critical to aerospace applications such
as combat and commercial aircraft windscreens, canopies, or cabin windows. This is especially true during operations such as
takeoff, landing, and aerial refueling. It is critical to be able to quantify optical distortion for procurement activities.
1.2 Thistestmethodcoverstheapparatusandproceduresthataresuitableformeasuringthegridlineslope(GLS)oftransparent
parts, including those that are small or large, thin or thick, flat or curved, or already installed.This test method is not recommended
for raw material.
1.3The values stated in SI units shall be regarded as the standard. The values given in parentheses are for information only.
1.3 The values stated in SI units are to be regarded as standard. No other units of measurement are included in this standard.
1.3.1 Exception—The values given in parentheses are for information only.
1.4 This standard does not purport to address all of the safety concerns, if any, associated with its use. It is the responsibility
of the user of this standard to establish appropriate safety and health practices and determine the applicability of regulatory
limitations prior to use.
2. Referenced Documents
2
2.1 ASTM Standards:
E177 Practice for Use of the Terms Precision and Bias in ASTM Test Methods
E691 Practice for Conducting an Interlaboratory Study to Determine the Precision of a Test Method
F733 Practice for Optical Distortion and Deviation of Transparent Parts Using the Double-Exposure Method
F801 Test Method for Measuring Optical Angular Deviation of Transparent Parts
3. Terminology
3.1 Definitions of Terms Specific to This Standard:
3.1.1 design eye, n—the reference point in aircraft design from which all anthropometrical design considerations are taken.
3.1.2 distortion, n—the rate of change of deviation resulting from an irregularity in a transparent part.
3.1.2.1 Discussion—Distortion shall be expressed as the slope of the angle of localized grid line bending, for example, 1 in 5
(see Fig. 1).
3.1.3 grid board, n—an optical evaluation tool used to detect the presence of distortion in transparent parts.
3.1.3.1 Discussion—The grid board is usually, but not always, a vertical rectangular backboard with horizontal and vertical
intersecting lines with maximum contrast between the white lines and the black background.
3.1.4 grid line slope, n—an optical distortion evaluation parameter that compares the slope of a deviated grid line to that of a
nondeviated grid line.
3.1.4.1 Discussion—The degree of deviation shall be indicated by a ratio, for example, 1 in 2, 1 in 8, or 1 in 20 (the visual
optical quality improves as the second number gets larger.)
3.1.5 installed angle, n—the transparency orientation as installed in the aircraft, defined by the angle between a horizontal line
(line of sight) and a plane tangent to the surface of the transparency (see Fig. 2).
3.1.6 repeatability limit (rL), n—from Practice E177, 27.3.2, “approximately 95 % of individual test results from laboratories
1
This test method is under the jurisdiction ofASTM Committee F07 onAerospace andAircraft , and is the direct responsibility of Subcommittee F07.08 on Transparent
Enclosures and Materials.
Current edition approved Nov.Dec. 1, 2006.2011. Published December 2006.January 2012. Originally approved in 2001. Last previous edition approved in 20012006 as
F2156 - 016. DOI: 10.1520/F2156-06.10.1520/F2156-11.
2
For referencedASTM standards, visit theASTM website, www.astm.org, or contactASTM Customer Service at service@astm.org. For Annual Book of ASTM Standards
volume information, refer to the standard’s Document Summary page on the ASTM website.
Copyright © ASTM International, 100 Barr Harbor Drive, PO Box C700, West Conshohocken, PA 19428-2959, United States.
1
---------------------- Page: 1 ---------------
...


Questions, Comments and Discussion
Ask us and Technical Secretary will try to provide an answer. You can facilitate discussion about the standard in here.