ASTM G56-10
(Test Method)Standard Test Method for Abrasiveness of Ink-Impregnated Fabric Printer Ribbons and Other Web Materials
Standard Test Method for Abrasiveness of Ink-Impregnated Fabric Printer Ribbons and Other Web Materials
SIGNIFICANCE AND USE
This test method differentiates between web materials on the basis of their ability to cause wear on surfaces with which they come in contact. This test method can also be used to evaluate the wear resistance of different materials against such web materials.
SCOPE
1.1 This test method covers the determination of the abrasiveness of ink-impregnated fabric printer ribbons and other web materials by means of a sliding wear test.
1.2 The values stated in inch-pound units are to be regarded as standard. The values given in parentheses are mathematical conversions to SI units that are provided for information only and are not considered standard.
1.3 This standard does not purport to address all of the safety concerns, if any, associated with its use. It is the responsibility of the user of this standard to establish appropriate safety and health practices and determine the applicability of regulatory limitations prior to use.
General Information
Relations
Buy Standard
Standards Content (Sample)
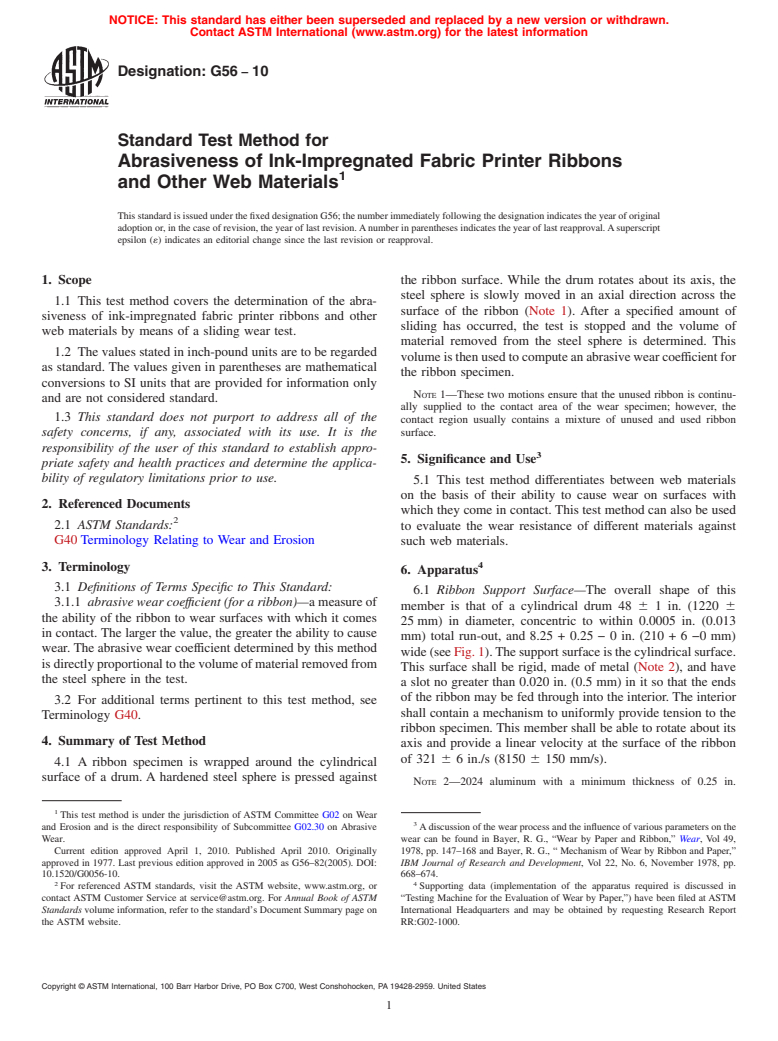
NOTICE: This standard has either been superseded and replaced by a new version or withdrawn.
Contact ASTM International (www.astm.org) for the latest information
Designation: G56 − 10
Standard Test Method for
Abrasiveness of Ink-Impregnated Fabric Printer Ribbons
1
and Other Web Materials
ThisstandardisissuedunderthefixeddesignationG56;thenumberimmediatelyfollowingthedesignationindicatestheyearoforiginal
adoptionor,inthecaseofrevision,theyearoflastrevision.Anumberinparenthesesindicatestheyearoflastreapproval.Asuperscript
epsilon (´) indicates an editorial change since the last revision or reapproval.
1. Scope the ribbon surface. While the drum rotates about its axis, the
steel sphere is slowly moved in an axial direction across the
1.1 This test method covers the determination of the abra-
surface of the ribbon (Note 1). After a specified amount of
siveness of ink-impregnated fabric printer ribbons and other
sliding has occurred, the test is stopped and the volume of
web materials by means of a sliding wear test.
material removed from the steel sphere is determined. This
1.2 The values stated in inch-pound units are to be regarded
volumeisthenusedtocomputeanabrasivewearcoefficientfor
as standard. The values given in parentheses are mathematical
the ribbon specimen.
conversions to SI units that are provided for information only
NOTE 1—These two motions ensure that the unused ribbon is continu-
and are not considered standard.
ally supplied to the contact area of the wear specimen; however, the
1.3 This standard does not purport to address all of the
contact region usually contains a mixture of unused and used ribbon
safety concerns, if any, associated with its use. It is the surface.
responsibility of the user of this standard to establish appro-
3
5. Significance and Use
priate safety and health practices and determine the applica-
bility of regulatory limitations prior to use.
5.1 This test method differentiates between web materials
on the basis of their ability to cause wear on surfaces with
2. Referenced Documents
which they come in contact. This test method can also be used
2
2.1 ASTM Standards: to evaluate the wear resistance of different materials against
G40Terminology Relating to Wear and Erosion
such web materials.
4
3. Terminology
6. Apparatus
3.1 Definitions of Terms Specific to This Standard:
6.1 Ribbon Support Surface—The overall shape of this
3.1.1 abrasive wear coeffıcient (for a ribbon)—ameasureof
member is that of a cylindrical drum 48 6 1 in. (1220 6
the ability of the ribbon to wear surfaces with which it comes
25mm) in diameter, concentric to within 0.0005 in. (0.013
in contact.The larger the value, the greater the ability to cause
mm) total run-out, and 8.25 + 0.25−0in.(210+6−0mm)
wear.The abrasive wear coefficient determined by this method
wide(seeFig.1).Thesupportsurfaceisthecylindricalsurface.
isdirectlyproportionaltothevolumeofmaterialremovedfrom
This surface shall be rigid, made of metal (Note 2), and have
the steel sphere in the test.
a slot no greater than 0.020 in. (0.5 mm) in it so that the ends
of the ribbon may be fed through into the interior. The interior
3.2 For additional terms pertinent to this test method, see
shall contain a mechanism to uniformly provide tension to the
Terminology G40.
ribbon specimen. This member shall be able to rotate about its
4. Summary of Test Method
axis and provide a linear velocity at the surface of the ribbon
of 321 6 6 in./s (8150 6 150 mm/s).
4.1 A ribbon specimen is wrapped around the cylindrical
surface of a drum. A hardened steel sphere is pressed against
NOTE 2—2024 aluminum with a minimum thickness of 0.25 in.
1
This test method is under the jurisdiction of ASTM Committee G02 on Wear
3
and Erosion and is the direct responsibility of Subcommittee G02.30 on Abrasive Adiscussionofthewearprocessandtheinfluenceofvariousparametersonthe
Wear. wear can be found in Bayer, R. G., “Wear by Paper and Ribbon,” Wear, Vol 49,
Current edition approved April 1, 2010. Published April 2010. Originally 1978, pp. 147–168 and Bayer, R. G., “ Mechanism of Wear by Ribbon and Paper,”
approved in 1977. Last previous edition approved in 2005 as G56–82(2005). DOI: IBM Journal of Research and Development, Vol 22, No. 6, November 1978, pp.
10.1520/G0056-10. 668–674.
2 4
For referenced ASTM standards, visit the ASTM website, www.astm.org, or Supporting data (implementation of the apparatus required is discussed in
contact ASTM Customer Service at service@astm.org. For Annual Book of ASTM “Testing Machine for the Evaluation of Wear by Paper,”) have been filed atASTM
Standards volume information, refer to the standard’s Document Summary page on International Headquarters and may be obtained by requesting Research Report
the ASTM website. RR:G02-1000.
Copyright © ASTM International, 100 Barr Harbor Drive, PO Box C700, West Conshohocken, PA 19428-2959. United States
1
---------------------- Page: 1 ----------------------
G56−10
may be used, with similar dimensional and
...
This document is not anASTM standard and is intended only to provide the user of anASTM standard an indication of what changes have been made to the previous version. Because
it may not be technically possible to adequately depict all changes accurately, ASTM recommends that users consult prior editions as appropriate. In all cases only the current version
of the standard as published by ASTM is to be considered the official document.
Designation:G56–82 (Reapproved 2005) Designation:G56–10
Standard Test Method for
Abrasiveness of Ink-Impregnated Fabric Printer
RibbonsAbrasiveness of Ink-Impregnated Fabric Printer
1
Ribbons and Other Web Materials
ThisstandardisissuedunderthefixeddesignationG56;thenumberimmediatelyfollowingthedesignationindicatestheyearoforiginal
adoptionor,inthecaseofrevision,theyearoflastrevision.Anumberinparenthesesindicatestheyearoflastreapproval.Asuperscript
epsilon (´) indicates an editorial change since the last revision or reapproval.
1. Scope
1.1 This test method covers the determination of the abrasiveness of ink-impregnated fabric printer ribbons and other web
materials by means of a sliding wear test.
1.2 The values stated in inch-pound units are to be regarded as standard. The values given in parentheses are mathematical
conversions to SI units that are provided for information only and are not considered standard.
1.3 This standard does not purport to address all of the safety concerns, if any, associated with its use. It is the responsibility
of the user of this standard to establish appropriate safety and health practices and determine the applicability of regulatory
limitations prior to use.
2. Referenced Documents
2
2.1 ASTM Standards:
G40 Terminology Relating to Wear and Erosion
3. Terminology
3.1 Definitions of Terms Specific to This Standard:
3.1.1 abrasive wear coeffıcient (for a ribbon)—a measure of the ability of the ribbon to wear surfaces with which it comes in
contact. The larger the value, the greater the ability to cause wear. The abrasive wear coefficient determined by this method is
directly proportional to the volume of material removed from the steel sphere in the test.
3.2 For additional terms pertinent to this test method, see Terminology G40.
4. Summary of Test Method
4.1 Aribbonspecimeniswrappedaroundthecylindricalsurfaceofadrum.Ahardenedsteelsphereispressedagainsttheribbon
surface.Whilethedrumrotatesaboutitsaxis,thesteelsphereisslowlymovedinanaxialdirectionacrossthesurfaceoftheribbon
(Note 1).After a specified amount of sliding has occurred, the test is stopped and the volume of material removed from the steel
sphere is determined. This volume is then used to compute an abrasive wear coefficient for the ribbon specimen.
NOTE 1—Thesetwomotionsensurethattheunusedribboniscontinuallysuppliedtothecontactareaofthewearspecimen;however,thecontactregion
usually contains a mixture of unused and used ribbon surface.
5. Significance and Use
5.1This test method differentiates between ribbons on the basis of their ability to cause wear on surfaces with which they come
3
in contact.
1
ThistestmethodisunderthejurisdictionofASTMCommitteeG02onErosionWearandWear,ErosionandisthedirectresponsibilityofSubcommitteeG02.30onWear.
´1
Current edition approved Nov. 1, 2005. Published November 2005. Originally approved in 1977. Last previous edition approved in 2000 as G56–82(2000) . DOI:
10.1520/G0056-82R05.on Abrasive Wear.
Current edition approved April 1, 2010. Published April 2010. Originally approved in 1977. Last previous edition approved in 2005 as G56–82(2005). DOI:
10.1520/G0056-10.
2
Adiscussion of the wear process and the influence of various parameters on the wear can be found in Bayer, R. G., “Wear by Paper and Ribbon” Wear, Vol 49, 1978,
pp. 147–168 and Bayer, R. G., “ Mechanism of Wear by Ribbon and Paper,” IBM Journal of Research and Development, Vol 22, No. 6, November 1978, pp. 668–674
2
ForreferencedASTMstandards,visittheASTMwebsite,www.astm.org,orcontactASTMCustomerServiceatservice@astm.org.For Annual Book of ASTM Standards
volume information, refer to the standard’s Document Summary page on the ASTM website.
3
An implementation of the apparatus required is discussed in “Testing Machine for the Evaluation of Wear by Paper,” available from ASTM Headquarters as
RR:G02-1000.
3
Adiscussion of the wear process and the influence of various parameters on the wear can be found in Bayer, R. G., “Wear by Paper and Ribbon,” Wear, Vol 49, 1978,
pp. 147–168 and Bayer, R. G., “ Mechanism of Wear by Ribbon and Paper,” IBM Journal of Research and Development, Vol 22, No. 6, November 1978, pp. 668–674.
Copyright © ASTM International, 100 Barr Harbor Drive, PO Box C700, West Conshohocken, PA 19428-2959, United States.
1
---------------------- Page: 1 ----------------------
G56–10
5.1 Thistestmethoddifferentiatesbetweenwebmaterialsonthebasisoftheirabilitytocausewearonsurfaceswithwhichthey
comeincontact.Thistestmethodcanalsobeusedtoevaluatethewearresistanceofdifferentmaterialsagainst
...


Questions, Comments and Discussion
Ask us and Technical Secretary will try to provide an answer. You can facilitate discussion about the standard in here.