ASTM A367-22
(Test Method)Standard Test Methods for Chill Testing of Cast Iron
Standard Test Methods for Chill Testing of Cast Iron
ABSTRACT
This test method deals with gray irons that are to be free of chill in the casting and to chilled irons that are to have a specific depth of chill in the casting. The purpose of the test is to determine the chilling tendencies of cast iron. The two tests are wedge test and chill test. Both tests shall be made in a core which may either be single cores or gang cores and a pouring practice shall be performed. The wedge test is generally better adapted to the higher strength gray irons. The accelerated cooling rate that shall induce the formation of a chill shall be brought about through the design of the test specimen. The chill test is better adapted to the softer grades of gray iron and should be used if the casting have a specified depth of chill. The chill in this type of test shall be induced by casting one edge of the test specimen against a metal or graphite chilled plate or block. Wedge test is simpler than chill test since in the wedge test, maintenance of chill blocks or plates is not necessary.
SCOPE
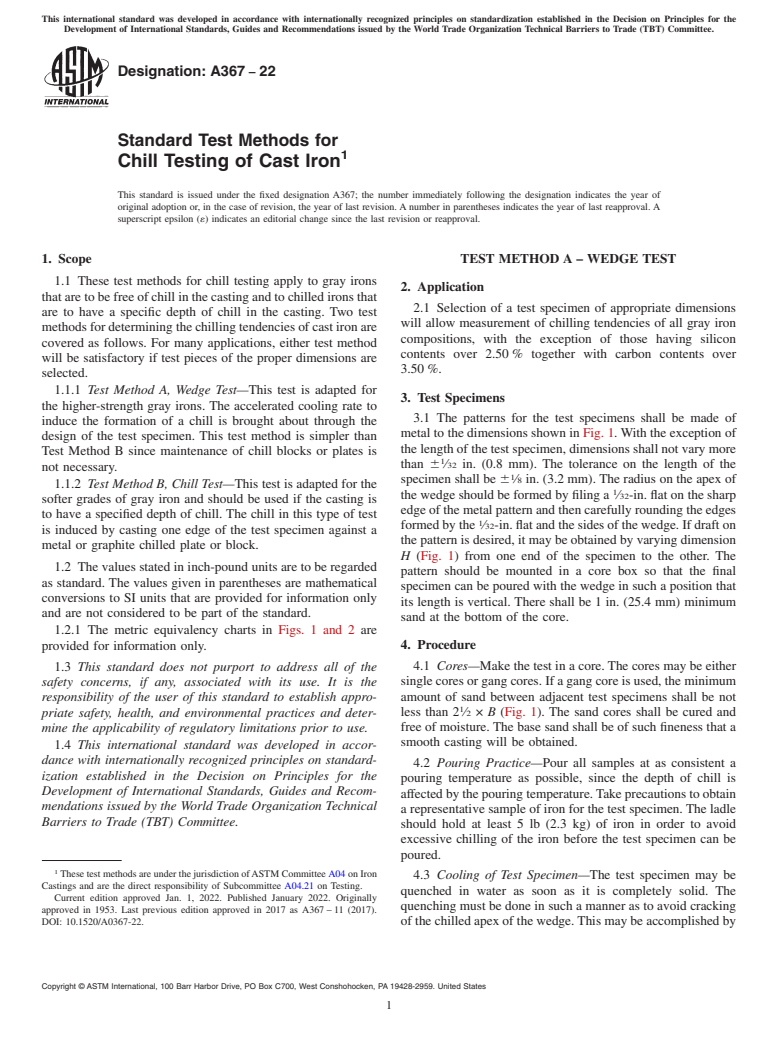
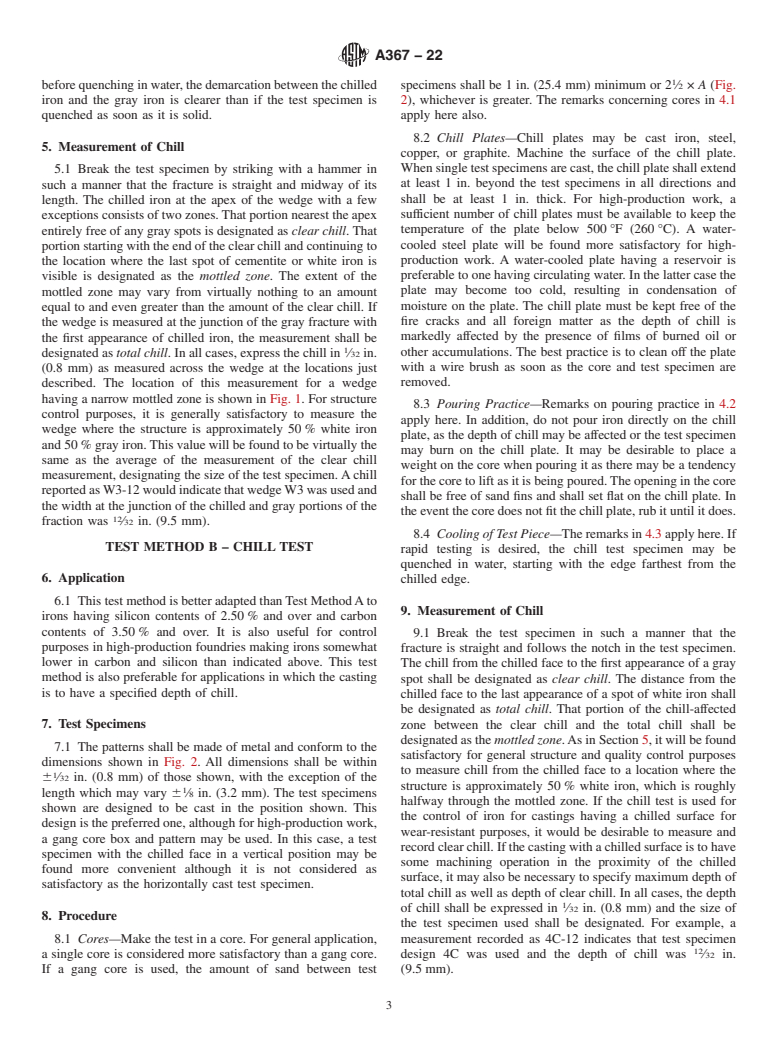
1.1 These test methods for chill testing apply to gray irons that are to be free of chill in the casting and to chilled irons that are to have a specific depth of chill in the casting. Two test methods for determining the chilling tendencies of cast iron are covered as follows. For many applications, either test method will be satisfactory if test pieces of the proper dimensions are selected.
1.1.1 Test Method A, Wedge Test—This test is adapted for the higher-strength gray irons. The accelerated cooling rate to induce the formation of a chill is brought about through the design of the test specimen. This test method is simpler than Test Method B since maintenance of chill blocks or plates is not necessary.
1.1.2 Test Method B, Chill Test—This test is adapted for the softer grades of gray iron and should be used if the casting is to have a specified depth of chill. The chill in this type of test is induced by casting one edge of the test specimen against a metal or graphite chilled plate or block.
1.2 The values stated in inch-pound units are to be regarded as standard. The values given in parentheses are mathematical conversions to SI units that are provided for information only and are not considered to be part of the standard.
1.2.1 The metric equivalency charts in Figs. 1 and 2 are provided for information only.
in.
mm
in.
mm
in.
mm
1/32
0.8
3/8
9.5
1
25.4
1/16
1.6
7/16
12.1
11/4
31.8
3/32
2.4
1/2
12.7
11/2
38.1
1/8
3.2
9/16
14.3
13/4
44.4
3/16
4.8
11/16
17.5
2
50.8
1/4
6.4
3/4
19.0
21/2
63.5
5/16
7.9
13/16
20.6
1.3 This standard does not purport to address all of the safety concerns, if any, associated with its use. It is the responsibility of the user of this standard to establish appropriate safety, health, and environmental practices and determine the applicability of regulatory limitations prior to use.
1.4 This international standard was developed in accordance with internationally recognized principles on standardization established in the Decision on Principles for the Development of International Standards, Guides and Recommendations issued by the World Trade Organization Technical Barriers to Trade (TBT) Committee.
General Information
Standards Content (Sample)
This international standard was developed in accordance with internationally recognized principles on standardization established in the Decision on Principles for the
Development of International Standards, Guides and Recommendations issued by the World Trade Organization Technical Barriers to Trade (TBT) Committee.
Designation: A367 − 22
Standard Test Methods for
1
Chill Testing of Cast Iron
This standard is issued under the fixed designation A367; the number immediately following the designation indicates the year of
original adoption or, in the case of revision, the year of last revision. A number in parentheses indicates the year of last reapproval. A
superscript epsilon (´) indicates an editorial change since the last revision or reapproval.
1. Scope TEST METHOD A – WEDGE TEST
1.1 These test methods for chill testing apply to gray irons
2. Application
thataretobefreeofchillinthecastingandtochilledironsthat
2.1 Selection of a test specimen of appropriate dimensions
are to have a specific depth of chill in the casting. Two test
will allow measurement of chilling tendencies of all gray iron
methodsfordeterminingthechillingtendenciesofcastironare
compositions, with the exception of those having silicon
covered as follows. For many applications, either test method
contents over 2.50 % together with carbon contents over
will be satisfactory if test pieces of the proper dimensions are
3.50 %.
selected.
1.1.1 Test Method A, Wedge Test—This test is adapted for
3. Test Specimens
the higher-strength gray irons. The accelerated cooling rate to
3.1 The patterns for the test specimens shall be made of
induce the formation of a chill is brought about through the
metal to the dimensions shown in Fig. 1.With the exception of
design of the test specimen. This test method is simpler than
the length of the test specimen, dimensions shall not vary more
Test Method B since maintenance of chill blocks or plates is
1
than 6 ⁄32 in. (0.8 mm). The tolerance on the length of the
not necessary.
1
specimen shall be 6 ⁄8 in. (3.2 mm). The radius on the apex of
1.1.2 Test Method B, Chill Test—This test is adapted for the
1
the wedge should be formed by filing a ⁄32-in. flat on the sharp
softer grades of gray iron and should be used if the casting is
edgeofthemetalpatternandthencarefullyroundingtheedges
to have a specified depth of chill. The chill in this type of test
1
formedbythe ⁄32-in.flatandthesidesofthewedge.Ifdrafton
is induced by casting one edge of the test specimen against a
the pattern is desired, it may be obtained by varying dimension
metal or graphite chilled plate or block.
H (Fig. 1) from one end of the specimen to the other. The
1.2 The values stated in inch-pound units are to be regarded
pattern should be mounted in a core box so that the final
as standard. The values given in parentheses are mathematical
specimen can be poured with the wedge in such a position that
conversions to SI units that are provided for information only
its length is vertical. There shall be 1 in. (25.4 mm) minimum
and are not considered to be part of the standard.
sand at the bottom of the core.
1.2.1 The metric equivalency charts in Figs. 1 and 2 are
provided for information only. 4. Procedure
1.3 This standard does not purport to address all of the 4.1 Cores—Make the test in a core.The cores may be either
singlecoresorgangcores.Ifagangcoreisused, theminimum
safety concerns, if any, associated with its use. It is the
amount of sand between adjacent test specimens shall be not
responsibility of the user of this standard to establish appro-
1
less than 2 ⁄2 × B (Fig. 1). The sand cores shall be cured and
priate safety, health, and environmental practices and deter-
free of moisture. The base sand shall be of such fineness that a
mine the applicability of regulatory limitations prior to use.
smooth casting will be obtained.
1.4 This international standard was developed in accor-
dance with internationally recognized principles on standard-
4.2 Pouring Practice—Pour all samples at as consistent a
ization established in the Decision on Principles for the
pouring temperature as possible, since the depth of chill is
Development of International Standards, Guides and Recom-
affectedbythepouringtemperature.Takeprecautionstoobtain
mendations issued by the World Trade Organization Technical
a representative sample of iron for the test specimen.The ladle
Barriers to Trade (TBT) Committee.
should hold at least 5 lb (2.3 kg) of iron in order to avoid
excessive chilling of the iron before the test specimen can be
poured.
1
ThesetestmethodsareunderthejurisdictionofASTMCommitteeA04onIron
4.3 Cooling of Test Specimen—The test specimen may be
Castings and are the direct responsibility of Subcommittee A04.21 on Testing.
quenched in water as soon as it is completely solid. The
Current edition approved Jan. 1, 2022. Published January 2022. Originally
quenching must be done in such a manner as to avoid cracking
approved in 1953. Last previous edition approved in 2017
...
This document is not an ASTM standard and is intended only to provide the user of an ASTM standard an indication of what changes have been made to the previous version. Because
it may not be technically possible to adequately depict all changes accurately, ASTM recommends that users consult prior editions as appropriate. In all cases only the current version
of the standard as published by ASTM is to be considered the official document.
Designation: A367 − 11 (Reapproved 2017) A367 − 22
Standard Test Methods of for
1
Chill Testing of Cast Iron
This standard is issued under the fixed designation A367; the number immediately following the designation indicates the year of
original adoption or, in the case of revision, the year of last revision. A number in parentheses indicates the year of last reapproval. A
superscript epsilon (´) indicates an editorial change since the last revision or reapproval.
1. Scope
1.1 These test methods offor chill testing apply to gray irons that are to be free of chill in the casting and to chilled irons that are
to have a specific depth of chill in the casting. Two test methods offor determining the chilling tendencies of cast iron are covered
as follows. For many applications, either test method will be satisfactory if test pieces of the proper dimensions are selected.
1.1.1 Test Method A, Wedge Test—This test is generally better adapted tofor the higher-strength gray irons. The accelerated cooling
rate to induce the formation of a chill is brought about through the design of the test specimen. This test method is simpler than
Test Method B since maintenance of chill blocks or plates is not necessary.
1.1.2 Test Method B, Chill Test—This test is better adapted tofor the softer grades of gray iron and should be used if the casting
is to have a specified depth of chill. The chill in this type of test is induced by casting one edge of the test specimen against a metal
or graphite chilled plate or block.
1.2 The values stated in inch-pound units are to be regarded as standard. The values given in parentheses are mathematical
conversions to SI units that are provided for information only and are not considered to be part of the standard.
1.2.1 The metric equivalency charts in Figs. 1 and 2 are provided for information only.
1.3 This standard does not purport to address all of the safety concerns, if any, associated with its use. It is the responsibility
of the user of this standard to establish appropriate safety, health, and environmental practices and determine the applicability of
regulatory limitations prior to use.
1.4 This international standard was developed in accordance with internationally recognized principles on standardization
established in the Decision on Principles for the Development of International Standards, Guides and Recommendations issued
by the World Trade Organization Technical Barriers to Trade (TBT) Committee.
TEST METHOD A – WEDGE TEST
2. Application
2.1 Selection of a test specimen of appropriate dimensions will allow measurement of chilling tendencies of all gray iron
compositions, with the exception of those having silicon contents much over 2.50 % together with carbon contents over 3.50 %.
3. Test Specimens
3.1 The patterns for the test specimens shall be made of metal to the dimensions shown in Fig. 1. With the exception of the length
1
These test methods are under the jurisdiction of ASTM Committee A04 on Iron Castings and are the direct responsibility of Subcommittee A04.21 on Testing.
Current edition approved Oct. 1, 2017Jan. 1, 2022. Published October 2017January 2022. Originally approved in 1953. Last previous edition approved in 20112017 as
A367 – 11.A367 – 11 (2017). DOI: 10.1520/A0367-11R17.10.1520/A0367-22.
Copyright © ASTM International, 100 Barr Harbor Drive, PO Box C700, West Conshohocken, PA 19428-2959. United States
1
---------------------- Page: 1 ----------------------
A367 − 22
Wedge Dimensions
Wedge No. B H Length
A, deg
in. mm in. mm in. mm
W 1 0.20 5.1 1.00 25.4 11.5 4 101.6
W 2 0.40 10.2 1.25 31.8 18 4 101.6
W 3 0.75 19.1 1.50 38.1 28 4 101.6
1
W 3 ⁄2 1.00 25.4 1.75 44.4 32 5 127.0
W 4 1.25 31.8 2.00 50.8 34.5 6 152.4
FIG. 1 Dimensions for Test Wedges
Recommended Dimensions, in.
Recommended
Chill Test No. Chill Depth
A B H L D d G
T A
1
Range, ⁄23 in.
3 1 1 1 1 3 1 1
1C ⁄16 ⁄4 ⁄8 1 ⁄4 2 ⁄2 ⁄4 ⁄2 ⁄32 3 to 12
1 5 3 1 7 1 1
2C ⁄4 ⁄16 ⁄16 1 ⁄2 3 ⁄8 ⁄2 ⁄32 4 to 16
3 7 5 3 1 7 1 1
3C ⁄8 ⁄16 ⁄16 1 ⁄4 3 ⁄2 ⁄8 ⁄2 ⁄16 6 to 24
1 9 7 5 1
4C ⁄2 ⁄16 ⁄16 2 4 1 ⁄8 ⁄16 8 to 32
3 13 11 1 5 3
5C ⁄4 ⁄16 ⁄16 2 ⁄2 5 1 ⁄8 ⁄32 12 to 48
A
T/2 to 2T.
Note 1—Casting to be made in a dry sand core.
3
Note 2—Allow ⁄4 in. of sand on all sides.
Metric Equivalents
in. mm in. mm in. mm
1 3
⁄32 0.8 ⁄8 9.5 1 25.4
1 7 1
⁄16 1.6 ⁄16 12.1 1 ⁄4 31.8
3 1 1
⁄32 2.4 ⁄2 12.7 1 ⁄2 38.1
1 9 3
⁄8 3.2 ⁄16 14.3 1 ⁄4 44.4
3 11
⁄16 4.8 ⁄16 17.5 2 50.8
1 3 1
⁄4 6.4 ⁄4 19.0 2 ⁄2 63.5
5 13
⁄16 7.9 ⁄16 20.6
FIG. 2 Recommended Dimensions for Test Method B Chill Test Specimens
1
of t
...


Questions, Comments and Discussion
Ask us and Technical Secretary will try to provide an answer. You can facilitate discussion about the standard in here.