ASTM F1306-90(2008)
(Test Method)Standard Test Method for Slow Rate Penetration Resistance of Flexible Barrier Films and Laminates
Standard Test Method for Slow Rate Penetration Resistance of Flexible Barrier Films and Laminates
SIGNIFICANCE AND USE
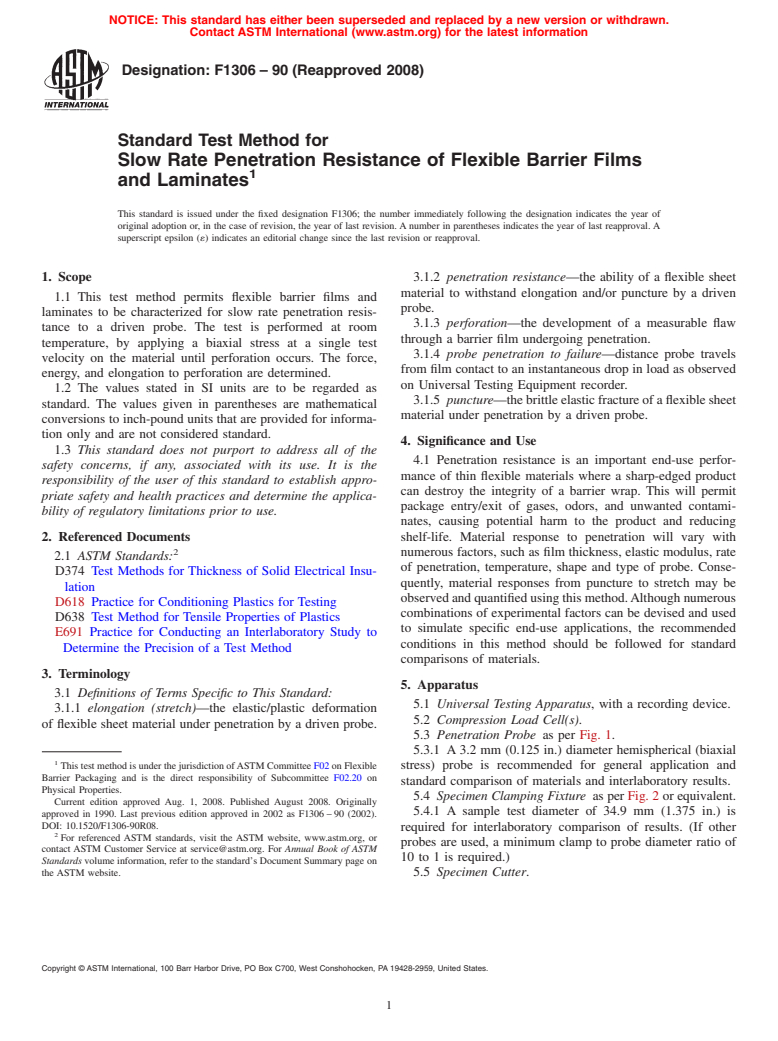
Penetration resistance is an important end-use performance of thin flexible materials where a sharp-edged product can destroy the integrity of a barrier wrap. This will permit package entry/exit of gases, odors, and unwanted contaminates, causing potential harm to the product and reducing shelf-life. Material response to penetration will vary with numerous factors, such as film thickness, elastic modulus, rate of penetration, temperature, shape and type of probe. Consequently, material responses from puncture to stretch may be observed and quantified using this method. Although numerous combinations of experimental factors can be devised and used to simulate specific end-use applications, the recommended conditions in this method should be followed for standard comparisons of materials.
SCOPE
1.1 This test method permits flexible barrier films and laminates to be characterized for slow rate penetration resistance to a driven probe. The test is performed at room temperature, by applying a biaxial stress at a single test velocity on the material until perforation occurs. The force, energy, and elongation to perforation are determined.
1.2 The values stated in SI units are to be regarded as standard. The values given in parentheses are mathematical conversions to inch-pound units that are provided for information only and are not considered standard.
1.3 This standard does not purport to address all of the safety concerns, if any, associated with its use. It is the responsibility of the user of this standard to establish appropriate safety and health practices and determine the applicability of regulatory limitations prior to use.
General Information
Relations
Standards Content (Sample)
NOTICE: This standard has either been superseded and replaced by a new version or withdrawn.
Contact ASTM International (www.astm.org) for the latest information
Designation:F1306–90(Reapproved 2008)
Standard Test Method for
Slow Rate Penetration Resistance of Flexible Barrier Films
and Laminates
This standard is issued under the fixed designation F1306; the number immediately following the designation indicates the year of
original adoption or, in the case of revision, the year of last revision. A number in parentheses indicates the year of last reapproval. A
superscript epsilon (´) indicates an editorial change since the last revision or reapproval.
1. Scope 3.1.2 penetration resistance—the ability of a flexible sheet
material to withstand elongation and/or puncture by a driven
1.1 This test method permits flexible barrier films and
probe.
laminates to be characterized for slow rate penetration resis-
3.1.3 perforation—the development of a measurable flaw
tance to a driven probe. The test is performed at room
through a barrier film undergoing penetration.
temperature, by applying a biaxial stress at a single test
3.1.4 probe penetration to failure—distance probe travels
velocity on the material until perforation occurs. The force,
from film contact to an instantaneous drop in load as observed
energy, and elongation to perforation are determined.
on Universal Testing Equipment recorder.
1.2 The values stated in SI units are to be regarded as
3.1.5 puncture—thebrittleelasticfractureofaflexiblesheet
standard. The values given in parentheses are mathematical
material under penetration by a driven probe.
conversions to inch-pound units that are provided for informa-
tion only and are not considered standard.
4. Significance and Use
1.3 This standard does not purport to address all of the
4.1 Penetration resistance is an important end-use perfor-
safety concerns, if any, associated with its use. It is the
mance of thin flexible materials where a sharp-edged product
responsibility of the user of this standard to establish appro-
can destroy the integrity of a barrier wrap. This will permit
priate safety and health practices and determine the applica-
package entry/exit of gases, odors, and unwanted contami-
bility of regulatory limitations prior to use.
nates, causing potential harm to the product and reducing
2. Referenced Documents shelf-life. Material response to penetration will vary with
numerous factors, such as film thickness, elastic modulus, rate
2.1 ASTM Standards:
of penetration, temperature, shape and type of probe. Conse-
D374 Test Methods for Thickness of Solid Electrical Insu-
quently, material responses from puncture to stretch may be
lation
observedandquantifiedusingthismethod.Althoughnumerous
D618 Practice for Conditioning Plastics for Testing
combinations of experimental factors can be devised and used
D638 Test Method for Tensile Properties of Plastics
to simulate specific end-use applications, the recommended
E691 Practice for Conducting an Interlaboratory Study to
conditions in this method should be followed for standard
Determine the Precision of a Test Method
comparisons of materials.
3. Terminology
5. Apparatus
3.1 Definitions of Terms Specific to This Standard:
5.1 Universal Testing Apparatus, with a recording device.
3.1.1 elongation (stretch)—the elastic/plastic deformation
5.2 Compression Load Cell(s).
of flexible sheet material under penetration by a driven probe.
5.3 Penetration Probe as per Fig. 1.
5.3.1 A 3.2 mm (0.125 in.) diameter hemispherical (biaxial
This test method is under the jurisdiction ofASTM Committee F02 on Flexible stress) probe is recommended for general application and
Barrier Packaging and is the direct responsibility of Subcommittee F02.20 on
standard comparison of materials and interlaboratory results.
Physical Properties.
5.4 Specimen Clamping Fixture as per Fig. 2 or equivalent.
Current edition approved Aug. 1, 2008. Published August 2008. Originally
5.4.1 A sample test diameter of 34.9 mm (1.375 in.) is
approved in 1990. Last previous edition approved in 2002 as F1306 – 90 (2002).
DOI: 10.1520/F1306-90R08.
required for interlaboratory comparison of results. (If other
For referenced ASTM standards, visit the ASTM website, www.astm.org, or
probes are used, a minimum clamp to probe diameter ratio of
contact ASTM Customer Service at service@astm.org. For Annual Book of ASTM
10 to 1 is required.)
Standards volume information, refer to the standard’s Document Summary page on
the ASTM website. 5.5 Specimen Cutter.
Copyright © ASTM International, 100 Barr Harbor Drive, PO Box C700, West Conshohocken, PA 19428-2959, United States.
F1306–90 (2008)
prior to test in accordance with Procedure A of Practice D618
for those tests where conditioning is required.
9.2 Conduct tests in the standard laboratory atmosphere of
23 6 2°C (73.4 6 3.6°F) and 50 6 5 % relative humidity
unless otherwise specified in this test method.
10. Procedure
10.1 Following the instrument manufacturer’s instructions,
calibrate the test equipment.
10.2 Select an equipment load range so that specimen
puncture occurs within 20 to 80 % of the same.
10.3 Using the specimen cutter, cut each sample material
into a minimum of five 3 in. by 3 in. pieces.
10.4 Measure the caliper (average of 3 readings) in the
center of a film specimen.
10.5 Adjust the universal tester cross head speed to 25
mm/min (1.0 in./min). (Set chart speed recorder to 500
FIG. 1 Penetration Probe
mm/min (20 in./min), if applicable.) Select a data acquisition
rate to give a minimum resolution of 0.1 mm/point of penetra-
tion.
10.6 Clamp the film specimen in the holder, place sample
holder directly under crosshead probe, center and lower it as
close as possible to the film specimen without making contact.
10.7 Set the appropriate stops and returns on the tester.
Reset data collection devices to zero, if applicable.
10.8 Activate universal tester. At the first sign of a perfora-
tion through the film, return the crosshead to origination point.
(A perforation is any size hole in the film specimen visible to
the naked eye, or a point where an instantaneous drop in load
to near zero occurs.) See Fig. 3.
NOTE 1—In case of laminate materials, multiple drops in load may be
observed as discrete layers fail. Under this condition the last instantaneous
drop to near zero would be considered a failure.
10.9 Record specimen identification, force (peak) to break,
energy (work) to break, and probe penetration (at first break)
from mechanical testing software output (Fig. 3). (If using
FIG. 2 Specimen Clamping Fixture
chart recording instruments, record specimen identification on
chart and integrator reading if used.)
6. Test Specimen
10.10 Repeat test sequence (10.1 to 10.9) for the remaining
samples.
6.1 The test specimen shall be of uniform thickness (62%
or 0.0025 mm (0.0001 in.), whichever is larger).
6.2 The dimensions of the test specimen shall be 76 mm by
76 mm (3 in. by 3 in.).
7. Preparation of Apparatus
7.1 Consult the equipment operations manual for instruc-
tions to set up and operate the equipment.
7.2 Install probe apparatus.
7.3 Center probe over the fixture.
8. Number of Test Specimens
8.1 Test at least five specimens for each sample.
9. Conditioning
9.1 Condition the test specimens at 23 6 2°C (73.4 6
3.6°F) and 50 6 5 % relative humidity for not less than 40 h FIG. 3 Graphical Output of Slow Rate Penetration Test
F1306–90 (2008)
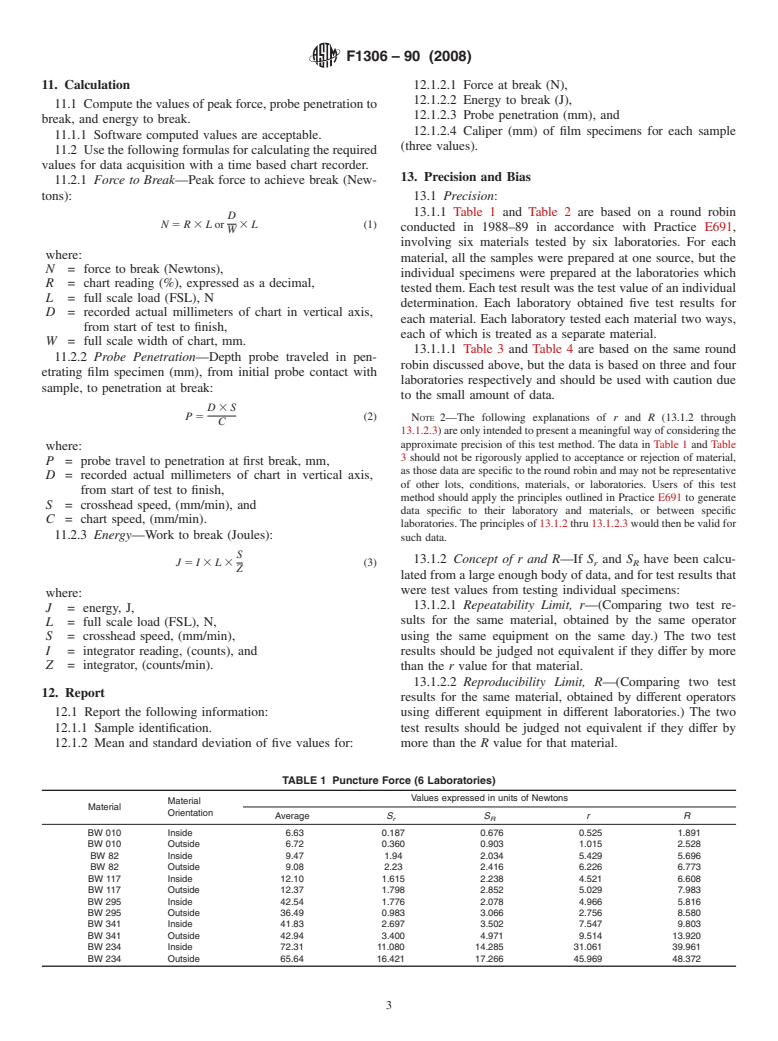
11. Calculation 12.1.2.1 Force at break (N),
12.1.2.2 Energy to break (J),
11.1 Compute the values of peak force, probe penetration to
12.1.2.3 Probe penetration (mm), and
break, and energy to break.
12.1.2.4 Caliper (mm) of film specimens for each sample
11.1.1 Software computed values are acceptable.
(three v
...


Questions, Comments and Discussion
Ask us and Technical Secretary will try to provide an answer. You can facilitate discussion about the standard in here.