ASTM G117-13
(Guide)Standard Guide for Calculating and Reporting Measures of Precision Using Data from Interlaboratory Wear or Erosion Tests (Withdrawn 2016)
Standard Guide for Calculating and Reporting Measures of Precision Using Data from Interlaboratory Wear or Erosion Tests (Withdrawn 2016)
SIGNIFICANCE AND USE
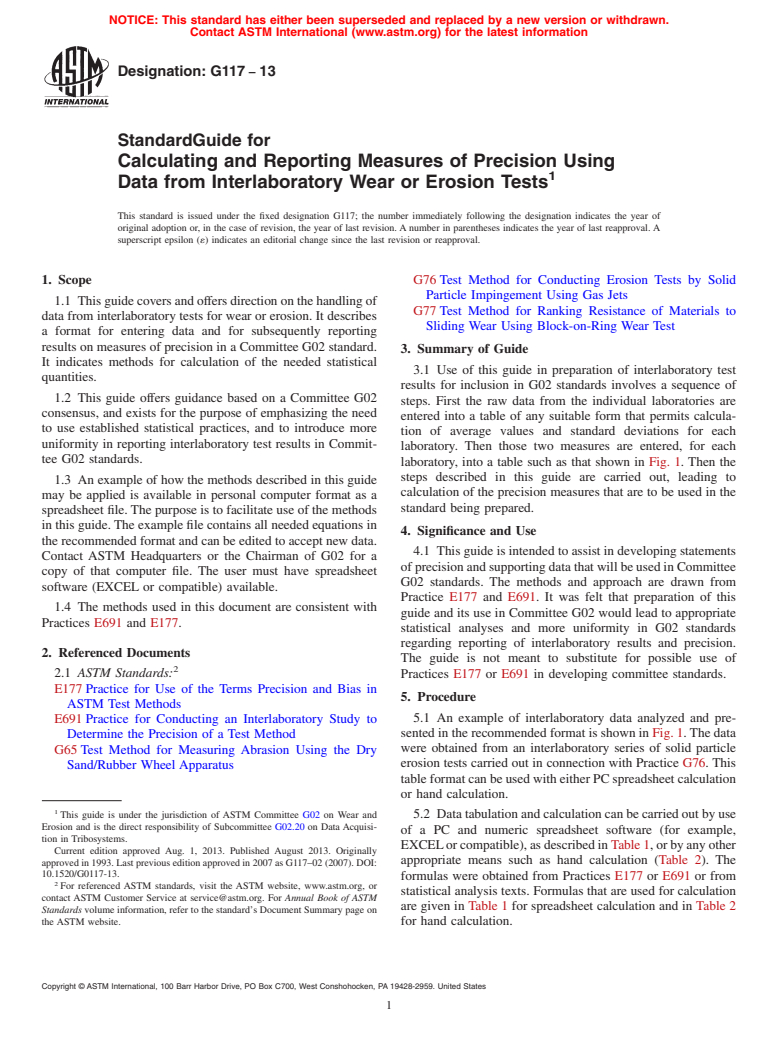
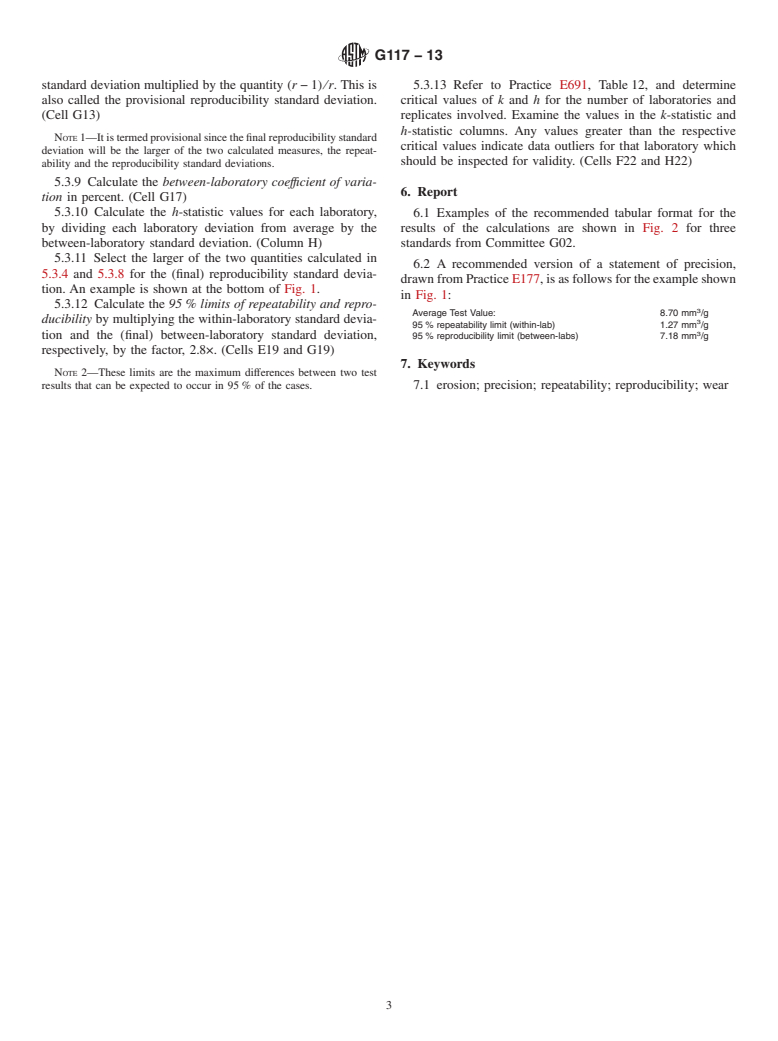
4.1 This guide is intended to assist in developing statements of precision and supporting data that will be used in Committee G02 standards. The methods and approach are drawn from Practice E177 and E691. It was felt that preparation of this guide and its use in Committee G02 would lead to appropriate statistical analyses and more uniformity in G02 standards regarding reporting of interlaboratory results and precision. The guide is not meant to substitute for possible use of Practices E177 or E691 in developing committee standards.
SCOPE
1.1 This guide covers and offers direction on the handling of data from interlaboratory tests for wear or erosion. It describes a format for entering data and for subsequently reporting results on measures of precision in a Committee G02 standard. It indicates methods for calculation of the needed statistical quantities.
1.2 This guide offers guidance based on a Committee G02 consensus, and exists for the purpose of emphasizing the need to use established statistical practices, and to introduce more uniformity in reporting interlaboratory test results in Committee G02 standards.
1.3 An example of how the methods described in this guide may be applied is available in personal computer format as a spreadsheet file. The purpose is to facilitate use of the methods in this guide. The example file contains all needed equations in the recommended format and can be edited to accept new data. Contact ASTM Headquarters or the Chairman of G02 for a copy of that computer file. The user must have spreadsheet software (EXCEL or compatible) available.
1.4 The methods used in this document are consistent with Practices E691 and E177.
WITHDRAWN RATIONALE
This guide covered and offered direction on the handling of data from interlaboratory tests for wear or erosion. It described a format for entering data and for subsequently reporting results on measures of precision in a Committee G02 standard. It indicated methods for calculation of the needed statistical quantities.
Formerly under the jurisdiction of Committee G02 on Wear and Erosion, this guide was withdrawn in November 2016. This standard is being withdrawn without replacement due to its limited use by industry.
General Information
Relations
Standards Content (Sample)
NOTICE: This standard has either been superseded and replaced by a new version or withdrawn.
Contact ASTM International (www.astm.org) for the latest information
Designation: G117 − 13
StandardGuide for
Calculating and Reporting Measures of Precision Using
1
Data from Interlaboratory Wear or Erosion Tests
This standard is issued under the fixed designation G117; the number immediately following the designation indicates the year of
original adoption or, in the case of revision, the year of last revision.Anumber in parentheses indicates the year of last reapproval.A
superscript epsilon (´) indicates an editorial change since the last revision or reapproval.
1. Scope G76Test Method for Conducting Erosion Tests by Solid
Particle Impingement Using Gas Jets
1.1 Thisguidecoversandoffersdirectiononthehandlingof
G77Test Method for Ranking Resistance of Materials to
data from interlaboratory tests for wear or erosion. It describes
Sliding Wear Using Block-on-Ring Wear Test
a format for entering data and for subsequently reporting
results on measures of precision in a Committee G02 standard.
3. Summary of Guide
It indicates methods for calculation of the needed statistical
3.1 Use of this guide in preparation of interlaboratory test
quantities.
results for inclusion in G02 standards involves a sequence of
1.2 This guide offers guidance based on a Committee G02
steps. First the raw data from the individual laboratories are
consensus, and exists for the purpose of emphasizing the need
entered into a table of any suitable form that permits calcula-
to use established statistical practices, and to introduce more
tion of average values and standard deviations for each
uniformity in reporting interlaboratory test results in Commit-
laboratory. Then those two measures are entered, for each
tee G02 standards.
laboratory, into a table such as that shown in Fig. 1. Then the
steps described in this guide are carried out, leading to
1.3 An example of how the methods described in this guide
calculation of the precision measures that are to be used in the
may be applied is available in personal computer format as a
standard being prepared.
spreadsheet file.The purpose is to facilitate use of the methods
inthisguide.Theexamplefilecontainsallneededequationsin
4. Significance and Use
therecommendedformatandcanbeeditedtoacceptnewdata.
4.1 Thisguideisintendedtoassistindevelopingstatements
Contact ASTM Headquarters or the Chairman of G02 for a
ofprecisionandsupportingdatathatwillbeusedinCommittee
copy of that computer file. The user must have spreadsheet
G02 standards. The methods and approach are drawn from
software (EXCEL or compatible) available.
Practice E177 and E691. It was felt that preparation of this
1.4 The methods used in this document are consistent with
guide and its use in Committee G02 would lead to appropriate
Practices E691 and E177.
statistical analyses and more uniformity in G02 standards
regarding reporting of interlaboratory results and precision.
2. Referenced Documents
The guide is not meant to substitute for possible use of
2
2.1 ASTM Standards: Practices E177 or E691 in developing committee standards.
E177Practice for Use of the Terms Precision and Bias in
5. Procedure
ASTM Test Methods
5.1 An example of interlaboratory data analyzed and pre-
E691Practice for Conducting an Interlaboratory Study to
sentedintherecommendedformatisshowninFig.1.Thedata
Determine the Precision of a Test Method
were obtained from an interlaboratory series of solid particle
G65Test Method for Measuring Abrasion Using the Dry
erosion tests carried out in connection with Practice G76. This
Sand/Rubber Wheel Apparatus
tableformatcanbeusedwitheitherPCspreadsheetcalculation
or hand calculation.
1
This guide is under the jurisdiction of ASTM Committee G02 on Wear and
5.2 Datatabulationandcalculationcanbecarriedoutbyuse
Erosion and is the direct responsibility of Subcommittee G02.20 on Data Acquisi-
of a PC and numeric spreadsheet software (for example,
tion in Tribosystems.
EXCELorcompatible),asdescribedinTable1,orbyanyother
Current edition approved Aug. 1, 2013. Published August 2013. Originally
appropriate means such as hand calculation (Table 2). The
approvedin1993.Lastpreviouseditionapprovedin2007asG117–02(2007).DOI:
10.1520/G0117-13.
formulas were obtained from Practices E177 or E691 or from
2
For referenced ASTM standards, visit the ASTM website, www.astm.org, or
statistical analysis texts. Formulas that are used for calculation
contact ASTM Customer Service at service@astm.org. For Annual Book of ASTM
are given in Table 1 for spreadsheet calculation and in Table 2
Standards volume information, refer to the standard’s Document Summary page on
the ASTM website. for hand calculation.
Copyright © ASTM International, 100 Barr Harbor Drive, PO Box C700, West Conshohocken, PA 19428-2959. United States
1
---------------------- Page: 1 ----------------------
G117 − 13
NOTE 1—Column and row labels A, B, . . . and 1, 2, . . . are not required.
FI
...


Questions, Comments and Discussion
Ask us and Technical Secretary will try to provide an answer. You can facilitate discussion about the standard in here.