ASTM G133-22
(Test Method)Standard Test Method for Linearly Reciprocating Ball-on-Flat Sliding Wear
Standard Test Method for Linearly Reciprocating Ball-on-Flat Sliding Wear
SIGNIFICANCE AND USE
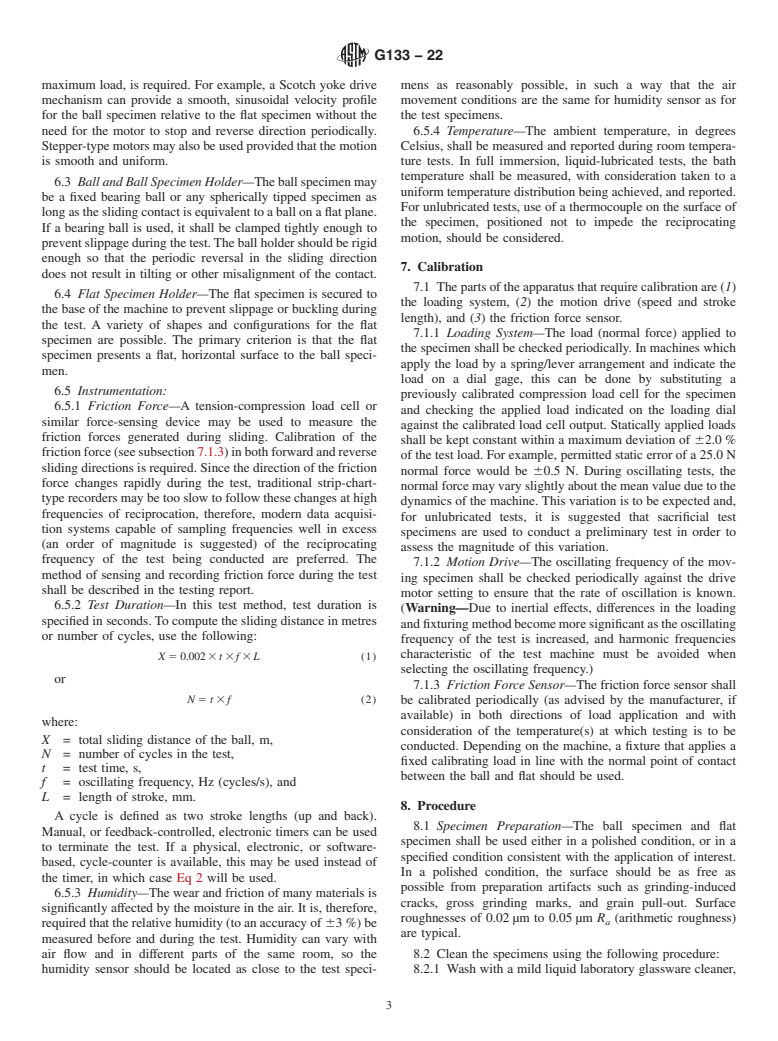
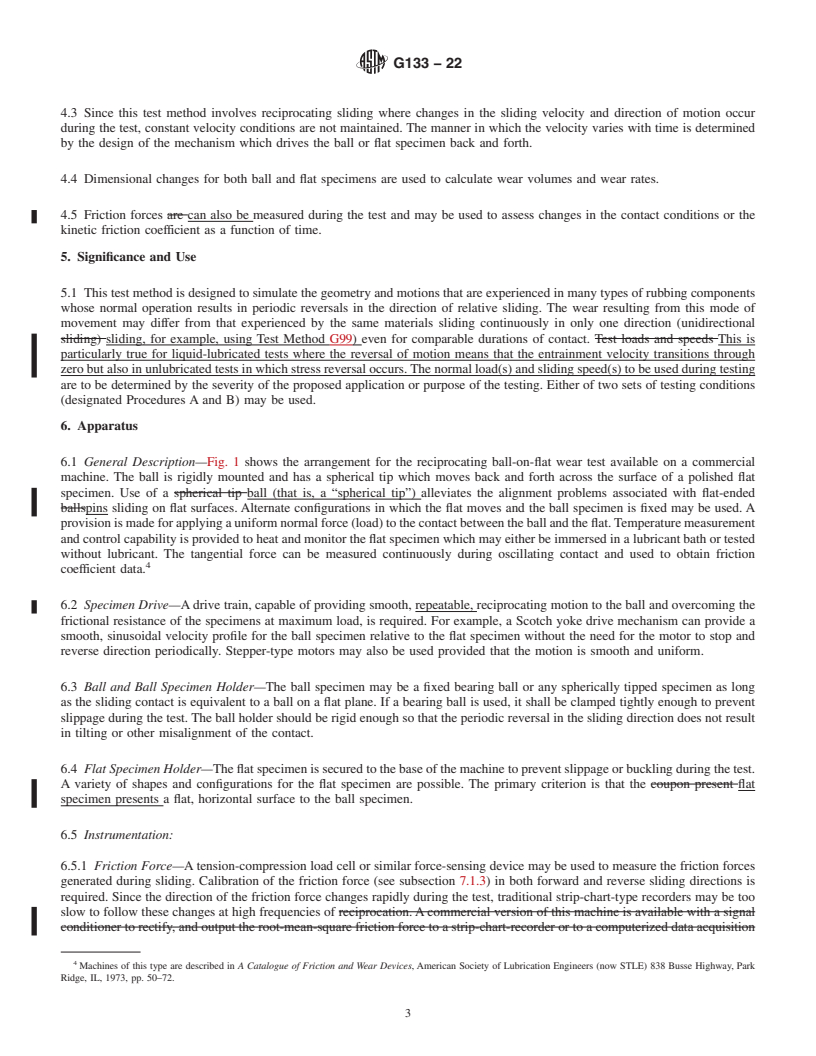
5.1 This test method is designed to simulate the geometry and motions that are experienced in many types of rubbing components whose normal operation results in periodic reversals in the direction of relative sliding. The wear resulting from this mode of movement may differ from that experienced by the same materials sliding continuously in only one direction (unidirectional sliding, for example, using Test Method G99) even for comparable durations of contact. This is particularly true for liquid-lubricated tests where the reversal of motion means that the entrainment velocity transitions through zero but also in unlubricated tests in which stress reversal occurs. The normal load(s) and sliding speed(s) to be used during testing are to be determined by the severity of the proposed application or purpose of the testing. Either of two sets of testing conditions (designated Procedures A and B) may be used.
SCOPE
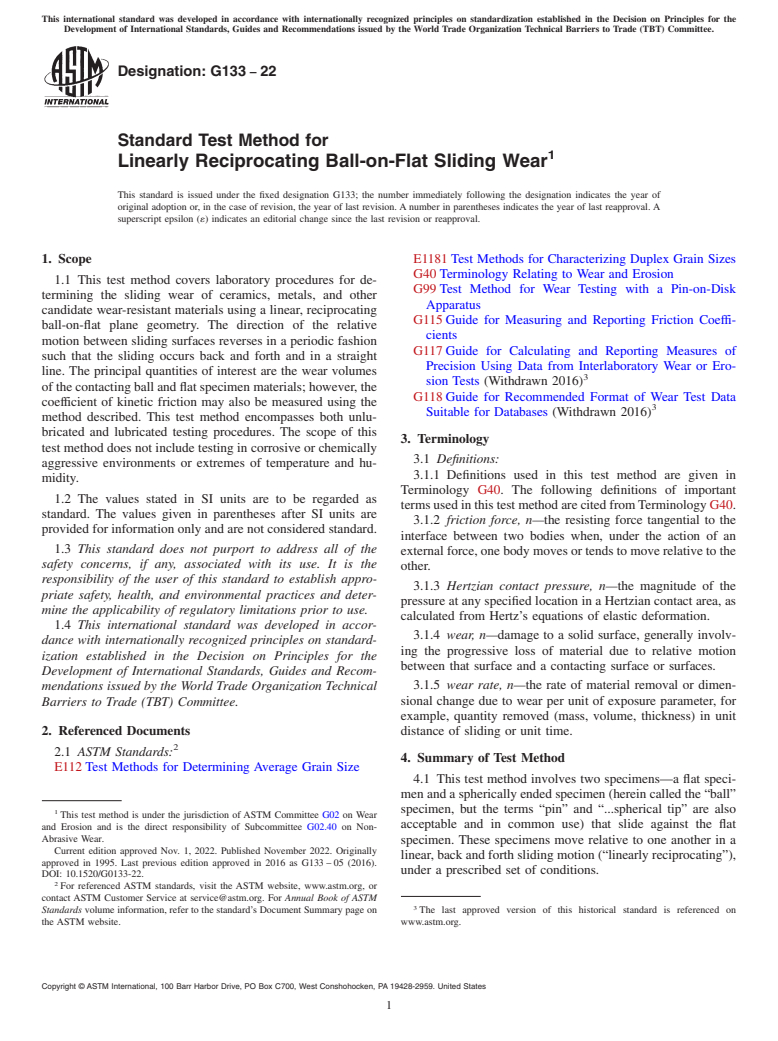
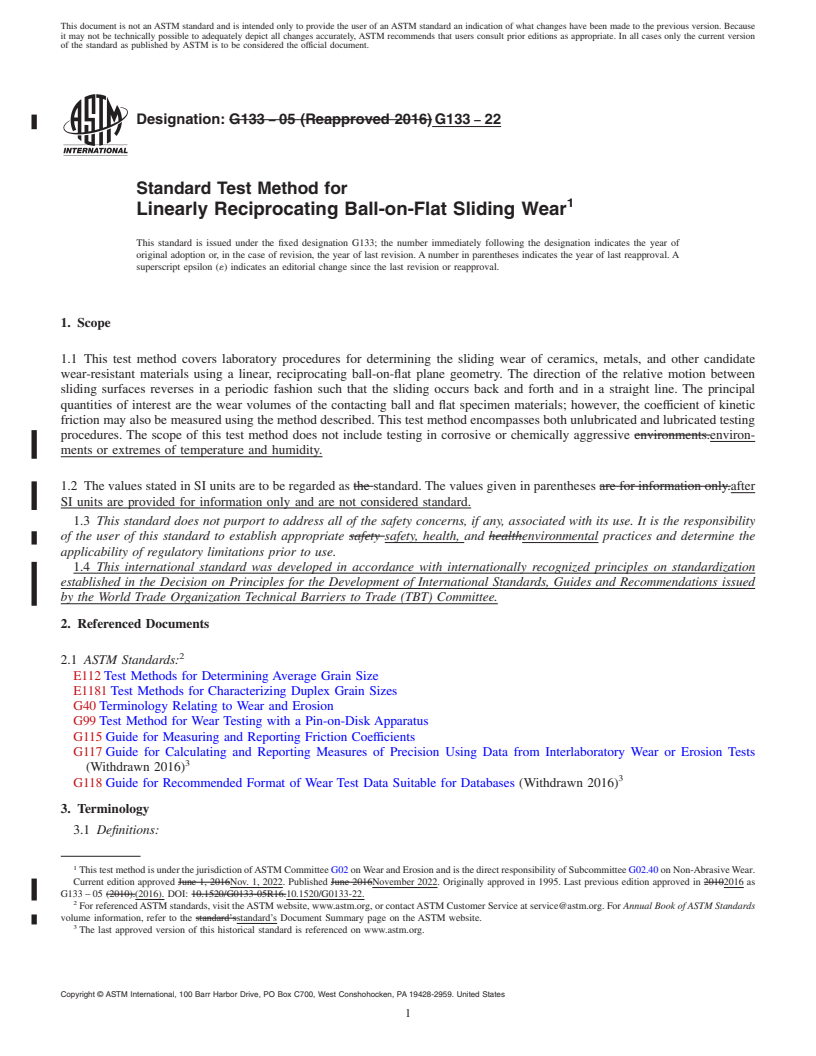
1.1 This test method covers laboratory procedures for determining the sliding wear of ceramics, metals, and other candidate wear-resistant materials using a linear, reciprocating ball-on-flat plane geometry. The direction of the relative motion between sliding surfaces reverses in a periodic fashion such that the sliding occurs back and forth and in a straight line. The principal quantities of interest are the wear volumes of the contacting ball and flat specimen materials; however, the coefficient of kinetic friction may also be measured using the method described. This test method encompasses both unlubricated and lubricated testing procedures. The scope of this test method does not include testing in corrosive or chemically aggressive environments or extremes of temperature and humidity.
1.2 The values stated in SI units are to be regarded as standard. The values given in parentheses after SI units are provided for information only and are not considered standard.
1.3 This standard does not purport to address all of the safety concerns, if any, associated with its use. It is the responsibility of the user of this standard to establish appropriate safety, health, and environmental practices and determine the applicability of regulatory limitations prior to use.
1.4 This international standard was developed in accordance with internationally recognized principles on standardization established in the Decision on Principles for the Development of International Standards, Guides and Recommendations issued by the World Trade Organization Technical Barriers to Trade (TBT) Committee.
General Information
Buy Standard
Standards Content (Sample)
This international standard was developed in accordance with internationally recognized principles on standardization established in the Decision on Principles for the
Development of International Standards, Guides and Recommendations issued by the World Trade Organization Technical Barriers to Trade (TBT) Committee.
Designation: G133 − 22
Standard Test Method for
1
Linearly Reciprocating Ball-on-Flat Sliding Wear
This standard is issued under the fixed designation G133; the number immediately following the designation indicates the year of
original adoption or, in the case of revision, the year of last revision.Anumber in parentheses indicates the year of last reapproval.A
superscript epsilon (´) indicates an editorial change since the last revision or reapproval.
1. Scope E1181Test Methods for Characterizing Duplex Grain Sizes
G40Terminology Relating to Wear and Erosion
1.1 This test method covers laboratory procedures for de-
G99Test Method for Wear Testing with a Pin-on-Disk
termining the sliding wear of ceramics, metals, and other
Apparatus
candidate wear-resistant materials using a linear, reciprocating
G115Guide for Measuring and Reporting Friction Coeffi-
ball-on-flat plane geometry. The direction of the relative
cients
motion between sliding surfaces reverses in a periodic fashion
G117Guide for Calculating and Reporting Measures of
such that the sliding occurs back and forth and in a straight
Precision Using Data from Interlaboratory Wear or Ero-
line. The principal quantities of interest are the wear volumes
3
sion Tests (Withdrawn 2016)
ofthecontactingballandflatspecimenmaterials;however,the
G118Guide for Recommended Format of Wear Test Data
coefficient of kinetic friction may also be measured using the
3
Suitable for Databases (Withdrawn 2016)
method described. This test method encompasses both unlu-
bricated and lubricated testing procedures. The scope of this
3. Terminology
test method does not include testing in corrosive or chemically
3.1 Definitions:
aggressive environments or extremes of temperature and hu-
3.1.1 Definitions used in this test method are given in
midity.
Terminology G40. The following definitions of important
1.2 The values stated in SI units are to be regarded as
termsusedinthistestmethodarecitedfromTerminologyG40.
standard. The values given in parentheses after SI units are
3.1.2 friction force, n—the resisting force tangential to the
providedforinformationonlyandarenotconsideredstandard.
interface between two bodies when, under the action of an
1.3 This standard does not purport to address all of the
externalforce,onebodymovesortendstomoverelativetothe
safety concerns, if any, associated with its use. It is the
other.
responsibility of the user of this standard to establish appro-
3.1.3 Hertzian contact pressure, n—the magnitude of the
priate safety, health, and environmental practices and deter-
pressure at any specified location in a Hertzian contact area, as
mine the applicability of regulatory limitations prior to use.
calculated from Hertz’s equations of elastic deformation.
1.4 This international standard was developed in accor-
3.1.4 wear, n—damage to a solid surface, generally involv-
dance with internationally recognized principles on standard-
ing the progressive loss of material due to relative motion
ization established in the Decision on Principles for the
between that surface and a contacting surface or surfaces.
Development of International Standards, Guides and Recom-
3.1.5 wear rate, n—the rate of material removal or dimen-
mendations issued by the World Trade Organization Technical
Barriers to Trade (TBT) Committee. sional change due to wear per unit of exposure parameter, for
example, quantity removed (mass, volume, thickness) in unit
2. Referenced Documents distance of sliding or unit time.
2
2.1 ASTM Standards:
4. Summary of Test Method
E112Test Methods for Determining Average Grain Size
4.1 This test method involves two specimens—a flat speci-
menandasphericallyendedspecimen(hereincalledthe“ball”
specimen, but the terms “pin” and “.spherical tip” are also
1
This test method is under the jurisdiction of ASTM Committee G02 on Wear
and Erosion and is the direct responsibility of Subcommittee G02.40 on Non- acceptable and in common use) that slide against the flat
Abrasive Wear.
specimen. These specimens move relative to one another in a
Current edition approved Nov. 1, 2022. Published November 2022. Originally
linear,backandforthslidingmotion(“linearlyreciprocating”),
approved in 1995. Last previous edition approved in 2016 as G133–05 (2016).
under a prescribed set of conditions.
DOI: 10.1520/G0133-22.
2
For referenced ASTM standards, visit the ASTM website, www.astm.org, or
contact ASTM Customer Service at service@astm.org. For Annual Book of ASTM
3
Standards volume information, refer to the standard’s Document Summary page on The last approved version of this historical standard is referenced on
the ASTM website. www.astm.org.
Copyright © ASTM Internationa
...
This document is not an ASTM standard and is intended only to provide the user of an ASTM standard an indication of what changes have been made to the previous version. Because
it may not be technically possible to adequately depict all changes accurately, ASTM recommends that users consult prior editions as appropriate. In all cases only the current version
of the standard as published by ASTM is to be considered the official document.
Designation: G133 − 05 (Reapproved 2016) G133 − 22
Standard Test Method for
1
Linearly Reciprocating Ball-on-Flat Sliding Wear
This standard is issued under the fixed designation G133; the number immediately following the designation indicates the year of
original adoption or, in the case of revision, the year of last revision. A number in parentheses indicates the year of last reapproval. A
superscript epsilon (´) indicates an editorial change since the last revision or reapproval.
1. Scope
1.1 This test method covers laboratory procedures for determining the sliding wear of ceramics, metals, and other candidate
wear-resistant materials using a linear, reciprocating ball-on-flat plane geometry. The direction of the relative motion between
sliding surfaces reverses in a periodic fashion such that the sliding occurs back and forth and in a straight line. The principal
quantities of interest are the wear volumes of the contacting ball and flat specimen materials; however, the coefficient of kinetic
friction may also be measured using the method described. This test method encompasses both unlubricated and lubricated testing
procedures. The scope of this test method does not include testing in corrosive or chemically aggressive environments.environ-
ments or extremes of temperature and humidity.
1.2 The values stated in SI units are to be regarded as the standard. The values given in parentheses are for information only.after
SI units are provided for information only and are not considered standard.
1.3 This standard does not purport to address all of the safety concerns, if any, associated with its use. It is the responsibility
of the user of this standard to establish appropriate safety safety, health, and healthenvironmental practices and determine the
applicability of regulatory limitations prior to use.
1.4 This international standard was developed in accordance with internationally recognized principles on standardization
established in the Decision on Principles for the Development of International Standards, Guides and Recommendations issued
by the World Trade Organization Technical Barriers to Trade (TBT) Committee.
2. Referenced Documents
2
2.1 ASTM Standards:
E112 Test Methods for Determining Average Grain Size
E1181 Test Methods for Characterizing Duplex Grain Sizes
G40 Terminology Relating to Wear and Erosion
G99 Test Method for Wear Testing with a Pin-on-Disk Apparatus
G115 Guide for Measuring and Reporting Friction Coefficients
G117 Guide for Calculating and Reporting Measures of Precision Using Data from Interlaboratory Wear or Erosion Tests
3
(Withdrawn 2016)
3
G118 Guide for Recommended Format of Wear Test Data Suitable for Databases (Withdrawn 2016)
3. Terminology
3.1 Definitions:
1
This test method is under the jurisdiction of ASTM Committee G02 on Wear and Erosion and is the direct responsibility of Subcommittee G02.40 on Non-Abrasive Wear.
Current edition approved June 1, 2016Nov. 1, 2022. Published June 2016November 2022. Originally approved in 1995. Last previous edition approved in 20102016 as
G133 – 05 (2010).(2016). DOI: 10.1520/G0133-05R16.10.1520/G0133-22.
2
For referenced ASTM standards, visit the ASTM website, www.astm.org, or contact ASTM Customer Service at service@astm.org. For Annual Book of ASTM Standards
volume information, refer to the standard’sstandard’s Document Summary page on the ASTM website.
3
The last approved version of this historical standard is referenced on www.astm.org.
Copyright © ASTM International, 100 Barr Harbor Drive, PO Box C700, West Conshohocken, PA 19428-2959. United States
1
---------------------- Page: 1 ----------------------
G133 − 22
3.1.1 Definitions used in this test method are given in Terminology G40. The following definitions of important terms used in this
test method are cited from Terminology G40.
3.1.2 friction force—force, n—the resisting force tangential to the interface between two bodies when, under the action of an
external force, one body moves or tends to move relative to the other.
3.1.3 Hertzian contact pressure—pressure, n—the magnitude of the pressure at any specified location in a Hertzian contact area,
as calculated from Hertz’sHertz’s equations of elastic deformation.
3.1.4 wear—wear, n—damage to a solid surface, generally involving the progressive loss of material due to relative motion
between that surface and a contacting surface or surfaces.
3.1.5 wear rate—rate, n—the rate of material removal or dimensional change due to wear per unit of exposure parameter, for
example, quantity remove
...


Questions, Comments and Discussion
Ask us and Technical Secretary will try to provide an answer. You can facilitate discussion about the standard in here.