ASTM E213-14e1
(Practice)Standard Practice for Ultrasonic Testing of Metal Pipe and Tubing
Standard Practice for Ultrasonic Testing of Metal Pipe and Tubing
SIGNIFICANCE AND USE
5.1 The purpose of this practice is to outline a procedure for detecting and locating significant discontinuities such as pits, voids, inclusions, cracks, splits, etc., by the ultrasonic pulse-reflection method.
SCOPE
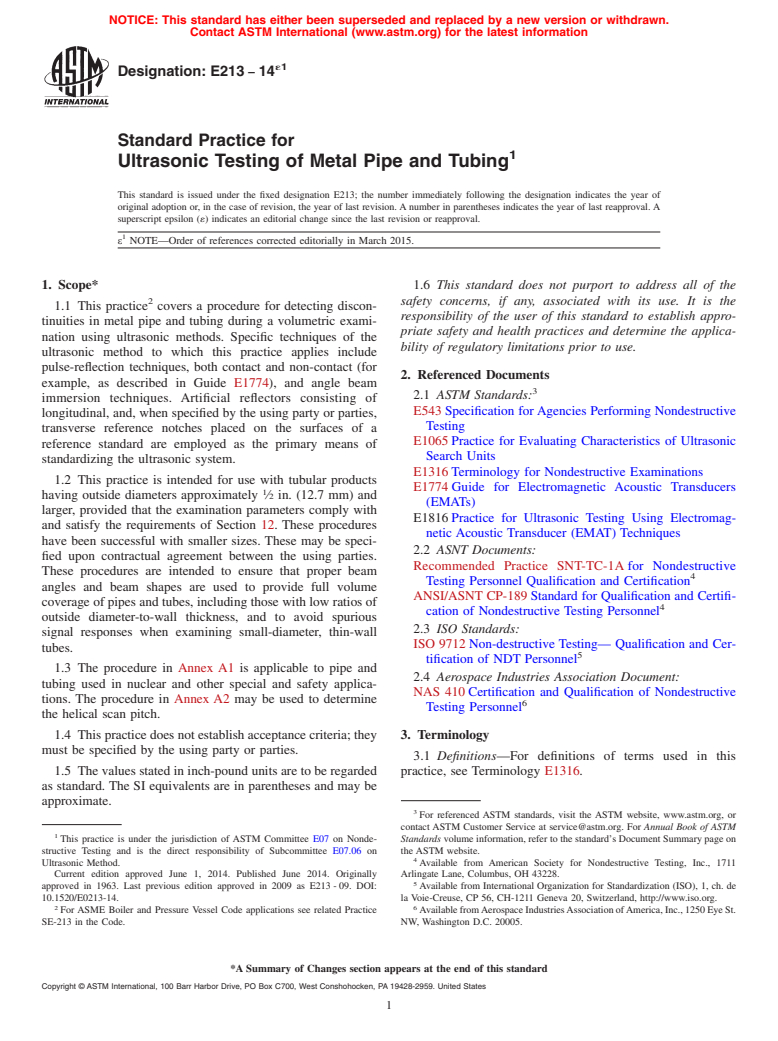
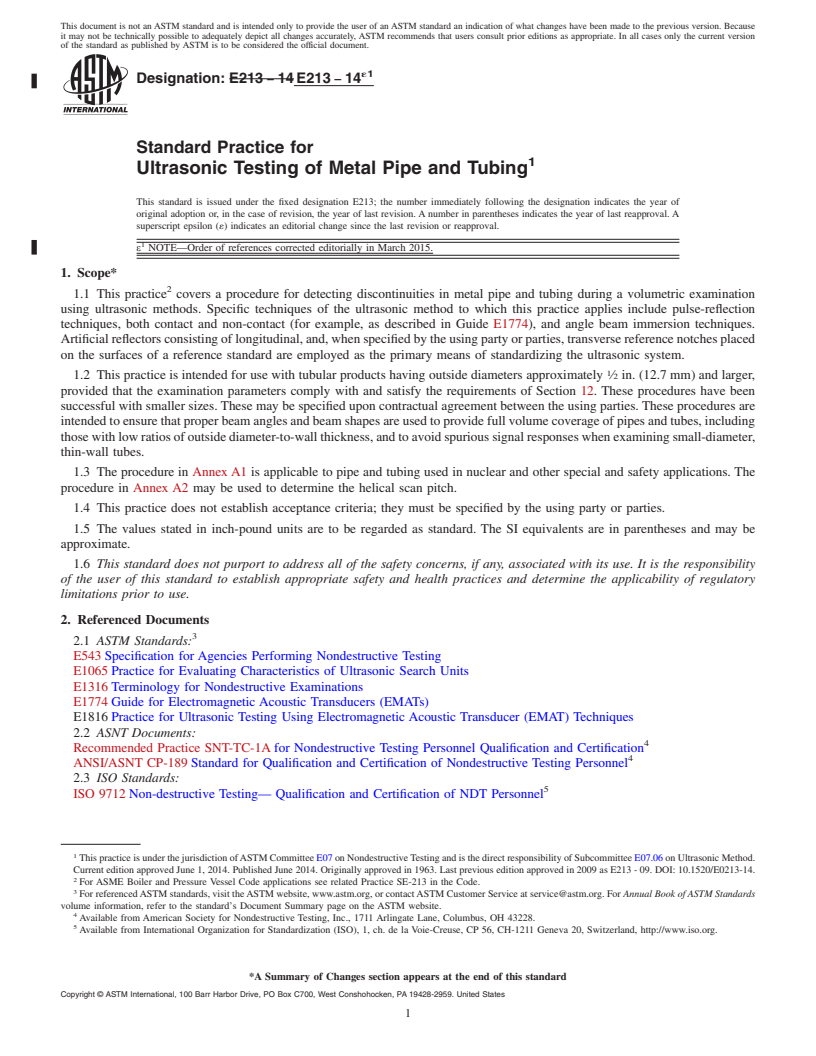
1.1 This practice2 covers a procedure for detecting discontinuities in metal pipe and tubing during a volumetric examination using ultrasonic methods. Specific techniques of the ultrasonic method to which this practice applies include pulse-reflection techniques, both contact and non-contact (for example, as described in Guide E1774), and angle beam immersion techniques. Artificial reflectors consisting of longitudinal, and, when specified by the using party or parties, transverse reference notches placed on the surfaces of a reference standard are employed as the primary means of standardizing the ultrasonic system.
1.2 This practice is intended for use with tubular products having outside diameters approximately 1/2 in. (12.7 mm) and larger, provided that the examination parameters comply with and satisfy the requirements of Section 12. These procedures have been successful with smaller sizes. These may be specified upon contractual agreement between the using parties. These procedures are intended to ensure that proper beam angles and beam shapes are used to provide full volume coverage of pipes and tubes, including those with low ratios of outside diameter-to-wall thickness, and to avoid spurious signal responses when examining small-diameter, thin-wall tubes.
1.3 The procedure in Annex A1 is applicable to pipe and tubing used in nuclear and other special and safety applications. The procedure in Annex A2 may be used to determine the helical scan pitch.
1.4 This practice does not establish acceptance criteria; they must be specified by the using party or parties.
1.5 The values stated in inch-pound units are to be regarded as standard. The SI equivalents are in parentheses and may be approximate.
1.6 This standard does not purport to address all of the safety concerns, if any, associated with its use. It is the responsibility of the user of this standard to establish appropriate safety and health practices and determine the applicability of regulatory limitations prior to use.
General Information
Buy Standard
Standards Content (Sample)
NOTICE: This standard has either been superseded and replaced by a new version or withdrawn.
Contact ASTM International (www.astm.org) for the latest information
´1
Designation: E213 − 14
Standard Practice for
1
Ultrasonic Testing of Metal Pipe and Tubing
This standard is issued under the fixed designation E213; the number immediately following the designation indicates the year of
original adoption or, in the case of revision, the year of last revision.Anumber in parentheses indicates the year of last reapproval.A
superscript epsilon (´) indicates an editorial change since the last revision or reapproval.
1
ε NOTE—Order of references corrected editorially in March 2015.
1. Scope* 1.6 This standard does not purport to address all of the
2 safety concerns, if any, associated with its use. It is the
1.1 This practice covers a procedure for detecting discon-
responsibility of the user of this standard to establish appro-
tinuities in metal pipe and tubing during a volumetric exami-
priate safety and health practices and determine the applica-
nation using ultrasonic methods. Specific techniques of the
bility of regulatory limitations prior to use.
ultrasonic method to which this practice applies include
pulse-reflection techniques, both contact and non-contact (for
2. Referenced Documents
example, as described in Guide E1774), and angle beam
3
2.1 ASTM Standards:
immersion techniques. Artificial reflectors consisting of
E543Specification forAgencies Performing Nondestructive
longitudinal, and, when specified by the using party or parties,
Testing
transverse reference notches placed on the surfaces of a
E1065Practice for Evaluating Characteristics of Ultrasonic
reference standard are employed as the primary means of
Search Units
standardizing the ultrasonic system.
E1316Terminology for Nondestructive Examinations
1.2 This practice is intended for use with tubular products
E1774Guide for Electromagnetic Acoustic Transducers
1
having outside diameters approximately ⁄2 in. (12.7 mm) and
(EMATs)
larger, provided that the examination parameters comply with
E1816Practice for Ultrasonic Testing Using Electromag-
and satisfy the requirements of Section 12. These procedures
netic Acoustic Transducer (EMAT) Techniques
have been successful with smaller sizes. These may be speci-
2.2 ASNT Documents:
fied upon contractual agreement between the using parties.
Recommended Practice SNT-TC-1A for Nondestructive
These procedures are intended to ensure that proper beam
4
Testing Personnel Qualification and Certification
angles and beam shapes are used to provide full volume
ANSI/ASNT CP-189Standard for Qualification and Certifi-
coverage of pipes and tubes, including those with low ratios of
4
cation of Nondestructive Testing Personnel
outside diameter-to-wall thickness, and to avoid spurious
2.3 ISO Standards:
signal responses when examining small-diameter, thin-wall
ISO 9712Non-destructive Testing— Qualification and Cer-
tubes.
5
tification of NDT Personnel
1.3 The procedure in Annex A1 is applicable to pipe and
2.4 Aerospace Industries Association Document:
tubing used in nuclear and other special and safety applica-
NAS 410Certification and Qualification of Nondestructive
tions. The procedure in Annex A2 may be used to determine
6
Testing Personnel
the helical scan pitch.
1.4 Thispracticedoesnotestablishacceptancecriteria;they
3. Terminology
must be specified by the using party or parties.
3.1 Definitions—For definitions of terms used in this
1.5 Thevaluesstatedininch-poundunitsaretoberegarded
practice, see Terminology E1316.
as standard. The SI equivalents are in parentheses and may be
approximate.
3
For referenced ASTM standards, visit the ASTM website, www.astm.org, or
contact ASTM Customer Service at service@astm.org. For Annual Book of ASTM
1
This practice is under the jurisdiction of ASTM Committee E07 on Nonde- Standards volume information, refer to the standard’s Document Summary page on
structive Testing and is the direct responsibility of Subcommittee E07.06 on the ASTM website.
4
Ultrasonic Method. Available from American Society for Nondestructive Testing, Inc., 1711
Current edition approved June 1, 2014. Published June 2014. Originally Arlingate Lane, Columbus, OH 43228.
5
approved in 1963. Last previous edition approved in 2009 as E213-09. DOI: Available from International Organization for Standardization (ISO), 1, ch. de
10.1520/E0213-14. la Voie-Creuse, CP 56, CH-1211 Geneva 20, Switzerland, http://www.iso.org.
2 6
For ASME Boiler and Pressure Vessel Code applications see related Practice AvailablefromAerospaceIndustriesAssociationofAmerica,Inc.,1250EyeSt.
SE-213 in the Code. NW, Washington D.C. 20005.
*A Summary of Changes section appears at the end of this standard
Copyright © ASTM International, 100 Barr Harbor Drive, PO Box C700, West Conshohocken, PA 19428-2959. United States
1
---------------------- Page: 1 ----------------------
´1
E213 − 14
4. Summary of Practice 6. Basis of Application
4.1 A pulsed ultrasonic angle
...
This document is not an ASTM standard and is intended only to provide the user of an ASTM standard an indication of what changes have been made to the previous version. Because
it may not be technically possible to adequately depict all changes accurately, ASTM recommends that users consult prior editions as appropriate. In all cases only the current version
of the standard as published by ASTM is to be considered the official document.
´1
Designation: E213 − 14 E213 − 14
Standard Practice for
1
Ultrasonic Testing of Metal Pipe and Tubing
This standard is issued under the fixed designation E213; the number immediately following the designation indicates the year of
original adoption or, in the case of revision, the year of last revision. A number in parentheses indicates the year of last reapproval. A
superscript epsilon (´) indicates an editorial change since the last revision or reapproval.
1
ε NOTE—Order of references corrected editorially in March 2015.
1. Scope*
2
1.1 This practice covers a procedure for detecting discontinuities in metal pipe and tubing during a volumetric examination
using ultrasonic methods. Specific techniques of the ultrasonic method to which this practice applies include pulse-reflection
techniques, both contact and non-contact (for example, as described in Guide E1774), and angle beam immersion techniques.
Artificial reflectors consisting of longitudinal, and, when specified by the using party or parties, transverse reference notches placed
on the surfaces of a reference standard are employed as the primary means of standardizing the ultrasonic system.
1
1.2 This practice is intended for use with tubular products having outside diameters approximately ⁄2 in. (12.7 mm) and larger,
provided that the examination parameters comply with and satisfy the requirements of Section 12. These procedures have been
successful with smaller sizes. These may be specified upon contractual agreement between the using parties. These procedures are
intended to ensure that proper beam angles and beam shapes are used to provide full volume coverage of pipes and tubes, including
those with low ratios of outside diameter-to-wall thickness, and to avoid spurious signal responses when examining small-diameter,
thin-wall tubes.
1.3 The procedure in Annex A1 is applicable to pipe and tubing used in nuclear and other special and safety applications. The
procedure in Annex A2 may be used to determine the helical scan pitch.
1.4 This practice does not establish acceptance criteria; they must be specified by the using party or parties.
1.5 The values stated in inch-pound units are to be regarded as standard. The SI equivalents are in parentheses and may be
approximate.
1.6 This standard does not purport to address all of the safety concerns, if any, associated with its use. It is the responsibility
of the user of this standard to establish appropriate safety and health practices and determine the applicability of regulatory
limitations prior to use.
2. Referenced Documents
3
2.1 ASTM Standards:
E543 Specification for Agencies Performing Nondestructive Testing
E1065 Practice for Evaluating Characteristics of Ultrasonic Search Units
E1316 Terminology for Nondestructive Examinations
E1774 Guide for Electromagnetic Acoustic Transducers (EMATs)
E1816 Practice for Ultrasonic Testing Using Electromagnetic Acoustic Transducer (EMAT) Techniques
2.2 ASNT Documents:
4
Recommended Practice SNT-TC-1A for Nondestructive Testing Personnel Qualification and Certification
4
ANSI/ASNT CP-189 Standard for Qualification and Certification of Nondestructive Testing Personnel
2.3 ISO Standards:
5
ISO 9712 Non-destructive Testing— Qualification and Certification of NDT Personnel
1
This practice is under the jurisdiction of ASTM Committee E07 on Nondestructive Testing and is the direct responsibility of Subcommittee E07.06 on Ultrasonic Method.
Current edition approved June 1, 2014. Published June 2014. Originally approved in 1963. Last previous edition approved in 2009 as E213 - 09. DOI: 10.1520/E0213-14.
2
For ASME Boiler and Pressure Vessel Code applications see related Practice SE-213 in the Code.
3
For referenced ASTM standards, visit the ASTM website, www.astm.org, or contact ASTM Customer Service at service@astm.org. For Annual Book of ASTM Standards
volume information, refer to the standard’s Document Summary page on the ASTM website.
4
Available from American Society for Nondestructive Testing, Inc., 1711 Arlingate Lane, Columbus, OH 43228.
5
Available from International Organization for Standardization (ISO), 1, ch. de la Voie-Creuse, CP 56, CH-1211 Geneva 20, Switzerland, http://www.iso.org.
*A Summary of Changes section appears at the end of this standard
Copyright © ASTM International, 100 Barr Harbor Drive, PO Box C700, West Conshohocken, PA 19428-2959. United States
1
---------------------- Page: 1 ----------------------
´1
E213 − 14
2.4 Aerospace Industries Association Document:
6
NAS 410 Certification and Qualification of Nondestr
...


Questions, Comments and Discussion
Ask us and Technical Secretary will try to provide an answer. You can facilitate discussion about the standard in here.