ASTM C695-15
(Test Method)Standard Test Method for Compressive Strength of Carbon and Graphite
Standard Test Method for Compressive Strength of Carbon and Graphite
SIGNIFICANCE AND USE
4.1 Carbon and graphite can usually support higher loads in compression than in any other mode of stress. This test, therefore, provides a measure of the maximum load-bearing capability of carbon and graphite objects.
SCOPE
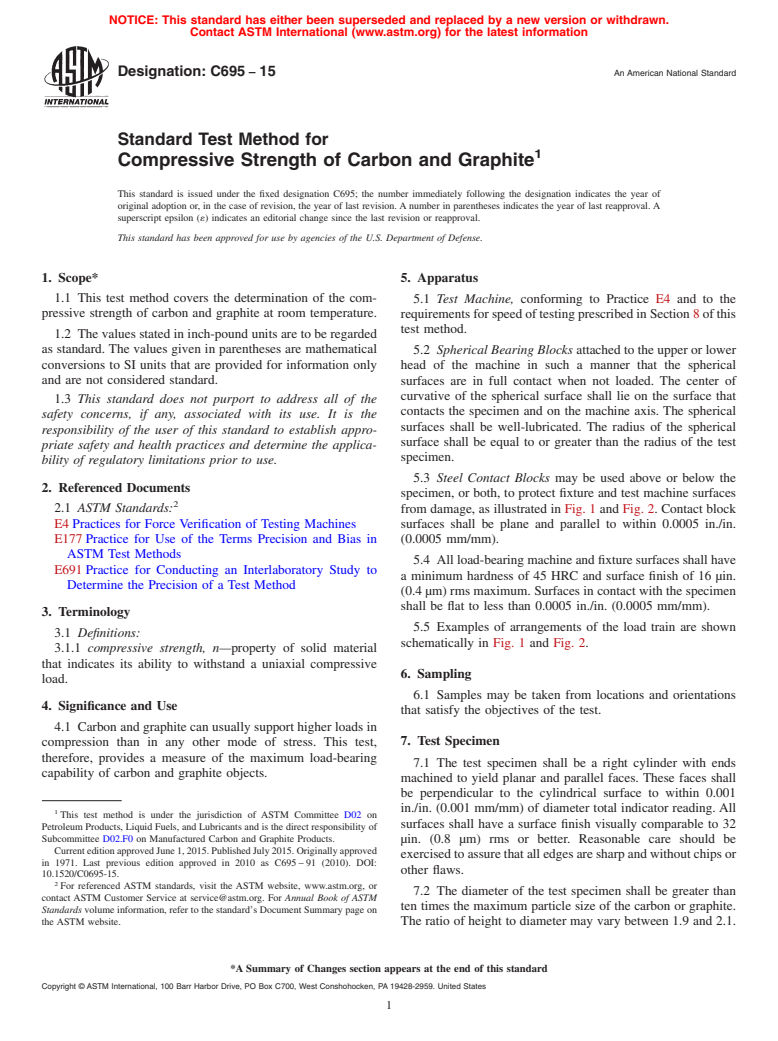
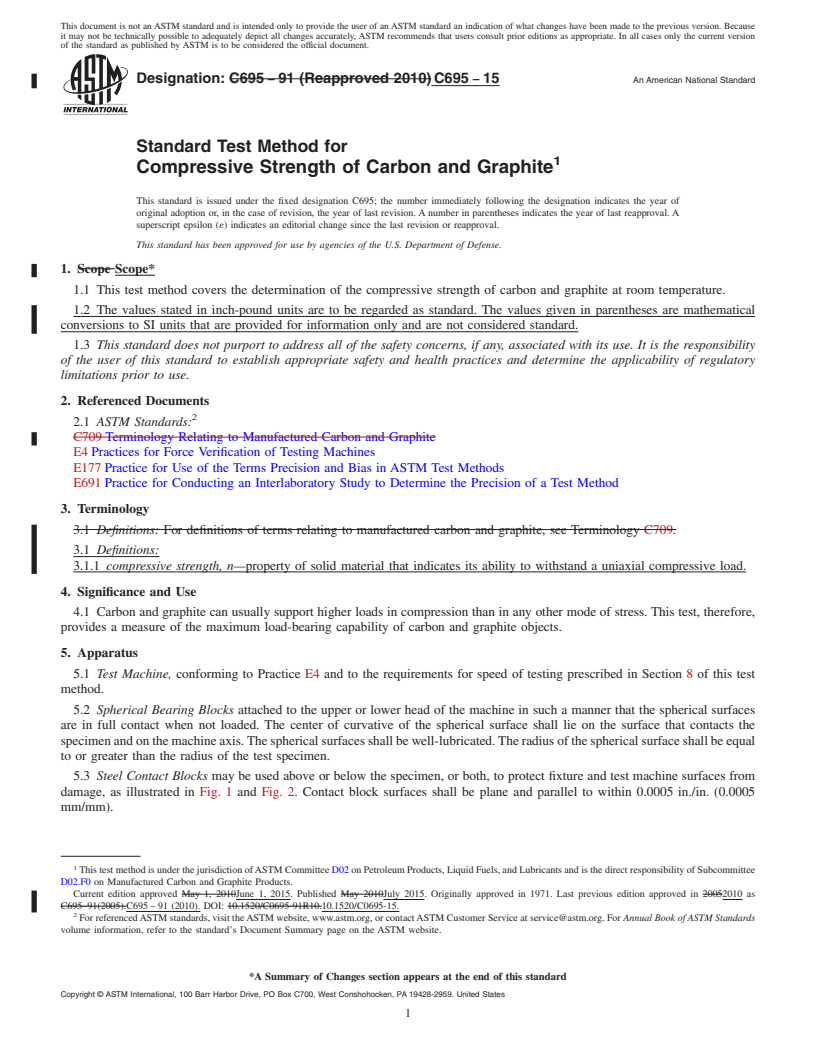
1.1 This test method covers the determination of the compressive strength of carbon and graphite at room temperature.
1.2 The values stated in inch-pound units are to be regarded as standard. The values given in parentheses are mathematical conversions to SI units that are provided for information only and are not considered standard.
1.3 This standard does not purport to address all of the safety concerns, if any, associated with its use. It is the responsibility of the user of this standard to establish appropriate safety and health practices and determine the applicability of regulatory limitations prior to use.
General Information
Relations
Buy Standard
Standards Content (Sample)
NOTICE: This standard has either been superseded and replaced by a new version or withdrawn.
Contact ASTM International (www.astm.org) for the latest information
Designation: C695 − 15 An American National Standard
Standard Test Method for
1
Compressive Strength of Carbon and Graphite
This standard is issued under the fixed designation C695; the number immediately following the designation indicates the year of
original adoption or, in the case of revision, the year of last revision. A number in parentheses indicates the year of last reapproval. A
superscript epsilon (´) indicates an editorial change since the last revision or reapproval.
This standard has been approved for use by agencies of the U.S. Department of Defense.
1. Scope* 5. Apparatus
1.1 This test method covers the determination of the com-
5.1 Test Machine, conforming to Practice E4 and to the
pressive strength of carbon and graphite at room temperature. requirements for speed of testing prescribed in Section 8 of this
test method.
1.2 The values stated in inch-pound units are to be regarded
as standard. The values given in parentheses are mathematical 5.2 Spherical Bearing Blocks attached to the upper or lower
conversions to SI units that are provided for information only
head of the machine in such a manner that the spherical
and are not considered standard. surfaces are in full contact when not loaded. The center of
curvative of the spherical surface shall lie on the surface that
1.3 This standard does not purport to address all of the
contacts the specimen and on the machine axis. The spherical
safety concerns, if any, associated with its use. It is the
surfaces shall be well-lubricated. The radius of the spherical
responsibility of the user of this standard to establish appro-
surface shall be equal to or greater than the radius of the test
priate safety and health practices and determine the applica-
specimen.
bility of regulatory limitations prior to use.
5.3 Steel Contact Blocks may be used above or below the
2. Referenced Documents
specimen, or both, to protect fixture and test machine surfaces
2
2.1 ASTM Standards:
from damage, as illustrated in Fig. 1 and Fig. 2. Contact block
E4 Practices for Force Verification of Testing Machines surfaces shall be plane and parallel to within 0.0005 in./in.
E177 Practice for Use of the Terms Precision and Bias in (0.0005 mm/mm).
ASTM Test Methods
5.4 All load-bearing machine and fixture surfaces shall have
E691 Practice for Conducting an Interlaboratory Study to
a minimum hardness of 45 HRC and surface finish of 16 µin.
Determine the Precision of a Test Method
(0.4 µm) rms maximum. Surfaces in contact with the specimen
shall be flat to less than 0.0005 in./in. (0.0005 mm/mm).
3. Terminology
5.5 Examples of arrangements of the load train are shown
3.1 Definitions:
schematically in Fig. 1 and Fig. 2.
3.1.1 compressive strength, n—property of solid material
that indicates its ability to withstand a uniaxial compressive
6. Sampling
load.
6.1 Samples may be taken from locations and orientations
4. Significance and Use
that satisfy the objectives of the test.
4.1 Carbon and graphite can usually support higher loads in
7. Test Specimen
compression than in any other mode of stress. This test,
therefore, provides a measure of the maximum load-bearing
7.1 The test specimen shall be a right cylinder with ends
capability of carbon and graphite objects.
machined to yield planar and parallel faces. These faces shall
be perpendicular to the cylindrical surface to within 0.001
in./in. (0.001 mm/mm) of diameter total indicator reading. All
1
This test method is under the jurisdiction of ASTM Committee D02 on
surfaces shall have a surface finish visually comparable to 32
Petroleum Products, Liquid Fuels, and Lubricants and is the direct responsibility of
Subcommittee D02.F0 on Manufactured Carbon and Graphite Products.
µin. (0.8 µm) rms or better. Reasonable care should be
CurrenteditionapprovedJune1,2015.PublishedJuly2015.Originallyapproved
exercised to assure that all edges are sharp and without chips or
in 1971. Last previous edition approved in 2010 as C695 – 91 (2010). DOI:
other flaws.
10.1520/C0695-15.
2
For referenced ASTM standards, visit the ASTM website, www.astm.org, or
7.2 The diameter of the test specimen shall be greater than
contact ASTM Customer Service at service@astm.org. For Annual Book of ASTM
ten times the maximum particle size of the carbon or graphite.
Standards volume information, refer to the standard’s Document Summary page on
the ASTM website. The ratio of height to diameter may vary between 1.9 and 2.1.
*A Summary of Changes section appears at the end of this standard
Copyright © ASTM International, 100 Barr Harbor Drive, PO Box C700, West Conshohocken, PA 19428-2959. United States
1
---------------------- Page: 1 ----------------------
C695 − 15
FIG. 1 Elements of Compressive Strength Load Train
FIG. 2 Compressive Test Arrangement with Spherical Blocks on Bottom
3
The recommended minimum te
...
This document is not an ASTM standard and is intended only to provide the user of an ASTM standard an indication of what changes have been made to the previous version. Because
it may not be technically possible to adequately depict all changes accurately, ASTM recommends that users consult prior editions as appropriate. In all cases only the current version
of the standard as published by ASTM is to be considered the official document.
Designation: C695 − 91 (Reapproved 2010) C695 − 15 An American National Standard
Standard Test Method for
1
Compressive Strength of Carbon and Graphite
This standard is issued under the fixed designation C695; the number immediately following the designation indicates the year of
original adoption or, in the case of revision, the year of last revision. A number in parentheses indicates the year of last reapproval. A
superscript epsilon (´) indicates an editorial change since the last revision or reapproval.
This standard has been approved for use by agencies of the U.S. Department of Defense.
1. Scope Scope*
1.1 This test method covers the determination of the compressive strength of carbon and graphite at room temperature.
1.2 The values stated in inch-pound units are to be regarded as standard. The values given in parentheses are mathematical
conversions to SI units that are provided for information only and are not considered standard.
1.3 This standard does not purport to address all of the safety concerns, if any, associated with its use. It is the responsibility
of the user of this standard to establish appropriate safety and health practices and determine the applicability of regulatory
limitations prior to use.
2. Referenced Documents
2
2.1 ASTM Standards:
C709 Terminology Relating to Manufactured Carbon and Graphite
E4 Practices for Force Verification of Testing Machines
E177 Practice for Use of the Terms Precision and Bias in ASTM Test Methods
E691 Practice for Conducting an Interlaboratory Study to Determine the Precision of a Test Method
3. Terminology
3.1 Definitions: For definitions of terms relating to manufactured carbon and graphite, see Terminology C709.
3.1 Definitions:
3.1.1 compressive strength, n—property of solid material that indicates its ability to withstand a uniaxial compressive load.
4. Significance and Use
4.1 Carbon and graphite can usually support higher loads in compression than in any other mode of stress. This test, therefore,
provides a measure of the maximum load-bearing capability of carbon and graphite objects.
5. Apparatus
5.1 Test Machine, conforming to Practice E4 and to the requirements for speed of testing prescribed in Section 8 of this test
method.
5.2 Spherical Bearing Blocks attached to the upper or lower head of the machine in such a manner that the spherical surfaces
are in full contact when not loaded. The center of curvative of the spherical surface shall lie on the surface that contacts the
specimen and on the machine axis. The spherical surfaces shall be well-lubricated. The radius of the spherical surface shall be equal
to or greater than the radius of the test specimen.
5.3 Steel Contact Blocks may be used above or below the specimen, or both, to protect fixture and test machine surfaces from
damage, as illustrated in Fig. 1 and Fig. 2. Contact block surfaces shall be plane and parallel to within 0.0005 in./in. (0.0005
mm/mm).
1
This test method is under the jurisdiction of ASTM Committee D02 on Petroleum Products, Liquid Fuels, and Lubricants and is the direct responsibility of Subcommittee
D02.F0 on Manufactured Carbon and Graphite Products.
Current edition approved May 1, 2010June 1, 2015. Published May 2010July 2015. Originally approved in 1971. Last previous edition approved in 20052010 as
C695–91(2005).C695 – 91 (2010). DOI: 10.1520/C0695-91R10.10.1520/C0695-15.
2
For referenced ASTM standards, visit the ASTM website, www.astm.org, or contact ASTM Customer Service at service@astm.org. For Annual Book of ASTM Standards
volume information, refer to the standard’s Document Summary page on the ASTM website.
*A Summary of Changes section appears at the end of this standard
Copyright © ASTM International, 100 Barr Harbor Drive, PO Box C700, West Conshohocken, PA 19428-2959. United States
1
---------------------- Page: 1 ----------------------
C695 − 15
FIG. 1 Elements of Compressive Strength Load Train
FIG. 2 Compressive Test Arrangement with Spherical Blocks on Bottom
5.4 All load-bearing machine and fixture surfaces shall have a minimum hardness of 45 HRC and surface finish of 16 μin. (0.4
μm) rms maximum. Surfaces in contact with the specimen shall be flat to less than 0.0005 in./in. (0.0005 mm/mm).
5.5 Examples of arrangements of the load train are shown schematically in Fig. 1 and Fig. 2.
6. Sampling
6.1 Samples may be taken from locations and orientations that satisfy the objectives of the test.
7. Test Specimen
7.1 The test specimen shall be a right cylinder with ends machined to yield planar and parallel faces. These
...


Questions, Comments and Discussion
Ask us and Technical Secretary will try to provide an answer. You can facilitate discussion about the standard in here.