ASTM E1190-11
(Test Method)Standard Test Methods for Strength of Power-Actuated Fasteners Installed in Structural Members
Standard Test Methods for Strength of Power-Actuated Fasteners Installed in Structural Members
SIGNIFICANCE AND USE
These test methods are intended to measure the anchoring capability and shear resistance of power-actuated fasteners to provide information from which applicable design values are to be derived for use in structural applications, such as in members of concrete, concrete masonry, and steel.
SCOPE
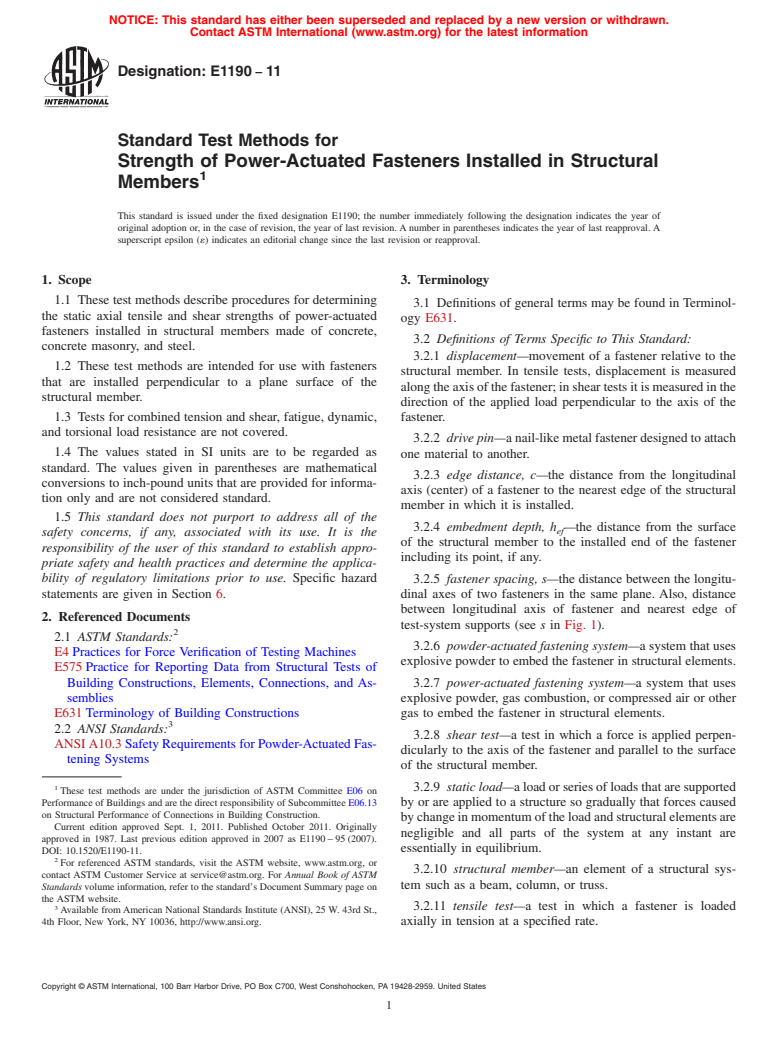
1.1 These test methods describe procedures for determining the static axial tensile and shear strengths of power-actuated fasteners installed in structural members made of concrete, concrete masonry, and steel.
1.2 These test methods are intended for use with fasteners that are installed perpendicular to a plane surface of the structural member.
1.3 Tests for combined tension and shear, fatigue, dynamic, and torsional load resistance are not covered.
1.4 The values stated in SI units are to be regarded as standard. The values given in parentheses are mathematical conversions to inch-pound units that are provided for information only and are not considered standard.
1.5 This standard does not purport to address all of the safety concerns, if any, associated with its use. It is the responsibility of the user of this standard to establish appropriate safety and health practices and determine the applicability of regulatory limitations prior to use. Specific hazard statements are given in Section 6.
General Information
Relations
Buy Standard
Standards Content (Sample)
NOTICE: This standard has either been superseded and replaced by a new version or withdrawn.
Contact ASTM International (www.astm.org) for the latest information
Designation: E1190 − 11
Standard Test Methods for
Strength of Power-Actuated Fasteners Installed in Structural
1
Members
This standard is issued under the fixed designation E1190; the number immediately following the designation indicates the year of
original adoption or, in the case of revision, the year of last revision. A number in parentheses indicates the year of last reapproval. A
superscript epsilon (´) indicates an editorial change since the last revision or reapproval.
1. Scope 3. Terminology
1.1 These test methods describe procedures for determining
3.1 Definitions of general terms may be found in Terminol-
the static axial tensile and shear strengths of power-actuated
ogy E631.
fasteners installed in structural members made of concrete,
3.2 Definitions of Terms Specific to This Standard:
concrete masonry, and steel.
3.2.1 displacement—movement of a fastener relative to the
1.2 These test methods are intended for use with fasteners
structural member. In tensile tests, displacement is measured
that are installed perpendicular to a plane surface of the
alongtheaxisofthefastener;insheartestsitismeasuredinthe
structural member.
direction of the applied load perpendicular to the axis of the
1.3 Tests for combined tension and shear, fatigue, dynamic, fastener.
and torsional load resistance are not covered.
3.2.2 drive pin—anail-likemetalfastenerdesignedtoattach
1.4 The values stated in SI units are to be regarded as
one material to another.
standard. The values given in parentheses are mathematical
3.2.3 edge distance, c—the distance from the longitudinal
conversions to inch-pound units that are provided for informa-
axis (center) of a fastener to the nearest edge of the structural
tion only and are not considered standard.
member in which it is installed.
1.5 This standard does not purport to address all of the
3.2.4 embedment depth, h —the distance from the surface
ef
safety concerns, if any, associated with its use. It is the
of the structural member to the installed end of the fastener
responsibility of the user of this standard to establish appro-
including its point, if any.
priate safety and health practices and determine the applica-
bility of regulatory limitations prior to use. Specific hazard 3.2.5 fastener spacing, s—the distance between the longitu-
statements are given in Section 6.
dinal axes of two fasteners in the same plane. Also, distance
between longitudinal axis of fastener and nearest edge of
2. Referenced Documents
test-system supports (see s in Fig. 1).
2
2.1 ASTM Standards:
3.2.6 powder-actuated fastening system—a system that uses
E4 Practices for Force Verification of Testing Machines
explosive powder to embed the fastener in structural elements.
E575 Practice for Reporting Data from Structural Tests of
Building Constructions, Elements, Connections, and As- 3.2.7 power-actuated fastening system—a system that uses
semblies explosive powder, gas combustion, or compressed air or other
E631 Terminology of Building Constructions gas to embed the fastener in structural elements.
3
2.2 ANSI Standards:
3.2.8 shear test—a test in which a force is applied perpen-
ANSI A10.3 Safety Requirements for Powder-Actuated Fas-
dicularly to the axis of the fastener and parallel to the surface
tening Systems
of the structural member.
1 3.2.9 static load—aloadorseriesofloadsthataresupported
These test methods are under the jurisdiction of ASTM Committee E06 on
Performance of Buildings and are the direct responsibility of Subcommittee E06.13
by or are applied to a structure so gradually that forces caused
on Structural Performance of Connections in Building Construction.
bychangeinmomentumoftheloadandstructuralelementsare
Current edition approved Sept. 1, 2011. Published October 2011. Originally
negligible and all parts of the system at any instant are
approved in 1987. Last previous edition approved in 2007 as E1190 – 95 (2007).
essentially in equilibrium.
DOI: 10.1520/E1190-11.
2
For referenced ASTM standards, visit the ASTM website, www.astm.org, or
3.2.10 structural member—an element of a structural sys-
contact ASTM Customer Service at service@astm.org. For Annual Book of ASTM
Standards volume information, refer to the standard’s Document Summary page on tem such as a beam, column, or truss.
the ASTM website.
3 3.2.11 tensile test—a test in which a fastener is loaded
Available from American National Standards Institute (ANSI), 25 W. 43rd St.,
4th Floor, New York, NY 10036, http://www.ansi.org. axially in tension at a specified rate.
Copyright ©ASTM International, 100 Barr Harbor Drive, PO Box C700, West Conshohocken, PA19428-2959. United States
1
---------------------- Page: 1 ----------------------
E1190 − 11
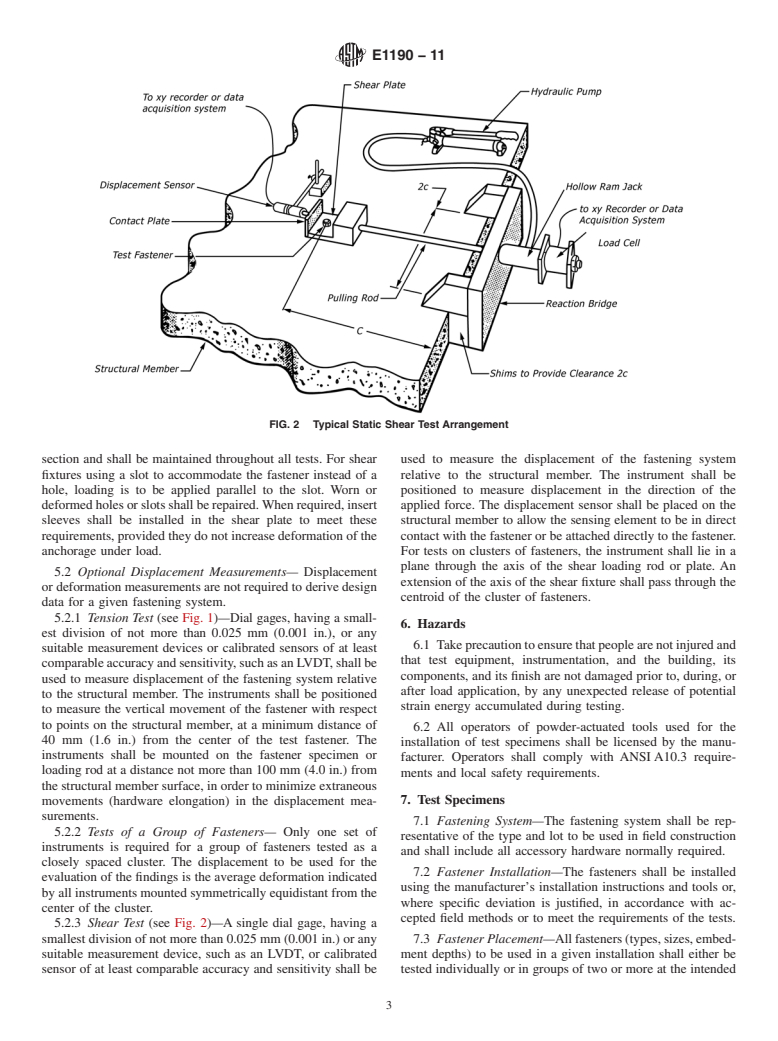
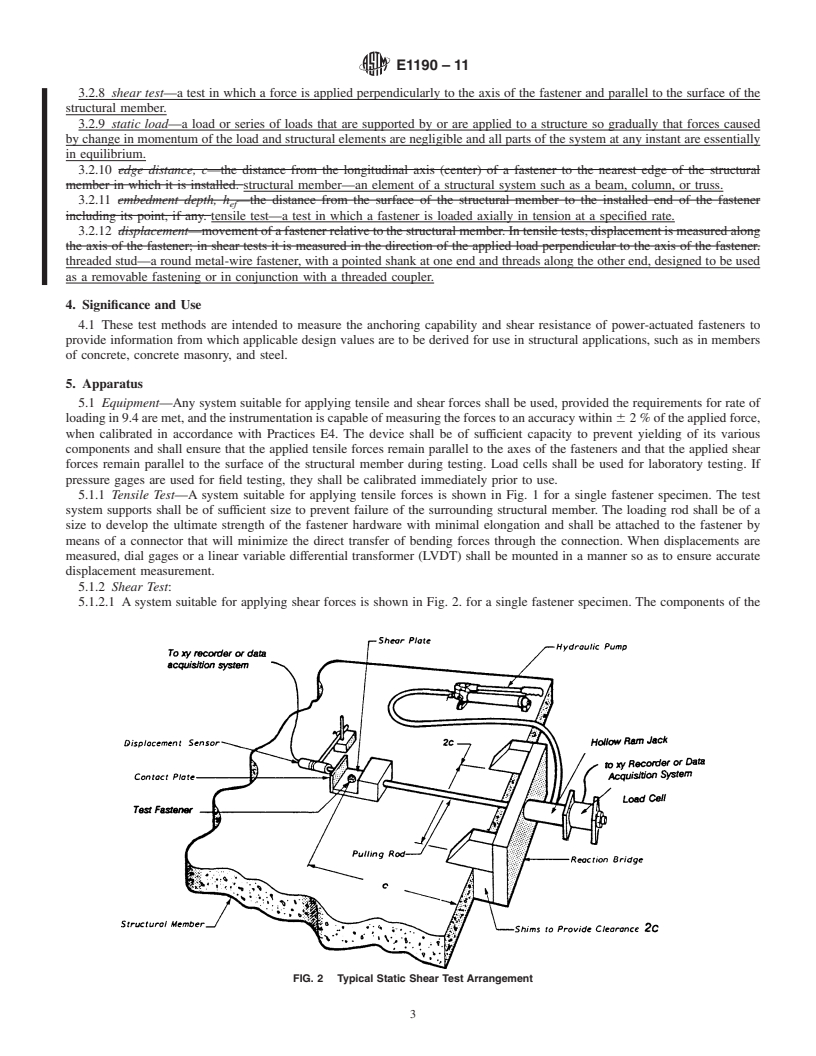
FIG. 1 Typical Static Tension Test Arrangement
3.2.12 threaded stud—a round metal-wire fastener, with a hardware with minimal elon
...
This document is not an ASTM standard and is intended only to provide the user of an ASTM standard an indication of what changes have been made to the previous version. Because
it may not be technically possible to adequately depict all changes accurately, ASTM recommends that users consult prior editions as appropriate. In all cases only the current version
of the standard as published by ASTM is to be considered the official document.
Designation:E1190–95 (Reapproved 2007) Designation: E1190 – 11
Standard Test Methods for
Strength of Power-Actuated Fasteners Installed in Structural
1
Members
This standard is issued under the fixed designation E1190; the number immediately following the designation indicates the year of
original adoption or, in the case of revision, the year of last revision. A number in parentheses indicates the year of last reapproval. A
superscript epsilon (´) indicates an editorial change since the last revision or reapproval.
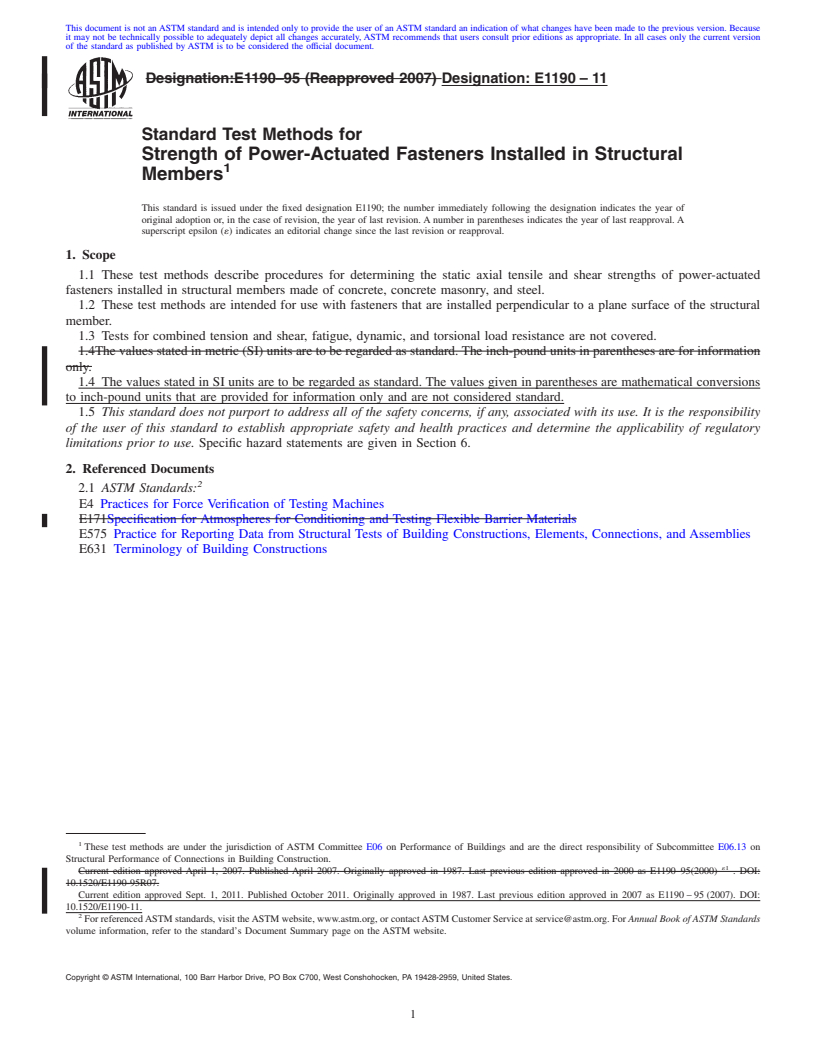
1. Scope
1.1 These test methods describe procedures for determining the static axial tensile and shear strengths of power-actuated
fasteners installed in structural members made of concrete, concrete masonry, and steel.
1.2 These test methods are intended for use with fasteners that are installed perpendicular to a plane surface of the structural
member.
1.3 Tests for combined tension and shear, fatigue, dynamic, and torsional load resistance are not covered.
1.4The values stated in metric (SI) units are to be regarded as standard. The inch-pound units in parentheses are for information
only.
1.4 The values stated in SI units are to be regarded as standard. The values given in parentheses are mathematical conversions
to inch-pound units that are provided for information only and are not considered standard.
1.5 This standard does not purport to address all of the safety concerns, if any, associated with its use. It is the responsibility
of the user of this standard to establish appropriate safety and health practices and determine the applicability of regulatory
limitations prior to use. Specific hazard statements are given in Section 6.
2. Referenced Documents
2
2.1 ASTM Standards:
E4 Practices for Force Verification of Testing Machines
E171Specification for Atmospheres for Conditioning and Testing Flexible Barrier Materials
E575 Practice for Reporting Data from Structural Tests of Building Constructions, Elements, Connections, and Assemblies
E631 Terminology of Building Constructions
1
These test methods are under the jurisdiction of ASTM Committee E06 on Performance of Buildings and are the direct responsibility of Subcommittee E06.13 on
Structural Performance of Connections in Building Construction.
´1
Current edition approved April 1, 2007. Published April 2007. Originally approved in 1987. Last previous edition approved in 2000 as E1190–95(2000) . DOI:
10.1520/E1190-95R07.
Current edition approved Sept. 1, 2011. Published October 2011. Originally approved in 1987. Last previous edition approved in 2007 as E1190 – 95 (2007). DOI:
10.1520/E1190-11.
2
For referencedASTM standards, visit theASTM website, www.astm.org, or contactASTM Customer Service at service@astm.org. For Annual Book of ASTM Standards
volume information, refer to the standard’s Document Summary page on the ASTM website.
Copyright ©ASTM International, 100 Barr Harbor Drive, PO Box C700, West Conshohocken, PA19428-2959, United States.
1
---------------------- Page: 1 ----------------------
E1190 – 11
3
2.2 ANSI Standard: ANSI Standards:
ANSI A10.3 Safety Requirements for Powder-Actuated Fastening Systems
3. Terminology
3.1 Definitions of general terms may be found in Terminology E631.
3.2 Descriptions of Terms Specific to This Standard:
3.2.1 powder-actuated fastening system—a system that uses explosive powder to embed the fastener in structural elements.
displacement—movement of a fastener relative to the structural member. In tensile tests, displacement is measured along the axis
of the fastener; in shear tests it is measured in the direction of the applied load perpendicular to the axis of the fastener.
3.2.2 power-actuated fastening system—a system that uses explosive powder, gas combustion, or compressed air or other gas
to embed the fastener in structural elements.
3.2.3drive pin—a nail-like metal fastener designed to attach one material to another.
3.2.3 edge distance, c—thedistancefromthelongitudinalaxis(center)ofafastenertothenearestedgeofthestructuralmember
in which it is installed.
3.2.4 threaded stud—a round metal-wire fastener, with a pointed shank at one end and threads along the other end, designed
tobeusedasaremovablefasteningorinconjunctionwithathreadedcoupler.embedmentdepth,h —thedistancefromthesurface
ef
of the structural member to the installed end of the fastener including its point, if any.
3.2.5 structural member—an element of a structural system such as a beam, column, or truss.
3.2.6static load—a load or series of loads that are supported by or are applied to a structure
...


Questions, Comments and Discussion
Ask us and Technical Secretary will try to provide an answer. You can facilitate discussion about the standard in here.