ASTM C886-98(2015)
(Test Method)Standard Test Method for Scleroscope Hardness Testing of Carbon and Graphite Materials
Standard Test Method for Scleroscope Hardness Testing of Carbon and Graphite Materials
SIGNIFICANCE AND USE
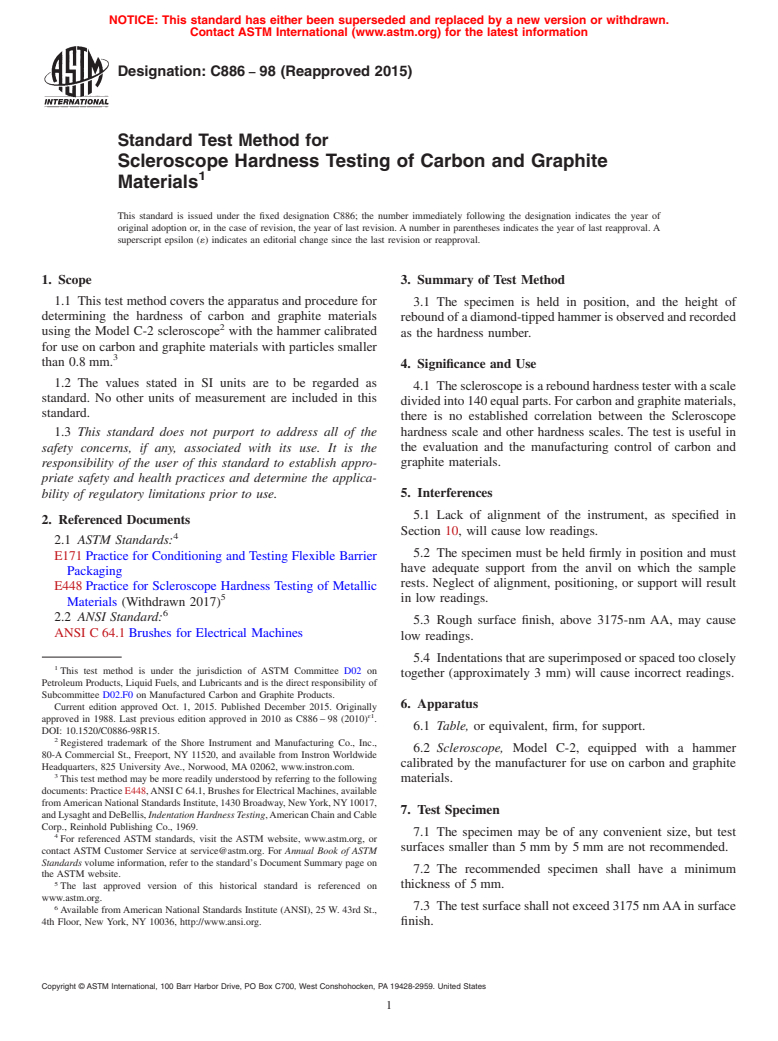
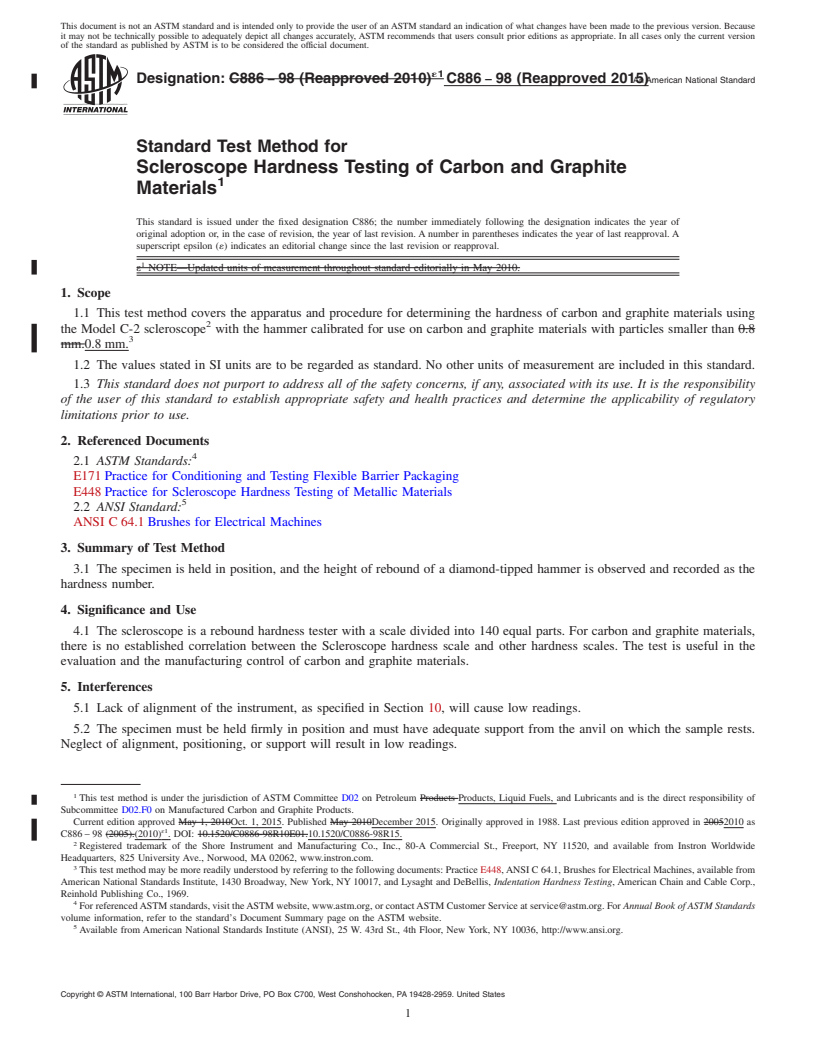
4.1 The scleroscope is a rebound hardness tester with a scale divided into 140 equal parts. For carbon and graphite materials, there is no established correlation between the Scleroscope hardness scale and other hardness scales. The test is useful in the evaluation and the manufacturing control of carbon and graphite materials.
SCOPE
1.1 This test method covers the apparatus and procedure for determining the hardness of carbon and graphite materials using the Model C-2 scleroscope2 with the hammer calibrated for use on carbon and graphite materials with particles smaller than 0.8 mm.3
1.2 The values stated in SI units are to be regarded as standard. No other units of measurement are included in this standard.
1.3 This standard does not purport to address all of the safety concerns, if any, associated with its use. It is the responsibility of the user of this standard to establish appropriate safety and health practices and determine the applicability of regulatory limitations prior to use.
General Information
Buy Standard
Standards Content (Sample)
NOTICE: This standard has either been superseded and replaced by a new version or withdrawn.
Contact ASTM International (www.astm.org) for the latest information
Designation: C886 − 98 (Reapproved 2015)
Standard Test Method for
Scleroscope Hardness Testing of Carbon and Graphite
1
Materials
This standard is issued under the fixed designation C886; the number immediately following the designation indicates the year of
original adoption or, in the case of revision, the year of last revision. A number in parentheses indicates the year of last reapproval. A
superscript epsilon (´) indicates an editorial change since the last revision or reapproval.
1. Scope 3. Summary of Test Method
1.1 This test method covers the apparatus and procedure for
3.1 The specimen is held in position, and the height of
determining the hardness of carbon and graphite materials
reboundofadiamond-tippedhammerisobservedandrecorded
2
using the Model C-2 scleroscope with the hammer calibrated
as the hardness number.
for use on carbon and graphite materials with particles smaller
3
than 0.8 mm.
4. Significance and Use
1.2 The values stated in SI units are to be regarded as
4.1 Thescleroscopeisareboundhardnesstesterwithascale
standard. No other units of measurement are included in this
dividedinto140equalparts.Forcarbonandgraphitematerials,
standard.
there is no established correlation between the Scleroscope
1.3 This standard does not purport to address all of the hardness scale and other hardness scales. The test is useful in
the evaluation and the manufacturing control of carbon and
safety concerns, if any, associated with its use. It is the
responsibility of the user of this standard to establish appro- graphite materials.
priate safety and health practices and determine the applica-
bility of regulatory limitations prior to use. 5. Interferences
5.1 Lack of alignment of the instrument, as specified in
2. Referenced Documents
Section 10, will cause low readings.
4
2.1 ASTM Standards:
5.2 The specimen must be held firmly in position and must
E171 Practice for Conditioning and Testing Flexible Barrier
have adequate support from the anvil on which the sample
Packaging
rests. Neglect of alignment, positioning, or support will result
E448 Practice for Scleroscope Hardness Testing of Metallic
5
in low readings.
Materials (Withdrawn 2017)
6
2.2 ANSI Standard:
5.3 Rough surface finish, above 3175-nm AA, may cause
ANSI C 64.1 Brushes for Electrical Machines
low readings.
5.4 Indentationsthataresuperimposedorspacedtooclosely
1
This test method is under the jurisdiction of ASTM Committee D02 on
together (approximately 3 mm) will cause incorrect readings.
Petroleum Products, Liquid Fuels, and Lubricants and is the direct responsibility of
Subcommittee D02.F0 on Manufactured Carbon and Graphite Products.
6. Apparatus
Current edition approved Oct. 1, 2015. Published December 2015. Originally
ɛ1
approved in 1988. Last previous edition approved in 2010 as C886 – 98 (2010) .
6.1 Table, or equivalent, firm, for support.
DOI: 10.1520/C0886-98R15.
2
Registered trademark of the Shore Instrument and Manufacturing Co., Inc.,
6.2 Scleroscope, Model C-2, equipped with a hammer
80-A Commercial St., Freeport, NY 11520, and available from Instron Worldwide
calibrated by the manufacturer for use on carbon and graphite
Headquarters, 825 University Ave., Norwood, MA 02062, www.instron.com.
3
This test method may be more readily understood by referring to the following
materials.
documents: Practice E448,ANSI C 64.1, Brushes for Electrical Machines, available
fromAmericanNationalStandardsInstitute,1430Broadway,NewYork,NY10017,
7. Test Specimen
andLysaghtandDeBellis,IndentationHardnessTesting,AmericanChainandCable
Corp., Reinhold Publishing Co., 1969.
7.1 The specimen may be of any convenient size, but test
4
For referenced ASTM standards, visit the ASTM website, www.astm.org, or
surfaces smaller than 5 mm by 5 mm are not recommended.
contact ASTM Customer Service at service@astm.org. For Annual Book of ASTM
Standards volume information, refer to the standard’s Document Summary page on
7.2 The recommended specimen shall have a minimum
the ASTM website.
5
thickness of 5 mm.
The last approved version of this historical standard is referenced on
www.astm.org.
6
7.3 The test surface shall not exceed 3175 nmAAin surface
Available from American National Standards Institute (ANSI), 25 W. 43rd St.,
4th Floor, New York, NY 10036, http://www.ansi.org. finish.
Copyright © ASTM International, 100 Barr Harbor Drive, PO Box C700, West Conshohocken, PA 19428-2959. United States
1
---------------------- Page: 1 ----------------------
C886 − 98 (2015)
7.4 The test surface-to-opposite side parallelism shall be 10.8 Return the hammer to the “UP’’ (locked) position.
within 1 %. For all specimens, the test surfaces must be
10.9 Repeat 10.6 through 10.8 four or more times, using a
maintained normal to the axis of the scleroscope tube.
different impact point each time in accordance with 8.4.
8.
...
This document is not an ASTM standard and is intended only to provide the user of an ASTM standard an indication of what changes have been made to the previous version. Because
it may not be technically possible to adequately depict all changes accurately, ASTM recommends that users consult prior editions as appropriate. In all cases only the current version
of the standard as published by ASTM is to be considered the official document.
´1
Designation: C886 − 98 (Reapproved 2010) C886 − 98 (Reapproved 2015)An American National Standard
Standard Test Method for
Scleroscope Hardness Testing of Carbon and Graphite
1
Materials
This standard is issued under the fixed designation C886; the number immediately following the designation indicates the year of
original adoption or, in the case of revision, the year of last revision. A number in parentheses indicates the year of last reapproval. A
superscript epsilon (´) indicates an editorial change since the last revision or reapproval.
1
ε NOTE—Updated units of measurement throughout standard editorially in May 2010.
1. Scope
1.1 This test method covers the apparatus and procedure for determining the hardness of carbon and graphite materials using
2
the Model C-2 scleroscope with the hammer calibrated for use on carbon and graphite materials with particles smaller than 0.8
3
mm.0.8 mm.
1.2 The values stated in SI units are to be regarded as standard. No other units of measurement are included in this standard.
1.3 This standard does not purport to address all of the safety concerns, if any, associated with its use. It is the responsibility
of the user of this standard to establish appropriate safety and health practices and determine the applicability of regulatory
limitations prior to use.
2. Referenced Documents
4
2.1 ASTM Standards:
E171 Practice for Conditioning and Testing Flexible Barrier Packaging
E448 Practice for Scleroscope Hardness Testing of Metallic Materials
5
2.2 ANSI Standard:
ANSI C 64.1 Brushes for Electrical Machines
3. Summary of Test Method
3.1 The specimen is held in position, and the height of rebound of a diamond-tipped hammer is observed and recorded as the
hardness number.
4. Significance and Use
4.1 The scleroscope is a rebound hardness tester with a scale divided into 140 equal parts. For carbon and graphite materials,
there is no established correlation between the Scleroscope hardness scale and other hardness scales. The test is useful in the
evaluation and the manufacturing control of carbon and graphite materials.
5. Interferences
5.1 Lack of alignment of the instrument, as specified in Section 10, will cause low readings.
5.2 The specimen must be held firmly in position and must have adequate support from the anvil on which the sample rests.
Neglect of alignment, positioning, or support will result in low readings.
1
This test method is under the jurisdiction of ASTM Committee D02 on Petroleum Products Products, Liquid Fuels, and Lubricants and is the direct responsibility of
Subcommittee D02.F0 on Manufactured Carbon and Graphite Products.
Current edition approved May 1, 2010Oct. 1, 2015. Published May 2010December 2015. Originally approved in 1988. Last previous edition approved in 20052010 as
ɛ1
C886 – 98 (2005).(2010) . DOI: 10.1520/C0886-98R10E01.10.1520/C0886-98R15.
2
Registered trademark of the Shore Instrument and Manufacturing Co., Inc., 80-A Commercial St., Freeport, NY 11520, and available from Instron Worldwide
Headquarters, 825 University Ave., Norwood, MA 02062, www.instron.com.
3
This test method may be more readily understood by referring to the following documents: Practice E448, ANSI C 64.1, Brushes for Electrical Machines, available from
American National Standards Institute, 1430 Broadway, New York, NY 10017, and Lysaght and DeBellis, Indentation Hardness Testing, American Chain and Cable Corp.,
Reinhold Publishing Co., 1969.
4
For referenced ASTM standards, visit the ASTM website, www.astm.org, or contact ASTM Customer Service at service@astm.org. For Annual Book of ASTM Standards
volume information, refer to the standard’s Document Summary page on the ASTM website.
5
Available from American National Standards Institute (ANSI), 25 W. 43rd St., 4th Floor, New York, NY 10036, http://www.ansi.org.
Copyright © ASTM International, 100 Barr Harbor Drive, PO Box C700, West Conshohocken, PA 19428-2959. United States
1
---------------------- Page: 1 ----------------------
C886 − 98 (2015)
5.3 Rough surface finish, above 3175-nm AA, may cause low readings.
5.4 Indentations that are superimposed or spaced too closely together (approximately 3 mm) will cause incorrect readings.
6. Apparatus
6.1 Table, or equivalent, firm, for support.
6.2 Scleroscope, Model C-2, equipped with a hammer calibrated by the manufacturer for use on carbon and graphite materials.
7. Test Specimen
7.1 The specimen may be of any convenient size, but test surfaces smaller than 55 mm by 5 mm 5 mm are not recommended.
7.2 The recommended specimen shall h
...


Questions, Comments and Discussion
Ask us and Technical Secretary will try to provide an answer. You can facilitate discussion about the standard in here.