ASTM E488/E488M-15
(Test Method)Standard Test Methods for Strength of Anchors in Concrete Elements
Standard Test Methods for Strength of Anchors in Concrete Elements
SIGNIFICANCE AND USE
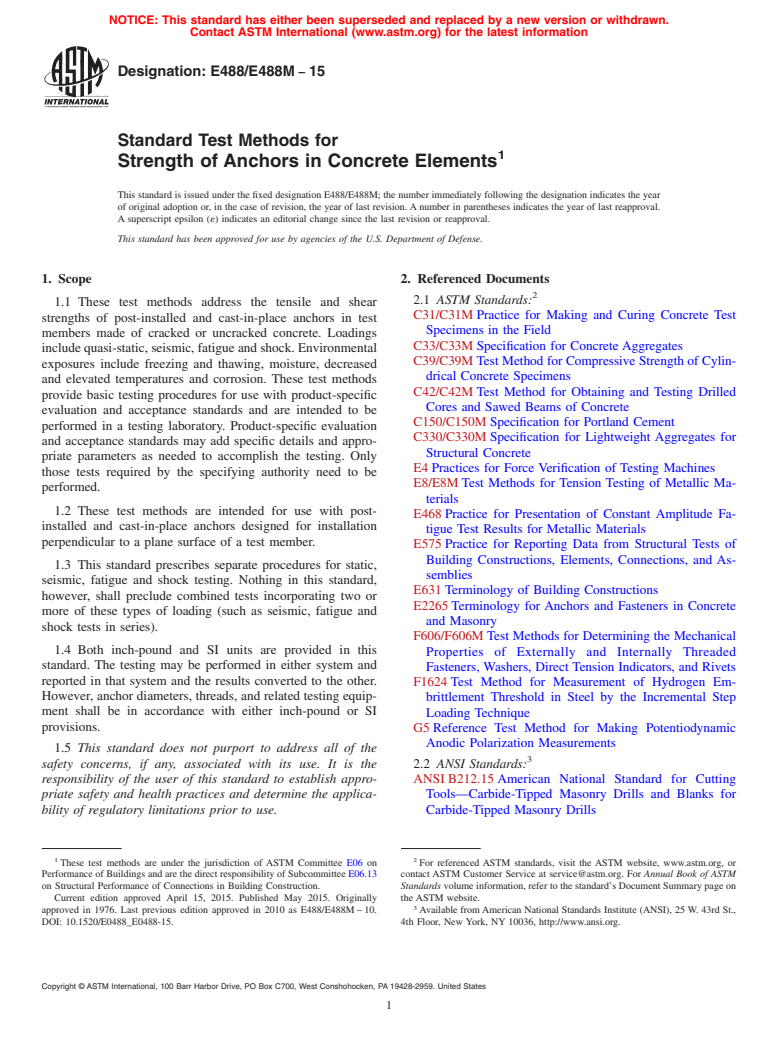
4.1 These test methods are intended to provide reproducible data from which acceptance criteria, design data, and specifications can be developed for anchors intended to be installed in concrete.
SCOPE
1.1 These test methods address the tensile and shear strengths of post-installed and cast-in-place anchors in test members made of cracked or uncracked concrete. Loadings include quasi-static, seismic, fatigue and shock. Environmental exposures include freezing and thawing, moisture, decreased and elevated temperatures and corrosion. These test methods provide basic testing procedures for use with product-specific evaluation and acceptance standards and are intended to be performed in a testing laboratory. Product-specific evaluation and acceptance standards may add specific details and appropriate parameters as needed to accomplish the testing. Only those tests required by the specifying authority need to be performed.
1.2 These test methods are intended for use with post-installed and cast-in-place anchors designed for installation perpendicular to a plane surface of a test member.
1.3 This standard prescribes separate procedures for static, seismic, fatigue and shock testing. Nothing in this standard, however, shall preclude combined tests incorporating two or more of these types of loading (such as seismic, fatigue and shock tests in series).
1.4 Both inch-pound and SI units are provided in this standard. The testing may be performed in either system and reported in that system and the results converted to the other. However, anchor diameters, threads, and related testing equipment shall be in accordance with either inch-pound or SI provisions.
1.5 This standard does not purport to address all of the safety concerns, if any, associated with its use. It is the responsibility of the user of this standard to establish appropriate safety and health practices and determine the applicability of regulatory limitations prior to use.
General Information
Relations
Buy Standard
Standards Content (Sample)
NOTICE: This standard has either been superseded and replaced by a new version or withdrawn.
Contact ASTM International (www.astm.org) for the latest information
Designation: E488/E488M − 15
Standard Test Methods for
1
Strength of Anchors in Concrete Elements
This standard is issued under the fixed designation E488/E488M; the number immediately following the designation indicates the year
of original adoption or, in the case of revision, the year of last revision.Anumber in parentheses indicates the year of last reapproval.
A superscript epsilon (´) indicates an editorial change since the last revision or reapproval.
This standard has been approved for use by agencies of the U.S. Department of Defense.
1. Scope 2. Referenced Documents
2
2.1 ASTM Standards:
1.1 These test methods address the tensile and shear
C31/C31MPractice for Making and Curing Concrete Test
strengths of post-installed and cast-in-place anchors in test
Specimens in the Field
members made of cracked or uncracked concrete. Loadings
C33/C33MSpecification for Concrete Aggregates
includequasi-static,seismic,fatigueandshock.Environmental
C39/C39MTest Method for Compressive Strength of Cylin-
exposures include freezing and thawing, moisture, decreased
drical Concrete Specimens
and elevated temperatures and corrosion. These test methods
C42/C42MTest Method for Obtaining and Testing Drilled
provide basic testing procedures for use with product-specific
Cores and Sawed Beams of Concrete
evaluation and acceptance standards and are intended to be
C150/C150MSpecification for Portland Cement
performed in a testing laboratory. Product-specific evaluation
C330/C330MSpecification for Lightweight Aggregates for
and acceptance standards may add specific details and appro-
Structural Concrete
priate parameters as needed to accomplish the testing. Only
E4Practices for Force Verification of Testing Machines
those tests required by the specifying authority need to be
E8/E8MTest Methods for Tension Testing of Metallic Ma-
performed.
terials
1.2 These test methods are intended for use with post-
E468Practice for Presentation of Constant Amplitude Fa-
installed and cast-in-place anchors designed for installation
tigue Test Results for Metallic Materials
perpendicular to a plane surface of a test member.
E575Practice for Reporting Data from Structural Tests of
Building Constructions, Elements, Connections, and As-
1.3 This standard prescribes separate procedures for static,
semblies
seismic, fatigue and shock testing. Nothing in this standard,
E631Terminology of Building Constructions
however, shall preclude combined tests incorporating two or
E2265Terminology for Anchors and Fasteners in Concrete
more of these types of loading (such as seismic, fatigue and
and Masonry
shock tests in series).
F606/F606MTest Methods for Determining the Mechanical
1.4 Both inch-pound and SI units are provided in this
Properties of Externally and Internally Threaded
standard. The testing may be performed in either system and
Fasteners, Washers, Direct Tension Indicators, and Rivets
reported in that system and the results converted to the other.
F1624Test Method for Measurement of Hydrogen Em-
However, anchor diameters, threads, and related testing equip-
brittlement Threshold in Steel by the Incremental Step
ment shall be in accordance with either inch-pound or SI
Loading Technique
provisions.
G5Reference Test Method for Making Potentiodynamic
Anodic Polarization Measurements
1.5 This standard does not purport to address all of the
3
safety concerns, if any, associated with its use. It is the 2.2 ANSI Standards:
responsibility of the user of this standard to establish appro- ANSI B212.15 American National Standard for Cutting
priate safety and health practices and determine the applica- Tools—Carbide-Tipped Masonry Drills and Blanks for
bility of regulatory limitations prior to use. Carbide-Tipped Masonry Drills
1 2
These test methods are under the jurisdiction of ASTM Committee E06 on For referenced ASTM standards, visit the ASTM website, www.astm.org, or
Performance of Buildings and are the direct responsibility of Subcommittee E06.13 contact ASTM Customer Service at service@astm.org. For Annual Book of ASTM
on Structural Performance of Connections in Building Construction. Standards volume information, refer to the standard’s Document Summary page on
Current edition approved April 15, 2015. Published May 2015. Originally the ASTM website.
3
approved in 1976. Last previous edition approved in 2010 as E488/E488M–10. Available fromAmerican National Standards Institute (ANSI), 25 W. 43rd St.,
DOI: 10.1520/E0488_E0488-15. 4th Floor, New York, NY 10036, http://www.ansi.org.
Copyright © ASTM International, 100 Barr Harbor Drive, PO Box C700, West Conshohocken, PA 19428-2959. United States
1
---------------------- Page: 1 ----------------------
E488/E488M − 15
3. Terminology
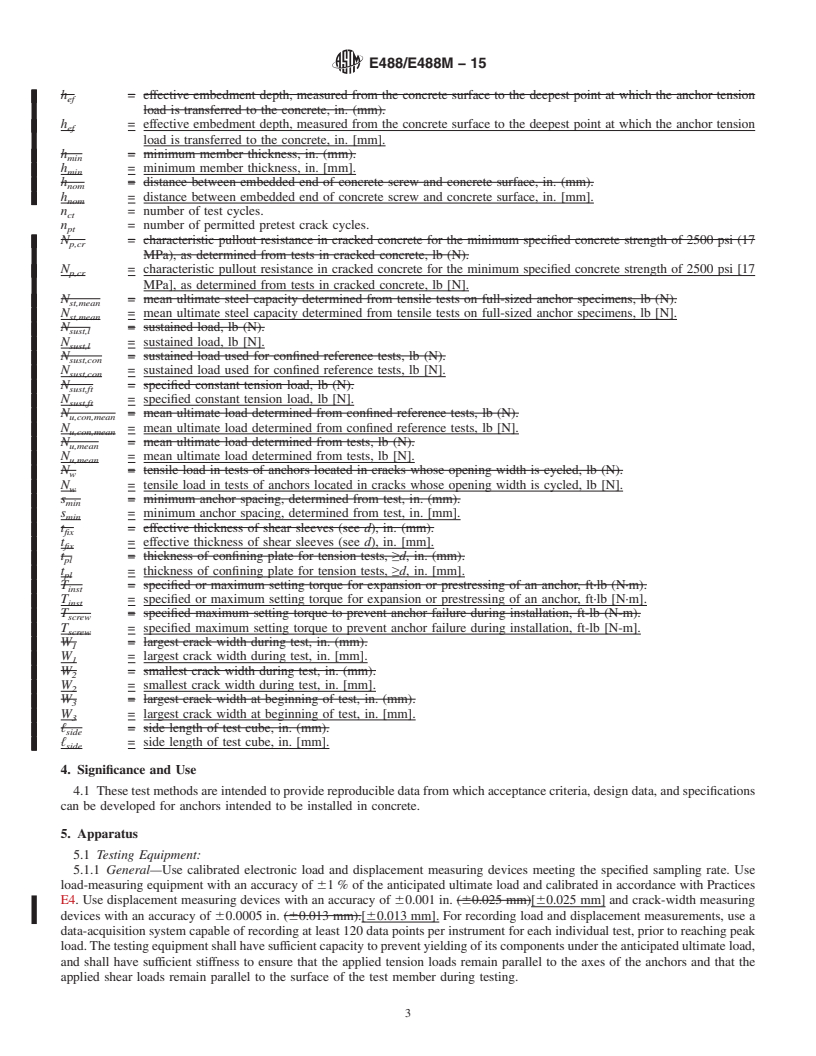
h = minimum member thickness, in. [mm].
min
h = distance between embedded end of concrete
nom
3.1 Definitions:
screw and
...
This document is not an ASTM standard and is intended only to provide the user of an ASTM standard an indication of what changes have been made to the previous version. Because
it may not be technically possible to adequately depict all changes accurately, ASTM recommends that users consult prior editions as appropriate. In all cases only the current version
of the standard as published by ASTM is to be considered the official document.
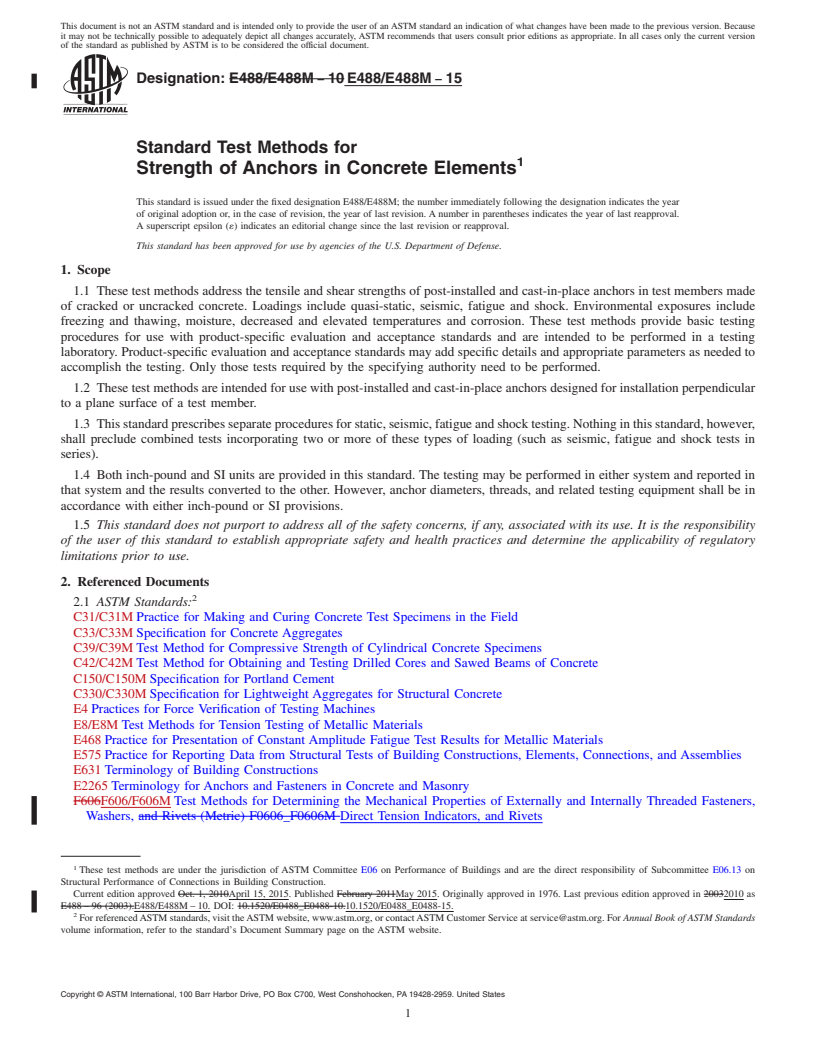
Designation: E488/E488M − 10 E488/E488M − 15
Standard Test Methods for
1
Strength of Anchors in Concrete Elements
This standard is issued under the fixed designation E488/E488M; the number immediately following the designation indicates the year
of original adoption or, in the case of revision, the year of last revision. A number in parentheses indicates the year of last reapproval.
A superscript epsilon (´) indicates an editorial change since the last revision or reapproval.
This standard has been approved for use by agencies of the U.S. Department of Defense.
1. Scope
1.1 These test methods address the tensile and shear strengths of post-installed and cast-in-place anchors in test members made
of cracked or uncracked concrete. Loadings include quasi-static, seismic, fatigue and shock. Environmental exposures include
freezing and thawing, moisture, decreased and elevated temperatures and corrosion. These test methods provide basic testing
procedures for use with product-specific evaluation and acceptance standards and are intended to be performed in a testing
laboratory. Product-specific evaluation and acceptance standards may add specific details and appropriate parameters as needed to
accomplish the testing. Only those tests required by the specifying authority need to be performed.
1.2 These test methods are intended for use with post-installed and cast-in-place anchors designed for installation perpendicular
to a plane surface of a test member.
1.3 This standard prescribes separate procedures for static, seismic, fatigue and shock testing. Nothing in this standard, however,
shall preclude combined tests incorporating two or more of these types of loading (such as seismic, fatigue and shock tests in
series).
1.4 Both inch-pound and SI units are provided in this standard. The testing may be performed in either system and reported in
that system and the results converted to the other. However, anchor diameters, threads, and related testing equipment shall be in
accordance with either inch-pound or SI provisions.
1.5 This standard does not purport to address all of the safety concerns, if any, associated with its use. It is the responsibility
of the user of this standard to establish appropriate safety and health practices and determine the applicability of regulatory
limitations prior to use.
2. Referenced Documents
2
2.1 ASTM Standards:
C31/C31M Practice for Making and Curing Concrete Test Specimens in the Field
C33/C33M Specification for Concrete Aggregates
C39/C39M Test Method for Compressive Strength of Cylindrical Concrete Specimens
C42/C42M Test Method for Obtaining and Testing Drilled Cores and Sawed Beams of Concrete
C150/C150M Specification for Portland Cement
C330/C330M Specification for Lightweight Aggregates for Structural Concrete
E4 Practices for Force Verification of Testing Machines
E8/E8M Test Methods for Tension Testing of Metallic Materials
E468 Practice for Presentation of Constant Amplitude Fatigue Test Results for Metallic Materials
E575 Practice for Reporting Data from Structural Tests of Building Constructions, Elements, Connections, and Assemblies
E631 Terminology of Building Constructions
E2265 Terminology for Anchors and Fasteners in Concrete and Masonry
F606F606/F606M Test Methods for Determining the Mechanical Properties of Externally and Internally Threaded Fasteners,
Washers, and Rivets (Metric) F0606_F0606M Direct Tension Indicators, and Rivets
1
These test methods are under the jurisdiction of ASTM Committee E06 on Performance of Buildings and are the direct responsibility of Subcommittee E06.13 on
Structural Performance of Connections in Building Construction.
Current edition approved Oct. 1, 2010April 15, 2015. Published February 2011May 2015. Originally approved in 1976. Last previous edition approved in 20032010 as
E488 – 96 (2003).E488/E488M – 10. DOI: 10.1520/E0488_E0488-10.10.1520/E0488_E0488-15.
2
For referenced ASTM standards, visit the ASTM website, www.astm.org, or contact ASTM Customer Service at service@astm.org. For Annual Book of ASTM Standards
volume information, refer to the standard’s Document Summary page on the ASTM website.
Copyright © ASTM International, 100 Barr Harbor Drive, PO Box C700, West Conshohocken, PA 19428-2959. United States
1
---------------------- Page: 1 ----------------------
E488/E488M − 15
F606M Test Methods for Determining the Mechanical Properties of Externally and Internally Threaded Fasteners, Washers, and
Rivets (Metric)
F1624 Test Method for Measurement of Hydrogen Embrittlement Threshold in Steel
...


Questions, Comments and Discussion
Ask us and Technical Secretary will try to provide an answer. You can facilitate discussion about the standard in here.