ASTM F2837-11
(Test Method)Standard Test Method for Hot Compression Properties of Gasket Materials
Standard Test Method for Hot Compression Properties of Gasket Materials
SIGNIFICANCE AND USE
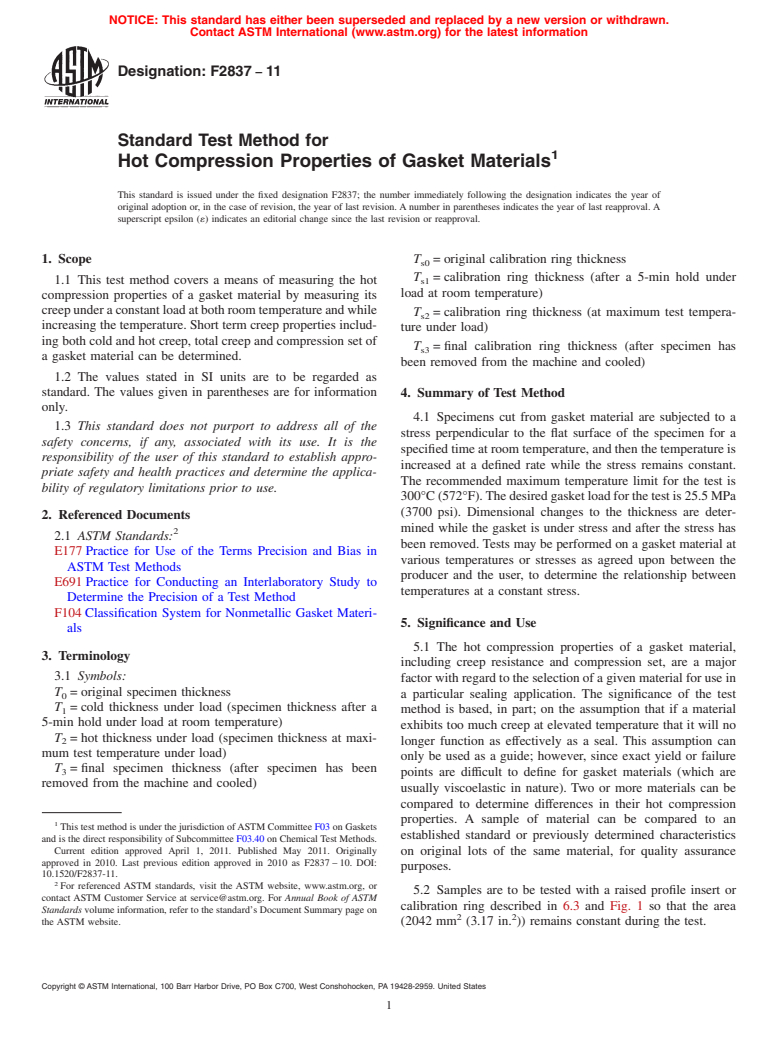
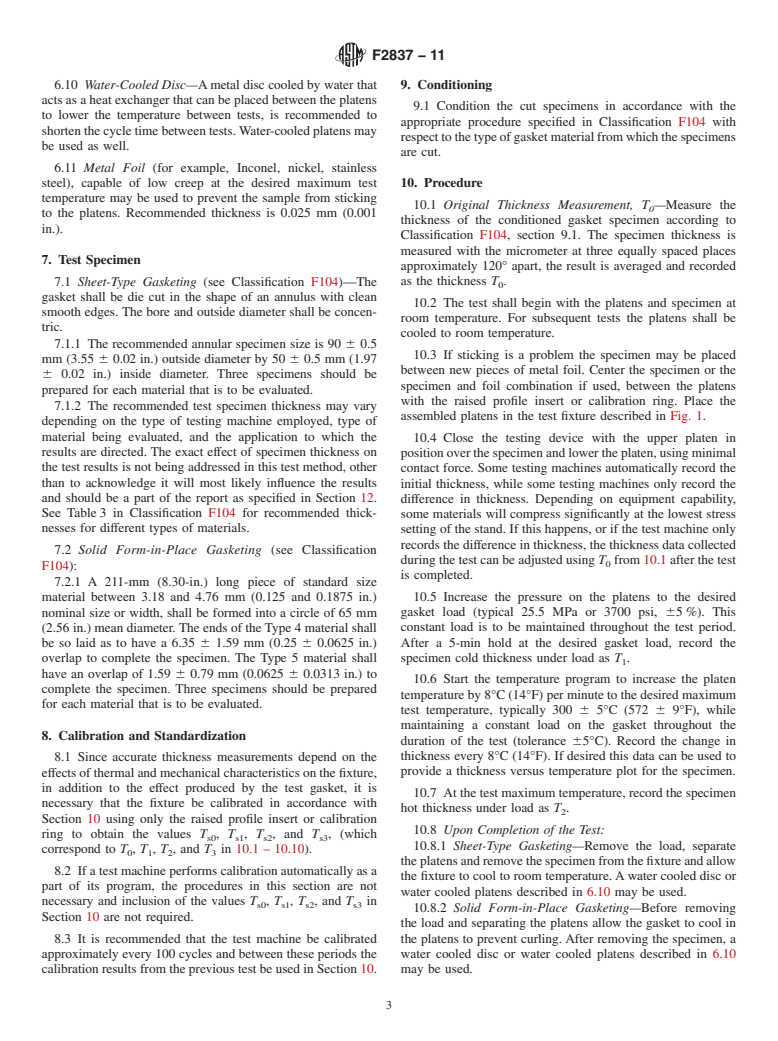
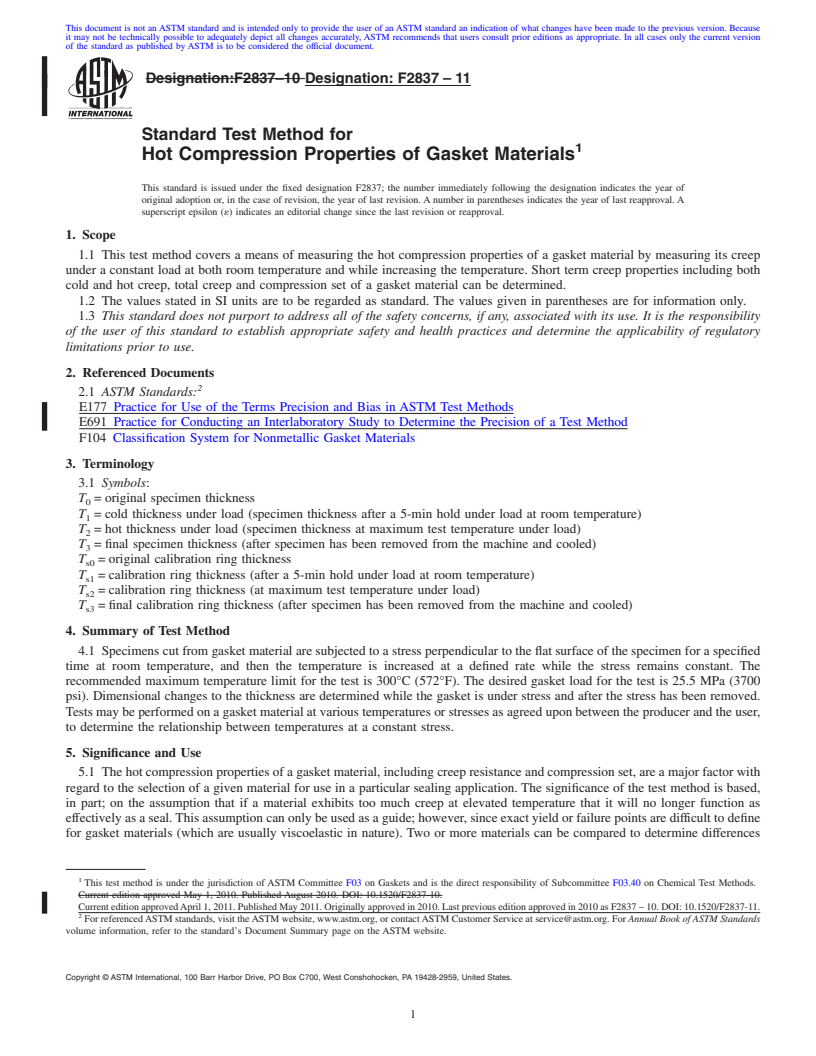
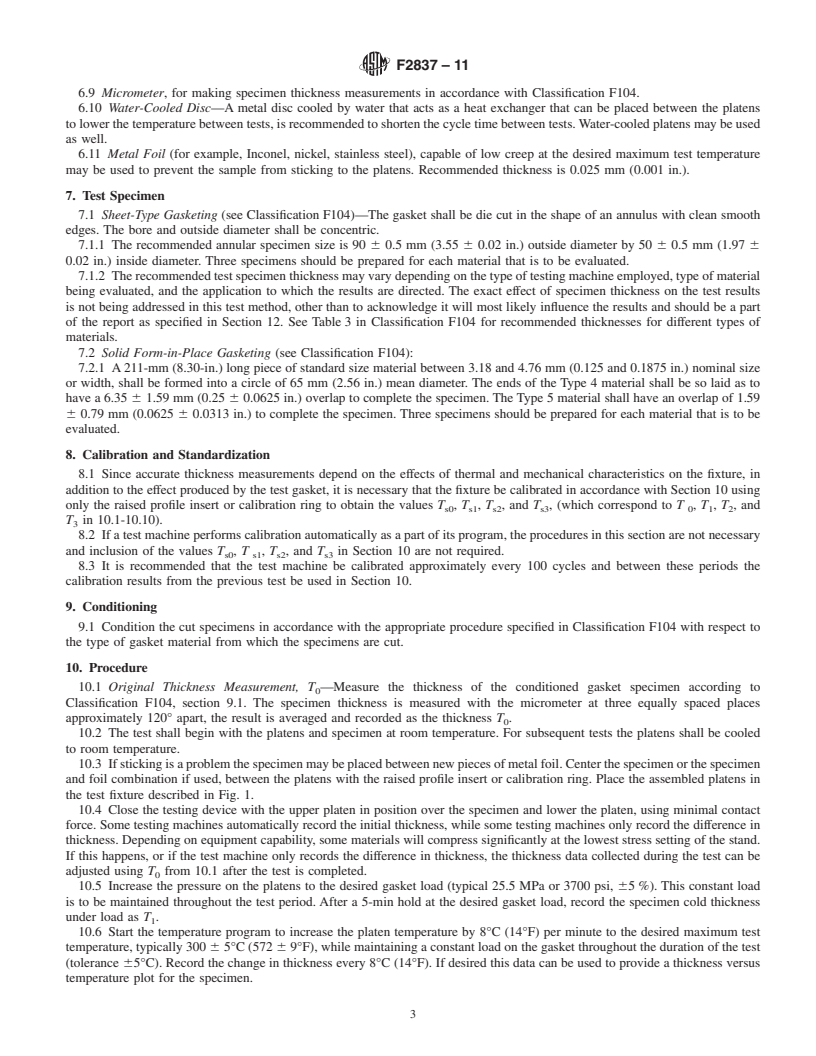
The hot compression properties of a gasket material, including creep resistance and compression set, are a major factor with regard to the selection of a given material for use in a particular sealing application. The significance of the test method is based, in part; on the assumption that if a material exhibits too much creep at elevated temperature that it will no longer function as effectively as a seal. This assumption can only be used as a guide; however, since exact yield or failure points are difficult to define for gasket materials (which are usually viscoelastic in nature). Two or more materials can be compared to determine differences in their hot compression properties. A sample of material can be compared to an established standard or previously determined characteristics on original lots of the same material, for quality assurance purposes.
SCOPE
1.1 This test method covers a means of measuring the hot compression properties of a gasket material by measuring its creep under a constant load at both room temperature and while increasing the temperature. Short term creep properties including both cold and hot creep, total creep and compression set of a gasket material can be determined.
1.2 The values stated in SI units are to be regarded as standard. The values given in parentheses are for information only.
1.3 This standard does not purport to address all of the safety concerns, if any, associated with its use. It is the responsibility of the user of this standard to establish appropriate safety and health practices and determine the applicability of regulatory limitations prior to use.
General Information
Relations
Buy Standard
Standards Content (Sample)
NOTICE: This standard has either been superseded and replaced by a new version or withdrawn.
Contact ASTM International (www.astm.org) for the latest information
Designation: F2837 − 11
Standard Test Method for
1
Hot Compression Properties of Gasket Materials
This standard is issued under the fixed designation F2837; the number immediately following the designation indicates the year of
original adoption or, in the case of revision, the year of last revision. A number in parentheses indicates the year of last reapproval. A
superscript epsilon (´) indicates an editorial change since the last revision or reapproval.
1. Scope T = original calibration ring thickness
s0
T = calibration ring thickness (after a 5-min hold under
1.1 This test method covers a means of measuring the hot s1
load at room temperature)
compression properties of a gasket material by measuring its
creepunderaconstantloadatbothroomtemperatureandwhile
T = calibration ring thickness (at maximum test tempera-
s2
increasing the temperature. Short term creep properties includ-
ture under load)
ing both cold and hot creep, total creep and compression set of
T = final calibration ring thickness (after specimen has
s3
a gasket material can be determined.
been removed from the machine and cooled)
1.2 The values stated in SI units are to be regarded as
standard. The values given in parentheses are for information
4. Summary of Test Method
only.
4.1 Specimens cut from gasket material are subjected to a
1.3 This standard does not purport to address all of the
stress perpendicular to the flat surface of the specimen for a
safety concerns, if any, associated with its use. It is the
specified time at room temperature, and then the temperature is
responsibility of the user of this standard to establish appro-
increased at a defined rate while the stress remains constant.
priate safety and health practices and determine the applica-
The recommended maximum temperature limit for the test is
bility of regulatory limitations prior to use.
300°C(572°F).Thedesiredgasketloadforthetestis25.5MPa
(3700 psi). Dimensional changes to the thickness are deter-
2. Referenced Documents
mined while the gasket is under stress and after the stress has
2
2.1 ASTM Standards:
been removed. Tests may be performed on a gasket material at
E177 Practice for Use of the Terms Precision and Bias in
various temperatures or stresses as agreed upon between the
ASTM Test Methods
producer and the user, to determine the relationship between
E691 Practice for Conducting an Interlaboratory Study to
temperatures at a constant stress.
Determine the Precision of a Test Method
F104 Classification System for Nonmetallic Gasket Materi-
5. Significance and Use
als
5.1 The hot compression properties of a gasket material,
3. Terminology
including creep resistance and compression set, are a major
3.1 Symbols:
factor with regard to the selection of a given material for use in
T = original specimen thickness
a particular sealing application. The significance of the test
0
T = cold thickness under load (specimen thickness after a
method is based, in part; on the assumption that if a material
1
5-min hold under load at room temperature)
exhibits too much creep at elevated temperature that it will no
T = hot thickness under load (specimen thickness at maxi-
2
longer function as effectively as a seal. This assumption can
mum test temperature under load)
only be used as a guide; however, since exact yield or failure
T = final specimen thickness (after specimen has been
3
points are difficult to define for gasket materials (which are
removed from the machine and cooled)
usually viscoelastic in nature). Two or more materials can be
compared to determine differences in their hot compression
properties. A sample of material can be compared to an
1
This test method is under the jurisdiction ofASTM Committee F03 on Gaskets
established standard or previously determined characteristics
and is the direct responsibility of Subcommittee F03.40 on Chemical Test Methods.
Current edition approved April 1, 2011. Published May 2011. Originally
on original lots of the same material, for quality assurance
approved in 2010. Last previous edition approved in 2010 as F2837 – 10. DOI:
purposes.
10.1520/F2837-11.
2
For referenced ASTM standards, visit the ASTM website, www.astm.org, or
5.2 Samples are to be tested with a raised profile insert or
contact ASTM Customer Service at service@astm.org. For Annual Book of ASTM
calibration ring described in 6.3 and Fig. 1 so that the area
Standards volume information, refer to the standard’s Document Summary page on
2 2
the ASTM website. (2042 mm (3.17 in. )) remains constant during the test.
Copyright © ASTM International, 100 Barr Harbor Drive, PO Box C700, West Conshohocken, PA 19428-2959. United States
1
---------------------- Page: 1 ----------------------
F2837 − 11
FIG. 1 Test Assembly for Determining Hot Compression
6. Apparatus temperature difference between the two platens shall not
exce
...
This document is not an ASTM standard and is intended only to provide the user of an ASTM standard an indication of what changes have been made to the previous version. Because
it may not be technically possible to adequately depict all changes accurately, ASTM recommends that users consult prior editions as appropriate. In all cases only the current version
of the standard as published by ASTM is to be considered the official document.
Designation:F2837–10 Designation:F2837–11
Standard Test Method for
1
Hot Compression Properties of Gasket Materials
This standard is issued under the fixed designation F2837; the number immediately following the designation indicates the year of
original adoption or, in the case of revision, the year of last revision. A number in parentheses indicates the year of last reapproval. A
superscript epsilon (´) indicates an editorial change since the last revision or reapproval.
1. Scope
1.1 This test method covers a means of measuring the hot compression properties of a gasket material by measuring its creep
under a constant load at both room temperature and while increasing the temperature. Short term creep properties including both
cold and hot creep, total creep and compression set of a gasket material can be determined.
1.2 The values stated in SI units are to be regarded as standard. The values given in parentheses are for information only.
1.3 This standard does not purport to address all of the safety concerns, if any, associated with its use. It is the responsibility
of the user of this standard to establish appropriate safety and health practices and determine the applicability of regulatory
limitations prior to use.
2. Referenced Documents
2
2.1 ASTM Standards:
E177 Practice for Use of the Terms Precision and Bias in ASTM Test Methods
E691 Practice for Conducting an Interlaboratory Study to Determine the Precision of a Test Method
F104 Classification System for Nonmetallic Gasket Materials
3. Terminology
3.1 Symbols:
T = original specimen thickness
0
T = cold thickness under load (specimen thickness after a 5-min hold under load at room temperature)
1
T = hot thickness under load (specimen thickness at maximum test temperature under load)
2
T = final specimen thickness (after specimen has been removed from the machine and cooled)
3
T = original calibration ring thickness
s0
T = calibration ring thickness (after a 5-min hold under load at room temperature)
s1
T = calibration ring thickness (at maximum test temperature under load)
s2
T = final calibration ring thickness (after specimen has been removed from the machine and cooled)
s3
4. Summary of Test Method
4.1 Specimens cut from gasket material are subjected to a stress perpendicular to the flat surface of the specimen for a specified
time at room temperature, and then the temperature is increased at a defined rate while the stress remains constant. The
recommended maximum temperature limit for the test is 300°C (572°F). The desired gasket load for the test is 25.5 MPa (3700
psi). Dimensional changes to the thickness are determined while the gasket is under stress and after the stress has been removed.
Tests may be performed on a gasket material at various temperatures or stresses as agreed upon between the producer and the user,
to determine the relationship between temperatures at a constant stress.
5. Significance and Use
5.1 The hot compression properties of a gasket material, including creep resistance and compression set, are a major factor with
regard to the selection of a given material for use in a particular sealing application. The significance of the test method is based,
in part; on the assumption that if a material exhibits too much creep at elevated temperature that it will no longer function as
effectively as a seal.This assumption can only be used as a guide; however, since exact yield or failure points are difficult to define
for gasket materials (which are usually viscoelastic in nature). Two or more materials can be compared to determine differences
1
This test method is under the jurisdiction of ASTM Committee F03 on Gaskets and is the direct responsibility of Subcommittee F03.40 on Chemical Test Methods.
Current edition approved May 1, 2010. Published August 2010. DOI: 10.1520/F2837-10.
CurrenteditionapprovedApril1,2011.PublishedMay2011.Originallyapprovedin2010.Lastpreviouseditionapprovedin2010asF2837 – 10.DOI:10.1520/F2837-11.
2
For referencedASTM standards, visit theASTM website, www.astm.org, or contactASTM Customer Service at service@astm.org. ForAnnualBookofASTMStandards
volume information, refer to the standard’s Document Summary page on the ASTM website.
Copyright © ASTM International, 100 Barr Harbor Drive, PO Box C700, West Conshohocken, PA 19428-2959, United States.
1
---------------------- Page: 1 ----------------------
F2837–11
in their hot compression properties. A sample of material can be compared to an established standard or previously determined
characteristics on original lots of the
...


Questions, Comments and Discussion
Ask us and Technical Secretary will try to provide an answer. You can facilitate discussion about the standard in here.