ASTM A802-19
(Practice)Standard Practice for Steel Castings, Surface Acceptance Standards, Visual Examination
Standard Practice for Steel Castings, Surface Acceptance Standards, Visual Examination
ABSTRACT
This practice covers the standard acceptance criteria for the determination of surface texture, surface roughness, and surface discontinuities of steel castings by visual examination. The acceptance levels utilize the Steel Castings Research and Trade Association (SCRATA) graded reference comparators described as follows: Level A for surface texture, Level B for nonmetallic inclusions, Level C for gas porosity, Level D for solidification discontinuities, Level E for sand expansion discontinuities, Level F for metal inserts, Level G for thermally cut surfaces, Level H for mechanically prepared surfaces, and Level J for welded surfaces.
SCOPE
1.1 This practice covers the acceptance criteria for the surface inspection of steel castings by visual examination. Four levels of acceptance standards are provided.
1.2 Acceptance levels utilize Steel Castings Research and Trade Association (SCRATA)2 graded reference comparators for the visual determination of surface texture, surface roughness, and surface discontinuities described as follows:
Acceptance levels
A – Surface Texture
B – Nonmetallic Inclusions
C – Gas Porosity
D – Solidification Discontinuities
E – Sand Expansion Discontinuities
F – Metal Inserts
G – Thermally Cut Surfaces
H – Mechanically Prepared Surfaces
J – Welded Surfaces
1.3 Descriptions of terms related to casting discontinuities are in Section 2.
1.4 This standard does not purport to address all of the safety concerns, if any, associated with its use. It is the responsibility of the user of this standard to establish appropriate safety, health, and environmental practices and determine the applicability of regulatory limitations prior to use.
1.5 This international standard was developed in accordance with internationally recognized principles on standardization established in the Decision on Principles for the Development of International Standards, Guides and Recommendations issued by the World Trade Organization Technical Barriers to Trade (TBT) Committee.
General Information
Buy Standard
Standards Content (Sample)
This international standard was developed in accordance with internationally recognized principles on standardization established in the Decision on Principles for the
Development of International Standards, Guides and Recommendations issued by the World Trade Organization Technical Barriers to Trade (TBT) Committee.
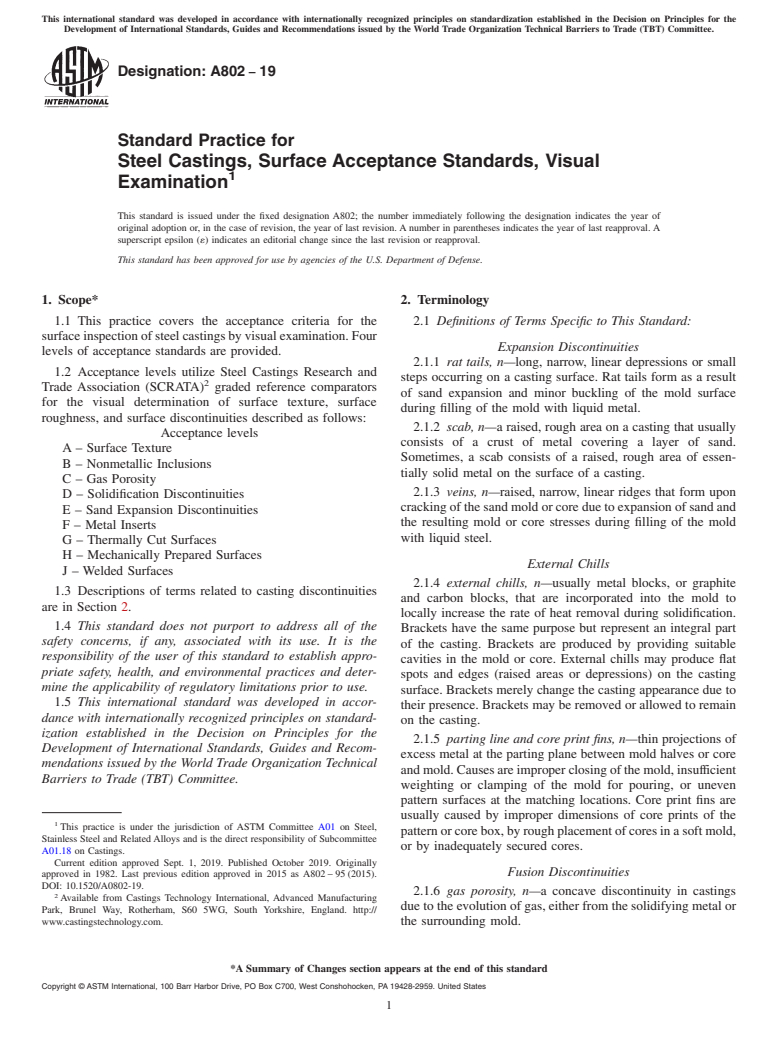
Designation: A802 − 19
Standard Practice for
Steel Castings, Surface Acceptance Standards, Visual
1
Examination
This standard is issued under the fixed designation A802; the number immediately following the designation indicates the year of
original adoption or, in the case of revision, the year of last revision. A number in parentheses indicates the year of last reapproval. A
superscript epsilon (´) indicates an editorial change since the last revision or reapproval.
This standard has been approved for use by agencies of the U.S. Department of Defense.
1. Scope* 2. Terminology
1.1 This practice covers the acceptance criteria for the 2.1 Definitions of Terms Specific to This Standard:
surface inspection of steel castings by visual examination. Four
Expansion Discontinuities
levels of acceptance standards are provided.
2.1.1 rat tails, n—long, narrow, linear depressions or small
1.2 Acceptance levels utilize Steel Castings Research and
steps occurring on a casting surface. Rat tails form as a result
2
Trade Association (SCRATA) graded reference comparators
of sand expansion and minor buckling of the mold surface
for the visual determination of surface texture, surface
during filling of the mold with liquid metal.
roughness, and surface discontinuities described as follows:
2.1.2 scab, n—a raised, rough area on a casting that usually
Acceptance levels
consists of a crust of metal covering a layer of sand.
A – Surface Texture
Sometimes, a scab consists of a raised, rough area of essen-
B – Nonmetallic Inclusions
tially solid metal on the surface of a casting.
C – Gas Porosity
2.1.3 veins, n—raised, narrow, linear ridges that form upon
D – Solidification Discontinuities
cracking of the sand mold or core due to expansion of sand and
E – Sand Expansion Discontinuities
the resulting mold or core stresses during filling of the mold
F – Metal Inserts
with liquid steel.
G – Thermally Cut Surfaces
H – Mechanically Prepared Surfaces
External Chills
J – Welded Surfaces
2.1.4 external chills, n—usually metal blocks, or graphite
1.3 Descriptions of terms related to casting discontinuities
and carbon blocks, that are incorporated into the mold to
are in Section 2.
locally increase the rate of heat removal during solidification.
1.4 This standard does not purport to address all of the
Brackets have the same purpose but represent an integral part
safety concerns, if any, associated with its use. It is the
of the casting. Brackets are produced by providing suitable
responsibility of the user of this standard to establish appro-
cavities in the mold or core. External chills may produce flat
priate safety, health, and environmental practices and deter-
spots and edges (raised areas or depressions) on the casting
mine the applicability of regulatory limitations prior to use.
surface. Brackets merely change the casting appearance due to
1.5 This international standard was developed in accor-
their presence. Brackets may be removed or allowed to remain
dance with internationally recognized principles on standard-
on the casting.
ization established in the Decision on Principles for the
2.1.5 parting line and core print fins, n—thin projections of
Development of International Standards, Guides and Recom-
excess metal at the parting plane between mold halves or core
mendations issued by the World Trade Organization Technical
andmold.Causesareimproperclosingofthemold,insufficient
Barriers to Trade (TBT) Committee.
weighting or clamping of the mold for pouring, or uneven
pattern surfaces at the matching locations. Core print fins are
usually caused by improper dimensions of core prints of the
1
This practice is under the jurisdiction of ASTM Committee A01 on Steel,
patternorcorebox,byroughplacementofcoresinasoftmold,
Stainless Steel and Related Alloys and is the direct responsibility of Subcommittee
or by inadequately secured cores.
A01.18 on Castings.
Current edition approved Sept. 1, 2019. Published October 2019. Originally
Fusion Discontinuities
approved in 1982. Last previous edition approved in 2015 as A802 – 95 (2015).
DOI: 10.1520/A0802-19.
2.1.6 gas porosity, n—a concave discontinuity in castings
2
Available from Castings Technology International, Advanced Manufacturing
due to the evolution of gas, either from the solidifying metal or
Park, Brunel Way, Rotherham, S60 5WG, South Yorkshire, England. http://
www.castingstechnology.com. the surrounding mold.
*A Summary of Changes section appears at the end of this standard
Copyright © ASTM International, 100 Barr Harbor Drive, PO Box C700, West Conshohocken, PA 19428-2959. United States
1
---------------------- Page: 1 ----------------------
A802 − 19
2.1.7 laps, folds, an
...
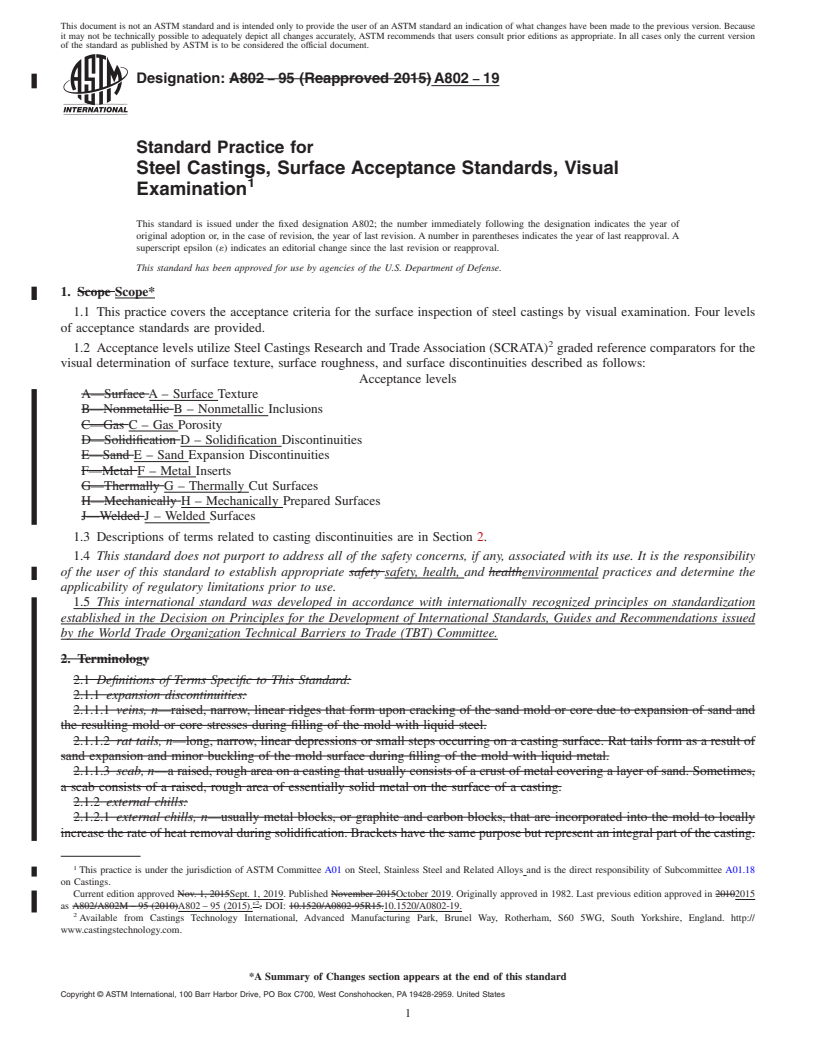
This document is not an ASTM standard and is intended only to provide the user of an ASTM standard an indication of what changes have been made to the previous version. Because
it may not be technically possible to adequately depict all changes accurately, ASTM recommends that users consult prior editions as appropriate. In all cases only the current version
of the standard as published by ASTM is to be considered the official document.
Designation: A802 − 95 (Reapproved 2015) A802 − 19
Standard Practice for
Steel Castings, Surface Acceptance Standards, Visual
1
Examination
This standard is issued under the fixed designation A802; the number immediately following the designation indicates the year of
original adoption or, in the case of revision, the year of last revision. A number in parentheses indicates the year of last reapproval. A
superscript epsilon (´) indicates an editorial change since the last revision or reapproval.
This standard has been approved for use by agencies of the U.S. Department of Defense.
1. Scope Scope*
1.1 This practice covers the acceptance criteria for the surface inspection of steel castings by visual examination. Four levels
of acceptance standards are provided.
2
1.2 Acceptance levels utilize Steel Castings Research and Trade Association (SCRATA) graded reference comparators for the
visual determination of surface texture, surface roughness, and surface discontinuities described as follows:
Acceptance levels
A—Surface A – Surface Texture
B—Nonmetallic B – Nonmetallic Inclusions
C—Gas C – Gas Porosity
D—Solidification D – Solidification Discontinuities
E—Sand E – Sand Expansion Discontinuities
F—Metal F – Metal Inserts
G—Thermally G – Thermally Cut Surfaces
H—Mechanically H – Mechanically Prepared Surfaces
J—Welded J – Welded Surfaces
1.3 Descriptions of terms related to casting discontinuities are in Section 2.
1.4 This standard does not purport to address all of the safety concerns, if any, associated with its use. It is the responsibility
of the user of this standard to establish appropriate safety safety, health, and healthenvironmental practices and determine the
applicability of regulatory limitations prior to use.
1.5 This international standard was developed in accordance with internationally recognized principles on standardization
established in the Decision on Principles for the Development of International Standards, Guides and Recommendations issued
by the World Trade Organization Technical Barriers to Trade (TBT) Committee.
2. Terminology
2.1 Definitions of Terms Specific to This Standard:
2.1.1 expansion discontinuities:
2.1.1.1 veins, n—raised, narrow, linear ridges that form upon cracking of the sand mold or core due to expansion of sand and
the resulting mold or core stresses during filling of the mold with liquid steel.
2.1.1.2 rat tails, n—long, narrow, linear depressions or small steps occurring on a casting surface. Rat tails form as a result of
sand expansion and minor buckling of the mold surface during filling of the mold with liquid metal.
2.1.1.3 scab, n—a raised, rough area on a casting that usually consists of a crust of metal covering a layer of sand. Sometimes,
a scab consists of a raised, rough area of essentially solid metal on the surface of a casting.
2.1.2 external chills:
2.1.2.1 external chills, n—usually metal blocks, or graphite and carbon blocks, that are incorporated into the mold to locally
increase the rate of heat removal during solidification. Brackets have the same purpose but represent an integral part of the casting.
1
This practice is under the jurisdiction of ASTM Committee A01 on Steel, Stainless Steel and Related Alloys and is the direct responsibility of Subcommittee A01.18
on Castings.
Current edition approved Nov. 1, 2015Sept. 1, 2019. Published November 2015October 2019. Originally approved in 1982. Last previous edition approved in 20102015
ε2
as A802/A802M – 95 (2010)A802 – 95 (2015). . DOI: 10.1520/A0802-95R15.10.1520/A0802-19.
2
Available from Castings Technology International, Advanced Manufacturing Park, Brunel Way, Rotherham, S60 5WG, South Yorkshire, England. http://
www.castingstechnology.com.
*A Summary of Changes section appears at the end of this standard
Copyright © ASTM International, 100 Barr Harbor Drive, PO Box C700, West Conshohocken, PA 19428-2959. United States
1
---------------------- Page: 1 ----------------------
A802 − 19
Brackets are produced by providing suitable cavities in the mold or core. External chills may produce flat spots and edges (raised
areas or depressions) on the casting surface. Brackets merely change the casting appearance due to their presence. Brackets may
be removed or allowed to remain on the casting.
2.1.2.2 parting line and core print fins, n—thin projections of excess metal at the parting plane between mold halves or core
and mold. Causes are improper closing of the mold, insufficient weighting or clamping of the mold for pouring, or uneven pattern
surfaces at the matching loca
...


Questions, Comments and Discussion
Ask us and Technical Secretary will try to provide an answer. You can facilitate discussion about the standard in here.