ASTM C674-13
(Test Method)Standard Test Methods for Flexural Properties of Ceramic Whiteware Materials
Standard Test Methods for Flexural Properties of Ceramic Whiteware Materials
SIGNIFICANCE AND USE
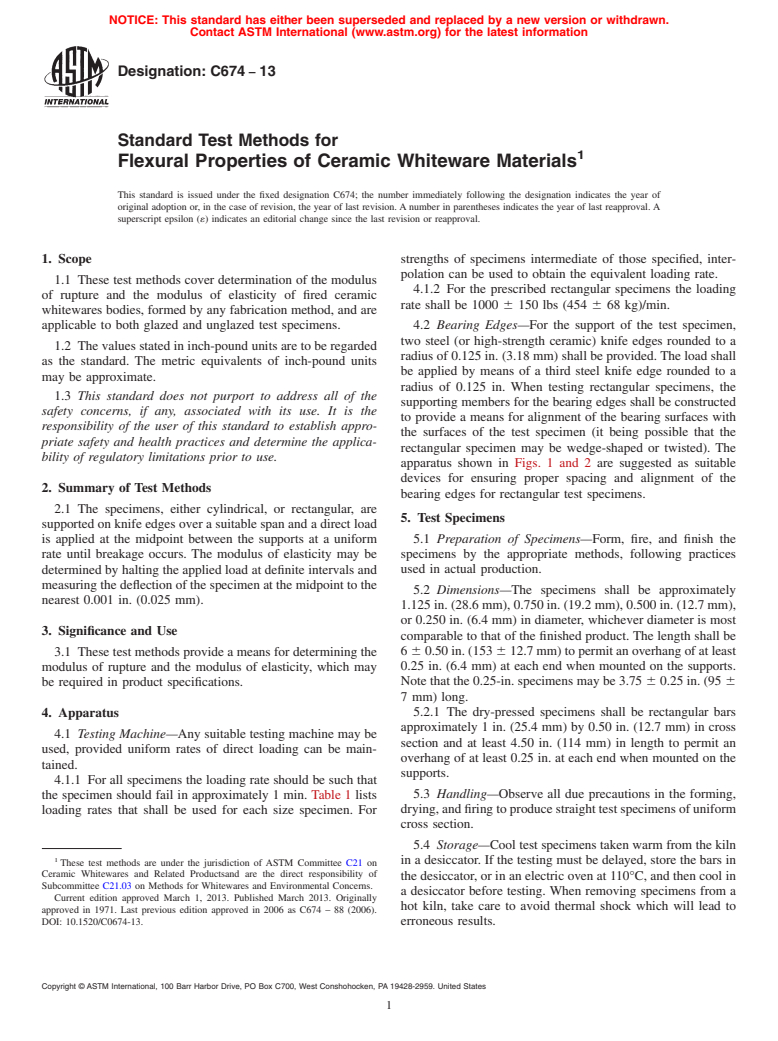
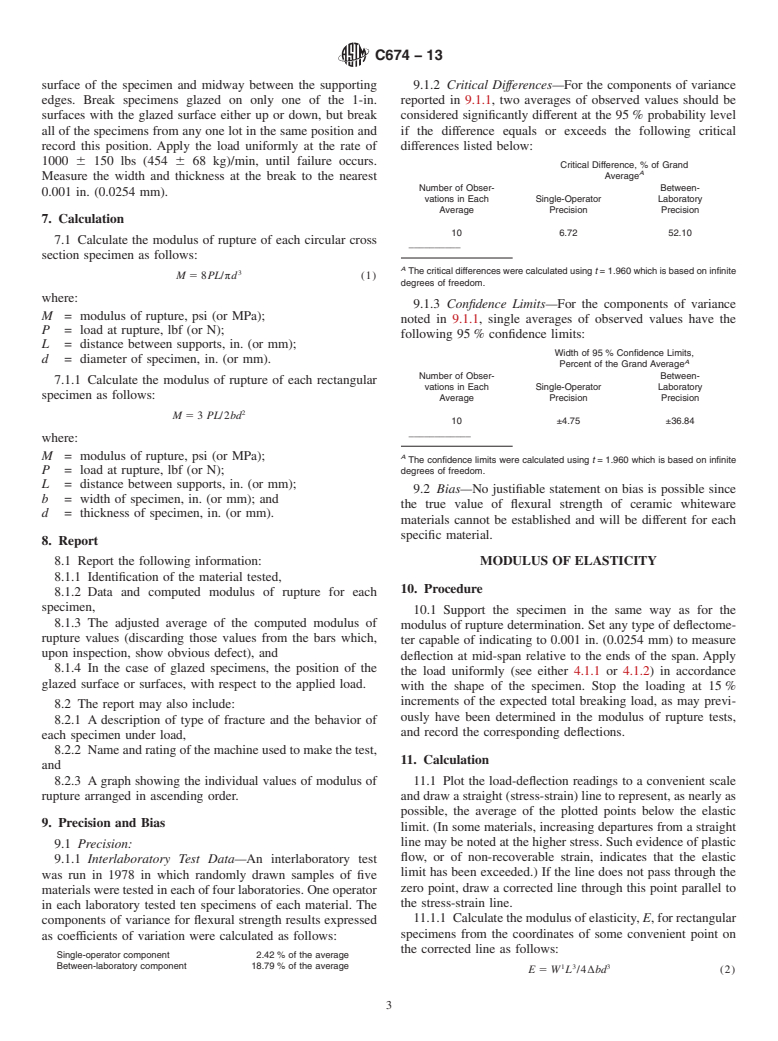
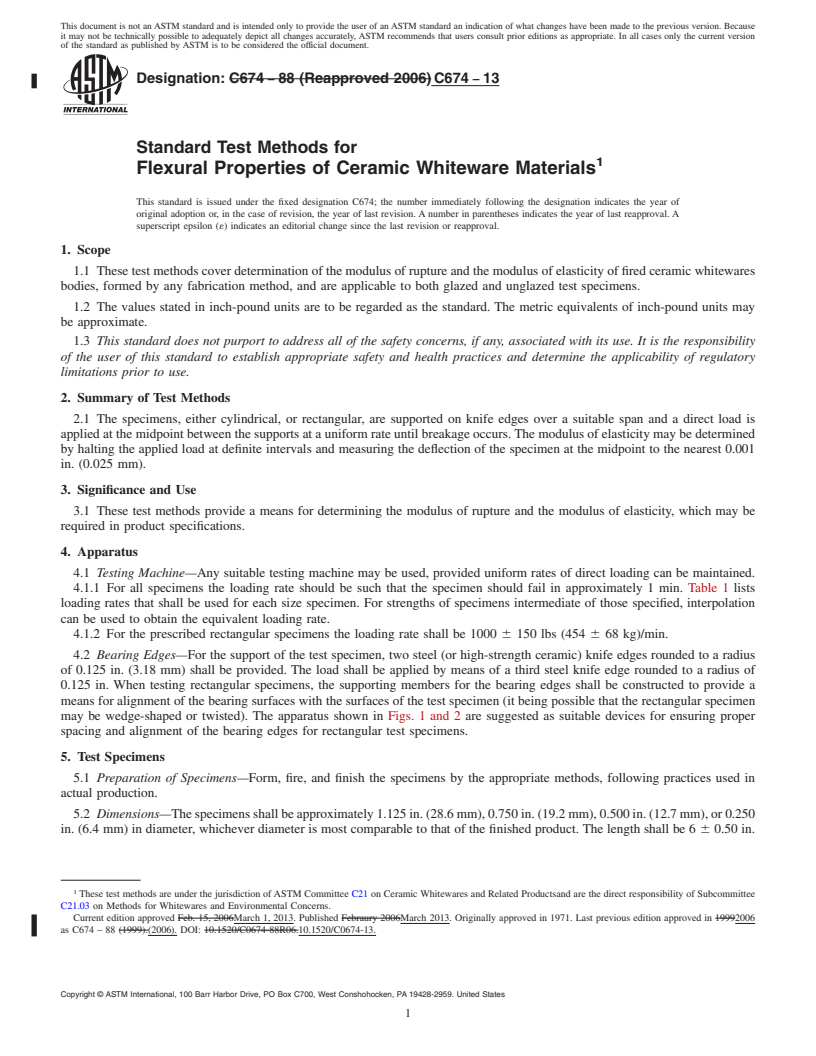
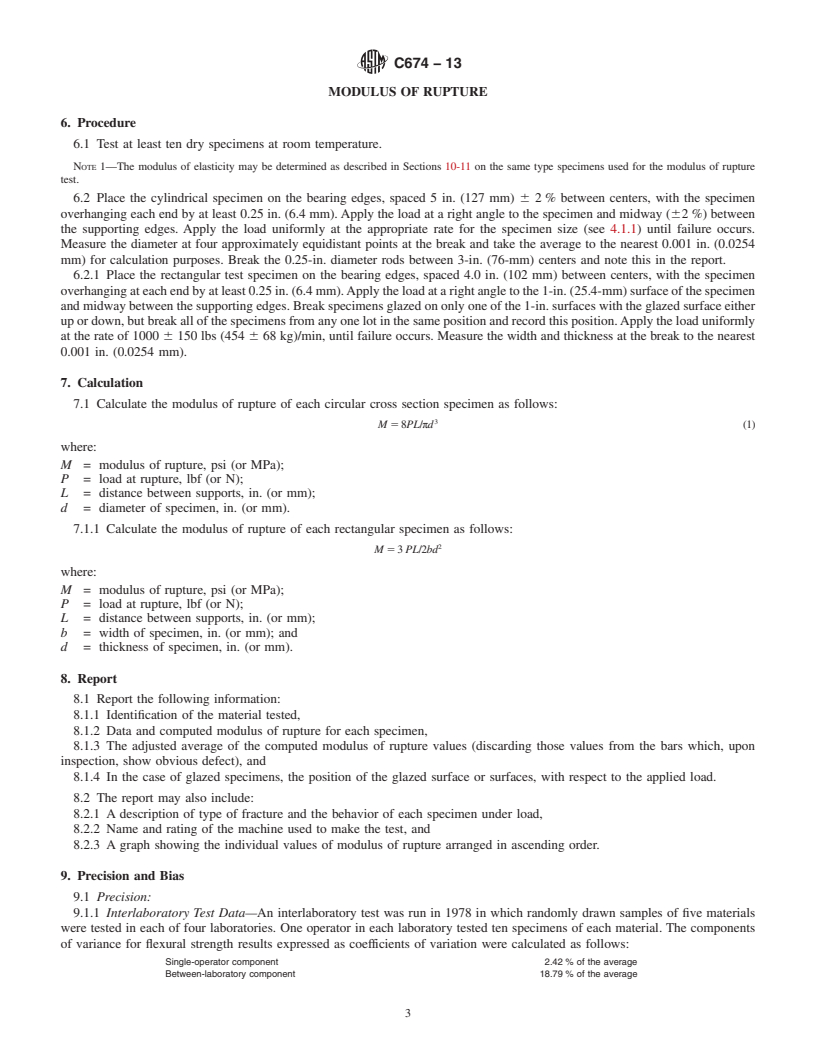
3.1 These test methods provide a means for determining the modulus of rupture and the modulus of elasticity, which may be required in product specifications.
SCOPE
1.1 These test methods cover determination of the modulus of rupture and the modulus of elasticity of fired ceramic whitewares bodies, formed by any fabrication method, and are applicable to both glazed and unglazed test specimens.
1.2 The values stated in inch-pound units are to be regarded as the standard. The metric equivalents of inch-pound units may be approximate.
1.3 This standard does not purport to address all of the safety concerns, if any, associated with its use. It is the responsibility of the user of this standard to establish appropriate safety and health practices and determine the applicability of regulatory limitations prior to use.
General Information
Relations
Buy Standard
Standards Content (Sample)
NOTICE: This standard has either been superseded and replaced by a new version or withdrawn.
Contact ASTM International (www.astm.org) for the latest information
Designation: C674 − 13
Standard Test Methods for
1
Flexural Properties of Ceramic Whiteware Materials
This standard is issued under the fixed designation C674; the number immediately following the designation indicates the year of
original adoption or, in the case of revision, the year of last revision. A number in parentheses indicates the year of last reapproval. A
superscript epsilon (´) indicates an editorial change since the last revision or reapproval.
1. Scope strengths of specimens intermediate of those specified, inter-
polation can be used to obtain the equivalent loading rate.
1.1 These test methods cover determination of the modulus
4.1.2 For the prescribed rectangular specimens the loading
of rupture and the modulus of elasticity of fired ceramic
rate shall be 1000 6 150 lbs (454 6 68 kg)/min.
whitewares bodies, formed by any fabrication method, and are
applicable to both glazed and unglazed test specimens. 4.2 Bearing Edges—For the support of the test specimen,
two steel (or high-strength ceramic) knife edges rounded to a
1.2 The values stated in inch-pound units are to be regarded
radius of 0.125 in. (3.18 mm) shall be provided. The load shall
as the standard. The metric equivalents of inch-pound units
be applied by means of a third steel knife edge rounded to a
may be approximate.
radius of 0.125 in. When testing rectangular specimens, the
1.3 This standard does not purport to address all of the
supporting members for the bearing edges shall be constructed
safety concerns, if any, associated with its use. It is the
to provide a means for alignment of the bearing surfaces with
responsibility of the user of this standard to establish appro-
the surfaces of the test specimen (it being possible that the
priate safety and health practices and determine the applica-
rectangular specimen may be wedge-shaped or twisted). The
bility of regulatory limitations prior to use.
apparatus shown in Figs. 1 and 2 are suggested as suitable
devices for ensuring proper spacing and alignment of the
2. Summary of Test Methods
bearing edges for rectangular test specimens.
2.1 The specimens, either cylindrical, or rectangular, are
5. Test Specimens
supported on knife edges over a suitable span and a direct load
is applied at the midpoint between the supports at a uniform 5.1 Preparation of Specimens—Form, fire, and finish the
specimens by the appropriate methods, following practices
rate until breakage occurs. The modulus of elasticity may be
determined by halting the applied load at definite intervals and used in actual production.
measuring the deflection of the specimen at the midpoint to the
5.2 Dimensions—The specimens shall be approximately
nearest 0.001 in. (0.025 mm).
1.125 in. (28.6 mm), 0.750 in. (19.2 mm), 0.500 in. (12.7 mm),
or 0.250 in. (6.4 mm) in diameter, whichever diameter is most
3. Significance and Use
comparable to that of the finished product. The length shall be
6 6 0.50 in. (153 6 12.7 mm) to permit an overhang of at least
3.1 These test methods provide a means for determining the
modulus of rupture and the modulus of elasticity, which may 0.25 in. (6.4 mm) at each end when mounted on the supports.
Note that the 0.25-in. specimens may be 3.75 6 0.25 in. (95 6
be required in product specifications.
7 mm) long.
5.2.1 The dry-pressed specimens shall be rectangular bars
4. Apparatus
approximately 1 in. (25.4 mm) by 0.50 in. (12.7 mm) in cross
4.1 Testing Machine—Any suitable testing machine may be
section and at least 4.50 in. (114 mm) in length to permit an
used, provided uniform rates of direct loading can be main-
overhang of at least 0.25 in. at each end when mounted on the
tained.
supports.
4.1.1 For all specimens the loading rate should be such that
5.3 Handling—Observe all due precautions in the forming,
the specimen should fail in approximately 1 min. Table 1 lists
drying, and firing to produce straight test specimens of uniform
loading rates that shall be used for each size specimen. For
cross section.
5.4 Storage—Cool test specimens taken warm from the kiln
1
in a desiccator. If the testing must be delayed, store the bars in
These test methods are under the jurisdiction of ASTM Committee C21 on
Ceramic Whitewares and Related Productsand are the direct responsibility of
the desiccator, or in an electric oven at 110°C, and then cool in
Subcommittee C21.03 on Methods for Whitewares and Environmental Concerns.
a desiccator before testing. When removing specimens from a
Current edition approved March 1, 2013. Published March 2013. Originally
hot kiln, take care to avoid thermal shock which will lead to
approved in 1971. Last previous edition approved in 2006 as C674 – 88 (2006).
DOI: 10.1520/C0674-13. erroneous results.
Copyright © ASTM International, 100 Barr Harbor Drive, PO Box C700, West Conshohocken, PA 19428-2959. United States
1
---
...
This document is not an ASTM standard and is intended only to provide the user of an ASTM standard an indication of what changes have been made to the previous version. Because
it may not be technically possible to adequately depict all changes accurately, ASTM recommends that users consult prior editions as appropriate. In all cases only the current version
of the standard as published by ASTM is to be considered the official document.
Designation: C674 − 88 (Reapproved 2006) C674 − 13
Standard Test Methods for
1
Flexural Properties of Ceramic Whiteware Materials
This standard is issued under the fixed designation C674; the number immediately following the designation indicates the year of
original adoption or, in the case of revision, the year of last revision. A number in parentheses indicates the year of last reapproval. A
superscript epsilon (´) indicates an editorial change since the last revision or reapproval.
1. Scope
1.1 These test methods cover determination of the modulus of rupture and the modulus of elasticity of fired ceramic whitewares
bodies, formed by any fabrication method, and are applicable to both glazed and unglazed test specimens.
1.2 The values stated in inch-pound units are to be regarded as the standard. The metric equivalents of inch-pound units may
be approximate.
1.3 This standard does not purport to address all of the safety concerns, if any, associated with its use. It is the responsibility
of the user of this standard to establish appropriate safety and health practices and determine the applicability of regulatory
limitations prior to use.
2. Summary of Test Methods
2.1 The specimens, either cylindrical, or rectangular, are supported on knife edges over a suitable span and a direct load is
applied at the midpoint between the supports at a uniform rate until breakage occurs. The modulus of elasticity may be determined
by halting the applied load at definite intervals and measuring the deflection of the specimen at the midpoint to the nearest 0.001
in. (0.025 mm).
3. Significance and Use
3.1 These test methods provide a means for determining the modulus of rupture and the modulus of elasticity, which may be
required in product specifications.
4. Apparatus
4.1 Testing Machine—Any suitable testing machine may be used, provided uniform rates of direct loading can be maintained.
4.1.1 For all specimens the loading rate should be such that the specimen should fail in approximately 1 min. Table 1 lists
loading rates that shall be used for each size specimen. For strengths of specimens intermediate of those specified, interpolation
can be used to obtain the equivalent loading rate.
4.1.2 For the prescribed rectangular specimens the loading rate shall be 1000 6 150 lbs (454 6 68 kg)/min.
4.2 Bearing Edges—For the support of the test specimen, two steel (or high-strength ceramic) knife edges rounded to a radius
of 0.125 in. (3.18 mm) shall be provided. The load shall be applied by means of a third steel knife edge rounded to a radius of
0.125 in. When testing rectangular specimens, the supporting members for the bearing edges shall be constructed to provide a
means for alignment of the bearing surfaces with the surfaces of the test specimen (it being possible that the rectangular specimen
may be wedge-shaped or twisted). The apparatus shown in Figs. 1 and 2 are suggested as suitable devices for ensuring proper
spacing and alignment of the bearing edges for rectangular test specimens.
5. Test Specimens
5.1 Preparation of Specimens—Form, fire, and finish the specimens by the appropriate methods, following practices used in
actual production.
5.2 Dimensions—The specimens shall be approximately 1.125 in. (28.6 mm), 0.750 in. (19.2 mm), 0.500 in. (12.7 mm), or 0.250
in. (6.4 mm) in diameter, whichever diameter is most comparable to that of the finished product. The length shall be 6 6 0.50 in.
1
These test methods are under the jurisdiction of ASTM Committee C21 on Ceramic Whitewares and Related Productsand are the direct responsibility of Subcommittee
C21.03 on Methods for Whitewares and Environmental Concerns.
Current edition approved Feb. 15, 2006March 1, 2013. Published Febraury 2006March 2013. Originally approved in 1971. Last previous edition approved in 19992006
as C674 – 88 (1999).(2006). DOI: 10.1520/C0674-88R06.10.1520/C0674-13.
Copyright © ASTM International, 100 Barr Harbor Drive, PO Box C700, West Conshohocken, PA 19428-2959. United States
1
---------------------- Page: 1 ----------------------
C674 − 13
TABLE 1 Loading Rates for Specimens
Nominal MOR, ksi (MPa)
Span, in. (mm) 10 (69) 30 (207) 50 (345)
Specimen Size, in. (mm)
Loading Rate, lb/min (kg/s)
1.125 (28.6) diameter 5 (127) 1100 (8.32) 3400 (25.70) 5600 (42.34)
0.750 (19.2) “ 5 (127) 300 (2.27) 1000 (7.56) 1700 (12.85)
0.500 (12.7) “ 5 (127) 100 (0.76) 300 (2.27) 500 (3.76)
0.250 (6.4) “ 3 (76) 20 (0.15) 60 (0.45) 100 (0.76)
1 by 0.50 (25.4 by 12.7) 4 (102) 400 (3.02) 1250 (9.45) 2100 (15.88)
FIG. 1 Suggested Bearing Edge
...


Questions, Comments and Discussion
Ask us and Technical Secretary will try to provide an answer. You can facilitate discussion about the standard in here.