ASTM D1042-22
(Test Method)Standard Test Method for Linear Dimensional Changes of Plastics Caused by Exposure to Heat and Moisture
Standard Test Method for Linear Dimensional Changes of Plastics Caused by Exposure to Heat and Moisture
SIGNIFICANCE AND USE
4.1 This test method is intended only as a convenient test method for measurement of linear dimensional changes in plastics subjected to defined conditions of test as outlined in Sections 7 and 8.
SCOPE
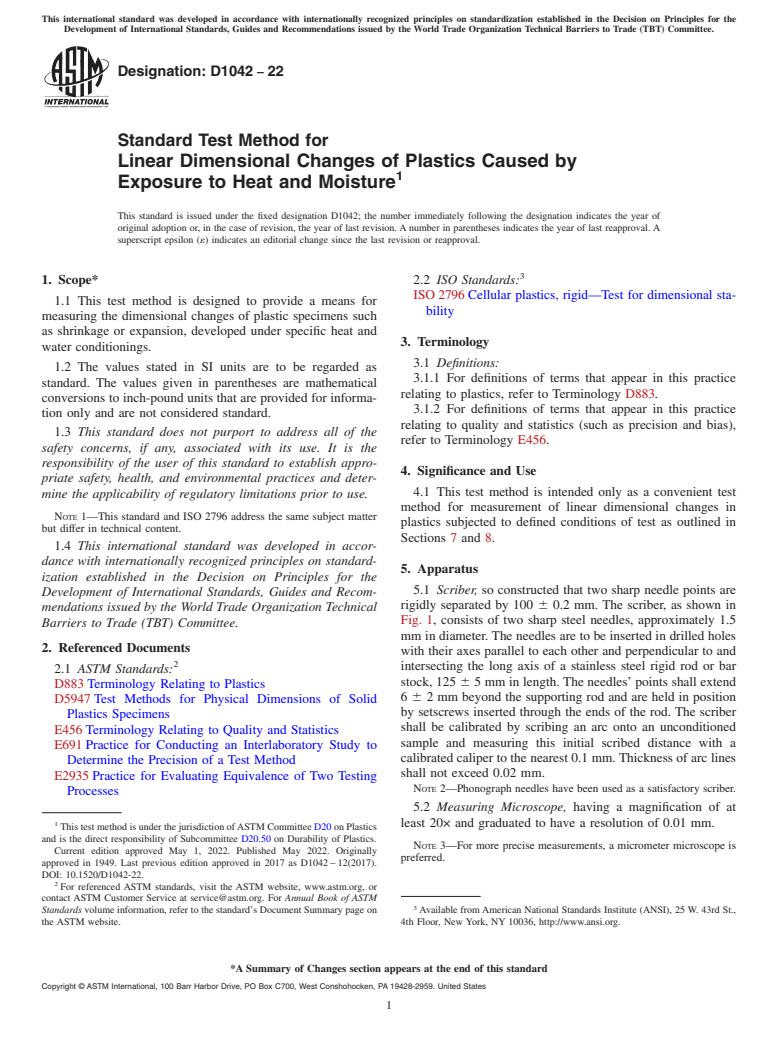
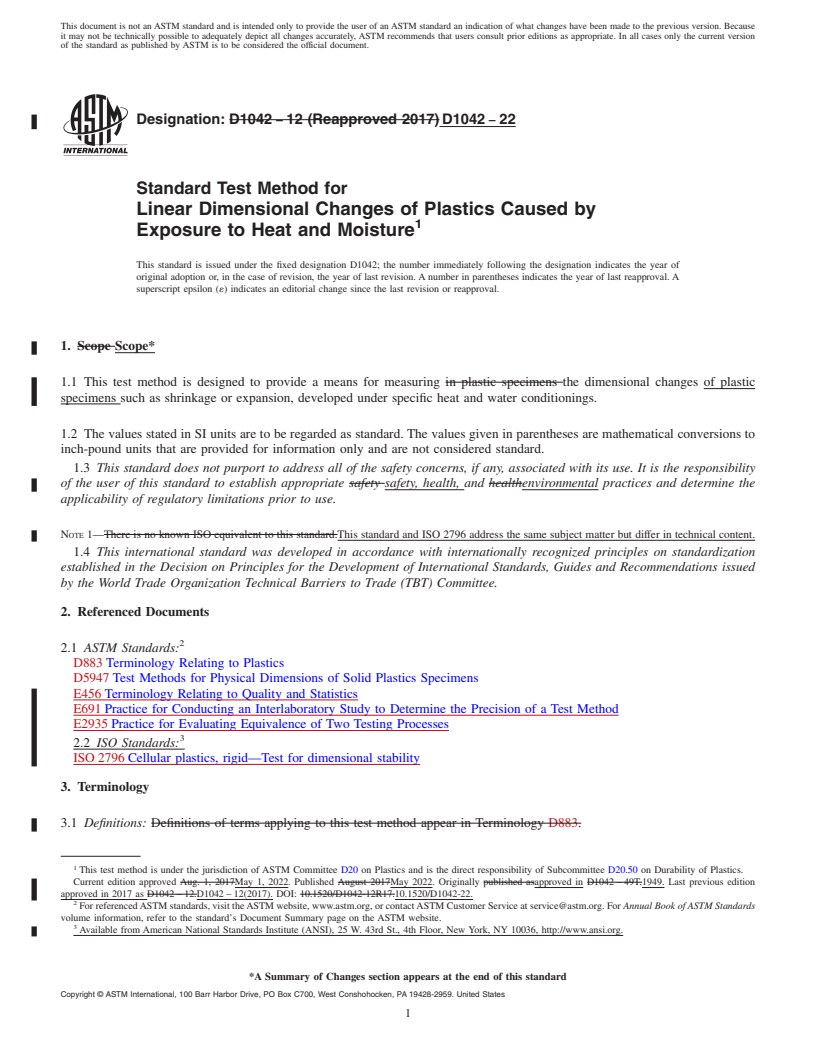
1.1 This test method is designed to provide a means for measuring the dimensional changes of plastic specimens such as shrinkage or expansion, developed under specific heat and water conditionings.
1.2 The values stated in SI units are to be regarded as standard. The values given in parentheses are mathematical conversions to inch-pound units that are provided for information only and are not considered standard.
1.3 This standard does not purport to address all of the safety concerns, if any, associated with its use. It is the responsibility of the user of this standard to establish appropriate safety, health, and environmental practices and determine the applicability of regulatory limitations prior to use.
Note 1: This standard and ISO 2796 address the same subject matter but differ in technical content.
1.4 This international standard was developed in accordance with internationally recognized principles on standardization established in the Decision on Principles for the Development of International Standards, Guides and Recommendations issued by the World Trade Organization Technical Barriers to Trade (TBT) Committee.
General Information
Buy Standard
Standards Content (Sample)
This international standard was developed in accordance with internationally recognized principles on standardization established in the Decision on Principles for the
Development of International Standards, Guides and Recommendations issued by the World Trade Organization Technical Barriers to Trade (TBT) Committee.
Designation: D1042 − 22
Standard Test Method for
Linear Dimensional Changes of Plastics Caused by
1
Exposure to Heat and Moisture
This standard is issued under the fixed designation D1042; the number immediately following the designation indicates the year of
original adoption or, in the case of revision, the year of last revision.Anumber in parentheses indicates the year of last reapproval.A
superscript epsilon (´) indicates an editorial change since the last revision or reapproval.
3
1. Scope* 2.2 ISO Standards:
ISO2796Cellular plastics, rigid—Test for dimensional sta-
1.1 This test method is designed to provide a means for
bility
measuring the dimensional changes of plastic specimens such
as shrinkage or expansion, developed under specific heat and
3. Terminology
water conditionings.
3.1 Definitions:
1.2 The values stated in SI units are to be regarded as
3.1.1 For definitions of terms that appear in this practice
standard. The values given in parentheses are mathematical
relating to plastics, refer to Terminology D883.
conversions to inch-pound units that are provided for informa-
3.1.2 For definitions of terms that appear in this practice
tion only and are not considered standard.
relating to quality and statistics (such as precision and bias),
1.3 This standard does not purport to address all of the
refer to Terminology E456.
safety concerns, if any, associated with its use. It is the
responsibility of the user of this standard to establish appro-
4. Significance and Use
priate safety, health, and environmental practices and deter-
4.1 This test method is intended only as a convenient test
mine the applicability of regulatory limitations prior to use.
method for measurement of linear dimensional changes in
NOTE 1—This standard and ISO 2796 address the same subject matter
plastics subjected to defined conditions of test as outlined in
but differ in technical content.
Sections 7 and 8.
1.4 This international standard was developed in accor-
dance with internationally recognized principles on standard-
5. Apparatus
ization established in the Decision on Principles for the
5.1 Scriber, so constructed that two sharp needle points are
Development of International Standards, Guides and Recom-
rigidly separated by 100 6 0.2 mm. The scriber, as shown in
mendations issued by the World Trade Organization Technical
Fig. 1, consists of two sharp steel needles, approximately 1.5
Barriers to Trade (TBT) Committee.
mm in diameter.The needles are to be inserted in drilled holes
2. Referenced Documents
with their axes parallel to each other and perpendicular to and
2
intersecting the long axis of a stainless steel rigid rod or bar
2.1 ASTM Standards:
stock, 125 6 5 mm in length. The needles’ points shall extend
D883Terminology Relating to Plastics
6 6 2 mm beyond the supporting rod and are held in position
D5947Test Methods for Physical Dimensions of Solid
by setscrews inserted through the ends of the rod. The scriber
Plastics Specimens
shall be calibrated by scribing an arc onto an unconditioned
E456Terminology Relating to Quality and Statistics
sample and measuring this initial scribed distance with a
E691Practice for Conducting an Interlaboratory Study to
calibrated caliper to the nearest 0.1 mm.Thickness of arc lines
Determine the Precision of a Test Method
shall not exceed 0.02 mm.
E2935Practice for Evaluating Equivalence of Two Testing
NOTE 2—Phonograph needles have been used as a satisfactory scriber.
Processes
5.2 Measuring Microscope, having a magnification of at
1 least 20× and graduated to have a resolution of 0.01 mm.
ThistestmethodisunderthejurisdictionofASTMCommitteeD20onPlastics
and is the direct responsibility of Subcommittee D20.50 on Durability of Plastics.
NOTE 3—For more precise measurements, a micrometer microscope is
Current edition approved May 1, 2022. Published May 2022. Originally
preferred.
approved in 1949. Last previous edition approved in 2017 as D1042–12(2017).
DOI: 10.1520/D1042-22.
2
For referenced ASTM standards, visit the ASTM website, www.astm.org, or
contact ASTM Customer Service at service@astm.org. For Annual Book of ASTM
3
Standards volume information, refer to the standard’s Document Summary page on Available fromAmerican National Standards Institute (ANSI), 25 W. 43rd St.,
the ASTM website. 4th Floor, New York, NY 10036, http://www.ansi.org.
*A Summary of Changes section appears at the end of this standard
Copyright © ASTM International, 100 Barr Harbor Drive, PO Box C700, West Conshohocken, PA 19428-2959. United States
1
---------------------- Page: 1 ----------------------
D1042 − 22
7.5 Conduct tests in a standard laboratory atmosphere of 23
6 2°C and 50 6 10 % rel
...
This document is not an ASTM standard and is intended only to provide the user of an ASTM standard an indication of what changes have been made to the previous version. Because
it may not be technically possible to adequately depict all changes accurately, ASTM recommends that users consult prior editions as appropriate. In all cases only the current version
of the standard as published by ASTM is to be considered the official document.
Designation: D1042 − 12 (Reapproved 2017) D1042 − 22
Standard Test Method for
Linear Dimensional Changes of Plastics Caused by
1
Exposure to Heat and Moisture
This standard is issued under the fixed designation D1042; the number immediately following the designation indicates the year of
original adoption or, in the case of revision, the year of last revision. A number in parentheses indicates the year of last reapproval. A
superscript epsilon (´) indicates an editorial change since the last revision or reapproval.
1. Scope Scope*
1.1 This test method is designed to provide a means for measuring in plastic specimens the dimensional changes of plastic
specimens such as shrinkage or expansion, developed under specific heat and water conditionings.
1.2 The values stated in SI units are to be regarded as standard. The values given in parentheses are mathematical conversions to
inch-pound units that are provided for information only and are not considered standard.
1.3 This standard does not purport to address all of the safety concerns, if any, associated with its use. It is the responsibility
of the user of this standard to establish appropriate safety safety, health, and healthenvironmental practices and determine the
applicability of regulatory limitations prior to use.
NOTE 1—There is no known ISO equivalent to this standard.This standard and ISO 2796 address the same subject matter but differ in technical content.
1.4 This international standard was developed in accordance with internationally recognized principles on standardization
established in the Decision on Principles for the Development of International Standards, Guides and Recommendations issued
by the World Trade Organization Technical Barriers to Trade (TBT) Committee.
2. Referenced Documents
2
2.1 ASTM Standards:
D883 Terminology Relating to Plastics
D5947 Test Methods for Physical Dimensions of Solid Plastics Specimens
E456 Terminology Relating to Quality and Statistics
E691 Practice for Conducting an Interlaboratory Study to Determine the Precision of a Test Method
E2935 Practice for Evaluating Equivalence of Two Testing Processes
3
2.2 ISO Standards:
ISO 2796 Cellular plastics, rigid—Test for dimensional stability
3. Terminology
3.1 Definitions: Definitions of terms applying to this test method appear in Terminology D883.
1
This test method is under the jurisdiction of ASTM Committee D20 on Plastics and is the direct responsibility of Subcommittee D20.50 on Durability of Plastics.
Current edition approved Aug. 1, 2017May 1, 2022. Published August 2017May 2022. Originally published asapproved in D1042 – 49T.1949. Last previous edition
approved in 2017 as D1042 – 12.D1042 – 12(2017). DOI: 10.1520/D1042-12R17.10.1520/D1042-22.
2
For referenced ASTM standards, visit the ASTM website, www.astm.org, or contact ASTM Customer Service at service@astm.org. For Annual Book of ASTM Standards
volume information, refer to the standard’s Document Summary page on the ASTM website.
3
Available from American National Standards Institute (ANSI), 25 W. 43rd St., 4th Floor, New York, NY 10036, http://www.ansi.org.
*A Summary of Changes section appears at the end of this standard
Copyright © ASTM International, 100 Barr Harbor Drive, PO Box C700, West Conshohocken, PA 19428-2959. United States
1
---------------------- Page: 1 ----------------------
D1042 − 22
3.1.1 For definitions of terms that appear in this practice relating to plastics, refer to Terminology D883.
3.1.2 For definitions of terms that appear in this practice relating to quality and statistics (such as precision and bias), refer to
Terminology E456.
4. Significance and Use
4.1 This test method is intended only as a convenient test method for measurement of linear dimensional changes in plastics
subjected to defined conditions of test as outlined in Sections 7 and 8.
5. Apparatus
5.1 Scriber, so constructed that two sharp needle points are rigidly separated by 100 6 0.2 mm. The scriber, as shown in Fig. 1,
consists of two sharp steel needles, approximately 1.5 mm in diameter. The needles are to be inserted in drilled holes with their
axes parallel to each other and perpendicular to and intersecting the long axis of a stainless steel rigid rod or bar stock, 125 6 5
mm in length. The needles’ points shall extend 6 6 2 mm beyond the supporting rod and are held in position by setscrews inserted
through the ends of the rod. The scriber shall be calibrated by scribing an arc onto an unconditioned sample and measuring this
initial scribed distance with a calibrated caliper t
...


Questions, Comments and Discussion
Ask us and Technical Secretary will try to provide an answer. You can facilitate discussion about the standard in here.