ASTM D6463/D6463M-06(2020)
(Test Method)Standard Test Method for Time to Failure of Pressure Sensitive Articles Under Sustained Shear Loading
Standard Test Method for Time to Failure of Pressure Sensitive Articles Under Sustained Shear Loading
SIGNIFICANCE AND USE
5.1 This test method measures the cohesive strength of the adhesive on a pressure sensitive article. The time to failure can predict end use properties of pressure sensitive articles such as edge ooze from cold flow; trimming, slitting and die cutting quality; telescoping in tapes; ability to seal packages; and vertical holding power.
5.2 This test method is suitable for quality control, development and applications testing.
5.3 If the adhesive is not already coated, the adhesive can be coated on smooth, clear polyester (PET) film backing 0.05 mm [0.002 in.] thick. The recommended dry adhesive thickness is 0.025 mm [0.001 in.].
5.4 Humidity has a strong effect on time to failure for many pressure sensitive articles. Therefore, humidity should be controlled in accordance with 8.1.2.
SCOPE
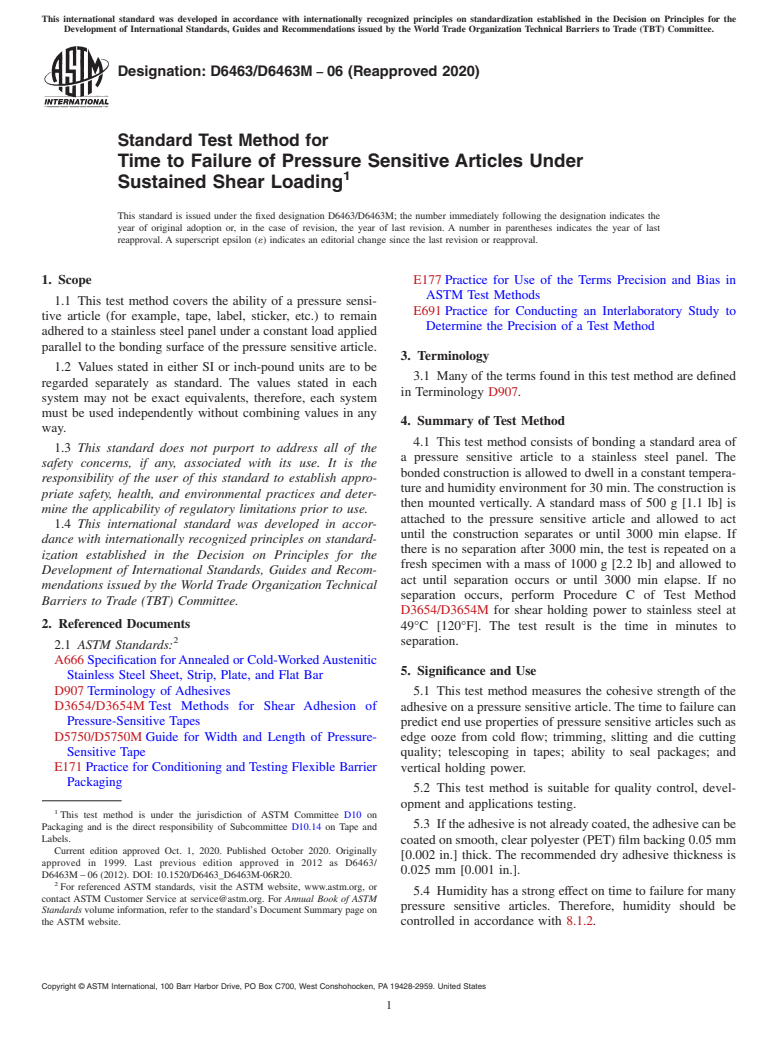
1.1 This test method covers the ability of a pressure sensitive article (for example, tape, label, sticker, etc.) to remain adhered to a stainless steel panel under a constant load applied parallel to the bonding surface of the pressure sensitive article.
1.2 Values stated in either SI or inch-pound units are to be regarded separately as standard. The values stated in each system may not be exact equivalents, therefore, each system must be used independently without combining values in any way.
1.3 This standard does not purport to address all of the safety concerns, if any, associated with its use. It is the responsibility of the user of this standard to establish appropriate safety, health, and environmental practices and determine the applicability of regulatory limitations prior to use.
1.4 This international standard was developed in accordance with internationally recognized principles on standardization established in the Decision on Principles for the Development of International Standards, Guides and Recommendations issued by the World Trade Organization Technical Barriers to Trade (TBT) Committee.
General Information
Relations
Standards Content (Sample)
This international standard was developed in accordance with internationally recognized principles on standardization established in the Decision on Principles for the
Development of International Standards, Guides and Recommendations issued by the World Trade Organization Technical Barriers to Trade (TBT) Committee.
Designation: D6463/D6463M − 06 (Reapproved 2020)
Standard Test Method for
Time to Failure of Pressure Sensitive Articles Under
Sustained Shear Loading
This standard is issued under the fixed designation D6463/D6463M; the number immediately following the designation indicates the
year of original adoption or, in the case of revision, the year of last revision. A number in parentheses indicates the year of last
reapproval. A superscript epsilon (´) indicates an editorial change since the last revision or reapproval.
1. Scope E177 Practice for Use of the Terms Precision and Bias in
ASTM Test Methods
1.1 This test method covers the ability of a pressure sensi-
E691 Practice for Conducting an Interlaboratory Study to
tive article (for example, tape, label, sticker, etc.) to remain
Determine the Precision of a Test Method
adhered to a stainless steel panel under a constant load applied
parallel to the bonding surface of the pressure sensitive article.
3. Terminology
1.2 Values stated in either SI or inch-pound units are to be
3.1 Many of the terms found in this test method are defined
regarded separately as standard. The values stated in each
in Terminology D907.
system may not be exact equivalents, therefore, each system
must be used independently without combining values in any
4. Summary of Test Method
way.
4.1 This test method consists of bonding a standard area of
1.3 This standard does not purport to address all of the
a pressure sensitive article to a stainless steel panel. The
safety concerns, if any, associated with its use. It is the
bonded construction is allowed to dwell in a constant tempera-
responsibility of the user of this standard to establish appro-
ture and humidity environment for 30 min. The construction is
priate safety, health, and environmental practices and deter-
then mounted vertically. A standard mass of 500 g [1.1 lb] is
mine the applicability of regulatory limitations prior to use.
attached to the pressure sensitive article and allowed to act
1.4 This international standard was developed in accor-
until the construction separates or until 3000 min elapse. If
dance with internationally recognized principles on standard-
there is no separation after 3000 min, the test is repeated on a
ization established in the Decision on Principles for the
fresh specimen with a mass of 1000 g [2.2 lb] and allowed to
Development of International Standards, Guides and Recom-
act until separation occurs or until 3000 min elapse. If no
mendations issued by the World Trade Organization Technical
separation occurs, perform Procedure C of Test Method
Barriers to Trade (TBT) Committee.
D3654/D3654M for shear holding power to stainless steel at
2. Referenced Documents
49°C [120°F]. The test result is the time in minutes to
separation.
2.1 ASTM Standards:
A666 Specification forAnnealed or Cold-WorkedAustenitic
5. Significance and Use
Stainless Steel Sheet, Strip, Plate, and Flat Bar
D907 Terminology of Adhesives
5.1 This test method measures the cohesive strength of the
D3654/D3654M Test Methods for Shear Adhesion of adhesive on a pressure sensitive article. The time to failure can
Pressure-Sensitive Tapes
predict end use properties of pressure sensitive articles such as
D5750/D5750M Guide for Width and Length of Pressure- edge ooze from cold flow; trimming, slitting and die cutting
Sensitive Tape quality; telescoping in tapes; ability to seal packages; and
E171 Practice for Conditioning and Testing Flexible Barrier vertical holding power.
Packaging
5.2 This test method is suitable for quality control, devel-
opment and applications testing.
This test method is under the jurisdiction of ASTM Committee D10 on
5.3 Iftheadhesiveisnotalreadycoated,theadhesivecanbe
Packaging and is the direct responsibility of Subcommittee D10.14 on Tape and
Labels.
coated on smooth, clear polyester (PET) film backing 0.05 mm
Current edition approved Oct. 1, 2020. Published October 2020. Originally
[0.002 in.] thick. The recommended dry adhesive thickness is
approved in 1999. Last previous edition approved in 2012 as D6463/
0.025 mm [0.001 in.].
D6463M – 06 (2012). DOI: 10.1520/D6463_D6463M-06R20.
For referenced ASTM standards, visit the ASTM website, www.astm.org, or
5.4 Humidity has a strong effect on time to failure for many
contact ASTM Customer Service at service@astm.org. For Annual Book of ASTM
pressure sensitive articles. Therefore, humidity should be
Standards volume information, refer to the standard’s Document Summary page on
the ASTM website. controlled in accordance with 8.1.2.
Copyright © ASTM International, 100 Barr Harbor Drive, PO Box C700, West Conshohocken, PA 19428-2959. United States
D6463/D6463M − 06 (2020)
FIG. 1 Test Panel with Specimen and Mass (Side View)
6. Apparatus able. New panels should be cleaned before use as described in
3,4 10.1,exceptwithtenwashesofthefinalsolvent.Betweenuses,
6.1 Specimen Cutter — The specimen cutter shall hold
the panels test surface shall be protected from scratches and
two single-edge razor blades in parallel planes, a precise
contamination, and the panels stored at conditions described in
distance apart, to form a cutter of exact specimen width. A
Section 8.
cutter of 12 mm [0.5 in.] cutting width, shall be available or
appropriate alternates, that will not cause edge damage.
6.4 Roller, mechanically or hand-operated.
6.1.1 The 12 mm [0.5 in.] cutter shall consist of a 12 mm
6.4.1 Asteelroller85 62.5mm[3.25 60.1in.]indiameter
[0.5 in.] thick by 200 mm [8 in.] length of aluminum bar stock
and 45 6 1.5 mm [1.75 by 0.05 in.] in width, covered with
12 mm [0.5 in.] wide.The edges for about 125 mm [5 in.] from
rubber approximately 6 mm [0.25 in.] in thickness, having a
one end shall be rounded slightly to form a handle. The width
Shore scaleAdurometer hardness of 80 6 5. The surface shall
ofthebarfor75mm[3in.]shallbenarrowedtoexactly12mm
be a true cylinder void of any convex or concave deviations.
[0.5 in] minus the thickness of a single-edge razor (one of two
The mass of the roller shall be 2040 6 45 g [4.5 6 0.1 lb].
usedascuttingedges).Therazorshallbeheldinpositionusing
6.4.2 No part of the apparatus shall increase the mass of the
side plates. The end of the cutter shall be cut away at a 45°
roller during use. The roller shall move either mechanically or
angle to expose the cutting edges at one end of the blades. The
by hand at the rate of 10 6 0.2 mm/s [24 6 0.5 in./min.].
edges shall be separated by 12 6 0.10 mm [0.5 6 0.005 in.].
6.5 Test Stands and Ancillary Apparatus:
6.2 Dispensing System, for solvents, such as a wash bottle.
6.5.1 Test Stand —Atest stand that will hold the test panel
6.3 Test Panel —No. 302 or 304 stainless steel sheet, not
with the specimen applied at an angle of 2.0 6 0.5° from
less than 1.1 mm [0.43 in.] thick, having a bright annealed
vertical, so that when the mass is acting on the test specimen,
finish, in accordance with Specification A666. The panel
no peel forces will be exerted on the specimen.
should be 25 by 25 mm [1.0 by 1.0 in.] or larger, as best suited
6.5.2 Clamp/Clip/Cardboard Chip—that will allow attach-
to the test stand (Fig. 1). The surface roughness height shall be
ment of the mass to the specimen, distributing the load equally
50 6 25 nm [2.0 6 1.0 µin.] arithmetical average deviation
across the specimen width.
fromameanline.Oneorbothofthepanelendsshallbeground
6.5.3 Mass—a 500 6 5 g [1.1 6 0.01 lb] anda1000 6 5
to form a 90° angle with the panel surface. Panels showing
g [2.2 6 0.01 lb] with a hook on top.
stains, discolorations, or numerous scratches are not accept-
6.5.4 Timing System—to measure the interval in minutes,
between the application of the load to the specimen and its
3 separation form the panel.
These widths correspond to the primary metric (SI) units described in Guide
D5750/D5750M. These so-called “ modular metric” units generally are used
throughout the world. If it is desirable to test slightly different widths, this should be
7. Reagents and Materials
noted per 12.1.8 and calculations per 11.1 must account for the difference.
The sole source of supply of the apparatus known to the committee at this time
7.1 Purity of Reagents—Reagent grade chemicals should be
is Chemsultants International, 9349 Hamilton Drive, Mentor, OH 44061–1118. If
used in all tests. Other grades may be used, provided it is first
you are aware of alternative suppliers, please provide this information to ASTM
ascertained that the reagent is of sufficiently high purity to
International Headquarters. Your comments will receive careful consideration at a
meeting of the responsible technical committee, may attend. permit its use without l
...


Questions, Comments and Discussion
Ask us and Technical Secretary will try to provide an answer. You can facilitate discussion about the standard in here.