ASTM A67-00(2021)
(Specification)Standard Specification for Steel Tie Plates, Low-Carbon and High-Carbon-Hot-Worked
Standard Specification for Steel Tie Plates, Low-Carbon and High-Carbon-Hot-Worked
ABSTRACT
This specification deals with steel tie plates, low-carbon and high-carbon-hot-worked that are used in railroad tracks. The steel shall be manufactured by either basic-oxygen or electric-furnace processes and may be cast by a continuous process or in ingots. Both Grade 1 and Grade 2 tie plates may be sheared, punched, or slotted either hot or cold but only the latter may be placed into an enclosure to assure proper cooling. One bend test shall be made from each identified heat. The specimens for testing shall be taken from finished tie plates, longitudinally with the direction of rolling. They shall be rectangular in section and shall have two faces as rolled. If high carbon tie plates represented by bend tests fail to meet the requirements specified, they may be annealed not more than twice and be resubmitted for testing.
SCOPE
1.1 This specification covers steel tie plates for use in railroad track.
1.2 Two grades of tie plates are described: Grade 1, low-carbon, and Grade 2, high-carbon-hot-worked.
1.3 The values stated in inch-pound units are to be regarded as standard. The values given in parentheses are mathematical conversions to SI units that are provided for information only and are not considered standard.
1.4 This international standard was developed in accordance with internationally recognized principles on standardization established in the Decision on Principles for the Development of International Standards, Guides and Recommendations issued by the World Trade Organization Technical Barriers to Trade (TBT) Committee.
General Information
Relations
Standards Content (Sample)
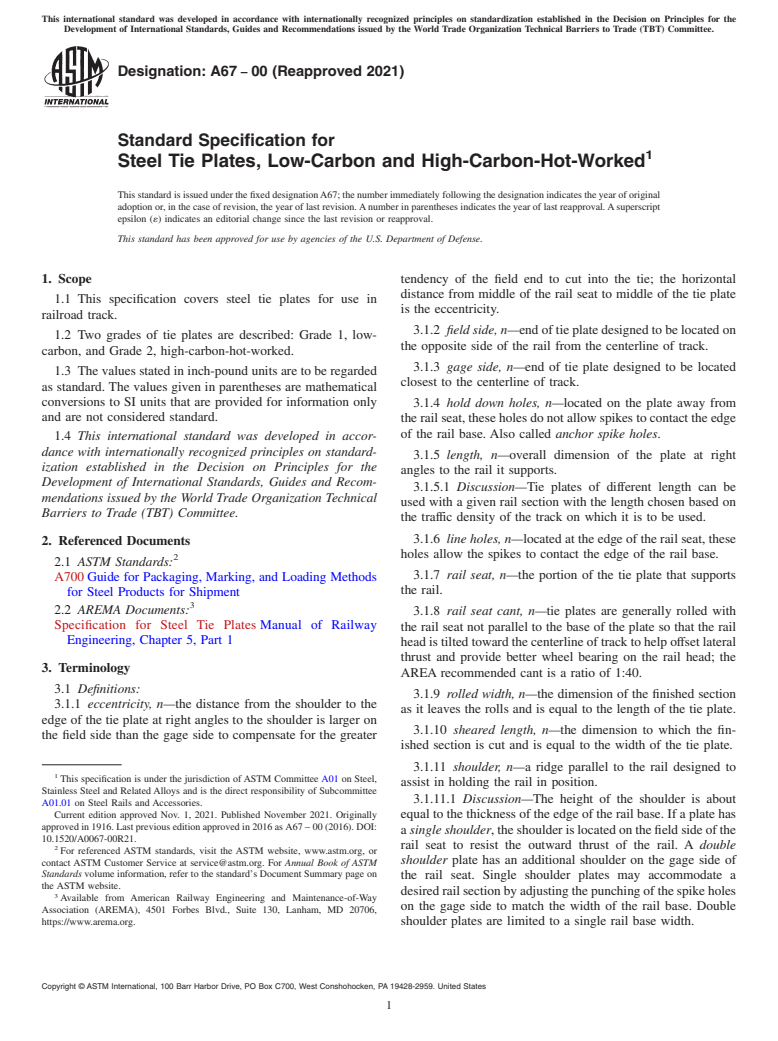
This international standard was developed in accordance with internationally recognized principles on standardization established in the Decision on Principles for the
Development of International Standards, Guides and Recommendations issued by the World Trade Organization Technical Barriers to Trade (TBT) Committee.
Designation:A67 −00 (Reapproved 2021)
Standard Specification for
Steel Tie Plates, Low-Carbon and High-Carbon-Hot-Worked
This standard is issued under the fixed designationA67; the number immediately following the designation indicates the year of original
adoption or, in the case of revision, the year of last revision.Anumber in parentheses indicates the year of last reapproval.Asuperscript
epsilon (´) indicates an editorial change since the last revision or reapproval.
This standard has been approved for use by agencies of the U.S. Department of Defense.
1. Scope tendency of the field end to cut into the tie; the horizontal
distance from middle of the rail seat to middle of the tie plate
1.1 This specification covers steel tie plates for use in
is the eccentricity.
railroad track.
3.1.2 field side, n—end of tie plate designed to be located on
1.2 Two grades of tie plates are described: Grade 1, low-
the opposite side of the rail from the centerline of track.
carbon, and Grade 2, high-carbon-hot-worked.
3.1.3 gage side, n—end of tie plate designed to be located
1.3 The values stated in inch-pound units are to be regarded
closest to the centerline of track.
as standard. The values given in parentheses are mathematical
conversions to SI units that are provided for information only
3.1.4 hold down holes, n—located on the plate away from
and are not considered standard.
the rail seat, these holes do not allow spikes to contact the edge
of the rail base. Also called anchor spike holes.
1.4 This international standard was developed in accor-
dance with internationally recognized principles on standard-
3.1.5 length, n—overall dimension of the plate at right
ization established in the Decision on Principles for the
angles to the rail it supports.
Development of International Standards, Guides and Recom-
3.1.5.1 Discussion—Tie plates of different length can be
mendations issued by the World Trade Organization Technical
used with a given rail section with the length chosen based on
Barriers to Trade (TBT) Committee.
the traffic density of the track on which it is to be used.
3.1.6 line holes, n—located at the edge of the rail seat, these
2. Referenced Documents
holes allow the spikes to contact the edge of the rail base.
2.1 ASTM Standards:
3.1.7 rail seat, n—the portion of the tie plate that supports
A700 Guide for Packaging, Marking, and Loading Methods
the rail.
for Steel Products for Shipment
2.2 AREMA Documents:
3.1.8 rail seat cant, n—tie plates are generally rolled with
Specification for Steel Tie Plates Manual of Railway
the rail seat not parallel to the base of the plate so that the rail
Engineering, Chapter 5, Part 1
head is tilted toward the centerline of track to help offset lateral
thrust and provide better wheel bearing on the rail head; the
3. Terminology
AREA recommended cant is a ratio of 1:40.
3.1 Definitions:
3.1.9 rolled width, n—the dimension of the finished section
3.1.1 eccentricity, n—the distance from the shoulder to the
as it leaves the rolls and is equal to the length of the tie plate.
edge of the tie plate at right angles to the shoulder is larger on
3.1.10 sheared length, n—the dimension to which the fin-
the field side than the gage side to compensate for the greater
ished section is cut and is equal to the width of the tie plate.
3.1.11 shoulder, n—a ridge parallel to the rail designed to
This specification is under the jurisdiction of ASTM Committee A01 on Steel,
assist in holding the rail in position.
Stainless Steel and Related Alloys and is the direct responsibility of Subcommittee
3.1.11.1 Discussion—The height of the shoulder is about
A01.01 on Steel Rails and Accessories.
Current edition approved Nov. 1, 2021. Published November 2021. Originally
equal to the thickness of the edge of the rail base. If a plate has
approved in 1916. Last previous edition approved in 2016 as A67 – 00 (2016). DOI:
a single shoulder,theshoulderislocatedonthefieldsideofthe
10.1520/A0067-00R21.
rail seat to resist the outward thrust of the rail. A double
For referenced ASTM standards, visit the ASTM website, www.astm.org, or
shoulder plate has an additional shoulder on the gage side of
contact ASTM Customer Service at service@astm.org. For Annual Book of ASTM
Standards volume information, refer to the standard’s Document Summary page on
the rail seat. Single shoulder plates may accommodate a
the ASTM website.
desiredrailsectionbyadjustingthepunchingofthespikeholes
Available from American Railway Engineering and Maintenance-of-Way
on the gage side to match the width of the rail base. Double
Association (AREMA), 4501 Forbes Blvd., Suite 130, Lanham, MD 20706,
https://www.arema.org. shoulder plates are limited to a single rail base width.
Copyright © ASTM International, 100 Barr Harbor Drive, PO Box C700, West Conshohocken, PA 19428-2959. United States
A67−00 (2021)
TABLE 2 Product Analysis Allowance Beyond Limits of Specified
3.1.12 tie plate, n—a part of the track structure placed under
Chemical Analysis
the rail to distribute the wheel load to the tie, cant the rail to the
Under Maximum Over Maximum
desired angle, assist in maintaining the track to gage and
Limit, % Limit, %
protect the tie.
Carbon 0.04 . . .
3.1.12.1 Discussion—The tie plate has a rail seat, either flat
Phosphorus . . . 0.008
or canted, either a single or double shoulder parallel to the rail Sulfur . . . 0.008
it supports, and is punched with holes for spikes or other
fasteners. The bottom of the tie plate is usually flat, but ribbed
or other designs may be used. 6.2 Heat or Cast Analysis:
6.2.1 An analysis of each heat or cast shall be made by the
3.1.13 width, n—overall dimension of the plate parallel to
manufacturer to determine the percentages of the elements
the rail it supports.
specified in Table 1. The analysis shall be made from a test
3.1.13.1 Discussion—Tie plates are generally from 7 to 8 in.
sample taken preferably during the pouring of the heat. The
wide.
chemical composition thus determined shall conform to the
4. Ordering Information
requirements in Table 1.
6.2.2 Steelaccumulatedintheformofingotsorbloomsmay
4.1 Orders for tie plates under this specification shall
be applied on the basis of the original heat or cast analysis
include the following information:
recorded in the mill records.
4.1.1 Quantity: number of pieces.
4.1.2 ASTM designation and year of issue.
6.3 When ladle tests are not available, finished material
4.1.3 Grade: 1, low-carbon, or 2, high-carbon-hot-worked representing the heat may be product tested. The product
(see Table 1 and Table 2).
analysis allowance beyond the limits of the specified ladle
4.1.4 Design: AREMA plan number, or other design in- analysis shall be within the limits for product analyses speci-
cluding drawings if required.
fied in Table 2.
4.1.5 Any variation in location and shape of holes, etc.,
7. Bend Requirements
from the plan, with dimensional drawing if necessary.
7.1 Bend Test:
5. Materials and Manufacture
7.1.1 Grade 1 or Grade 2 bend test specimens prepared as
5.1 Melting Practice—The steel shall be made by any of the required in 7.1.2 shall withstand the respective bend test
following processes: basic-oxygen or electric-furnace. describedinTable3withoutcrackingontheoutsideofthebent
portion.
5.2 The steel may be cast by a continuous process, or in
7.1.2 Thespecimensforbendtestsspecifiedin7.1.1shallbe
ingots.
taken from finished tie plates, longitudinally with the direction
5.3 Discard—A sufficient discard shall be made to secure
of rolling. They shall be rectangular in section, not less than ⁄2
freedom from injurious segregation and piping.
in. (13 mm) in width between machined sides, and shall have
5.4 Steel accumulated in the form of ingots or blooms, two faces as rolled. Where the tie plate design is such that a
possibly from various heats, that conforms to the requirements specimen cannot be taken between the ribs or projections, the
of this specification may be used in the manufacture of either ribs or projections shall be removed to the plane of the plate
Grade 1 or Grade 2 tie plates. surface as part of the specimen preparation.
5.5 Grade 1 tie plates may be sheared, punched, or slotted 7.2 Optional Bend Test:
either hot or cold, at
...


Questions, Comments and Discussion
Ask us and Technical Secretary will try to provide an answer. You can facilitate discussion about the standard in here.