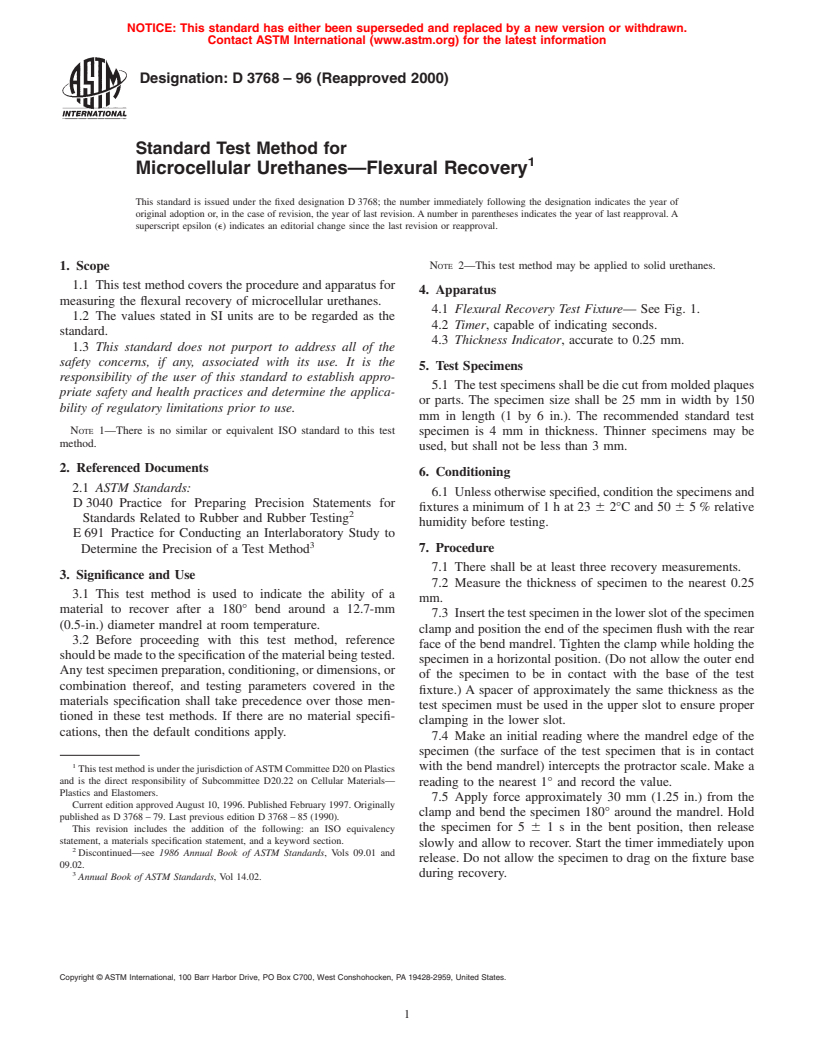
ASTM D3768-96(2000)
(Test Method)Standard Test Method for Microcellular Urethanes--Flexural Recovery
Standard Test Method for Microcellular Urethanes--Flexural Recovery
SCOPE
1.1 This method covers the procedure and apparatus for measuring the flexural recovery of microcellular urethanes.
1.2 The values stated in SI units are to be regarded as the standard.
1.3 This standard does not purport to address all of the safety concerns, if any, associated with its use. It is the responsibility of the user this standard to establish appropriate safety and health practices and determine the applicability of regulatory limitations prior to use.
Note 1--There is no similar or equivalent ISO standard to this test method.
General Information
Relations
Standards Content (Sample)
NOTICE: This standard has either been superseded and replaced by a new version or withdrawn.
Contact ASTM International (www.astm.org) for the latest information
Designation:D3768–96 (Reapproved 2000)
Standard Test Method for
Microcellular Urethanes—Flexural Recovery
This standard is issued under the fixed designation D3768; the number immediately following the designation indicates the year of
original adoption or, in the case of revision, the year of last revision.Anumber in parentheses indicates the year of last reapproval.A
superscript epsilon (e) indicates an editorial change since the last revision or reapproval.
NOTE 2—This test method may be applied to solid urethanes.
1. Scope
1.1 This test method covers the procedure and apparatus for
4. Apparatus
measuring the flexural recovery of microcellular urethanes.
4.1 Flexural Recovery Test Fixture— See Fig. 1.
1.2 The values stated in SI units are to be regarded as the
4.2 Timer, capable of indicating seconds.
standard.
4.3 Thickness Indicator, accurate to 0.25 mm.
1.3 This standard does not purport to address all of the
safety concerns, if any, associated with its use. It is the
5. Test Specimens
responsibility of the user of this standard to establish appro-
5.1 Thetestspecimensshallbediecutfrommoldedplaques
priate safety and health practices and determine the applica-
or parts. The specimen size shall be 25 mm in width by 150
bility of regulatory limitations prior to use.
mm in length (1 by 6 in.). The recommended standard test
NOTE 1—There is no similar or equivalent ISO standard to this test
specimen is 4 mm in thickness. Thinner specimens may be
method.
used, but shall not be less than 3 mm.
2. Referenced Documents
6. Conditioning
2.1 ASTM Standards:
6.1 Unlessotherwisespecified,conditionthespecimensand
D3040 Practice for Preparing Precision Statements for
fixtures a minimum of1hat23 6 2°C and 50 6 5% relative
Standards Related to Rubber and Rubber Testing
humidity before testing.
E691 Practice for Conducting an Interlaboratory Study to
Determine the Precision of a Test Method 7. Procedure
7.1 There shall be at least three recovery measurements.
3. Significance and Use
7.2 Measure the thickness of specimen to the nearest 0.25
3.1 This test method is used to indicate the ability of a
mm.
material to recover after a 180° bend around a 12.7-mm
7.3 Insertthetestspecimeninthelowerslotofthespecimen
(0.5-in.) diameter mandrel at room temperature.
clamp and position the end of the specimen flush with the rear
3.2 Before proceeding with this test method, reference
face of the bend mandrel. Tighten the clamp while holding the
shouldbemadetothespecificationofthematerialbeingtested.
specimen in a horizontal position. (Do not allow the outer end
Anytestspecimenpreparation,conditioning,ordimensions,or
of the specimen to be in contact with the base of the test
combination thereof, and testing parameters covered in the
fixture.) A spacer of approximately the same thickness as the
materials specification shall take precedence over those men-
test specimen must be used in the upper slot to ensure proper
tioned in these test methods. If there are no material specifi-
clamping in the lower slot.
cations, then the default conditions apply.
7.4 Make an initial reading where the mandrel edge of the
specimen (the surface of the test specimen that is in contact
with the bend mandrel) intercepts the protractor scale. Make a
ThistestmethodisunderthejurisdictionofASTMCommitteeD20onPlastics
and is the direct responsibility of Subcommittee D20.22 on Cellular Materials—
reading to the nearest 1° and record the value.
Plastics and Elastomers.
7.5 Apply force approximately 30 mm (1.25 in.) from the
Current edition approvedAugust 10, 1996. Published February 1997. Originally
clamp and bend the specimen 180° around the mandrel. Hold
published as D3768–79. Last previous edition D3768–85(1990).
the specimen for 5 6 1 s in the bent position, then release
This revision includes the addition of the following: an ISO equivalency
statement, a materials specification statement, and a keyword section.
slowly and allow to recover. Start the timer immediately upon
Discontinued—see 1986 Annual Book of ASTM Standards, Vols 09.01 and
release. Do not allow the specimen to drag on the fixture base
09.02.
during recovery.
Annual Book of ASTM Standards, Vol 14.02.
Copyright © ASTM International, 100 Barr Harbor Drive, PO Box C700, West Conshohocken, PA 19428-2959, United States.
D3768
9. Report
9.1 The report shall include the following:
9.1.1 Direction of cutting,
9.1.2 Conditioning procedures before testing,
9.1.3 Flexural set (30 s), average of three,
9.1.4 Flexural set (300 s), average of three, and
9.1
...


Questions, Comments and Discussion
Ask us and Technical Secretary will try to provide an answer. You can facilitate discussion about the standard in here.