ASTM D3768-06
(Test Method)Standard Test Method for Microcellular Urethanes-Flexural Recovery
Standard Test Method for Microcellular Urethanes-Flexural Recovery
SIGNIFICANCE AND USE
This test method is used to indicate the ability of a material to recover after a 180° bend around a 12.7-mm [0.5-in.] diameter mandrel at room temperature.
Before proceeding with this test method, reference should be made to the specification of the material being tested. Any test specimen preparation, conditioning, or dimensions, or combination thereof, and testing parameters covered in the materials specification shall take precedence over those mentioned in these test methods. If there are no material specifications, then the default conditions apply.
Note 2—This test method is applicable to solid urethanes.
SCOPE
1.1 This test method covers the procedure and apparatus for measuring the flexural recovery of microcellular urethanes.
1.2 The values stated in SI units are to be regarded as standard.
This standard does not purport to address all of the safety concerns, if any, associated with its use. It is the responsibility of the user of this standard to establish appropriate safety and health practices and determine the applicability of regulatory limitations prior to use.
There is no known ISO equivalent to this test method.
General Information
Relations
Standards Content (Sample)
NOTICE: This standard has either been superseded and replaced by a new version or withdrawn.
Contact ASTM International (www.astm.org) for the latest information
Designation:D3768–06
Standard Test Method for
1
Microcellular Urethanes—Flexural Recovery
This standard is issued under the fixed designation D3768; the number immediately following the designation indicates the year of
original adoption or, in the case of revision, the year of last revision.Anumber in parentheses indicates the year of last reapproval.A
superscript epsilon (´) indicates an editorial change since the last revision or reapproval.
1. Scope*
1.1 Thistestmethodcoverstheprocedureandapparatusfor
measuring the flexural recovery of microcellular urethanes.
1.2 The values stated in SI units are to be regarded as
standard.
1.3 This standard does not purport to address all of the
safety concerns, if any, associated with its use. It is the
responsibility of the user of this standard to establish appro-
priate safety and health practices and determine the applica-
bility of regulatory limitations prior to use.
NOTE 1—There is no known ISO equivalent to this test method.
2. Referenced Documents
2
2.1 ASTM Standards:
D3040 PracticeforPreparingPrecisionStatementsforStan-
3
dards Related to Rubber and Rubber Testing
E691 Practice for Conducting an Interlaboratory Study to
Determine the Precision of a Test Method
3. Significance and Use
3.1 This test method is used to indicate the ability of a
material to recover after a 180° bend around a 12.7-mm
(0.5-in.) diameter mandrel at room temperature.
3.2 Before proceeding with this test method, reference
shouldbemadetothespecificationofthematerialbeingtested.
Anytestspecimenpreparation,conditioning,ordimensions,or
combination thereof, and testing parameters covered in the
materials specification shall take precedence over those men-
tioned in these test methods. If there are no material specifi-
cations, then the default conditions apply.
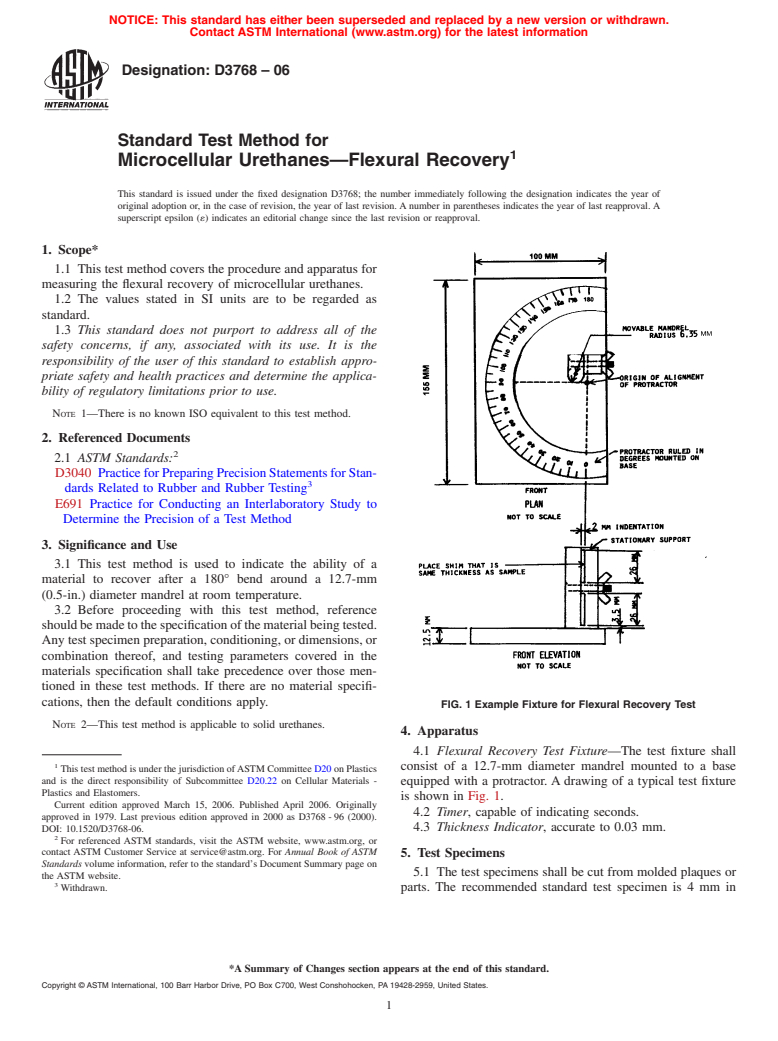
FIG. 1 Example Fixture for Flexural Recovery Test
NOTE 2—This test method is applicable to solid urethanes.
4. Apparatus
4.1 Flexural Recovery Test Fixture—The test fixture shall
1
consist of a 12.7-mm diameter mandrel mounted to a base
ThistestmethodisunderthejurisdictionofASTMCommitteeD20onPlastics
and is the direct responsibility of Subcommittee D20.22 on Cellular Materials -
equipped with a protractor. A drawing of a typical test fixture
Plastics and Elastomers.
is shown in Fig. 1.
Current edition approved March 15, 2006. Published April 2006. Originally
4.2 Timer, capable of indicating seconds.
approved in 1979. Last previous edition approved in 2000 as D3768-96 (2000).
4.3 Thickness Indicator, accurate to 0.03 mm.
DOI: 10.1520/D3768-06.
2
For referenced ASTM standards, visit the ASTM website, www.astm.org, or
contact ASTM Customer Service at service@astm.org. For Annual Book of ASTM
5. Test Specimens
Standards volume information, refer to the standard’s Document Summary page on
5.1 The test specimens shall be cut from molded plaques or
the ASTM website.
3
Withdrawn. parts. The recommended standard test specimen is 4 mm in
*A Summary of Changes section appears at the end of this standard.
Copyright © ASTM International, 100 Barr Harbor Drive, PO Box C700, West Conshohocken, PA 19428-2959, United States.
1
---------------------- Page: 1 ----------------------
D3768–06
FIG. 2 Specimen Mounted in Fixture FIG. 3 Specimen Being Bent Around Mandrel
NOTE 3—This measurement in the automotive industry is customarily
thickness, and the minimum specimen thickness shall not be
referred to as recovery.
less than 3 mm.The specimen shall be 25 mm in width by 150
9. Report
mm in length (1 by 6 in.).
9.1 The report shall include the following:
6. Conditioning
9.1.1 Direction of cutting,
9.1.2 Conditioning procedures before testing,
6.1 Unlessotherwisespecified,conditionthespecimensand
fixtures a minimum of1hat23 6 2°C and 50 6 5% relative 9.1.3 Flexural set (30 s), average of three,
9.1.4 Flexural set (300 s), average of three, and
humidity before testing.
9.1.5 Sample thickness.
7. Procedure
10. Precision and Bias
7.1 There shall be at least three recovery measurements.
4
10.1 Table 1 is based on a round robin conducted in 1980
7.2 Measure the thickness of specimen to the nearest 0.03
in accordance with Practice D3040, involving three materials
mm.
tested by four laboratories. For each material, all the samples
7.3 Insertthetestspecimeninthelowerslotofthespecimen
werepreparedatonesourceandtheindividualspecimenswere
clamp and position the end of the specimen flush with the rear
also prepared at one source. Each test result consisted of one
face of the bend mandrel. Tighten the clamp while holding the
individual determination. Each laboratory obtained four test
specimen in a horizontal position. (Do not allow the outer end
results for each material. (Warning—The explanation of r
of the specimen to be in contact with the base of the test
(10.2-10.2.2) is only intended to present a meaningful
...


Questions, Comments and Discussion
Ask us and Technical Secretary will try to provide an answer. You can facilitate discussion about the standard in here.