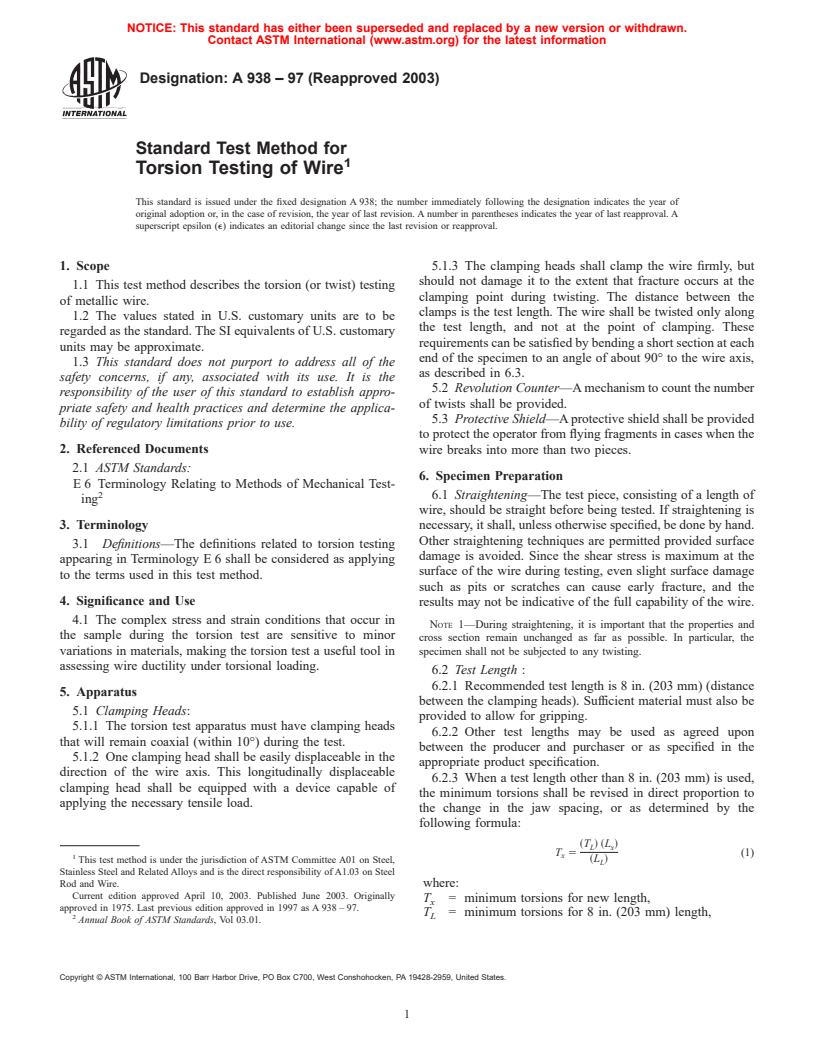
ASTM A938-97(2003)
(Test Method)Standard Test Method for Torsion Testing of Wire
Standard Test Method for Torsion Testing of Wire
SCOPE
1.1 This test method describes the torsion (or twist) testing of metallic wire.
1.2 The values stated in U.S. customary units are to be regarded as the standard. The SI equivalents of U.S. customary units may be approximate.
1.3 This standard does not purport to address all of the safety concerns, if any, associated with its use. It is the responsibility of the user of this standard to establish appropriate safety and health practices and determine the applicability of regulatory limitations prior to use.
General Information
Relations
Standards Content (Sample)
NOTICE: This standard has either been superseded and replaced by a new version or withdrawn.
Contact ASTM International (www.astm.org) for the latest information
Designation: A 938 – 97 (Reapproved 2003)
Standard Test Method for
Torsion Testing of Wire
This standard is issued under the fixed designation A 938; the number immediately following the designation indicates the year of
original adoption or, in the case of revision, the year of last revision. A number in parentheses indicates the year of last reapproval. A
superscript epsilon (e) indicates an editorial change since the last revision or reapproval.
1. Scope 5.1.3 The clamping heads shall clamp the wire firmly, but
should not damage it to the extent that fracture occurs at the
1.1 This test method describes the torsion (or twist) testing
clamping point during twisting. The distance between the
of metallic wire.
clamps is the test length. The wire shall be twisted only along
1.2 The values stated in U.S. customary units are to be
the test length, and not at the point of clamping. These
regarded as the standard. The SI equivalents of U.S. customary
requirements can be satisfied by bending a short section at each
units may be approximate.
end of the specimen to an angle of about 90° to the wire axis,
1.3 This standard does not purport to address all of the
as described in 6.3.
safety concerns, if any, associated with its use. It is the
5.2 Revolution Counter—A mechanism to count the number
responsibility of the user of this standard to establish appro-
of twists shall be provided.
priate safety and health practices and determine the applica-
5.3 Protective Shield—A protective shield shall be provided
bility of regulatory limitations prior to use.
to protect the operator from flying fragments in cases when the
2. Referenced Documents
wire breaks into more than two pieces.
2.1 ASTM Standards:
6. Specimen Preparation
E 6 Terminology Relating to Methods of Mechanical Test-
6.1 Straightening—The test piece, consisting of a length of
ing
wire, should be straight before being tested. If straightening is
3. Terminology
necessary, it shall, unless otherwise specified, be done by hand.
Other straightening techniques are permitted provided surface
3.1 Definitions—The definitions related to torsion testing
damage is avoided. Since the shear stress is maximum at the
appearing in Terminology E 6 shall be considered as applying
surface of the wire during testing, even slight surface damage
to the terms used in this test method.
such as pits or scratches can cause early fracture, and the
4. Significance and Use
results may not be indicative of the full capability of the wire.
4.1 The complex stress and strain conditions that occur in
NOTE 1—During straightening, it is important that the properties and
the sample during the torsion test are sensitive to minor
cross section remain unchanged as far as possible. In particular, the
variations in materials, making the torsion test a useful tool in specimen shall not be subjected to any twisting.
assessing wire ductility under torsional loading.
6.2 Test Length :
6.2.1 Recommended test length is 8 in. (203 mm) (distance
5. Apparatus
between the clamping heads). Sufficient material must also be
5.1 Clamping Heads:
provided to allow for gripping.
5.1.1 The torsion test apparatus must have clamping heads
6.2.2 Other test lengths may be used as agreed upon
that will remain coaxial (within 10°) during the test.
between the producer and purchaser or as specified in the
5.1.2 One clamping head shall be easily displaceable in the
appropriate product specification.
direction of the wire axis. This longitudinally displaceable
6.2.3 When a test length other than 8 in. (203 mm) is used,
clamping head shall be equipped with a device capable of
the minimum torsions shall be revised in direct proportion to
applying the necessary tensile load.
the change in the jaw spacing, or as determined by the
following formula:
~T ! ~L !
L x
T 5 (1)
x
~L !
This test method is under the jurisdiction of ASTM Committee A01 on Steel,
L
Stainless Steel and Related Alloys and is the direct responsibility of A1.03 on Steel
Rod and Wire.
where:
Current edition approved April 10, 2003. Published June 2003. Originally
T = minimum torsions for new length,
x
approved in 1975. Last previous edition approved in 1997 as A 938 – 97.
T = minimum torsions for 8 in. (203 mm) length,
L
Annual Book of ASTM Standards, Vol 03.01.
Copyright © ASTM International, 100 Barr Harbor Drive, PO Box C700, West Conshohocken, PA 19428-2959, United States.
A 938 – 97 (2003)
TABLE 1 Recommended Tensile Forces to be Applied to Wire
L = new length, and
x
During Torsion Testing
L = 8 in. (203 mm).
L
6.3 End Preparation—To prevent the gripped ends from
Wire Size Applied Tensile
1 A
slipping tangentially in the clamps, a minimum of ⁄2 in. (12.7
Nominal Diameter Force
mm) of each end of the wire is often bent approximately 90° to
in. mm lb. N
the axis of the test sample. The end sections need not be exactly
0.011 to 0.016 0.28 to 0.42 1 4
parallel to each other. See Fig. 1. 0.017 to 0.020 0.43 to
...


Questions, Comments and Discussion
Ask us and Technical Secretary will try to provide an answer. You can facilitate discussion about the standard in here.