ASTM C736-12
(Test Method)Standard Test Method for Extension-Recovery and Adhesion of Latex Sealants
Standard Test Method for Extension-Recovery and Adhesion of Latex Sealants
SIGNIFICANCE AND USE
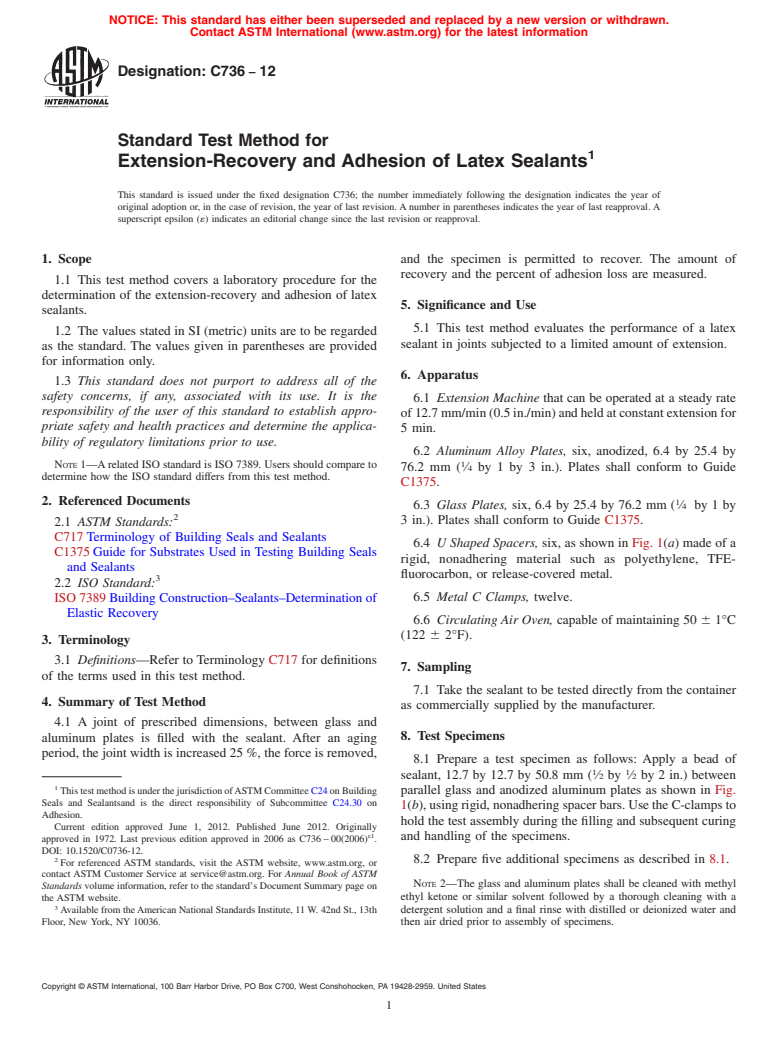
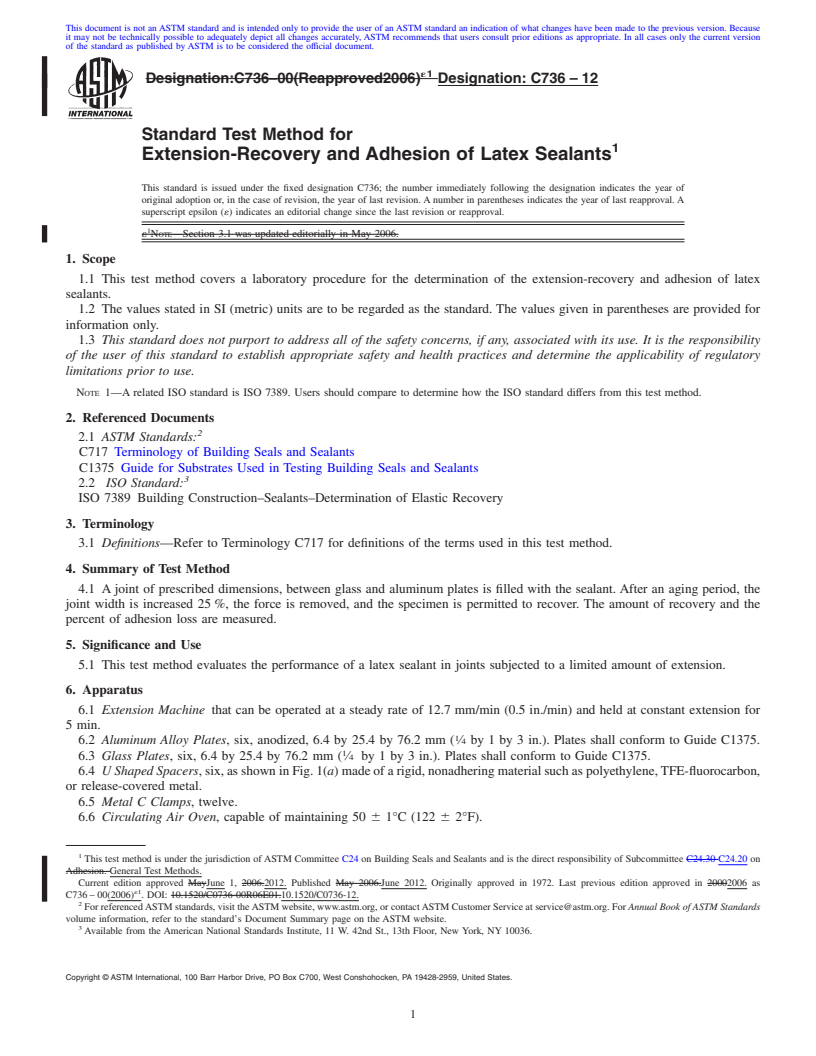
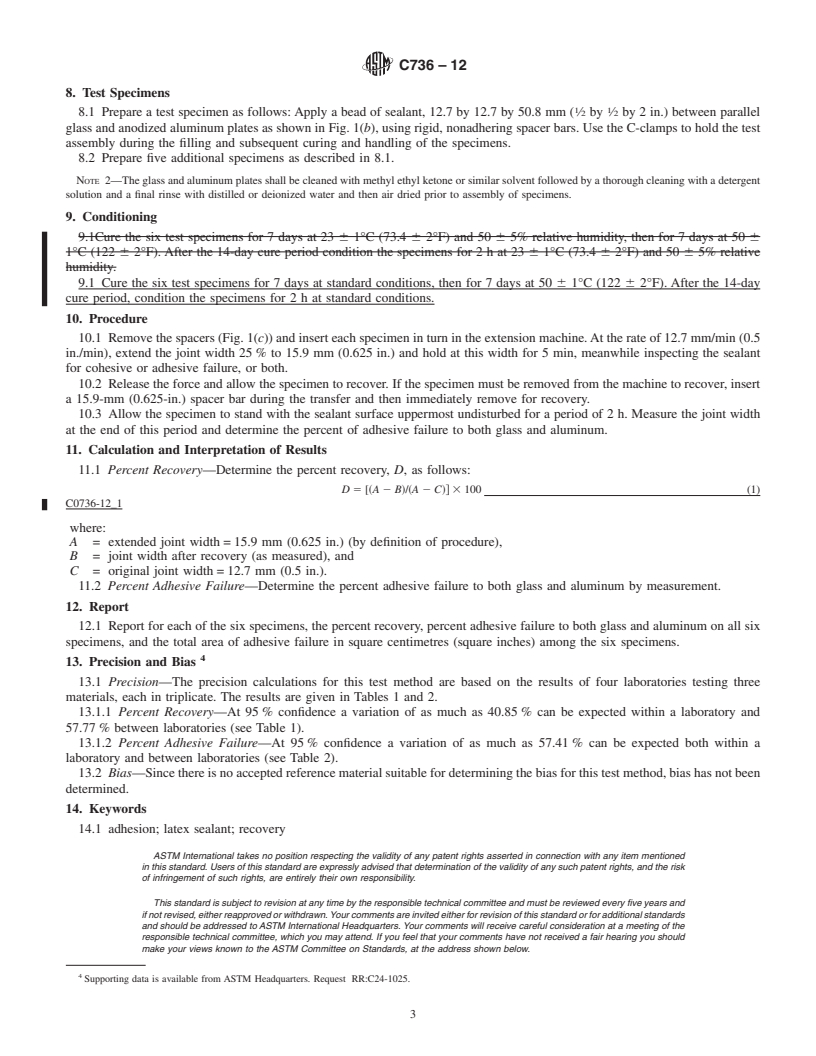
This test method evaluates the performance of a latex sealant in joints subjected to a limited amount of extension.
SCOPE
1.1 This test method covers a laboratory procedure for the determination of the extension-recovery and adhesion of latex sealants.
1.2 The values stated in SI (metric) units are to be regarded as the standard. The values given in parentheses are provided for information only.
1.3 This standard does not purport to address all of the safety concerns, if any, associated with its use. It is the responsibility of the user of this standard to establish appropriate safety and health practices and determine the applicability of regulatory limitations prior to use.
Note 1—A related ISO standard is ISO 7389. Users should compare to determine how the ISO standard differs from this test method.
General Information
Relations
Buy Standard
Standards Content (Sample)
NOTICE: This standard has either been superseded and replaced by a new version or withdrawn.
Contact ASTM International (www.astm.org) for the latest information
Designation: C736 − 12
Standard Test Method for
1
Extension-Recovery and Adhesion of Latex Sealants
This standard is issued under the fixed designation C736; the number immediately following the designation indicates the year of
original adoption or, in the case of revision, the year of last revision. A number in parentheses indicates the year of last reapproval. A
superscript epsilon (´) indicates an editorial change since the last revision or reapproval.
1. Scope and the specimen is permitted to recover. The amount of
recovery and the percent of adhesion loss are measured.
1.1 This test method covers a laboratory procedure for the
determination of the extension-recovery and adhesion of latex
5. Significance and Use
sealants.
5.1 This test method evaluates the performance of a latex
1.2 The values stated in SI (metric) units are to be regarded
sealant in joints subjected to a limited amount of extension.
as the standard. The values given in parentheses are provided
for information only.
6. Apparatus
1.3 This standard does not purport to address all of the
safety concerns, if any, associated with its use. It is the
6.1 Extension Machine that can be operated at a steady rate
responsibility of the user of this standard to establish appro-
of12.7mm/min(0.5in./min)andheldatconstantextensionfor
priate safety and health practices and determine the applica-
5 min.
bility of regulatory limitations prior to use.
6.2 Aluminum Alloy Plates, six, anodized, 6.4 by 25.4 by
1
NOTE 1—Arelated ISO standard is ISO 7389. Users should compare to
76.2 mm ( ⁄4 by 1 by 3 in.). Plates shall conform to Guide
determine how the ISO standard differs from this test method.
C1375.
2. Referenced Documents 1
6.3 Glass Plates, six, 6.4 by 25.4 by 76.2 mm ( ⁄4 by1by
2
3 in.). Plates shall conform to Guide C1375.
2.1 ASTM Standards:
C717 Terminology of Building Seals and Sealants
6.4 U Shaped Spacers, six, as shown in Fig. 1(a) made of a
C1375 Guide for Substrates Used in Testing Building Seals
rigid, nonadhering material such as polyethylene, TFE-
and Sealants
fluorocarbon, or release-covered metal.
3
2.2 ISO Standard:
6.5 Metal C Clamps, twelve.
ISO 7389 Building Construction–Sealants–Determination of
Elastic Recovery
6.6 Circulating Air Oven, capable of maintaining 50 6 1°C
(122 6 2°F).
3. Terminology
3.1 Definitions—Refer to Terminology C717 for definitions
7. Sampling
of the terms used in this test method.
7.1 Take the sealant to be tested directly from the container
4. Summary of Test Method
as commercially supplied by the manufacturer.
4.1 A joint of prescribed dimensions, between glass and
8. Test Specimens
aluminum plates is filled with the sealant. After an aging
period, the joint width is increased 25 %, the force is removed,
8.1 Prepare a test specimen as follows: Apply a bead of
1 1
sealant, 12.7 by 12.7 by 50.8 mm ( ⁄2 by ⁄2 by 2 in.) between
1
ThistestmethodisunderthejurisdictionofASTMCommitteeC24onBuilding
parallel glass and anodized aluminum plates as shown in Fig.
Seals and Sealantsand is the direct responsibility of Subcommittee C24.30 on
1(b), using rigid, nonadhering spacer bars. Use the C-clamps to
Adhesion.
hold the test assembly during the filling and subsequent curing
Current edition approved June 1, 2012. Published June 2012. Originally
ε1
and handling of the specimens.
approved in 1972. Last previous edition approved in 2006 as C736 – 00(2006) .
DOI: 10.1520/C0736-12.
2 8.2 Prepare five additional specimens as described in 8.1.
For referenced ASTM standards, visit the ASTM website, www.astm.org, or
contact ASTM Customer Service at service@astm.org. For Annual Book of ASTM
NOTE 2—The glass and aluminum plates shall be cleaned with methyl
Standards volume information, refer to the standard’s Document Summary page on
ethyl ketone or similar solvent followed by a thorough cleaning with a
the ASTM website.
3
Available from theAmerican National Standards Institute, 11 W. 42nd St., 13th detergent solution and a final rinse with distilled or deionized water and
Floor, New York, NY 10036. then air dried prior to assembly of specimens.
Copyright © ASTM International, 100 Barr Harbor Drive, PO Box C700, West Conshohocken, PA 19428-2959. United States
1
---------------------- Page: 1 ----------------------
C736 − 12
9. Conditioning
9.1 Cure the six test specimens for 7 days at standard
conditions, then for 7 days at 50 6 1°C (122 6 2°F).After the
14-day cure period, condition the specimens for2hat standard
conditions.
10. Procedure
10.1 Remove the spacers (Fig. 1(c)) and insert each speci-
men in turn in the extension machine. At the rate of 12.7
mm/min (0.5 in./min), extend the joint width 25 % to 15.9 mm
(0.625 in.) and hold at this width for 5 min, meanwhile
inspecting the sealant for cohesive or adhesive failure, or both.
10.2 Release the force and allow the specimen
...
This document is not an ASTM standard and is intended only to provide the user of an ASTM standard an indication of what changes have been made to the previous version. Because
it may not be technically possible to adequately depict all changes accurately, ASTM recommends that users consult prior editions as appropriate. In all cases only the current version
of the standard as published by ASTM is to be considered the official document.
´1
Designation:C736–00(Reapproved2006) Designation:C736–12
Standard Test Method for
1
Extension-Recovery and Adhesion of Latex Sealants
This standard is issued under the fixed designation C736; the number immediately following the designation indicates the year of
original adoption or, in the case of revision, the year of last revision. A number in parentheses indicates the year of last reapproval. A
superscript epsilon (´) indicates an editorial change since the last revision or reapproval.
1
´ NOTE—Section 3.1 was updated editorially in May 2006.
1. Scope
1.1 This test method covers a laboratory procedure for the determination of the extension-recovery and adhesion of latex
sealants.
1.2 The values stated in SI (metric) units are to be regarded as the standard. The values given in parentheses are provided for
information only.
1.3 This standard does not purport to address all of the safety concerns, if any, associated with its use. It is the responsibility
of the user of this standard to establish appropriate safety and health practices and determine the applicability of regulatory
limitations prior to use.
NOTE 1—A related ISO standard is ISO 7389. Users should compare to determine how the ISO standard differs from this test method.
2. Referenced Documents
2
2.1 ASTM Standards:
C717 Terminology of Building Seals and Sealants
C1375 Guide for Substrates Used in Testing Building Seals and Sealants
3
2.2 ISO Standard:
ISO 7389 Building Construction–Sealants–Determination of Elastic Recovery
3. Terminology
3.1 Definitions—Refer to Terminology C717 for definitions of the terms used in this test method.
4. Summary of Test Method
4.1 A joint of prescribed dimensions, between glass and aluminum plates is filled with the sealant. After an aging period, the
joint width is increased 25 %, the force is removed, and the specimen is permitted to recover. The amount of recovery and the
percent of adhesion loss are measured.
5. Significance and Use
5.1 This test method evaluates the performance of a latex sealant in joints subjected to a limited amount of extension.
6. Apparatus
6.1 Extension Machine that can be operated at a steady rate of 12.7 mm/min (0.5 in./min) and held at constant extension for
5 min.
1
6.2 Aluminum Alloy Plates, six, anodized, 6.4 by 25.4 by 76.2 mm ( ⁄4 by 1 by 3 in.). Plates shall conform to Guide C1375.
1
6.3 Glass Plates, six, 6.4 by 25.4 by 76.2 mm ( ⁄4 by 1 by 3 in.). Plates shall conform to Guide C1375.
6.4 U Shaped Spacers,six,asshowninFig.1(a)madeofarigid,nonadheringmaterialsuchaspolyethylene,TFE-fluorocarbon,
or release-covered metal.
6.5 Metal C Clamps, twelve.
6.6 Circulating Air Oven, capable of maintaining 50 6 1°C (122 6 2°F).
1
This test method is under the jurisdiction of ASTM Committee C24 on Building Seals and Sealants and is the direct responsibility of Subcommittee C24.30 C24.20 on
Adhesion. General Test Methods.
Current edition approved MayJune 1, 2006.2012. Published May 2006.June 2012. Originally approved in 1972. Last previous edition approved in 20002006 as
´1
C736 – 00(2006) . DOI: 10.1520/C0736-00R06E01.10.1520/C0736-12.
2
For referencedASTM standards, visit theASTM website, www.astm.org, or contactASTM Customer Service at service@astm.org. For Annual Book of ASTM Standards
volume information, refer to the standard’s Document Summary page on the ASTM website.
3
Available from the American National Standards Institute, 11 W. 42nd St., 13th Floor, New York, NY 10036.
Copyright © ASTM International, 100 Barr Harbor Drive, PO Box C700, West Conshohocken, PA 19428-2959, United States.
1
---------------------- Page: 1 ----------------------
C736–12
FIG. 1 Preparation of Test Specimen
TABLE 1 Precision and Bias Data—Percent Recovery
Estimated Estimated
Standard Standard Repeata-
Average Reproduc-
Material Deviation Deviation bility (In-
Recovery, % ibility
(Within (Between ternal)
Laboratory) Laboratory)
G1 100.00 0.00 0.00 0.00 0.00
G2 91.67 14.43 20.41 40.85 57.77
G3 100.00 0.00 0.00 0.00 0.00
TABLE 2 Precision and Bias Data—Percent Adhesion Loss
Estimated Estimated
Average Standard Standard Repeata-
Reproduc-
Material Adhesion Deviation Deviation bility (In-
ibility
Loss, % (Within (Between ternal)
Laboratory) Laboratory)
G1 8.084 20.29 20.29 57.41 57.41
G2 0.001 0.00 0.00 0.00 0.00
G3 0.001 0.00 0.00 0.00 0.00
7. Sampling
7.1 Take the sealant to be tested directly from the container as commercially supplied by the manufacturer.
2
---------------------- Page: 2 ----------------------
C736–12
8. Test Specimens
1 1
8.1 Prepare a test specim
...


Questions, Comments and Discussion
Ask us and Technical Secretary will try to provide an answer. You can facilitate discussion about the standard in here.